


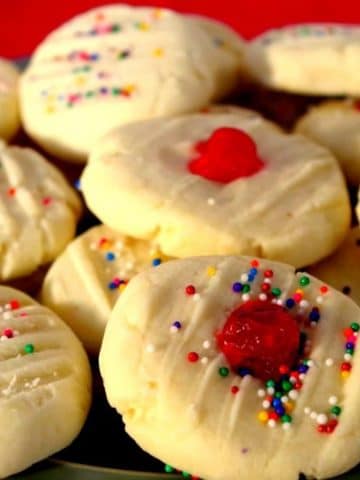
If I could choose a cookie to represent my childhood, these Raspberry Jam Cookies would be it. They are, hands down, my favorite cookie. And although my Mom never actually made these, my grandma and every auntie for miles around did. I recently came across this recipe in a family cookbook that my Mom's side of the family compiled over 30 years ago.
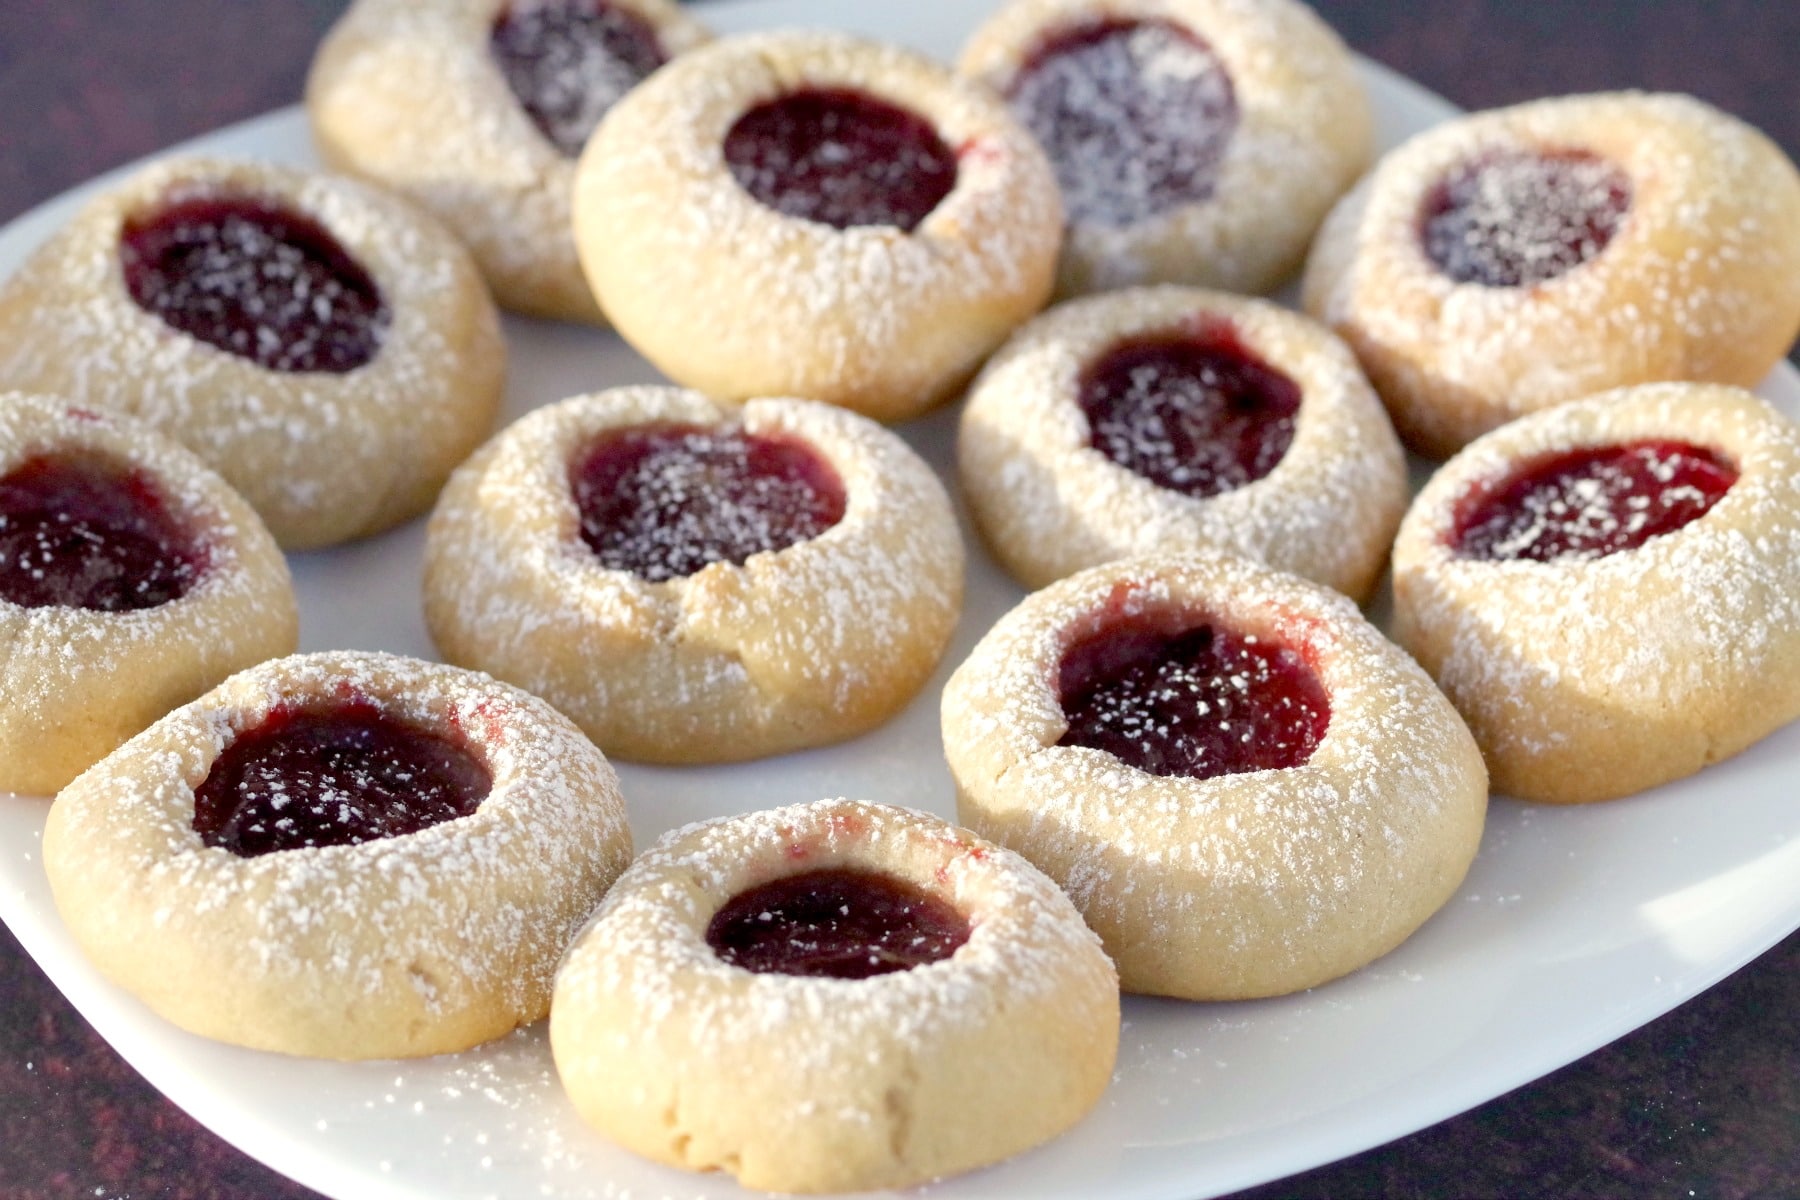
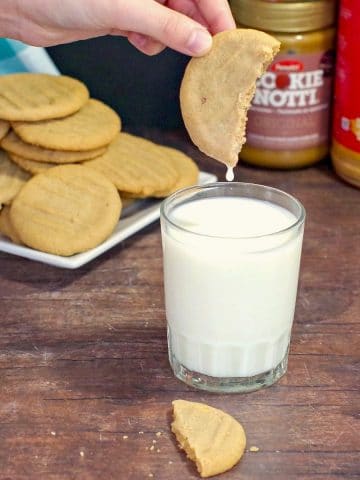
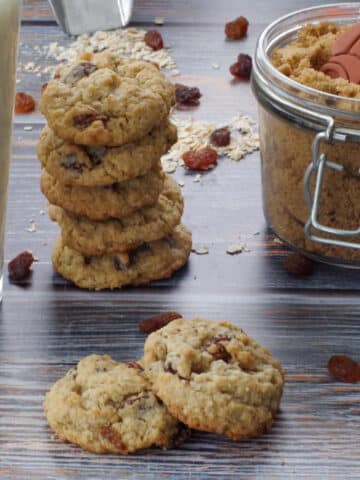
This recipe is my Great Aunt Myrlene's recipe and one bite of these jam cookies transported me right back to being a kid again. They are popular at Christmas, but wonderful any time of year. They are perfect on a holiday platter with these Almond Snowball Cookies, Terry's Chocolate Orange Cookies, Butter tarts, Lime Christmas Squares, and this Sugar Cookie Fudge!
Jump to:
My Mom didn't actually bake many cookies, so when she did, it was a real treat. Her Peanut Butter Cookies are what I remember her baking and still crave today. Fortunately, my Grandma and all the aunties on my Mom's side of the family were big bakers and made lots of different kinds of cookies.
I can recall eating many renditions of these jam-filled cookies at various family gatherings over the years, with this version being THE BEST version I have ever tasted!
🥘 Ingredient Notes
I can honestly say these cookies are THE BEST raspberry jam cookies I have ever eaten because they are the only recipe I've ever come across that uses brown sugar instead of white granulated sugar. And wow - what a difference it makes! That brown sugar gives this cookie an incredible depth of flavor; unlike any other jam cookie!
For this recipe, you'll need:
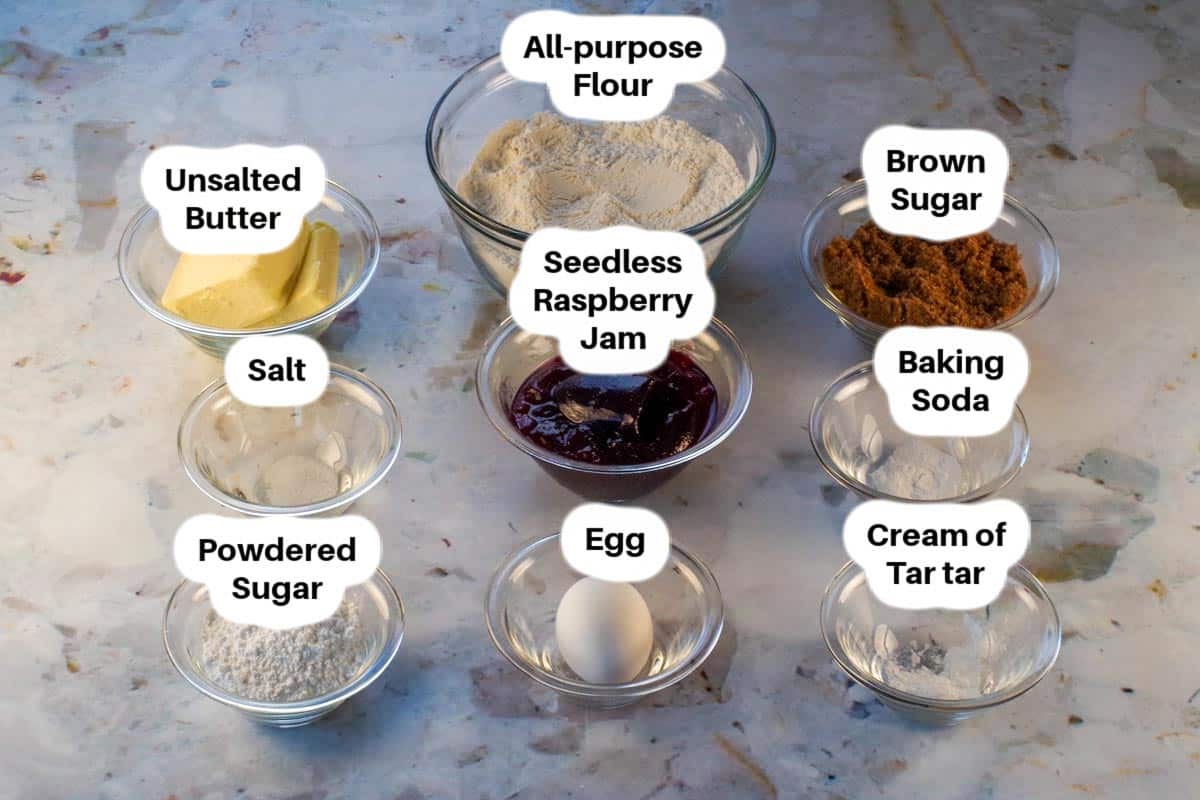
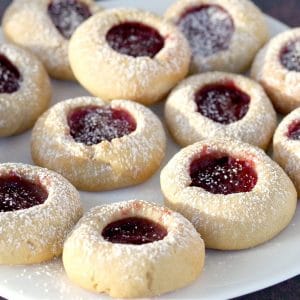
- Brown Sugar. Using light brown sugar vs dark brown sugar makes a HUGE difference in the look of these cookies. If you want them lighter like the main photos, use light brown sugar. For darker cookies (as in the process photos), use dark brown sugar. Either way, they taste amazing!
- Unsalted butter. I use unsalted butter because I like to control the salt in my butter.
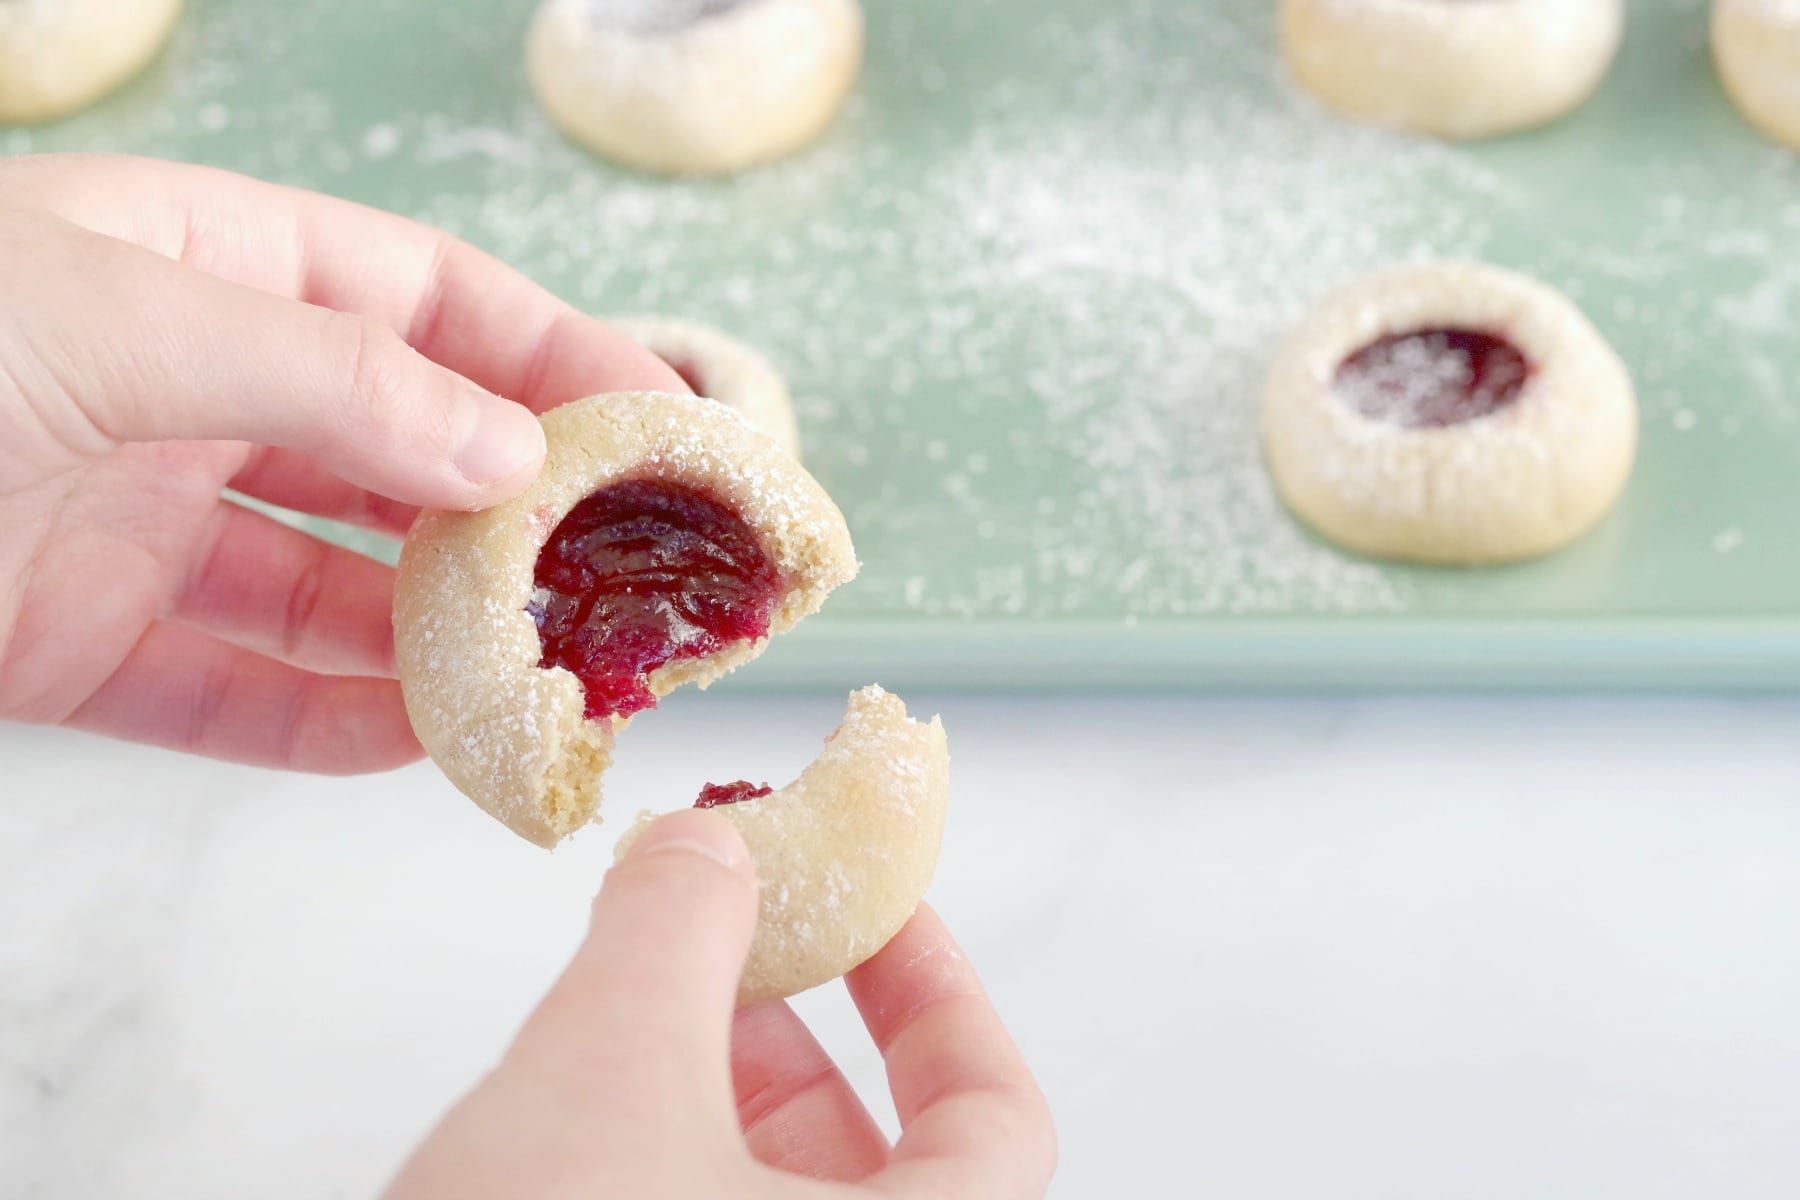
- Seedless raspberry jam. Seedless raspberry jam is the best type of raspberry jam to use because you don't have to deal with seeds, giving you the ultimate cookie-eating experience! You could also use another type of berry jam, like Saskatoon berry! I sprinkle a little powdered sugar on them for aesthetics, but it's purely optional.

📖 Variations & Substitutions
- Jam: These raspberry thumbprint cookies not only make a great holiday cookie, they are fantastic anytime! You can use strawberry, raspberry jam, or your favorite jam, store-bought or homemade jam or jelly when making these cookies, but I prefer to use raspberry jam. Raspberry jam is a little more tart and pairs well with the sweet base of these cookies.
- Cream of tartar: This classic jam cookie recipe also calls for cream of tartar, but if you don't have any in your pantry, don't worry. Here are some simple substitutions for Cream of Tartar. However, if you can get your hands on cream of tartar, I do recommend following this recipe exactly as written.
- Unsalted butter: If you only have salted butter, go ahead and use it, but skip the salt in the recipe!
🔪How to Make Jam Cookies
PREP: Preheat oven to 425 degrees F/218 degrees C. *Do NOT spray the baking sheet or line it with parchment paper.

- Step 1: In a large bowl, with an electric hand mixer, cream butter and brown sugar on medium speed until smooth. *NOTE: *I used dark brown sugar in this batch and light brown sugar in the batch I made for the main photos
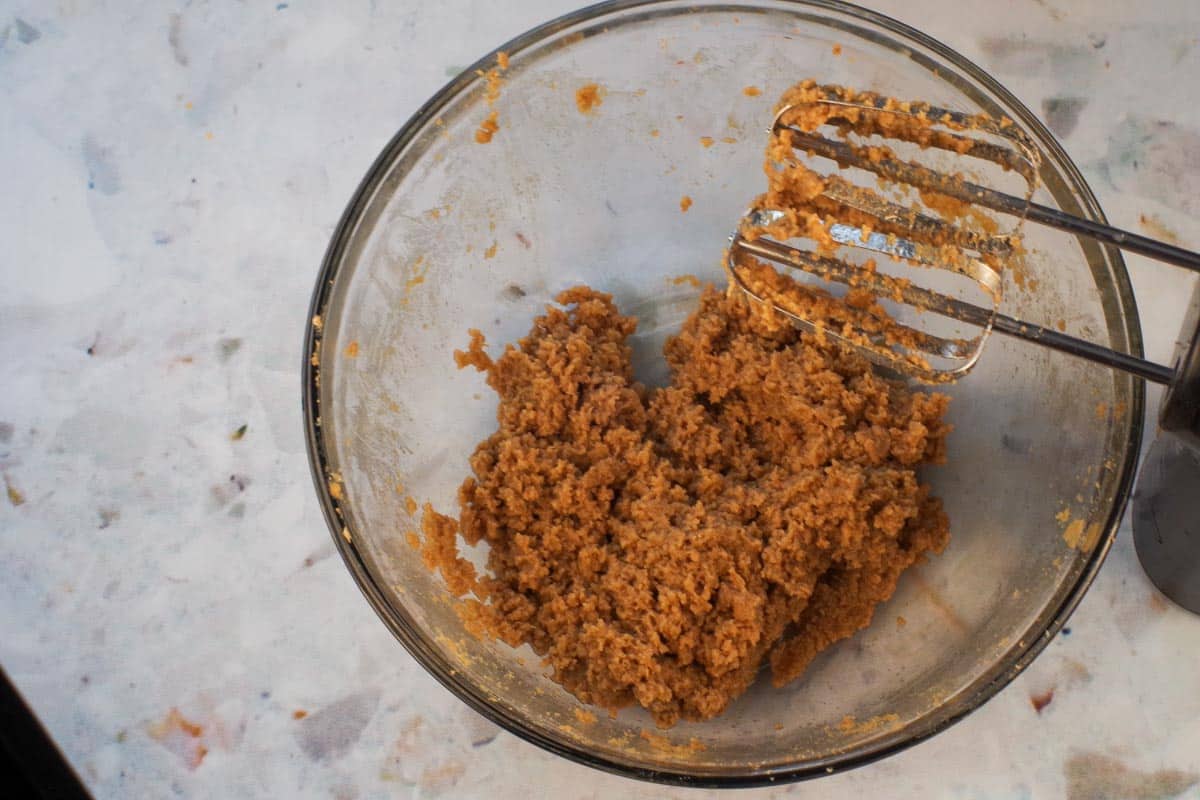
- Step 2: Add egg and beat until blended.
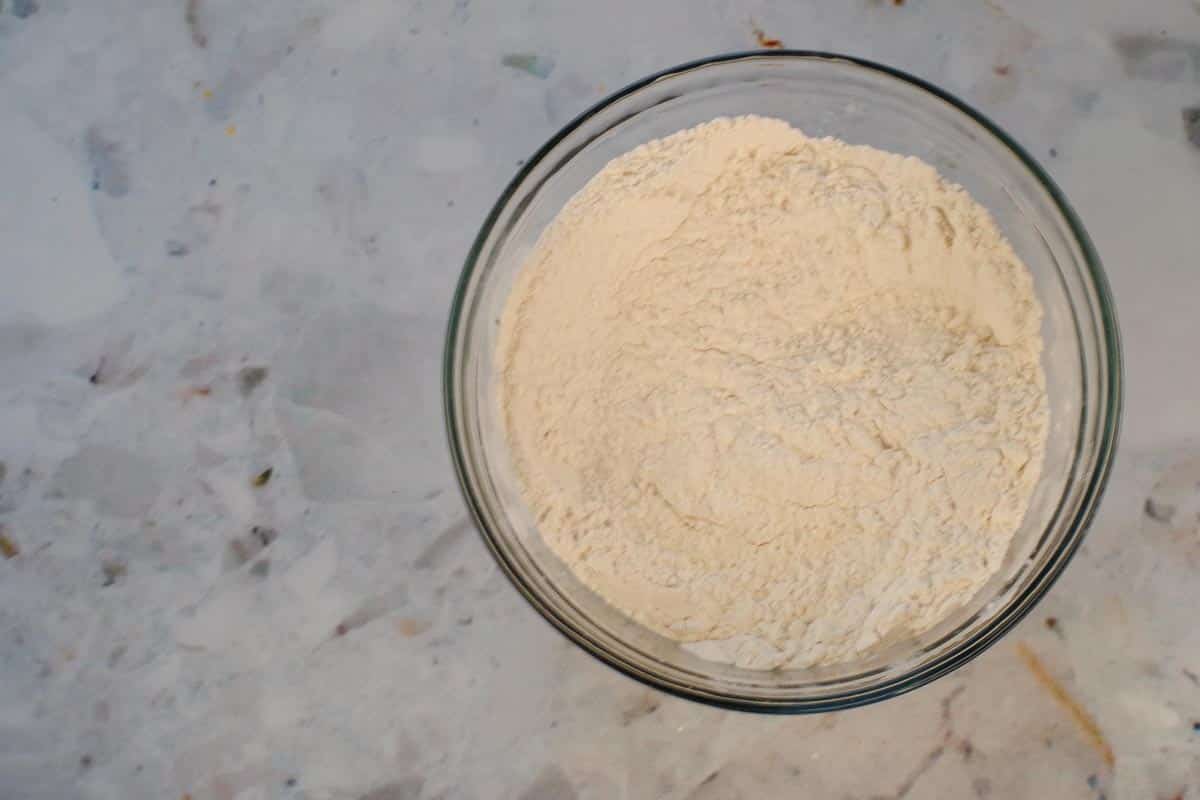
- Step 3: Sift dry ingredients together.
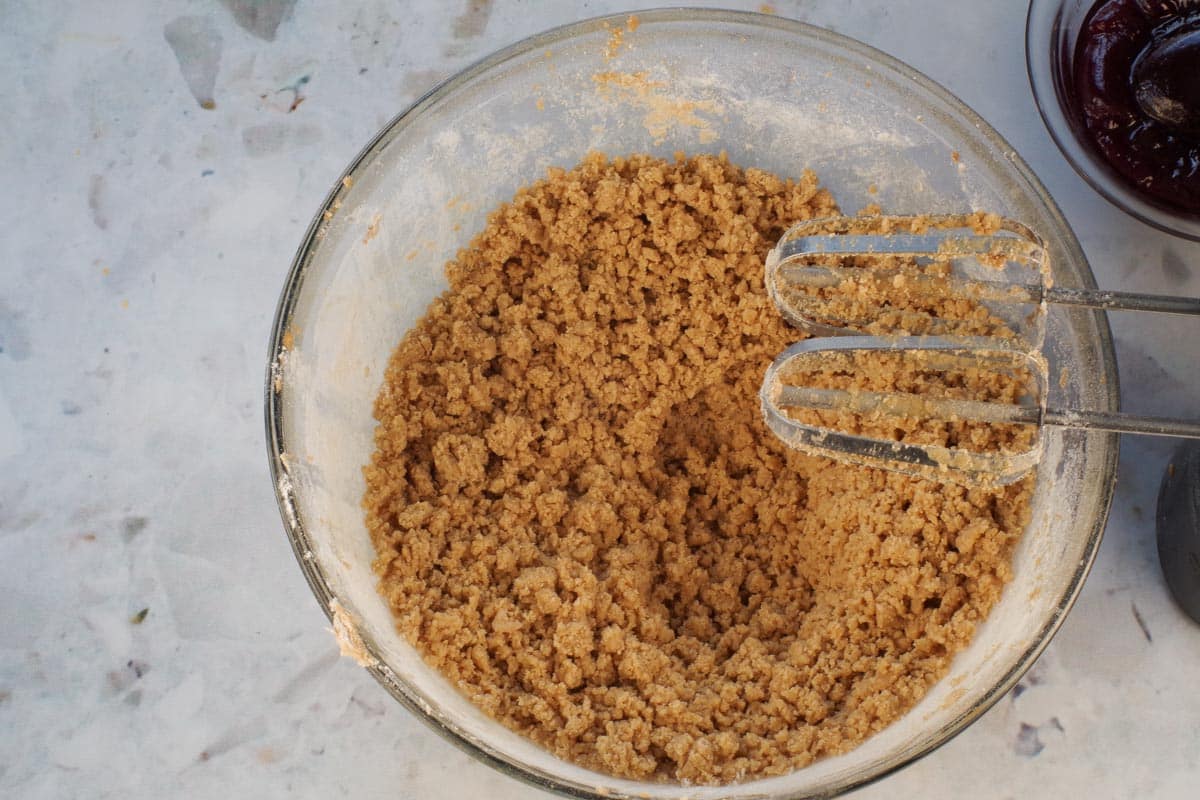
- Step 4: Add flour mixture to creamed butter mixture using the mixer.
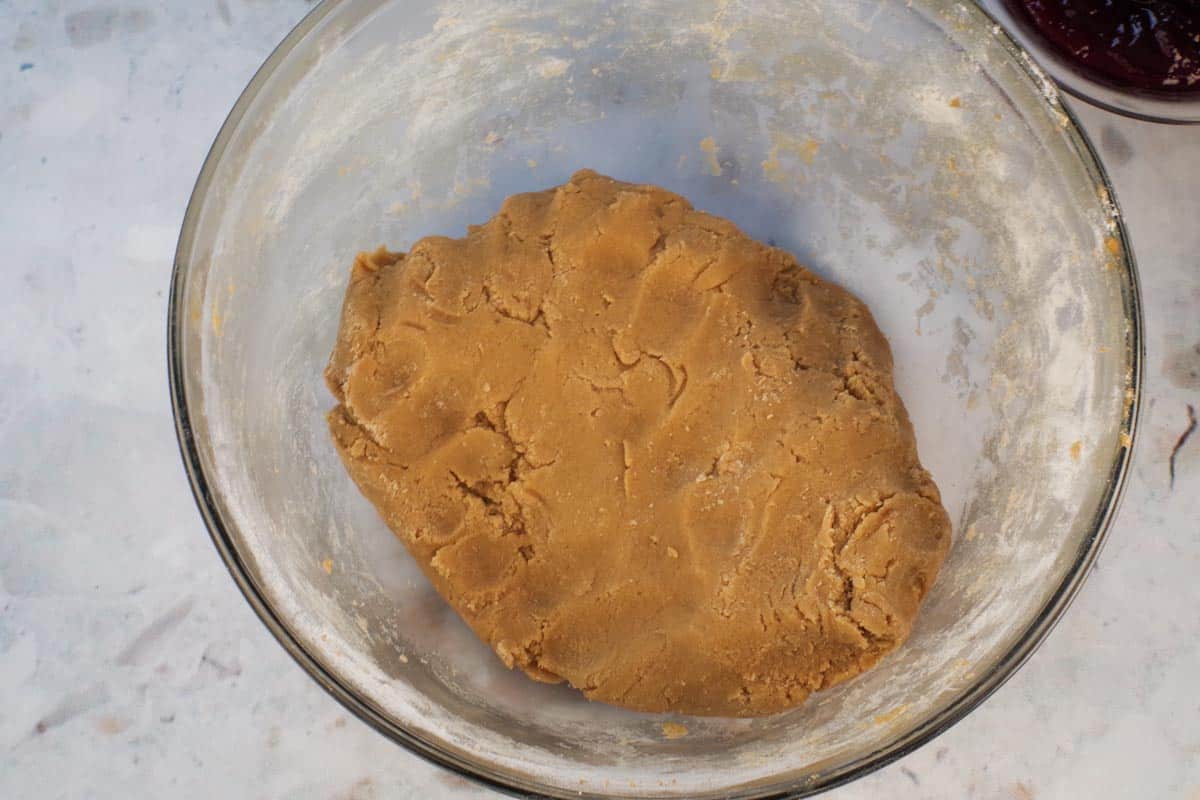
- Step 5: Then you'll need to get into the dough with your hands to make it stick. *Then, I recommend you let the dough sit for 15 minutes before rolling into balls (it helps to prevent cracking)
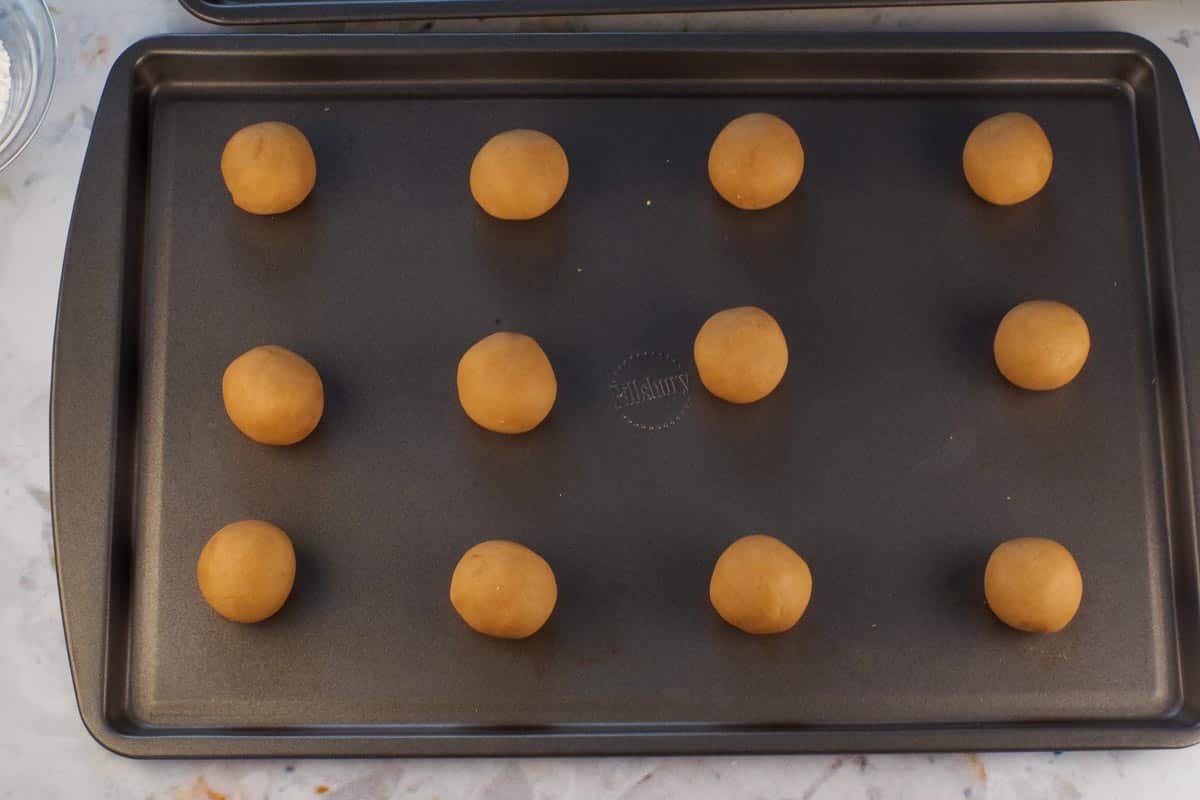
- Step 6: Form into 1-inch balls. Space balls of dough at least 1-2 inches apart on ungreased cookie sheet (or line the baking sheet with parchment paper).
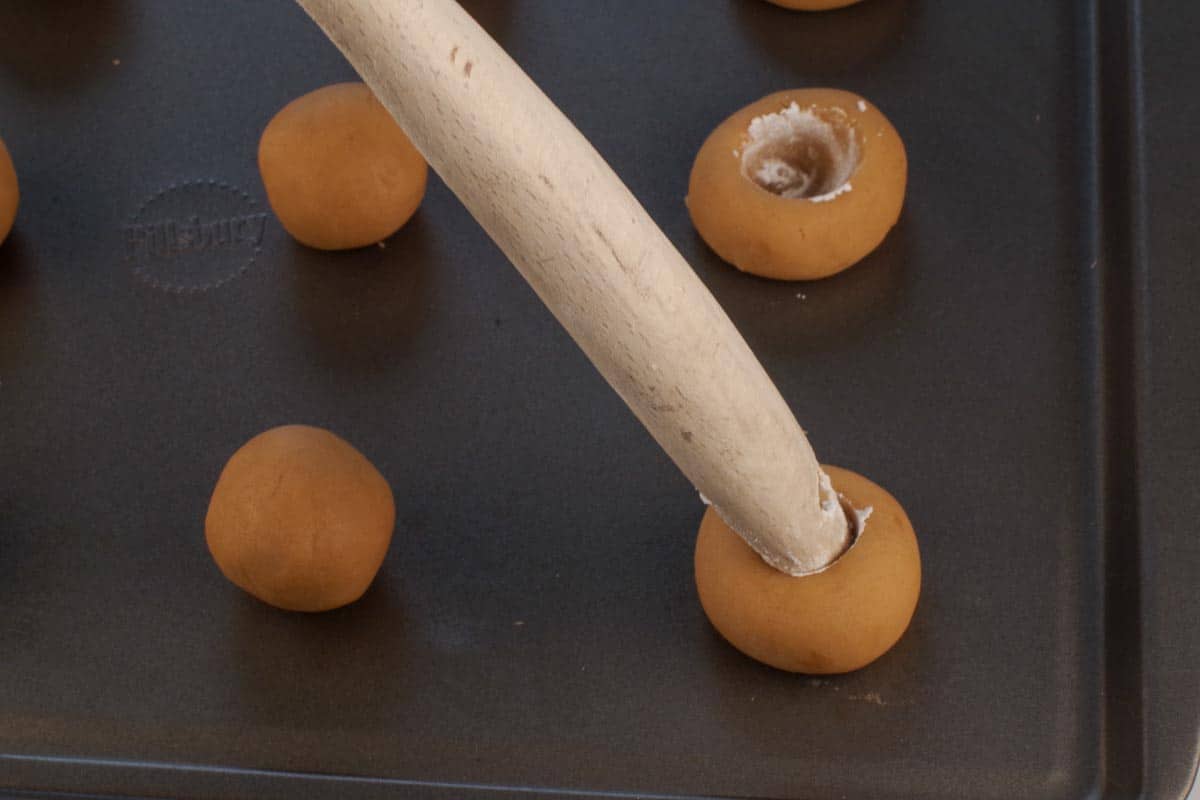
- Step 7: Dip the end of a wooden spoon in powdered sugar. Press an indent into a ball with the end of a wooden spoon (dipped in powdered sugar.) *Be sure not to push too far down or the bottoms of the cookie will be too thin. You could also use the back of a melon baller, spoon, or your finger or thumb.
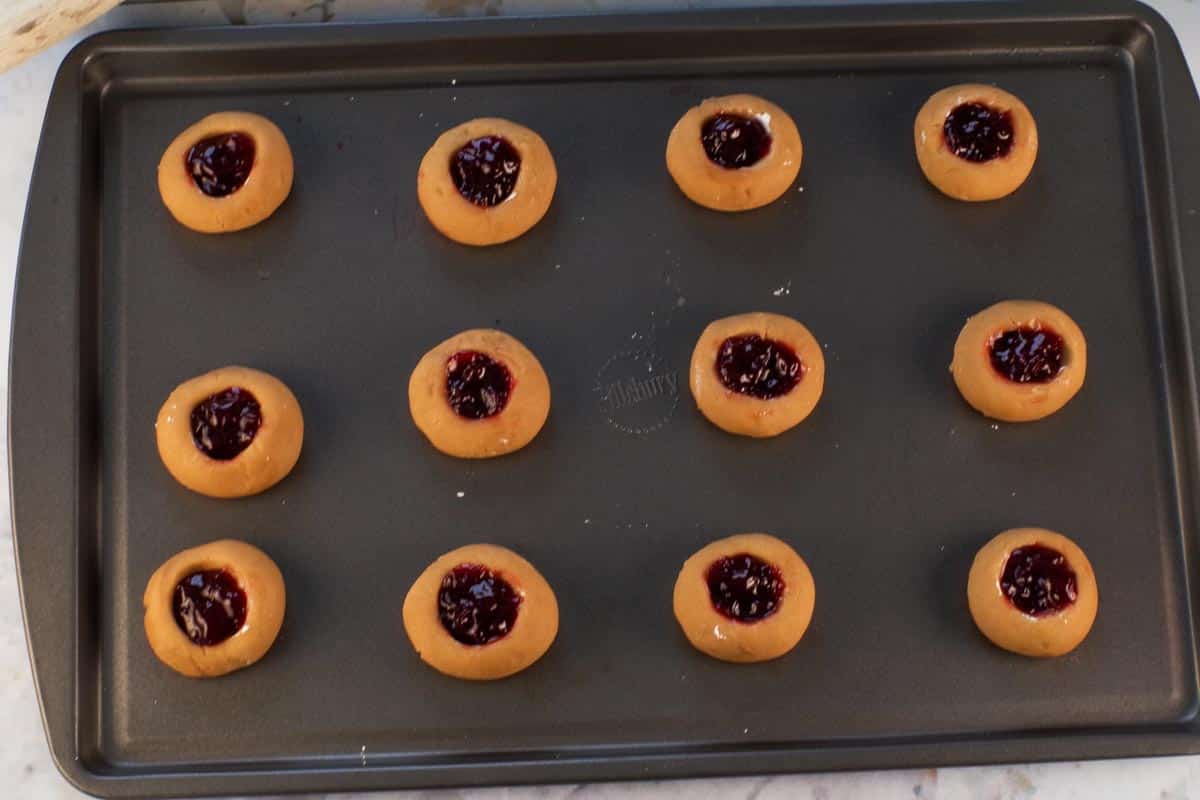
- Step 8: Add jam filling to the center of cookies to the top, but don't overfill.
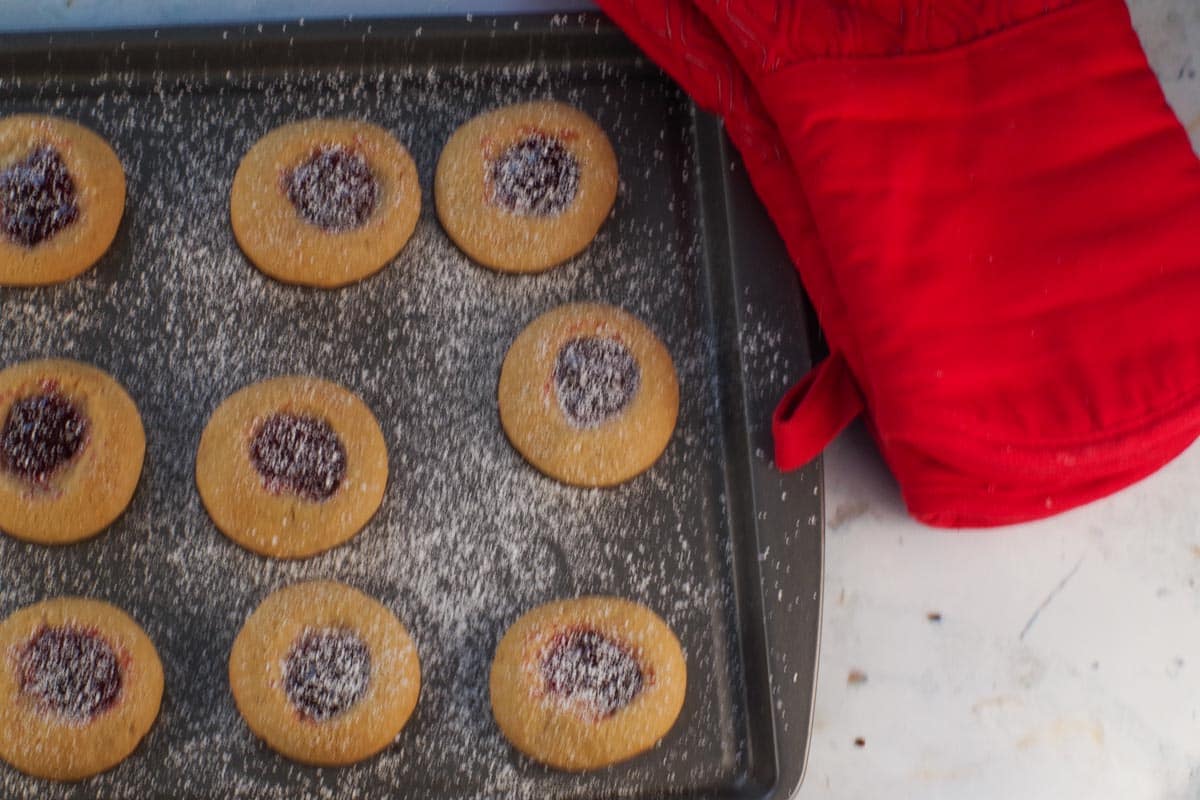
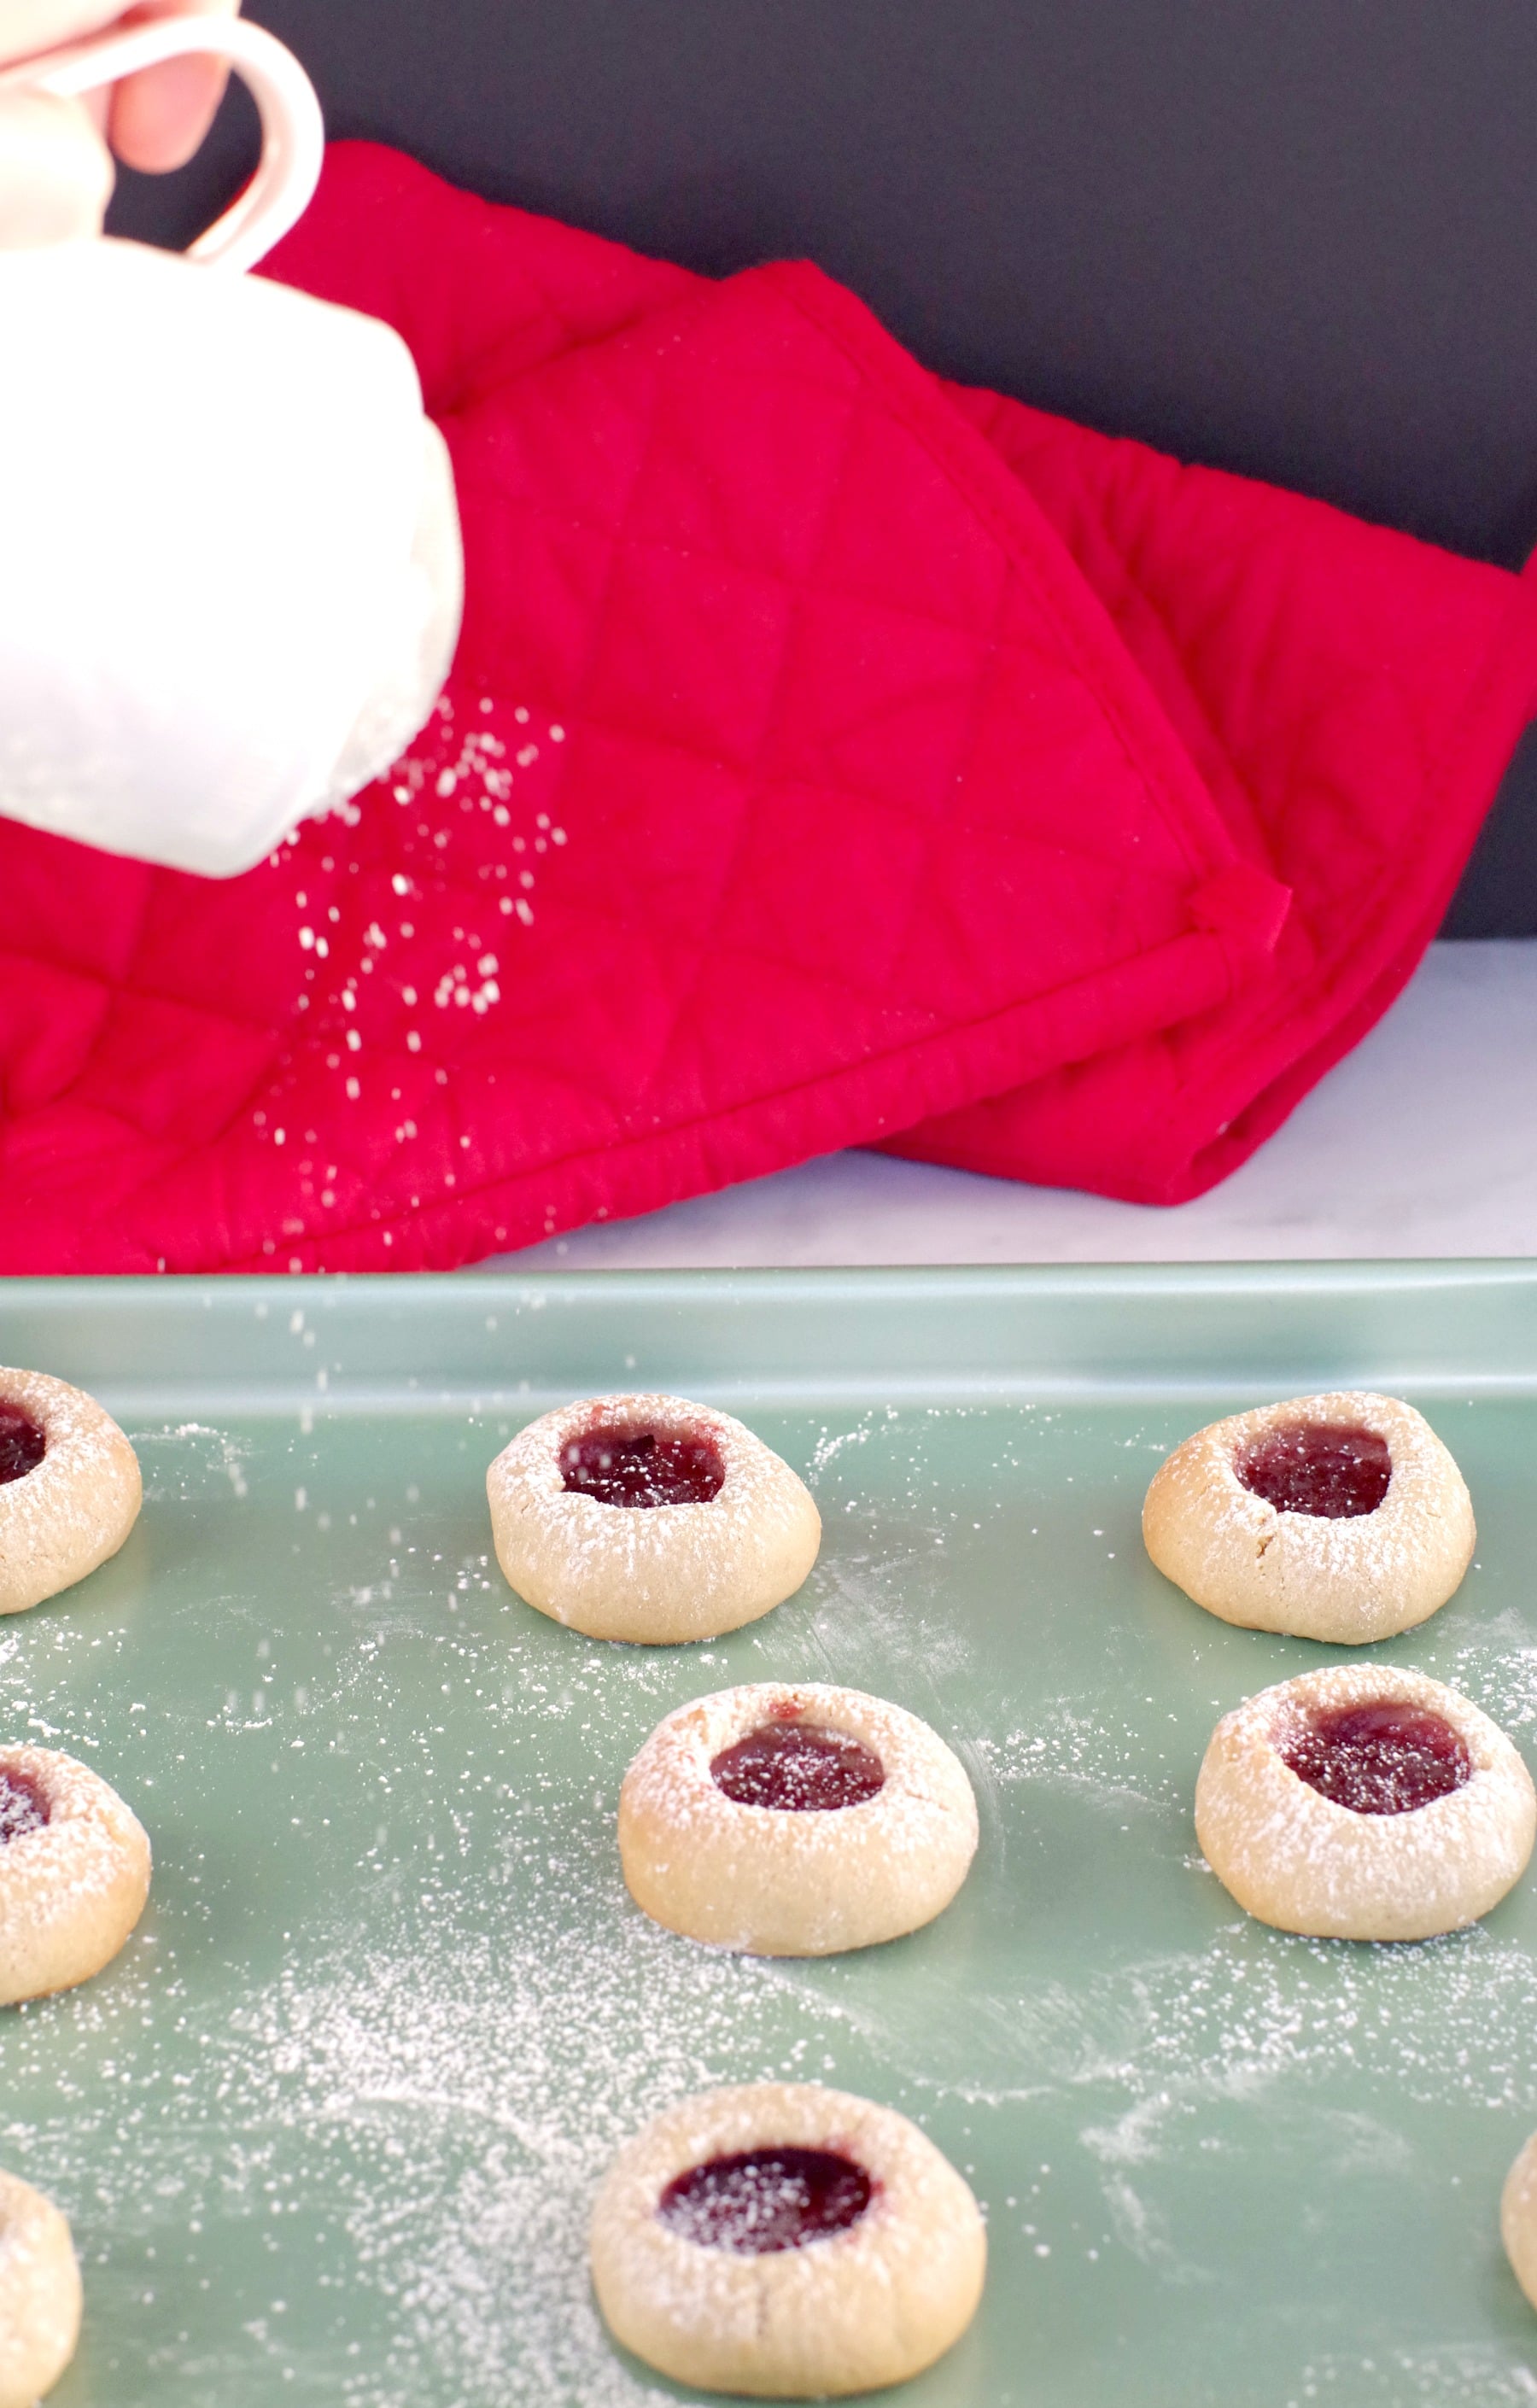
- Step 9: Bake cookies for 7-9 minutes or until lightly browned on the bottom. Cool for 5 minutes, then move to a wire rack to continue cooling. Sprinkle with powdered sugar, if desired.
These classic thumbprint cookies are fun to make with your kids because they are very simple and simple cookies are ideal for teaching kids how to bake. My daughter and I made these together and it was a lot of fun! And this 4 Ingredient Whipped Shortbread is another basic cookie recipe that's great for making with kids.
Tips for Success
How to minimize thumbprint cookie cracking:
Jam Thumbprint Cookies tend to crack, so after making these several times, I learned a few things:
- Keep the dough soft. Once the cookie dough is made, cover and let it rest for at least 15 minutes at room temperature, so that the dough will be easier to handle and less sticky.
- Use the back of a wooden spoon dipped in powdered sugar (or icing sugar, as we like to call it in Canada) to make an imprint. You can use your thumb but I found this much more effective for getting a uniform print.
- Then spin it around a little to make it wider (pressing outwards from the center).
- And be sure you don't press down to the very bottom of the cookie or it will be too thin.
- Do NOT heat your jam before adding it to the cookies.
👪 Serving Size
This jam cookie recipe makes 36 cookies. However, you can half, double or triple the recipe by clicking on the serving number and selecting the number of servings you'd like. The ingredient quantities will automatically adjust.
🌡️Storing
Refrigeration: You can store these raspberry thumbprint cookies in the fridge for up to 3 days.
Freezing: These cookies with jam freeze well. It's best to freeze them in a single layer. However, if you stack them, be sure to add parchment paper between the layers to avoid sticking.
❔Recipe FAQ's
You should fill them before baking but don't overfill the cookie, and don't heat up the jam or it gets too thin and will leak and/or spread.
I use the round end of a wooden spoon that's been dipped in powdered sugar
These cookies with jam in the middle make an excellent cookie exchange item and the perfect addition to your holiday cookie tray! And if you LOVE thumbprint cookies, then give my Butter tart Thumbprint Cookies a try. I actually spent years perfecting this cookie because I love butter tarts that much!
ENJOY~
🍪More Cookie Recipes
Did your family❤️this recipe? Did you know that commenting and⭐rating recipes is one of the best ways to support your favorite recipe creators? If you LOVED this recipe, please comment and rate it in the recipe card or share photos on social media using the hashtag #foodmeanderings or tagging @foodmeanderings !

📋 Raspberry Jam Cookie Recipe
Ingredients
- ¾ cup unsalted butter
- 1 cup brown sugar
- 1 whole egg
- ¼ teaspoon salt
- ½ teaspoon cream of tartar
- 2 cups flour
- ½ teaspoon baking soda
- 1 cup seedless raspberry jam * can substitute strawberry jam
Garnish (optional)
- powdered sugar for sprinkling
Instructions
- Preheat oven to 425 degrees F/218 degrees C . *Do NOT spray baking sheet
- In a large bowl, with an electric hand mixer, cream butter and sugar on medium speed until smooth.
- Add egg and beat until blended.
- Sift dry ingredients together, then add flour mixture to creamed butter mixture.
- * I recommend you let the dough sit for 15 minutes before rolling into balls (it helps to prevent cracking)
- Form into 1-inch balls. Space balls of dough at least 1-2 inches apart on ungreased cookie sheet.
- Press indent into ball with the end of a wooden spoon (dipped in powdered sugar.) Be sure not to push too far down or the bottoms of the cookie will be too thin. You could also use the back of melon baller, spoon or your finger or thumb.
- Add jam filling to centre of cookies to the top, but don't overfill.
- Bake cookies for 7-9 minutes or until lightly browned on the bottom.
- Cool for 5 minutes, then move to a wire rack to continue cooling. Enjoy!
Garnish
- Sprinkle with powdered sugar, if desired.
- Freezing: These freeze well. If you stack them, be sure to add parchment paper between the layers to avoid sticking.
Notes
-
- Keep the dough soft. Once the cookie dough is made, cover and let it rest for at least 15 minutes at room temperature, so that the dough will be easier to handle and less sticky.
-
- Use the back of wooden spoon dipped in powdered sugar (or icing sugar, as we like to call it in Canada) to make an imprint. You can use your thumb but I found this much more effective for getting a uniform print.
-
- Then spin it around a little to make it wider (pressing outwards from the center).
-
- And be sure you don't press down to the very bottom of the cookie or it will be too thin .


Rose says
Used Cherry preserves and they turned out great!
Terri Gilson says
That sounds yummy!
CST says
LOVE THESE COOKIES!!! And so did everyone who received them for Xmas this year. Not too sweet and easy to make. The raspberry jam in the middle is festive for the holidays and yummy!
CST in AZ
Terri Gilson says
I'm so glad to hear it! They are are fave too. Happy Holidays!