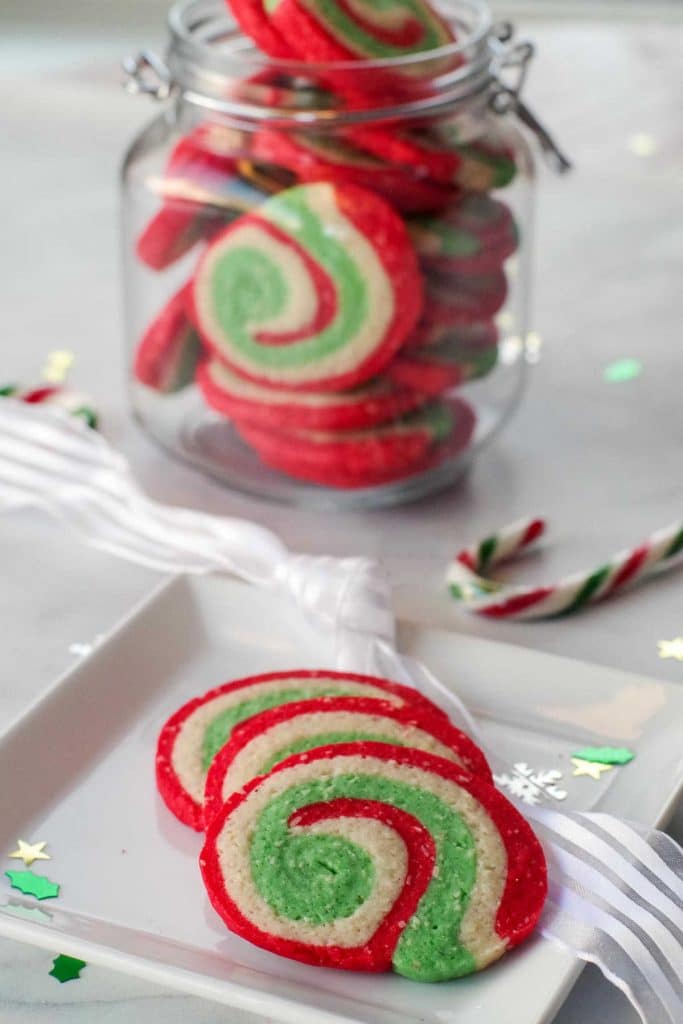
These Christmas Almond Pinwheel Cookies are the ultimate Christmas Cookie! With the festive red, white, and green swirls, they make a great addition to your holiday baking platter, a cookie swap, or an edible Christmas gift!
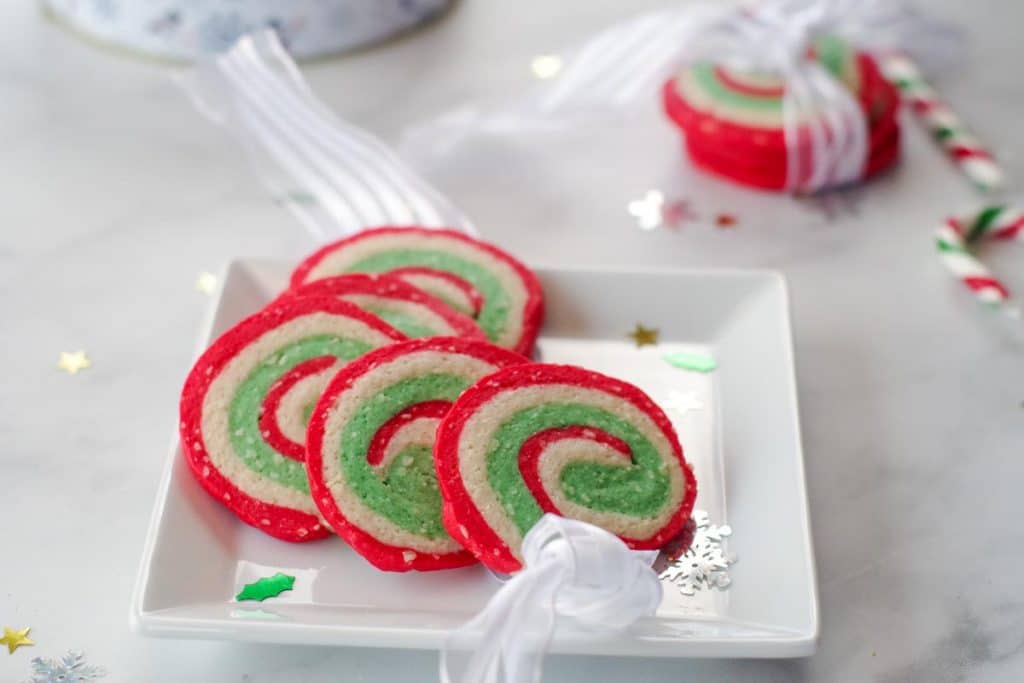
These Christmas Pinwheels are very popular during the holiday season but are great for any time of year. You can change it up with different colors for any holiday (yellow and pink for Easter or orange and black for Halloween). You could also use store-bought sugar cookie dough if you are in a hurry!
Jump to:
Love colorful Christmas treats? Give my Christmas Nougat a try!
🥘 Ingredient Notes
What makes these Christmas Pinwheels Cookies unique is the almond flavor (from both ground almonds and almond extract). For this recipe, you'll need:
- Almond extract. Gives these cookies are delicious and unique flavor!
- Ground almonds. Ground almonds give these cookies a unique look and nice texture. Make sure your almonds are very finely ground. In this case, I'd recommend you buy them.
- Green and red food coloring (icing color) * I use Wilton Kelly Green and Americolor super red. I do NOT recommend grocery store food coloring.
*See recipe card for full list of ingredients and quantities.
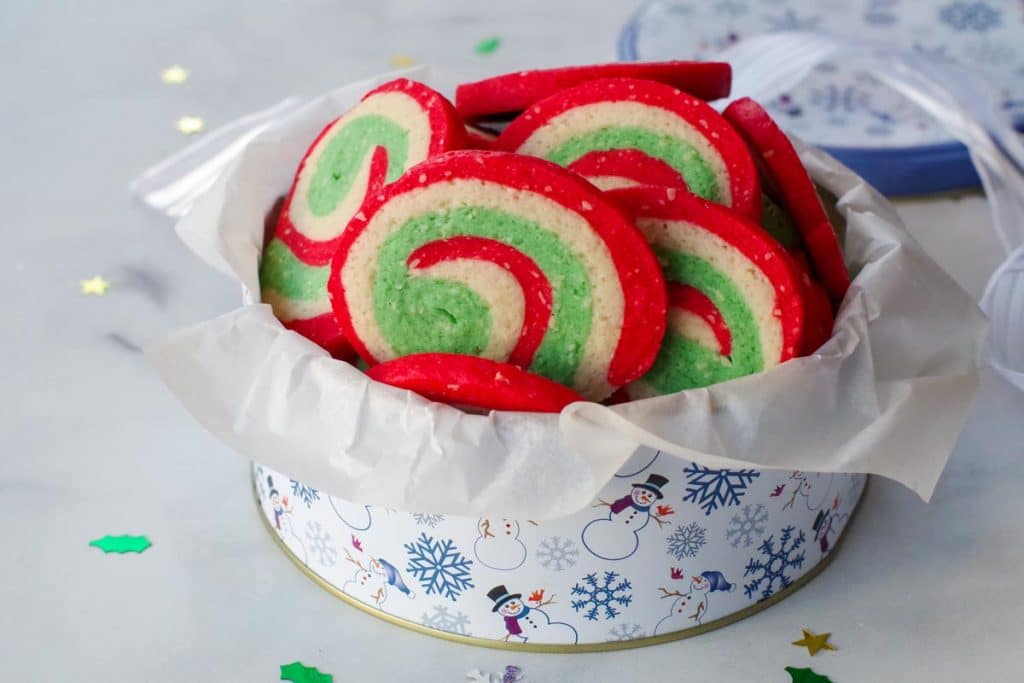
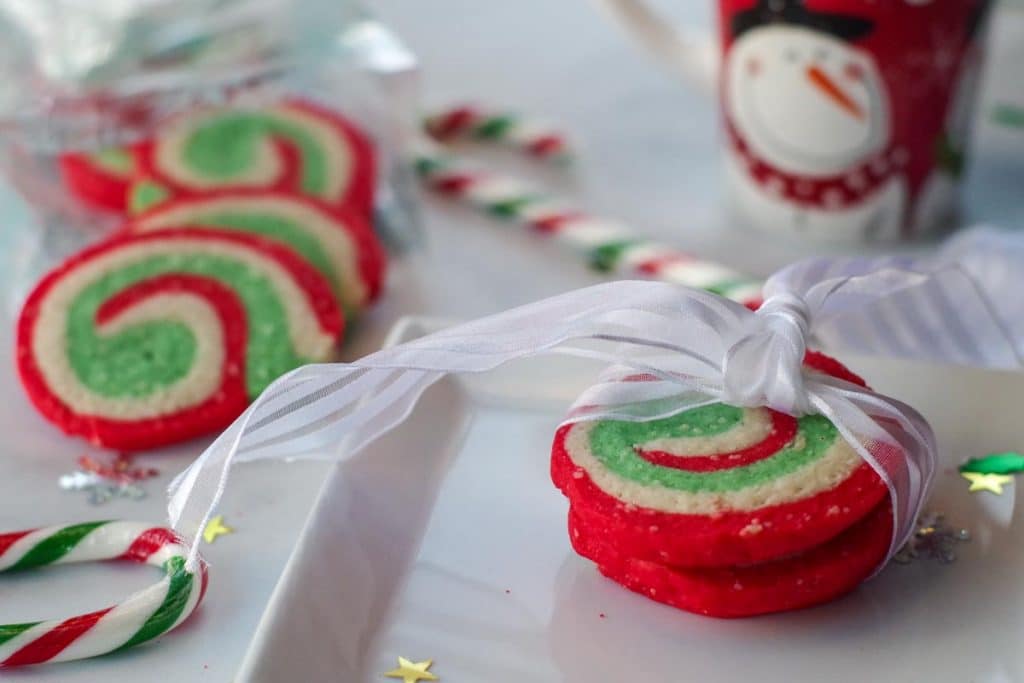
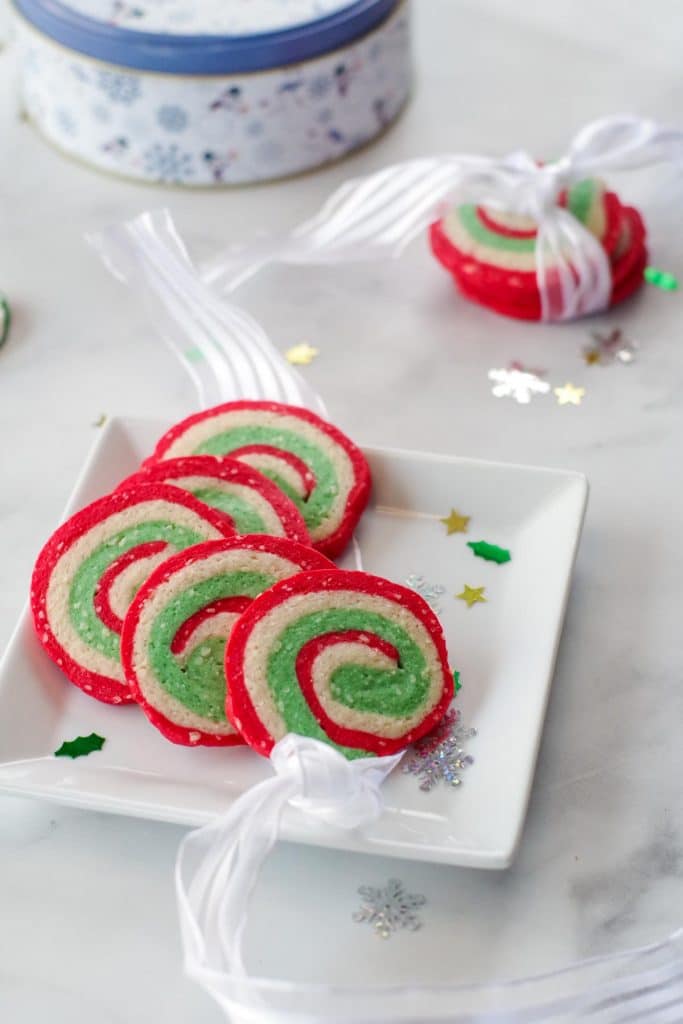
Line a cute cookie tin with parchment paper and you have the ideal edible gift for the holidays!
🔪How to Make Almond Pinwheel Cookies
These fun Almond Christmas cookies are sugar cookie dough dyed red and green, then the doughs simply get stacked and rolled together and sliced, to create the swirl. This recipe is involved, but if you follow the detailed instructions exactly as shown, the cookies will turn out perfectly!
*There is chilling time involved in this recipe - for a total of about 3 hours
- Cream together butter and sugar with an electric mixer in a large mixing bowl or in the bowl of a stand mixer with a paddle attachment on low speed (until pale and creamy). Beat in whole egg. Scrape down sides of the bowl. Beat in milk, extracts, salt, and ground almonds. Gradually add in flour until a soft dough forms. *You may need to add in the final addition of flour by hand.
- Divide dough into 3 equal portions, each in its own bowl. Leave one plain and tint one with green food coloring and the other with red food coloring. Mix in food color thoroughly so there are no streaks. Cover each dough with plastic wrap and chill until firm and no longer sticky (about 45 minutes)
- Cut 3 pieces of parchment paper at least 10 x12 inches (25x30 cm) in size. Using a floured rolling pin, roll each dough into a 7x9 inch (18x23 cm) rectangle, approximately ⅛ inch (3mm) thick on its own piece of parchment paper. Patch edges as required to attain size. Chill dough, still on parchment paper (on baking sheet) until firm)- about 10- 15 minutes.
- In a small bowl, beat egg white with a fork. To layer, place red dough (still on parchment paper), on work surface and brush with egg white.
- Lining up the edges, invert plain dough onto red one and peel off parchment from plain dough. Brush with egg white.
- Invert green dough on top again, peeling away parchment.
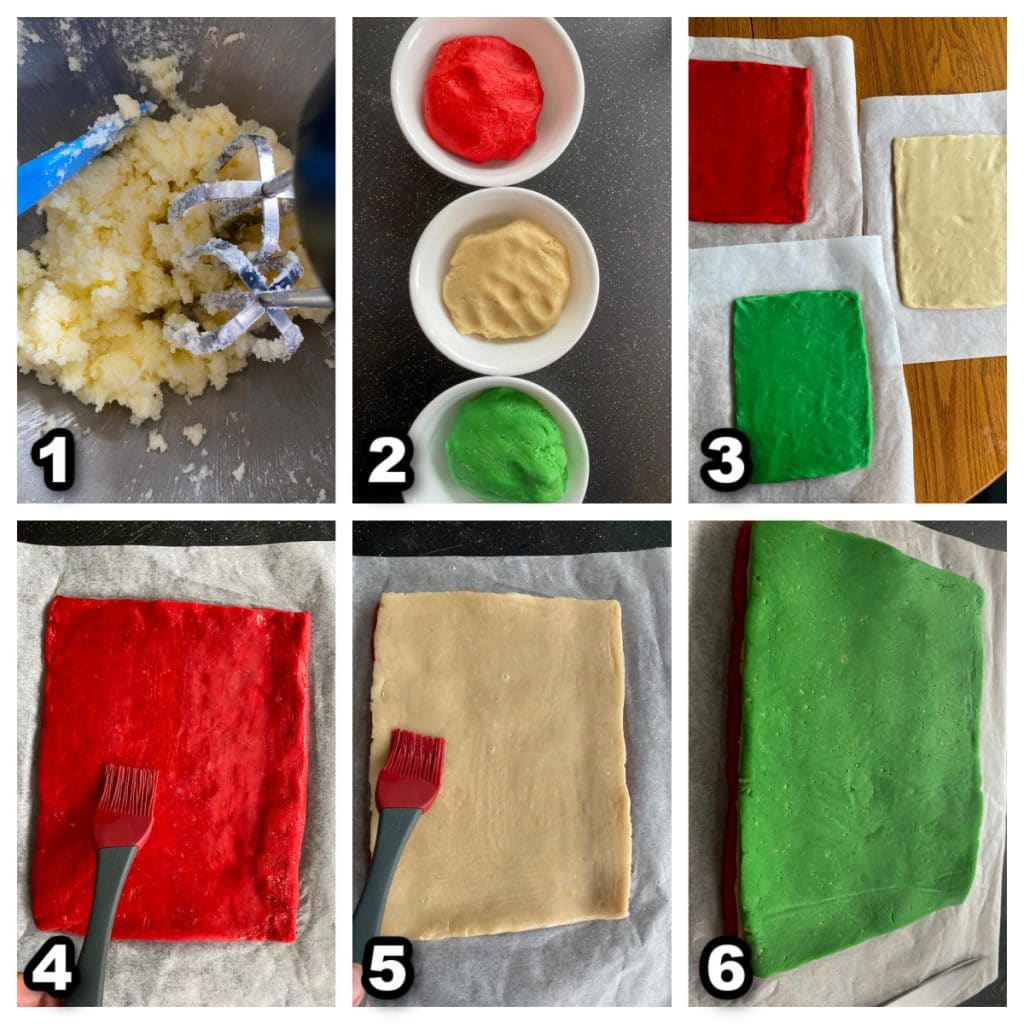
Hint: Use your mixer to blend in your food coloring- it's easier than kneading with your hands and you don't stain your hands!
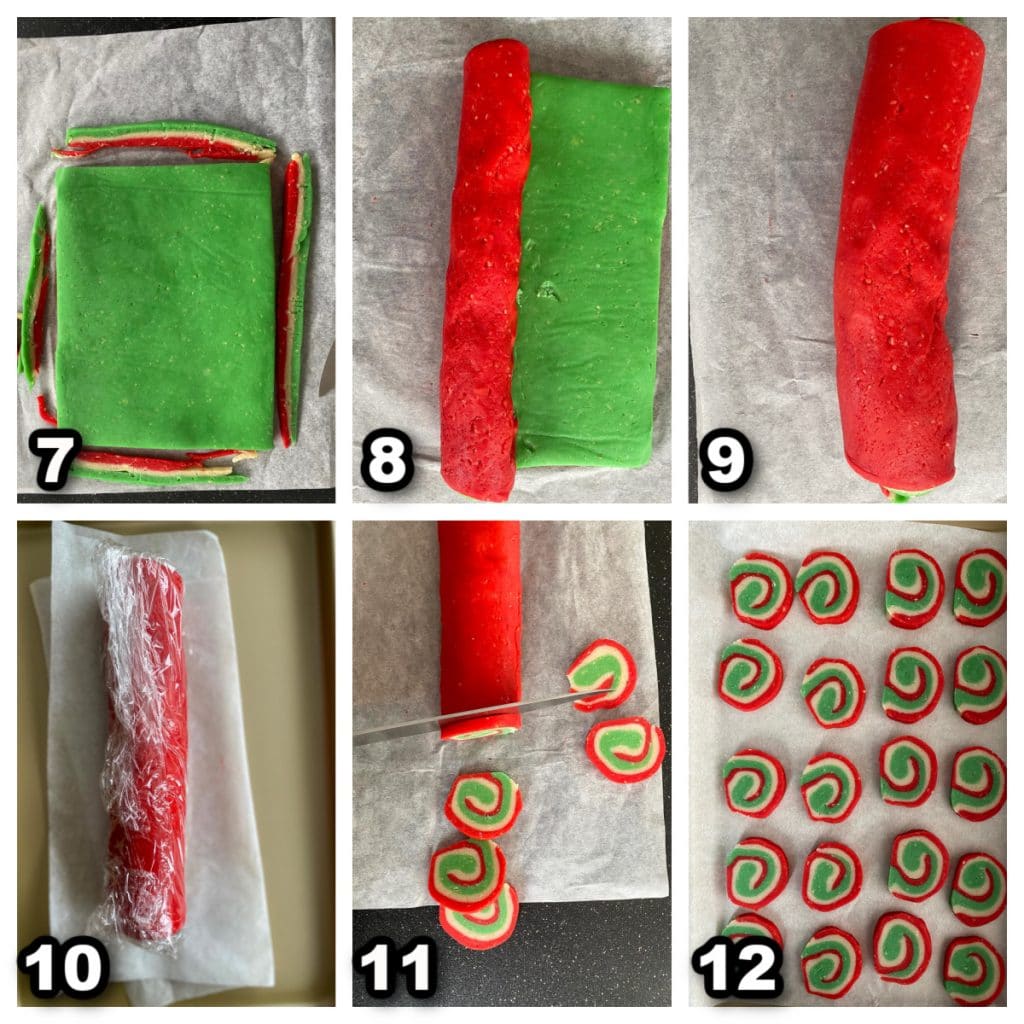
- 7. Use a sharp knife to trim edges, wiping blade clean between cuts to keep colors distinct.
- 8. Place long sides of dough nearest to you and tightly roll up into a tight log, smoothing and straightening it as you roll (lifting the parchment to help release the dough)
- 9. Gently press edge of log together to seal. If the log is thicker than 2 inches (5 cm) in diameter, gently use your hands to roll it and lengthen it.
- 10. Wrap log in plastic wrap and chill cookie dough log until firm, approximately 2 hours or overnight.
- 11.Preheat oven to 350 degrees F/ (180 degrees C). Slice log into ¼ inch (5 mm) thick rounds, wiping blade clean between cuts.
- 12. Set about ½ inch ( 1.25 cm) apart on 2 parchment-lined baking sheets. Bake cookies for 12-14 minutes until firm to the touch, but not browned. Allow to cool for 2 minutes before moving to a wire rack to cool for an additional 5 minutes
📖Substitutions & Variations
- Store-bought cookie dough- you can use store-bought sugar cookie dough to make these if you're in a hurry. *Just be sure to add in the ground almonds and almond extract!
- Butter - if you don't have unsalted butter, you can use salted and skip the salt in the recipe
- Food Coloring- you could change these up and make them an Easter cookie with pink and yellow food coloring or a Halloween-themed cookie with orange and black
- Almonds - you can make ground almonds in your food processor with slivered almonds (I did this because the grocery store was out of ground almonds). If you use whole almonds use blanched (with the brown skin removed), or they will look darker and that won't work with this recipe.
Recipe Tips
- Do not skip chilling time! There are about 3 hours of chilling time in total, but it's worth it. Don't be tempted to cut back or your dough will be hard to work with, your cookies will likely spread and the colors will separate in the oven.
- Use your mixer to blend in your food coloring. It's easier than kneading with your hands and you don't stain your hands!
- Ensure you roll the log up firmly. If the log is rolled too loosely, the colors will separate from each other in the oven.
- Use a sharp knife. Use a sharp knife to cut cookies and trim edges. Wiping the blade clean between cuts will keep the colors separate.
- Use gel food coloring. You can use less and get a deeper color. *I used Wilton Kelly green (affiliate link) and Americolor super red (affiliate links).
🌡️Storing
You can store these Christmas Swirl Cookies in an airtight container on the counter for 4 days. However, they freeze very well, so I usually pop them into the freezer right away. You can freeze these cookies for up to 3 months.
👪 Serving Size
This recipe makes 30 Christmas Pinwheel Sugar Cookies. However, you can half, double or triple the recipe by simply clicking on the serving number and selecting the number of servings you'd like. The ingredient quantities will automatically adjust.
❔Recipe FAQ's
Cookie dough is divided, colored, then rolled flat into rectangles and sandwiched together and edges trimmed. Then it's rolled up into a log, sliced, and baked.
Don't skimp on chilling time because warm ingredients spread. And roll the log up tightly or the colors will separate in the oven!
These Pinwheel Christmas Cookies are the best Christmas Cookie recipe! They are not only fun and festive with holiday colors, they are really fun and festive cookies to make. So, if you're looking for a holiday baking project, an edible gift, or a cookie for cookie exchanges, these are sure to be the star of your holiday cookie swap!
🍪More Christmas Cookie Recipes!
Did your family❤️this recipe? Did you know that commenting and⭐rating recipes is one of the best ways to support your favorite recipe creators? If you LOVED this recipe, please comment and rate it in the recipe card or share photos on social media using the hashtag #foodmeanderings or tagging @foodmeanderings !


📋 Christmas Almond Pinwheel Cookie Recipe
Ingredients
- ¾ cup unsalted butter softened
- 1 cup white granulated sugar
- 1 egg
- ⅓ cup milk
- 1 teaspoon almond extract
- 1 tsp vanilla extract
- 1 egg white
- ¼ teaspoon salt
- 2 ½ cups all-purpose flour
- 1 pkg ground almonds 100 g
- ½ teaspoon red food coloring
- ½ teaspoon green food coloring
Instructions
- Heads up: there are 2 chilling times involved in this recipe - for a total of about 3 hours
- In a large bowl, cream together butter and sugar with an electric mixer on medium speed (until pale and creamy). Beat in whole egg. Scrape down sides of bowl.
- Beat in milk, extracts, salt and ground almonds.
- Gradually add in flour until a soft dough forms. *You many need to add in the final addition of flour by hand.
- Divide dough into 3 equal portions, each in its own bowl. Leave one ball of dough plain white and tint one with green food coloring and the other with red food coloring. Mix in food color thoroughly so there are no streaks. Cover each dough with plastic wrap and and chill until firm and no longer sticky (about 45 minutes)
- Cut 3 pieces of parchment paper at least 10 x12 inches (25x30 cm) in size. Using a floured rolling pin, roll each dough into a 7x9 inch (18x23 cm) rectangle, approximately ⅛ inch (3mm) thick on its own piece of parchment paper. Patch edges as required to attain size. Chill dough, still on parchment paper (on baking sheet) until firm).
- In a small bowl, beat egg white with a fork. To layer, place red layer of dough (still on parchment paper), on work surface and brush with egg white. Lining up the edges, invert white dough onto red one and peel off parchment from plain dough. Brush with egg white and invert green dough on top again, peeling away parchment.
- Use a sharp knife to trim edges, wiping blade clean between cuts to keep colors distinct.
- Place long side of dough nearest to you and tightly roll up into a log, smoothing and straightening it as you roll (lifting the parchment to help release the dough) Gently press edge of log together to seal. If the log is thicker than 2 inches (5 cm) in diameter, gently use your hands to roll it and lengthen it.
- Wrap log in plastic wrap and chill until firm, approximately 2 hours or overnight.
- Preheat oven to 350 degrees F/ (180 degrees C). Slice log into ¼ inch (5 mm) thick rounds, wiping blade clean between cuts. Set about ½ inch ( 1.25 cm) apart on 2 parchment lined baking sheets.
- Bake for 12-14 minutes until firm to the touch, but not browned. Allow to cool for 2 minutes before moving to a cooling rack to cool for an additional 5 minutes.
Notes
- Do not skip chilling time! There is about 3 hours of chilling time in total, but it's worth it. Don't be tempted to cut back or your dough will be hard to work with, your cookies will likely spread and the colors will spread into each other.
- Use your mixer to blend in your food coloring. It's easier than kneading with your hands and you don't stain your hands!
- Ensure you roll the log up firmly. If the log is rolled too loosely, the colors will separate from each other in the oven.
- Use a sharp knife. Use a sharp knife to cut cookies and trim edges. Wiping the blade clean between cuts will keep the colors separate.
- Use gel food coloring. You can use less and get a deeper color. *I used Wilton Kelly green (affiliate link) and Americolor super red (affiliate links).






Colleen
These cookies are so simple but so festive. I love that you can change the colours according to the holiday!
Julia
So beautiful! These cookies would great on any Christmas cookie platter. Saving for later.
nancy
awesome holiday cookie recipe! it looks so pretty for display too
Lily
So bright, beautiful, and festive! The cookies look delicious!
Bernice
These cookies would make a great addition to any Christmas cookie platter. I'm a huge fan of 'slice n bake' style cookies. They're so easy and fun to make!