


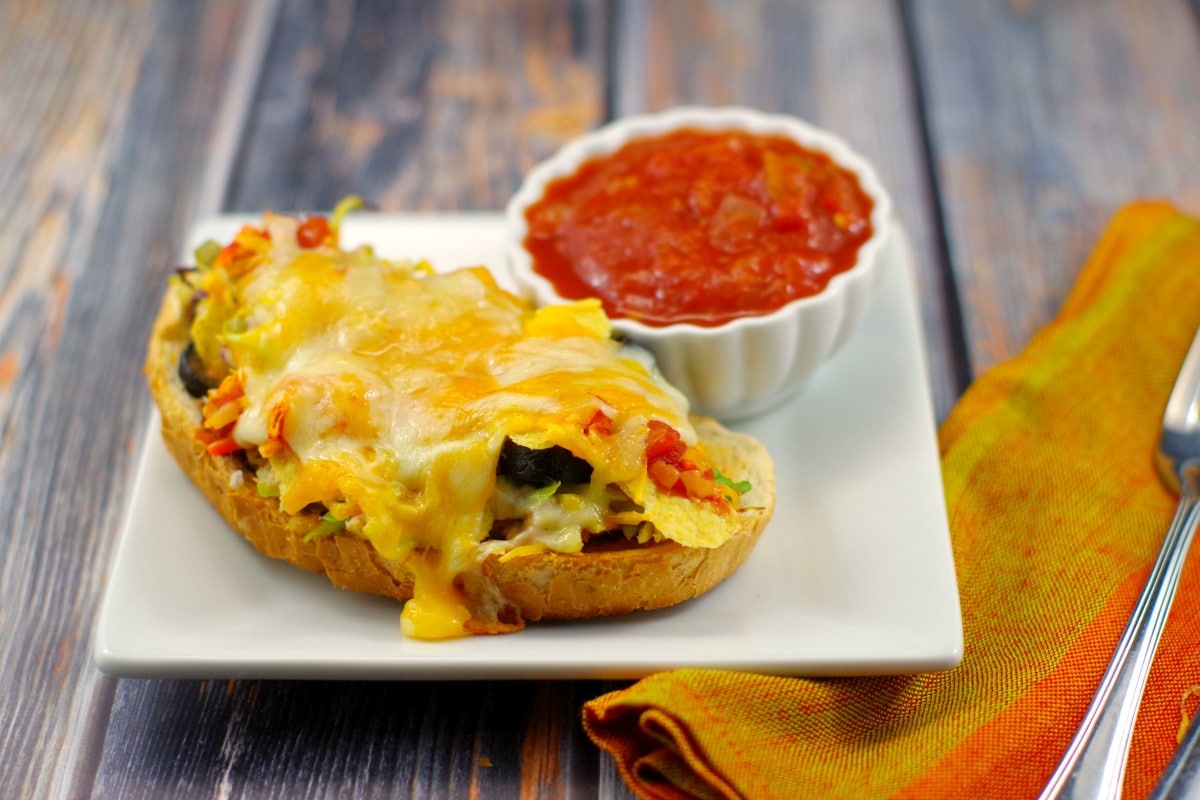
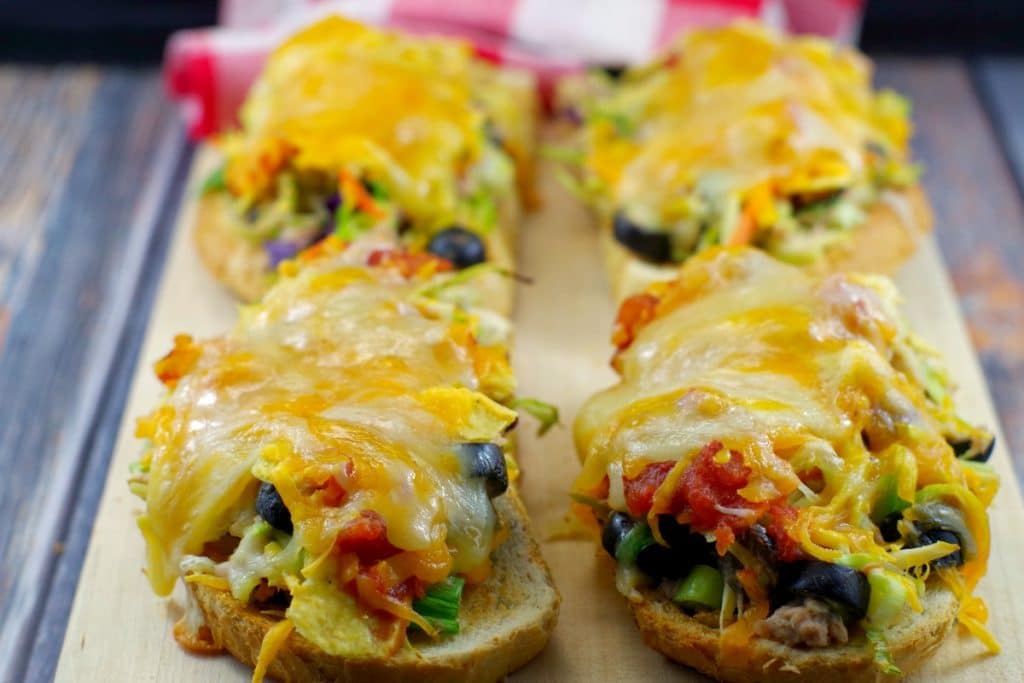
You don't have to be a big fan of canned tuna to love this healthy Mexican Tuna Melt! This new take on an old favorite classic sandwich pairs Mexican flavors with healthy broccoli slaw, two types of gooey melted cheese, and good ol' canned tuna for an easy and quick weeknight dinner. If you are looking for a Mexican tuna recipe or healthy canned tuna recipes, this tuna melt is a unique, quick, and delicious dinner!
This Mexican melt is an easy meal and makes an excellent busy weeknight dinner, and is popular any time of the year. Canned tuna is an excellent meal option for both price and convenience. Yet buying tuna can be completely overwhelming because of the health considerations surrounding mercury content and Omega-3 fats.
Jump to:
- 🥘 Ingredient Notes
- 📖Variations & Substitutions
- 🔪Step-by-Step: How to Make Mexican Tuna Melts
- Expert Recipe Tips
- What Tuna Should You Buy?
- 🥗 What to Serve with Mexican Tuna Melts
- 🌡️Storage
- 👪 Serving Size
- 🔢WW Points
- ❔ Recipe FAQs
- Didn't find the answer you're looking for?
- 🥘More Canned Tuna Recipes
- 📋 Healthy Mexican Tuna Melt Recipe (with canned tuna)
If you love tuna melts, check out my Open Face Tuna Melts (no mayo)!
🥘 Ingredient Notes

- Mayonnaise. I use Helman's ½ the fat because I think it tastes the best.
- Jalapenos. I use Mezzetta brand tamed jalapenos in a jar. You get that little kick that's not too spicy!
- Black Olives. I buy canned pitted and pre-sliced olives to save time!
- Agave syrup. I use agave syrup because this little bit of sweetness helps balance the sour in this recipe.
- Tuna. Using flaked tuna in water is easier, but if you use chunked tuna, just be sure to break it up with a fork.
📖Variations & Substitutions
- Agave - you can use a little maple syrup instead, if you don't have agave.
- Cheese- if you don't have Monterey Jack cheese, just use cheddar. I also use low-fat cheddar to lighten it up. You could also use spicy cheese to add a zip to it.
- Bread-you can use buns or any type of bread
- Coleslaw - you can use regular instead of broccoli slaw
- Onions - you can use red onions instead of green onions
- Spicy - if you want it even spicier, use pepper jack cheese instead of plain Monterey jack cheese
- Microwave it! - When it's really hot, I skip the oven and make these using the toaster and microwave. Depending on your microwave wattage, you'll need to microwave them for 2-4 minutes, approximately. If you are using low-fat cheddar, as I do, it takes longer than regular cheddar cheese. Alternatively, you could make these in a toaster oven or in the air fryer.
🔪Step-by-Step: How to Make Mexican Tuna Melts
PREP: Preheat oven to 350 degrees F (176 degrees C). Line a 9X13 baking sheet with parchment paper or spray with non-stick cooking spray
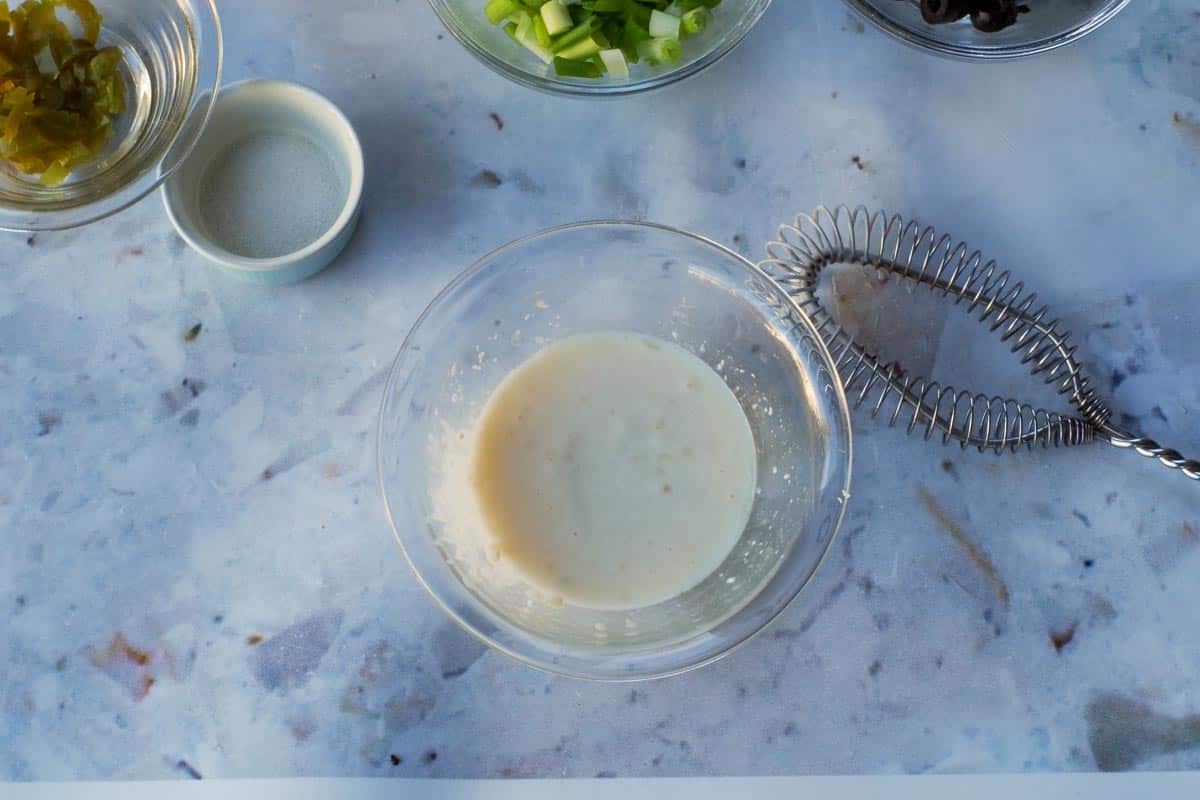
- Step 1: In a small mixing bowl, mix garlic, lime juice, mayonnaise, and agave together with a whisk.

- Step 2: In a separate large bowl, combine tuna, broccoli slaw, green onion, jalapenos, cilantro, black olives, and salt together in a large, separate bowl.
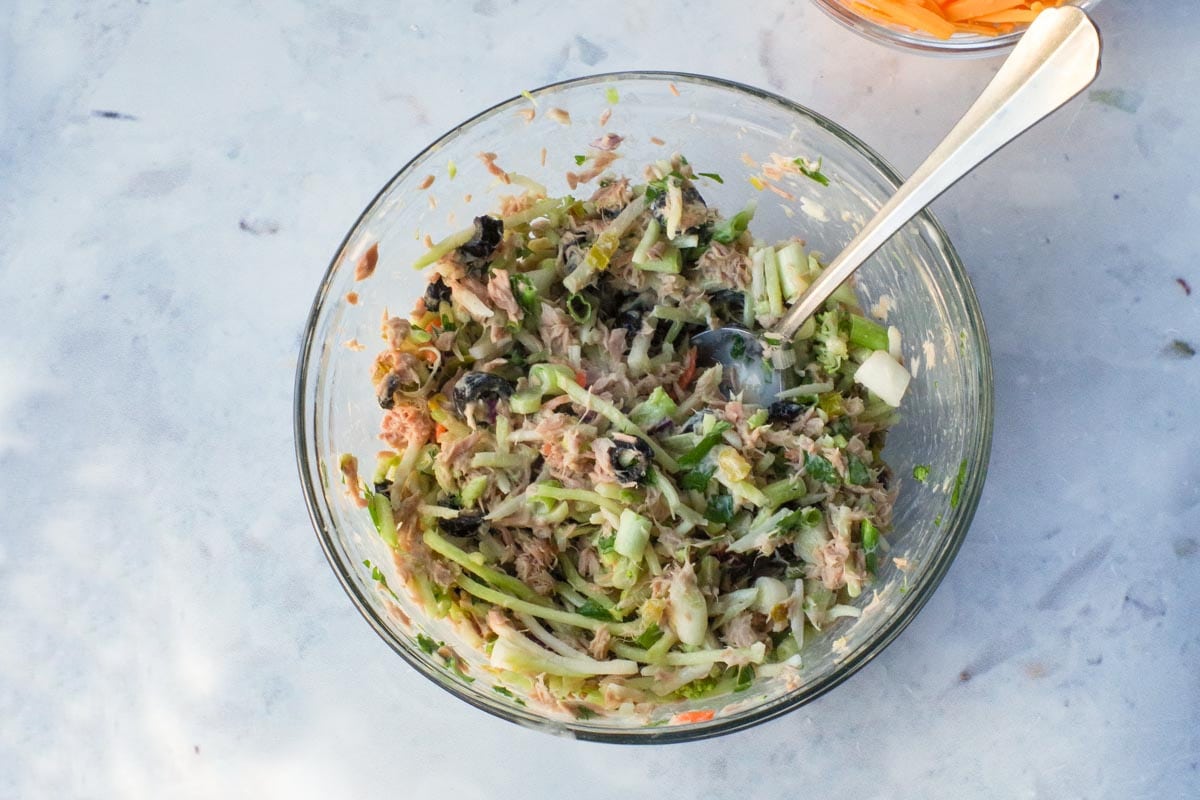
- Step 3: Pour mayonnaise mixture over broccoli coleslaw/tuna mixture and mix well.

- Step 4: Toast bread (to prevent sogginess). Then top the toast with about ⅓ - ½ cup broccoli/tuna mixture (however much you can fit on). *If you are using smaller pieces of bread, you can get more servings out of this recipe.
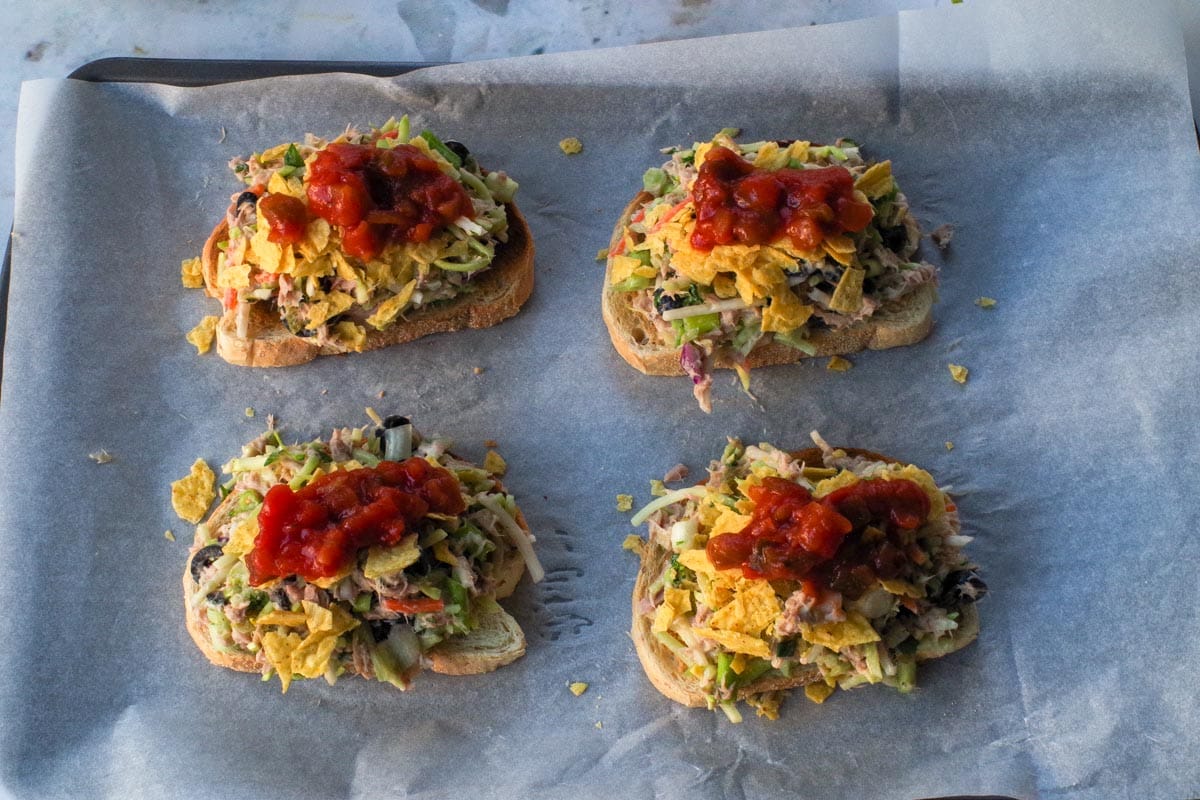
- Step 5: Soften taco shells in the microwave for 20 seconds, then crush. Spread crushed shells over tuna melts, dividing shells between all 4 melts. Spread 1 tablespoon of salsa on each melt over crushed taco shells.
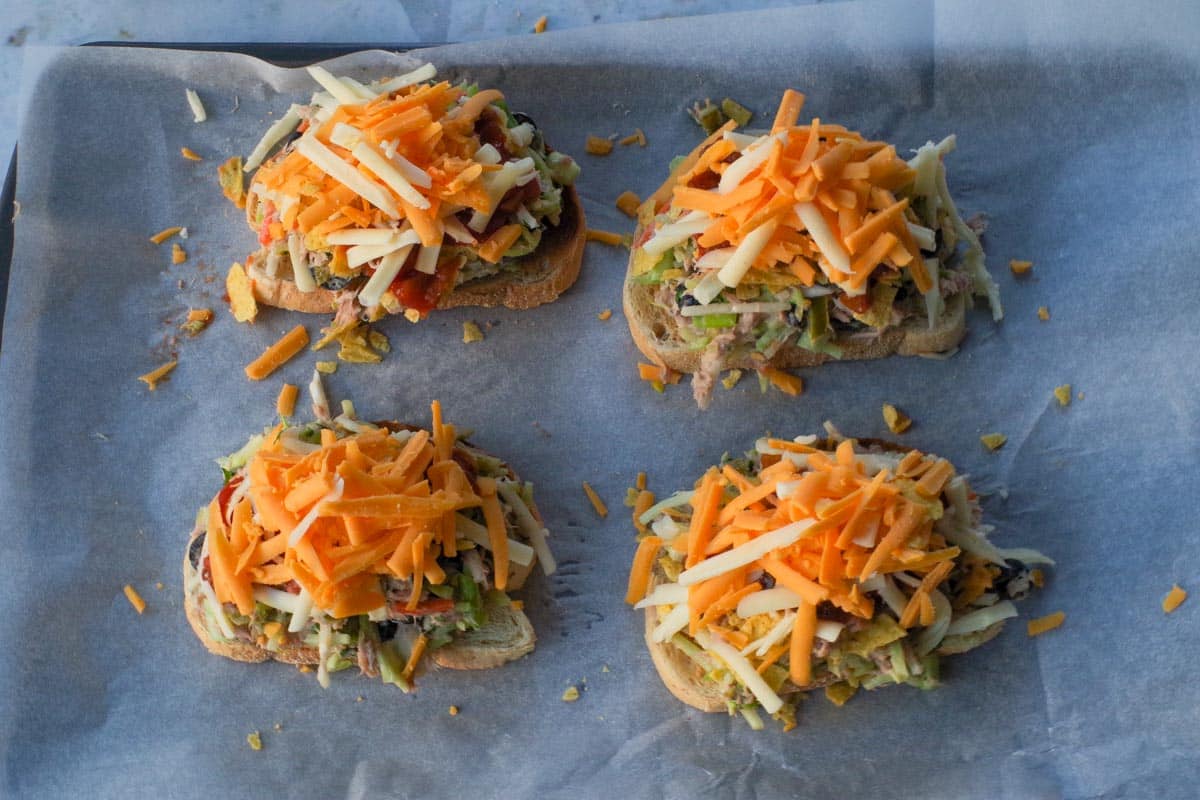
- Step 6: Top with both cheeses, dividing between all 4 melts.
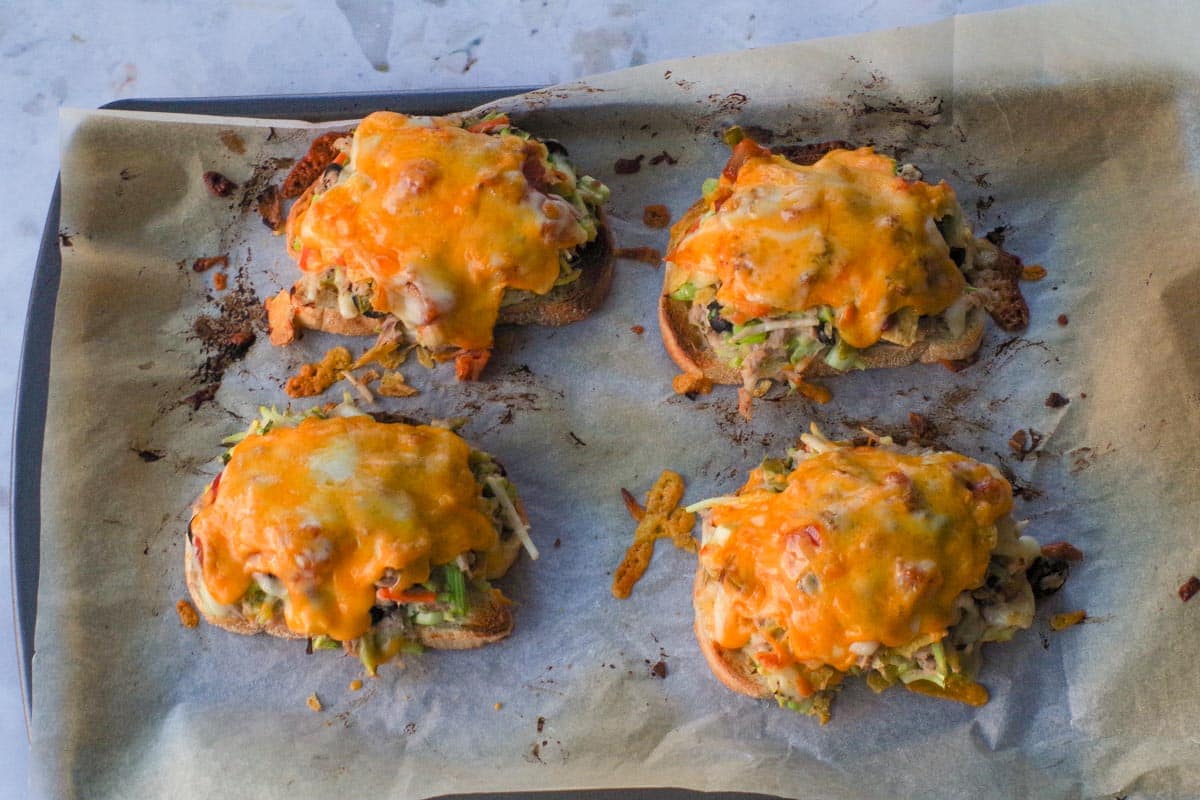
- Step 7: Melt in oven for 8 minutes, then turn up to broil for about 2 minutes or until cheese is bubbly and starting to brown. * If it's really hot, melt the cheese in the microwave for 2-4 minutes. Top with additional salsa and sour cream as garnish, if desired.
Expert Recipe Tips
- Use the right tuna texture for best mixing. Flaked light tuna mixes more easily into the broccoli slaw and gives you a more even melt. If using chunk tuna, be sure to really break it up with a fork so you don't get dry pockets of tuna.
- Toast the bread well (don't rush this step!). A firm toast is the best insurance against soggy melts, especially with a moist slaw topping and salsa. Toast it a little darker than you normally would.
- Dry your add-ins slightly for a better melt. If your broccoli slaw or olives look wet, pat them dry. Excess moisture is the main cause of sliding toppings and soggy bottoms.
- Layer strategically so nothing falls off. Press the tuna/slaw mixture gently into the toast before adding the crushed taco shells. This helps the mixture adhere and gives the cheese something to grip onto so it stays put when melted.
- Microwave shortcut: melt cheese in stages. If using the microwave instead of the oven, melt the cheese in 30-40 second bursts. Low-fat cheese especially melts slower and can get rubbery if overheated all at once.
- Don't skip the crushed taco shells. The shells add essential texture and keep the topping from feeling too soft. Softening them in the microwave first gives you easy, even crumbs and prevents sharp pieces.
- Balance the flavors (sweet, salty, tangy). Taste the mixture before assembling-if it leans too tart, add a tiny splash more agave; too sweet, add an extra squeeze of lime.
- Use freshly grated cheese for the best melt. Pre-shredded cheese contains anti-caking agents that melt less smoothly. Grating your own (even the low-fat varieties) gives you a smoother, stretchier topping.
- Add heat thoughtfully. Tamed jalapenos give mild heat, but if you want more kick, try pepper jack cheese or add a small pinch of chili flakes to the tuna mixture-this avoids making the melts watery, which can happen with pickled jalapeño brine.
- For extra browning, move the tray up. When broiling, place the baking sheet in the upper third of the oven. It helps the cheese blister faster without overheating the tuna mixture.
- Use the air fryer for ultra-crisp melts. Air fry at 350°F for 5-6 minutes to melt the cheese and toast everything evenly. It's quicker and gives a crispier finish than the oven.
- Make ahead without sogginess. Prep the tuna/slaw mixture and store separately. Assemble and melt just before serving. This keeps the bread crisp and the cheeses melty.
- Keep sodium in check. Between canned tuna, olives, and cheese, this can get salty fast. If you're sensitive to sodium, choose low-sodium canned tuna and reduce the added salt slightly.
What Tuna Should You Buy?
There are two main types of canned tuna: chunk light (skipjack) and solid/chunk white (albacore).
Mercury:
Albacore comes from larger, older fish and has about 3x more mercury than skipjack. Skipjack (light tuna) is a smaller fish and therefore lower in mercury.
Nutrition & Omega-3s:
Both are lean protein sources, but albacore has slightly more calories, fat, and protein. It's also much higher in Omega-3s (about 808 mg vs. 239 mg in skipjack).
Taste & Texture:
Albacore is firmer and milder; skipjack is softer with a stronger flavor.
How Much Is Safe to Eat?
- Albacore: Adults can enjoy up to 3 servings/month; children should eat less.
- Light tuna: Adults can usually eat it once a week. Be cautious of "gourmet" or yellowfin varieties, which may have higher mercury.
Bottom Line:
Choose skipjack/light tuna if you eat tuna often and want the lowest mercury option. Choose albacore if you want a richer dose of Omega-3s and don't eat tuna frequently.
(Sustainability varies by brand-research if that's important to you).
Health Canada's Guidelines
- Health Canada continues to note that canned light tuna (which includes skipjack) is relatively low in mercury, so many Canadians don't need to worry much. Canada.ca+1
- For canned albacore, their advice for specific groups is: up to 300 g/week for women who are pregnant or breastfeeding; 150 g/week for children aged 5-11; and 75 g/week for children aged 1-4.
Mercury levels can vary by brand and batch, so if you eat tuna frequently, consider alternating with other low-mercury fish - and limit albacore more strictly if you're in a risk group.
🥗 What to Serve with Mexican Tuna Melts
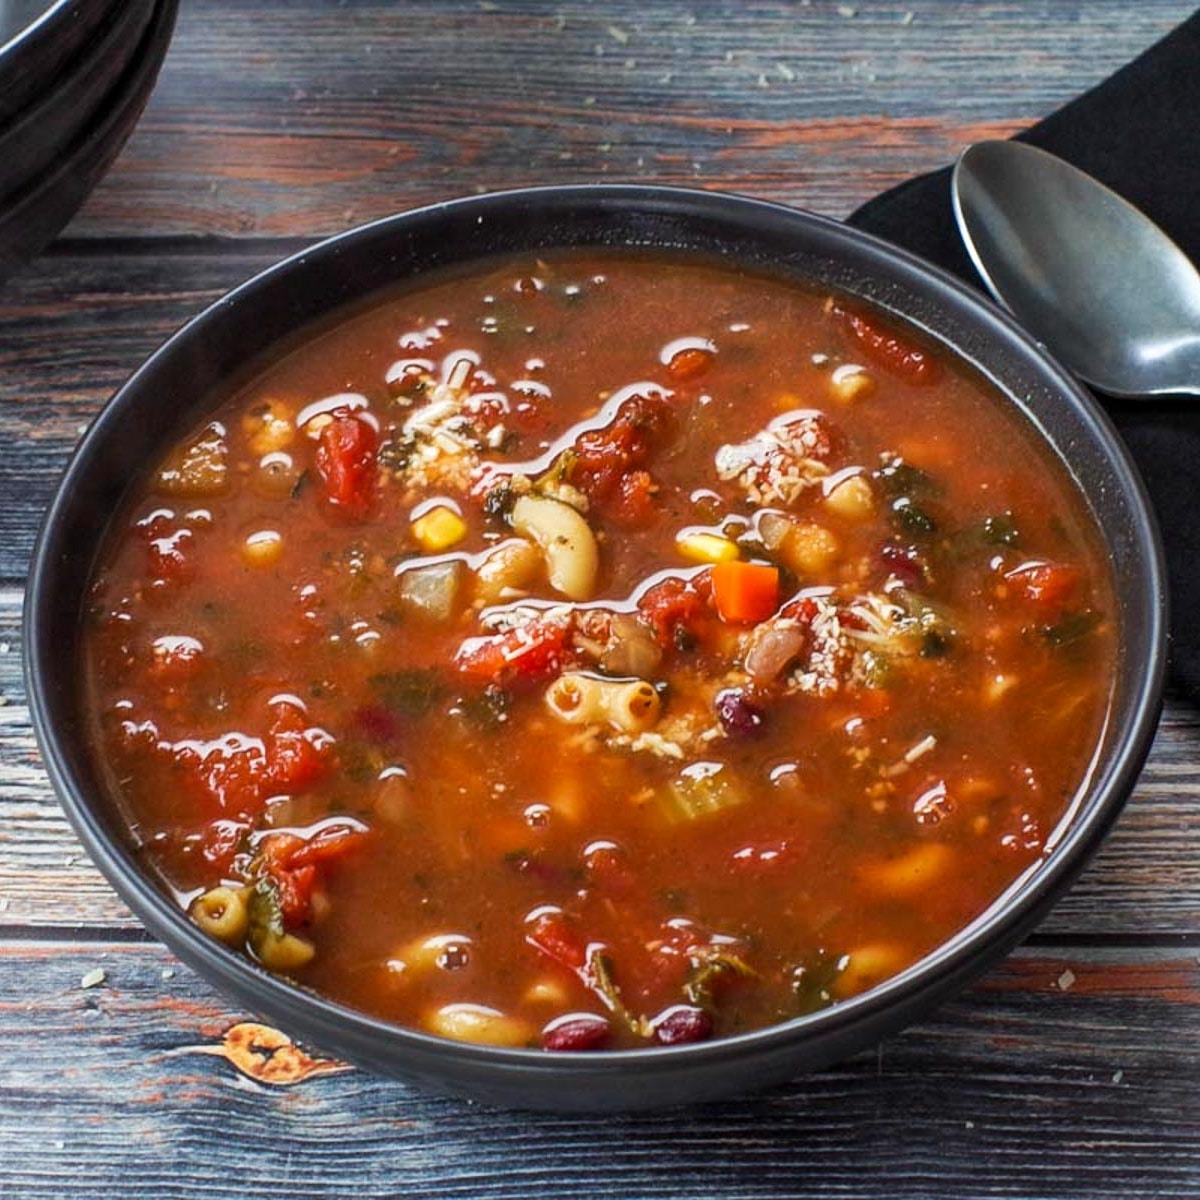
I love to serve these Mexican-style Tuna Melts with my homemade Pico de Gallo Salsa Recipe. They also pair really well with soup, such as my Ukrainian Borscht Soup (with beef) (which will use up that remaining ½ bag of broccoli slaw), or my Easy Healthy Minestrone Soup (shown below).
If you're looking for a simple vegetable side that goes beyond sliced carrots, give my Quick Cucumber Kimchi a try!
🌡️Storage
Store tuna melts in the fridge in an airtight container for up to 2 days. After two days, canned tuna begins to taste ('fishy' so it's best to eat it prior to that 48-hour period. You can freeze these for up to 3 months in a sealed container.
👪 Serving Size
This Mexican tuna sandwich makes 4 servings. However, you can half, double, or triple the recipe by clicking on the serving number and selecting the number of servings you'd like. The ingredient quantities will automatically adjust.
🔢WW Points
This Weight Watchers tuna melt recipe is 6 ww points. You can further reduce the points by using lower-point bread and fat-free cheese.
❔ Recipe FAQs
This usually happens when the bread isn't toasted before adding the tuna mixture. Toasting first creates a barrier that helps the bread stay crisp, even after baking with the toppings. Also be sure to drain the tuna well-excess liquid will make the melt soggy.
Chunk light (skipjack) tuna is lower in mercury and budget-friendly, while albacore (white tuna) has a firmer texture and more Omega-3s. Both work well-use whichever fits your preference and health considerations. (You include more detailed info on this in the post.)
Use about ⅓-½ cup of the tuna mixture and lightly press it into the bread before adding the crushed taco shells and cheese. The melted cheese helps hold everything in place.
Didn't find the answer you're looking for?
Ask AI to answer based on this specific recipe
So if you are looking for a Mexican tuna recipe or a tuna melt with a delicious twist, you'll love this recipe!
🥘More Canned Tuna Recipes
Did your family❤️this recipe? Did you know that commenting and⭐rating recipes is one of the best ways to support your favorite recipe creators? If you LOVED this recipe, please comment and rate it in the recipe card or share photos on social media using the hashtag #foodmeanderings or tagging @foodmeanderings !


📋 Healthy Mexican Tuna Melt Recipe (with canned tuna)
Equipment
Ingredients
- ½ 340g/12oz bag broccoli coleslaw see NOTES for using remaining ½ bag
- ½ cup sharp/old cheddar cheese light or regular
- ½ cup Monterey Jack cheese
- 1 170g can tuna (drained)
- ¼ cup mayonnaise
- ½ teaspoon crushed or pureed garlic
- ½ teaspoon agave syrup
- ½ teaspoon salt
- 2 tablespoon fresh lime juice can substitute concentrated lime juice (but you only need ½ the amount)
- 1 tablespoon fresh cilantro finely chopped
- 1 tablespoon jalapenos I use tamed jalapenos, chopped
- 3 taco shells crushed
- ⅓ cup canned, sliced black olives
- ¼ cup chopped green onion
- 4 tablespoon salsa
- 4 slices of bread * I use rye bread
Garnish: additional salsa and sour cream
Instructions
- Preheat oven to 350 degrees F (176 degrees C). Spray 9X13 baking sheet with non-stick cooking spray
- In a small mixing bowl, mix garlic, lime juice,mayo and agave together with a whisk.
- In a separate large bowl, combine tuna, broccoli slaw, green onion, jalapenos, cilantro, black olives and salt together in a large, separate bowl.
- Pour mayonnaise mixture over broccoli coleslaw/tuna mixture and mix well.
- Toast bread (to prevent sogginess)
- Top toast with about ⅓ - ½ cup broccoli/tuna mixture (however much you can fit on)
- Soften taco shells in microwave for 20 seconds then crush. Spread crushed shells over tuna melts, dividing shells between all 4 melts
- Spread 1 tablespoon of salsa on each melt over crushed taco shells.
- Top with both cheeses, dividing between all 4 melts,
- Melt in oven for 8 minutes, then turn up to broil for about 2 minutes or until cheese is bubbly and starting to brown. * If it's really hot, melt the cheese in the microwave for 3-4 minutes.
- Top with additional salsa and sour cream as garnish, if desired.
Notes
- Use the right tuna texture for best mixing. Flaked light tuna mixes more easily into the broccoli slaw and gives you a more even melt. If using chunk tuna, be sure to really break it up with a fork so you don't get dry pockets of tuna.
- Toast the bread well (don't rush this step!). A firm toast is the best insurance against soggy melts, especially with a moist slaw topping and salsa. Toast it darker than you normally would.
- Dry your add-ins slightly for a better melt. If your broccoli slaw or olives look wet, pat them dry. Excess moisture is the main cause of sliding toppings and soggy bottoms.
- Layer strategically so nothing falls off. Press the tuna/slaw mixture gently into the toast before adding the crushed taco shells. This helps the mixture adhere and gives the cheese something to grip onto so it stays put when melted.
- Microwave shortcut: melt cheese in stages. If using the microwave instead of the oven, melt the cheese in 30-40 second bursts. Low-fat cheese especially melts slower and can get rubbery if overheated all at once.
- Don't skip the crushed taco shells. The shells add essential texture and keep the topping from feeling too soft. Softening them in the microwave first gives you easy, even crumbs and prevents sharp pieces.
- Balance the flavors (sweet, salty, tangy). Taste the mixture before assembling-if it leans too tart, add a tiny splash more agave; too sweet, add an extra squeeze of lime.
- Use freshly grated cheese for the best melt. Pre-shredded cheese contains anti-caking agents that melt less smoothly. Grating your own (even the low-fat varieties) gives you a smoother, stretchier topping.
- Add heat thoughtfully. Tamed jalapenos give mild heat, but if you want more kick, try pepper jack cheese or add a small pinch of chili flakes to the tuna mixture-this avoids making the melts watery, which can happen with pickled jalapeño brine.
- For extra browning, move the tray up. When broiling, place the baking sheet in the upper third of the oven. It helps the cheese blister faster without overheating the tuna mixture.
- Use the air fryer for ultra-crisp melts. Air fry at 350°F for 5-6 minutes to melt the cheese and toast everything evenly. It's quicker and gives a crispier finish than the oven.
- Make ahead without sogginess. Prep the tuna/slaw mixture and store separately. Assemble and melt just before serving. This keeps the bread crisp and the cheeses melty.
- Keep sodium in check. Between canned tuna, olives, and cheese, this can get salty fast. If you're sensitive to sodium, choose low-sodium canned tuna and reduce the added salt slightly.


Terri Gilson says
The gooey cheese and Mexican flavors in this tuna melt make it so much more exciting than a regular tuna sandwich. I love throwing in some broccoli slaw for extra crunch and nutrition - it's a quick, tasty dinner that is perfect for busy weeknights or weekend lunches.