


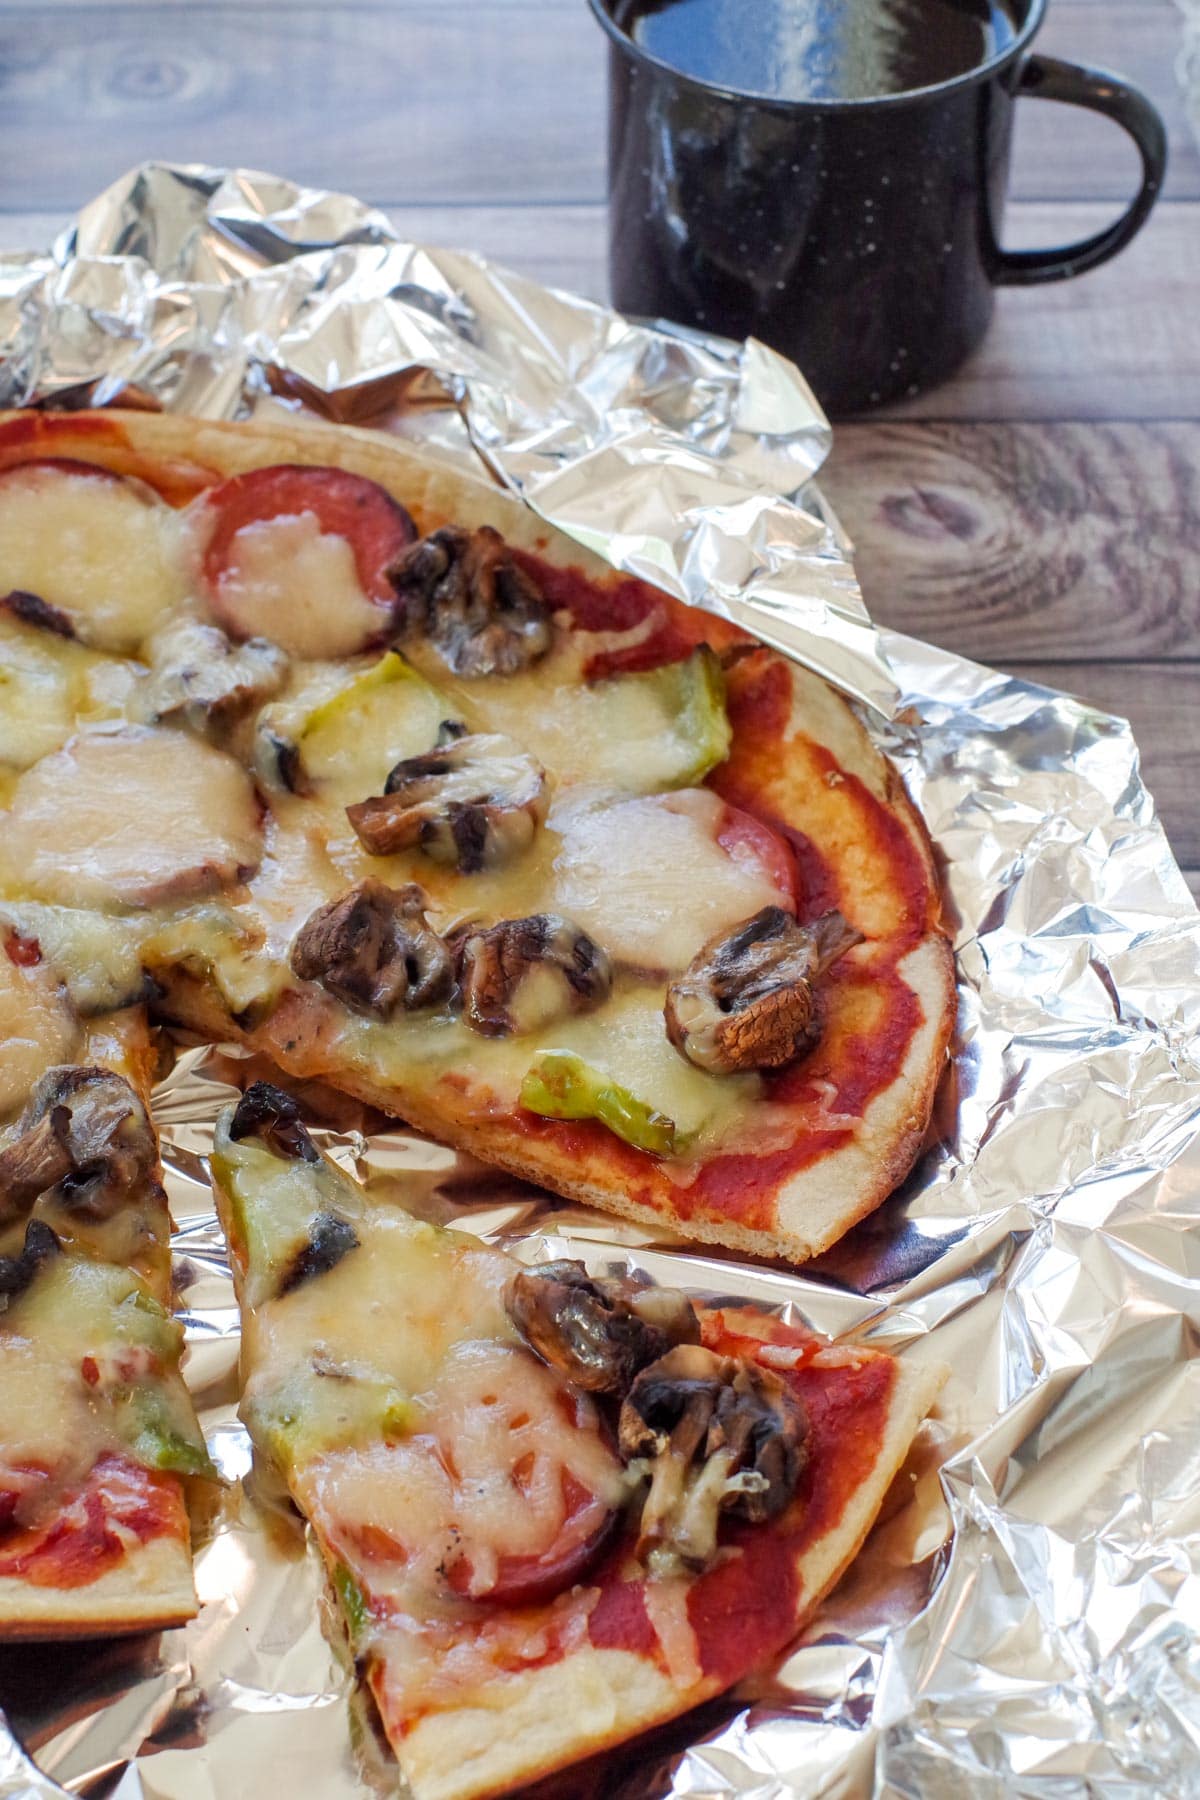
This camping pizza (with grilled pizza toppings) is a great idea whether you're camping, glamping, having a cookout, or simply want to avoid heating up your house by making pizza in your oven.
This is another camping recipe my family used to make when I was a kid. The best part is you can make it on the grill, or in a cast iron frying pan on a camp stove, or on a campfire! Nor do you have to mess with making dough - you use a store-bought pizza crust for this campfire pizza. If you're looking for camping dinner ideas, this one will make happy campers out of everyone!
Jump to:
🥘 Ingredient Notes
This camping pizza recipe is made with grilled pizza toppings and ready-made pizza crust. It's unique because you grill the meat and veggies on skewers before you put them on the pizza, giving it a delicious barbecue flavor. With most campfire pizzas, you cook the toppings on the pizza. Perfect for camping, cookouts or backyard grilling!
Grilled Pizza Toppings
- Pepperoni slices. I recommend cutting the pepperoni slices a little thicker than you would for a regular pizza to prevent burning.
- Bell pepper. I use green pepper and also cut it a little thicker.
- Fresh white button mushrooms. These mushrooms hold their shape well during grilling, have a mild flavor and meat texxture.
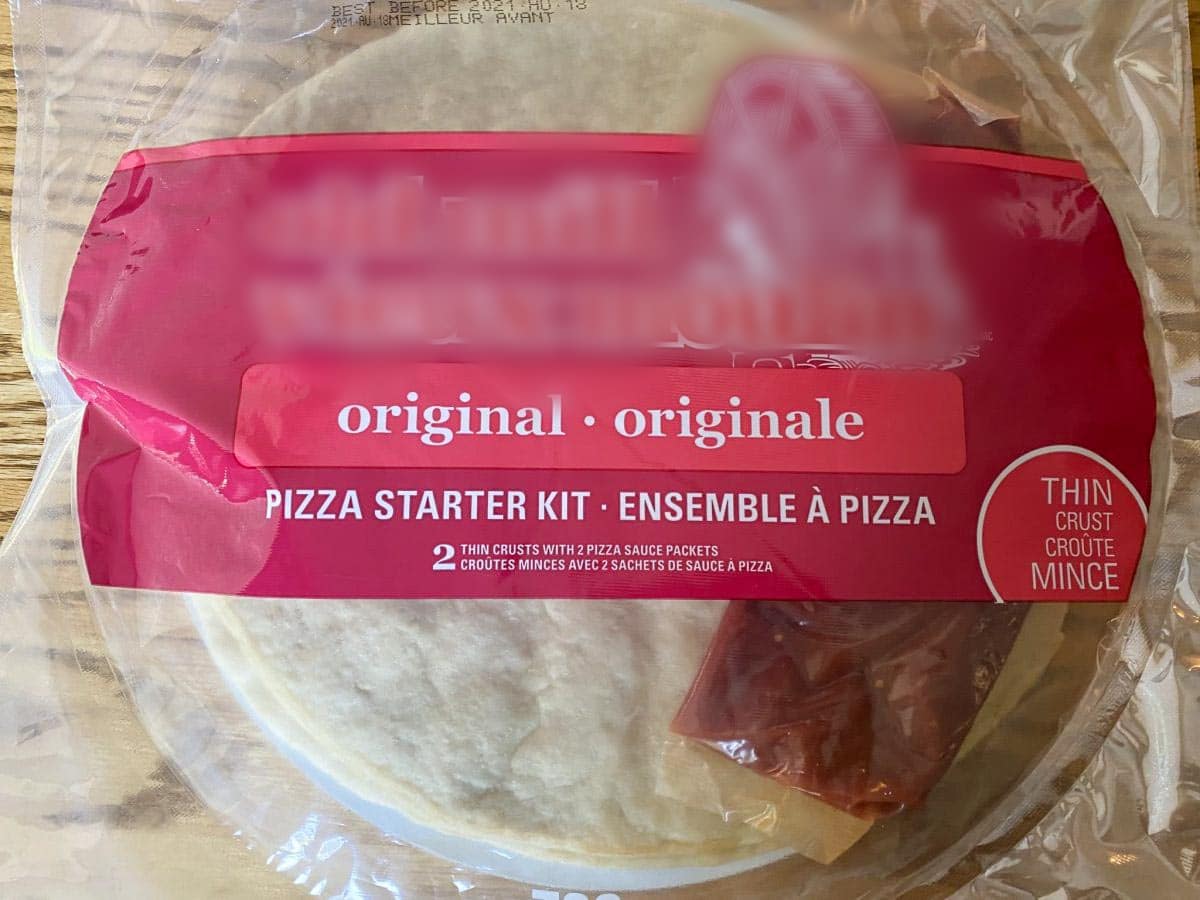
- Ready made/store-bought pizza crusts. Ready- made store-bought crusts work best
- Pizza sauce. You can use any pizza sauce - I prefer to use Catelli in a squeeze bottle for convenience.
*Please see recipe card for full list of ingredients and quantities
📖 Variations & Substitutions
- Toppings: Add your favorite pizza ingredients or other toppings to the skewers, such as red pepper, cherry tomatoes, cubed ham, sausage, or anything that can be cooked on a skewer
- Pizza crust: Use pita bread or smaller, individual pizza shells, and you can use thick or thin crust.* I prefer thin crust, but it can burn quickly, so I recommend a thicker crust, especially if you are cooking it over the campfire and have less control of the heat
- Spice: spice it up with spicy jack cheese, jalapenos, or hot peppers
- Pizza sauce: Use your favorite pizza sauce (or simply use the sauce that comes with the ready-made pizza crust starter kit)
🔪 Step-by-Step: How to Make Grilled Camping Pizza
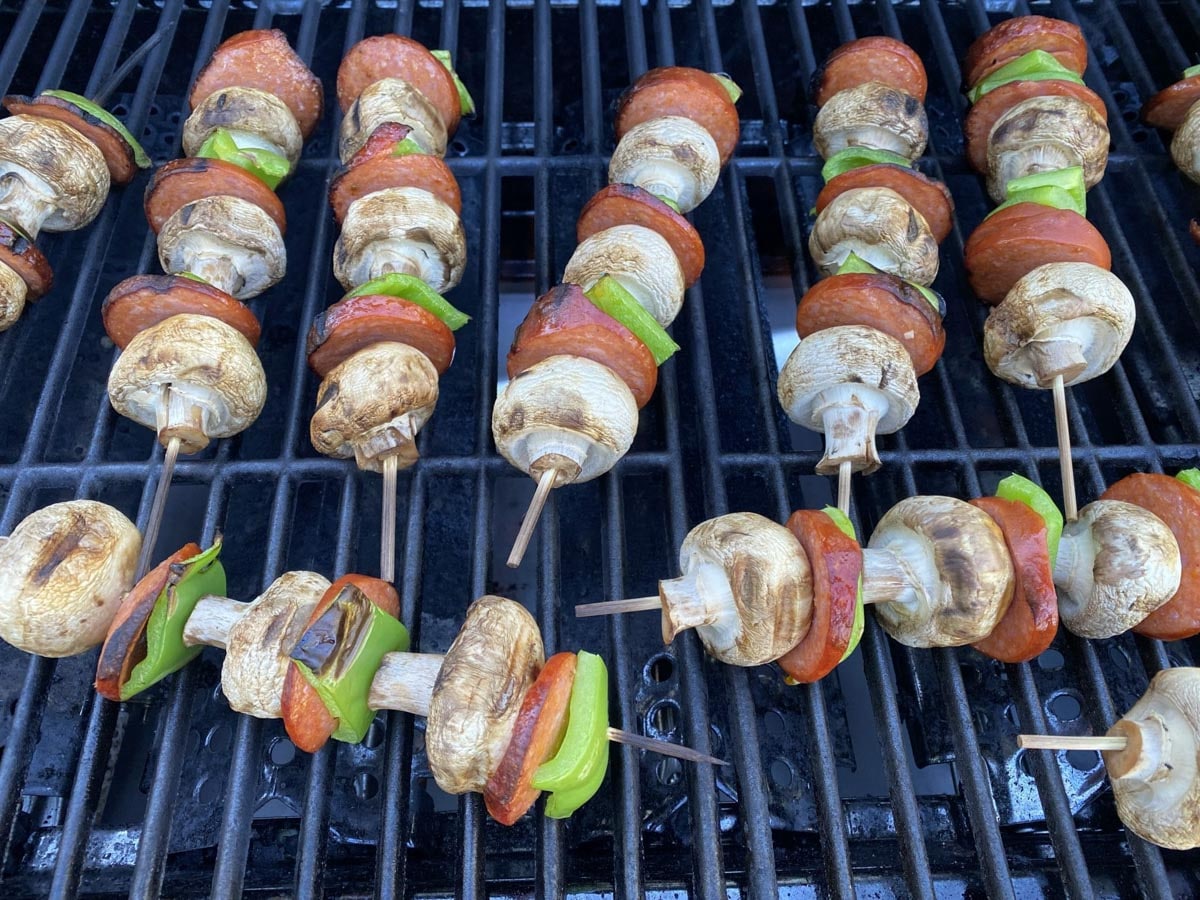
Directions for Grilled pizza toppings: For both the grilled pizza and cast iron pizza method, you'll need to grill the toppings. Preheat the grill to 350 degrees F/175 degrees C and cook the skewers on a grilling rack (see above photo) for 8 - 10 minutes, lid down on the BBQ, turning to brown on each side.
Step 1: Grill the store-bought pizza crust, checking regularly, until lightly browned. This will only take about 2 minutes if you have thin crusts, so watch it closely.
Step 2: Heat the sauce in a saucepan on burner (or if you don't have an additional burner, simply add the sauce to the pizza crusts, while they are grilling).
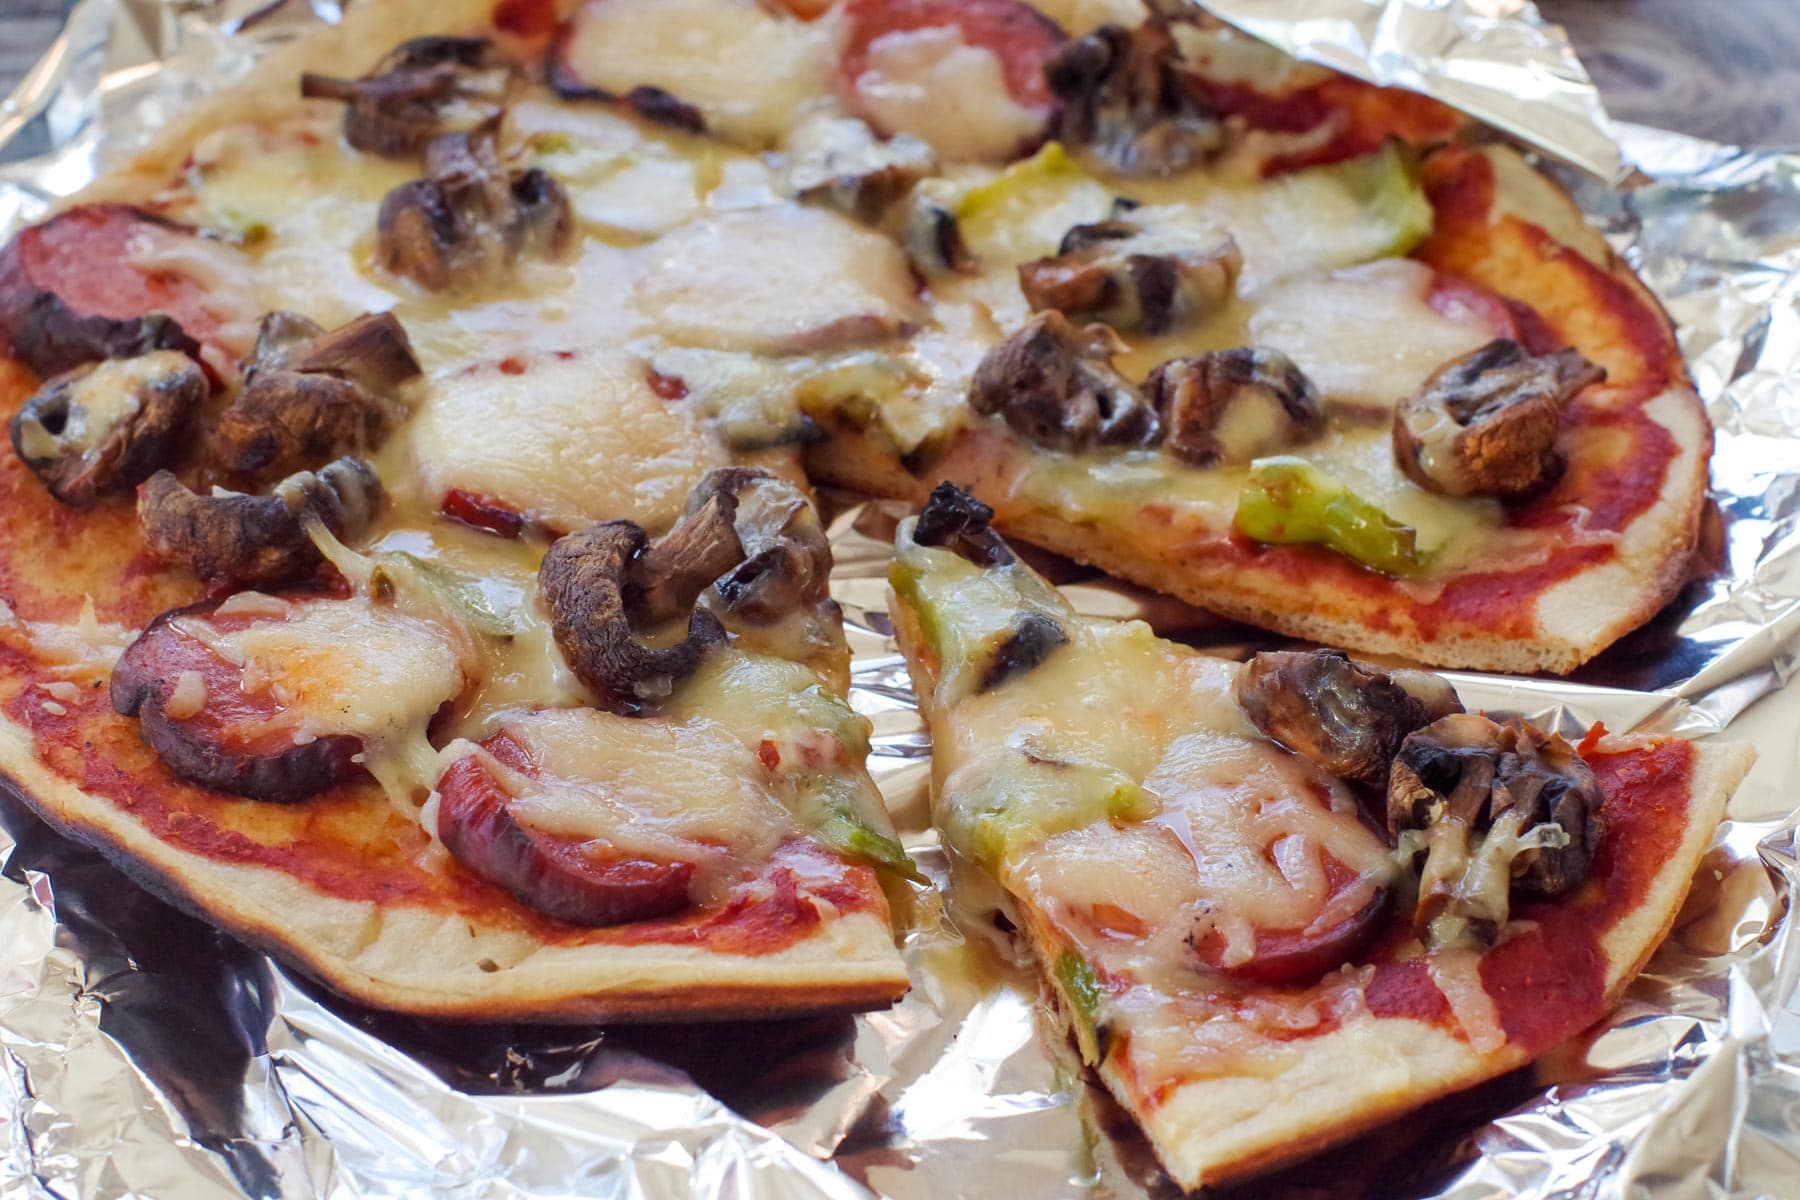
Step 3: Add grilled toppings and cheese, then turn off grill and place the lid down until cheese is melted.
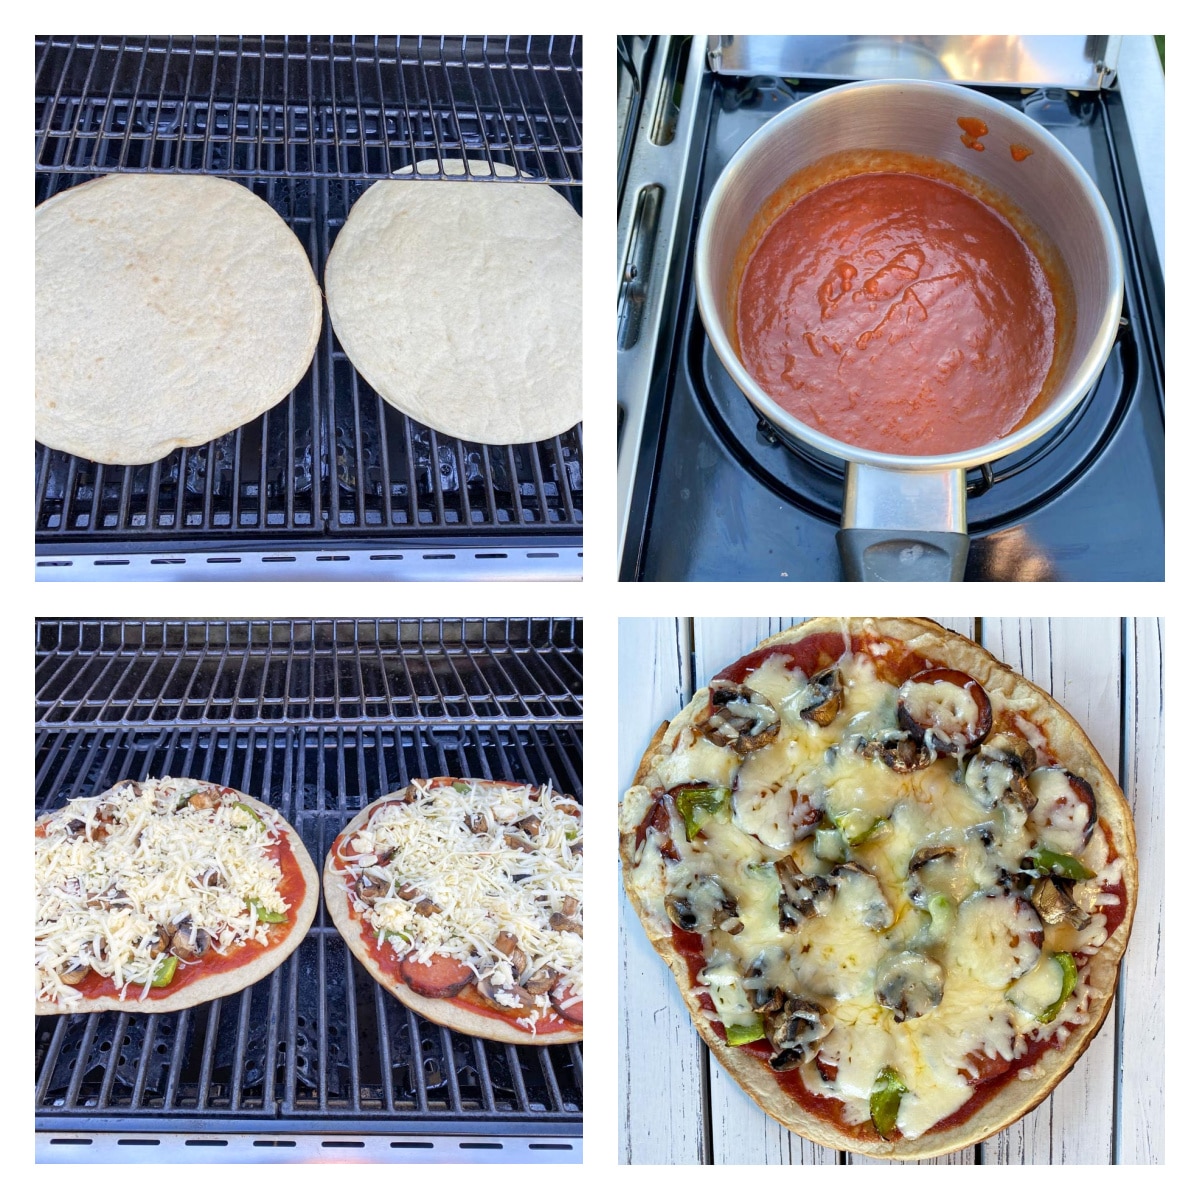
Step 4: Remove from grill and enjoy!
If you are making it over an open fire, you can use a cast iron frying pan (affiliate link) or place it directly onthe grill (see directions below)
How to make a cast iron pizza oven for camping
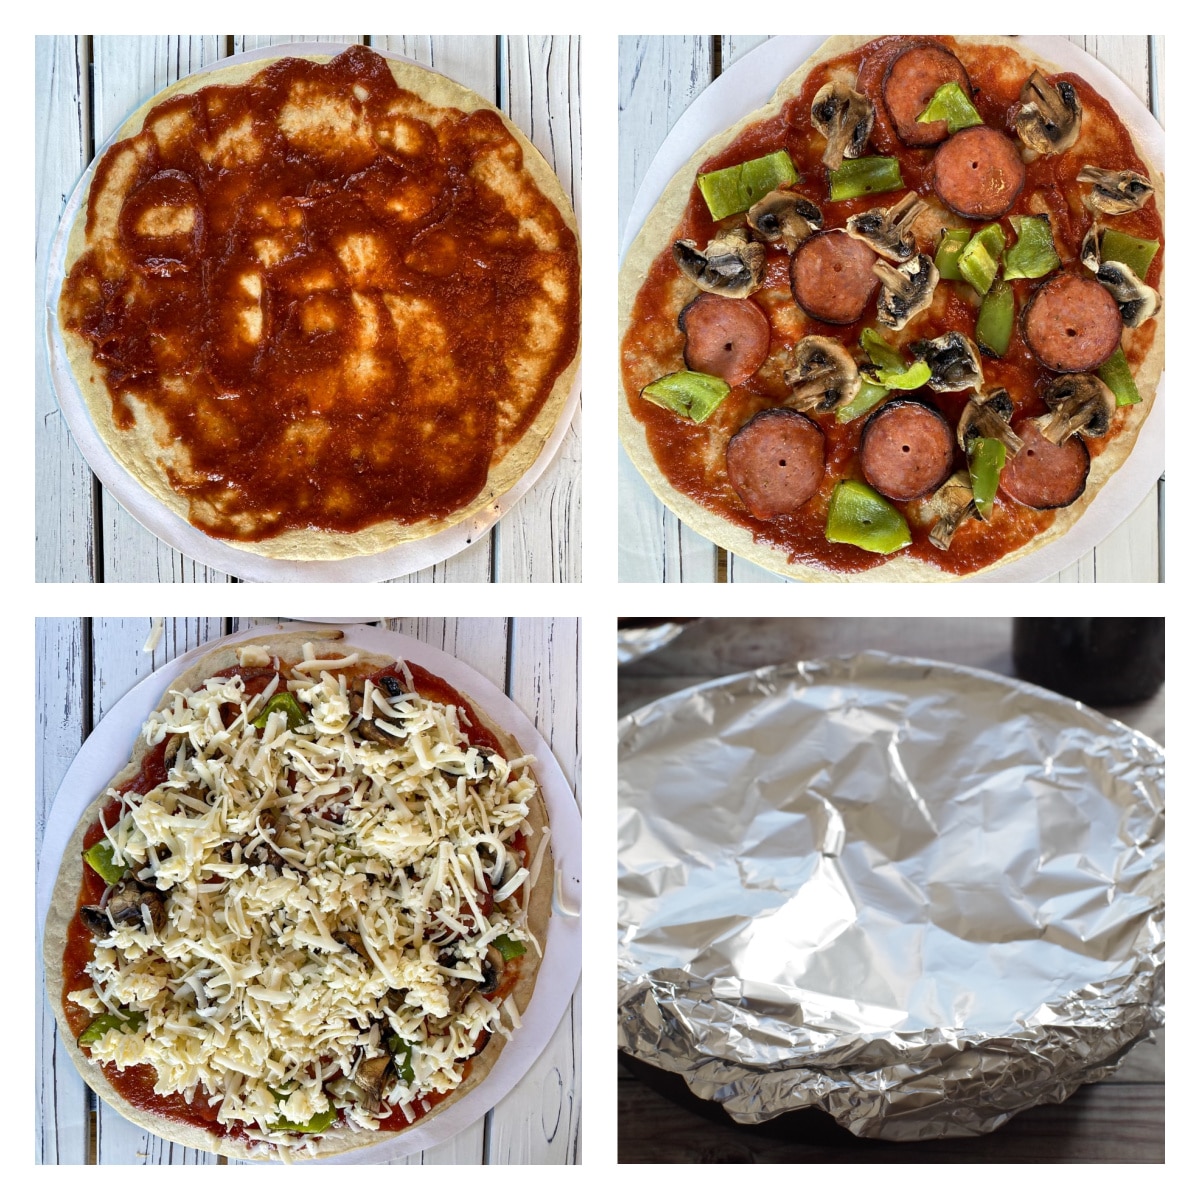
Step 1: Add the pizza sauce to the store-bought pizza sauce (you can do this in the cast iron pan or out of the pan and put it back in the pan after)
Step 2: Add the grilled pizza toppings to the top of the pizza, then the cheese
Step 3: Seal the cast iron pan with aluminum foil and place it over the heat for about 3 - 5 minutes, or until cheese has melted (keeping a close eye on it because you're cooking over open flames in a fire pit). You don't want the bottom of the pizza to burn.
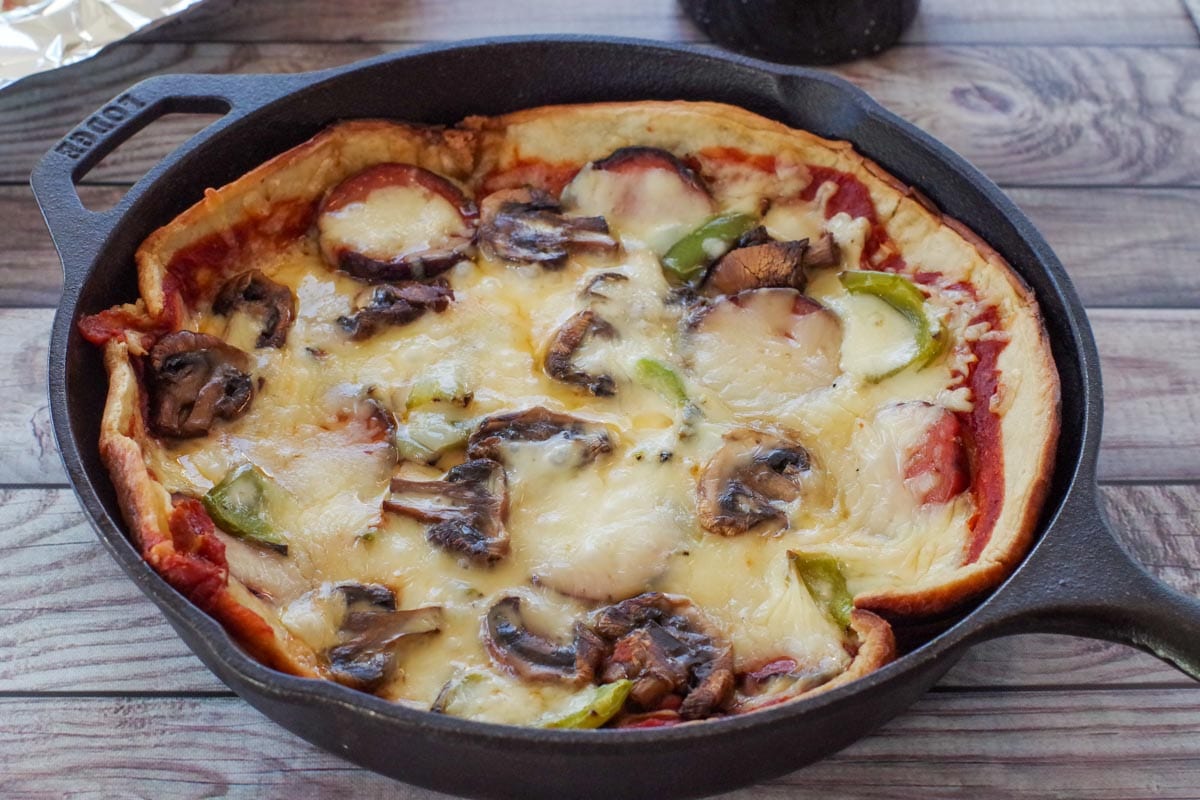
Step 4: Remove cover
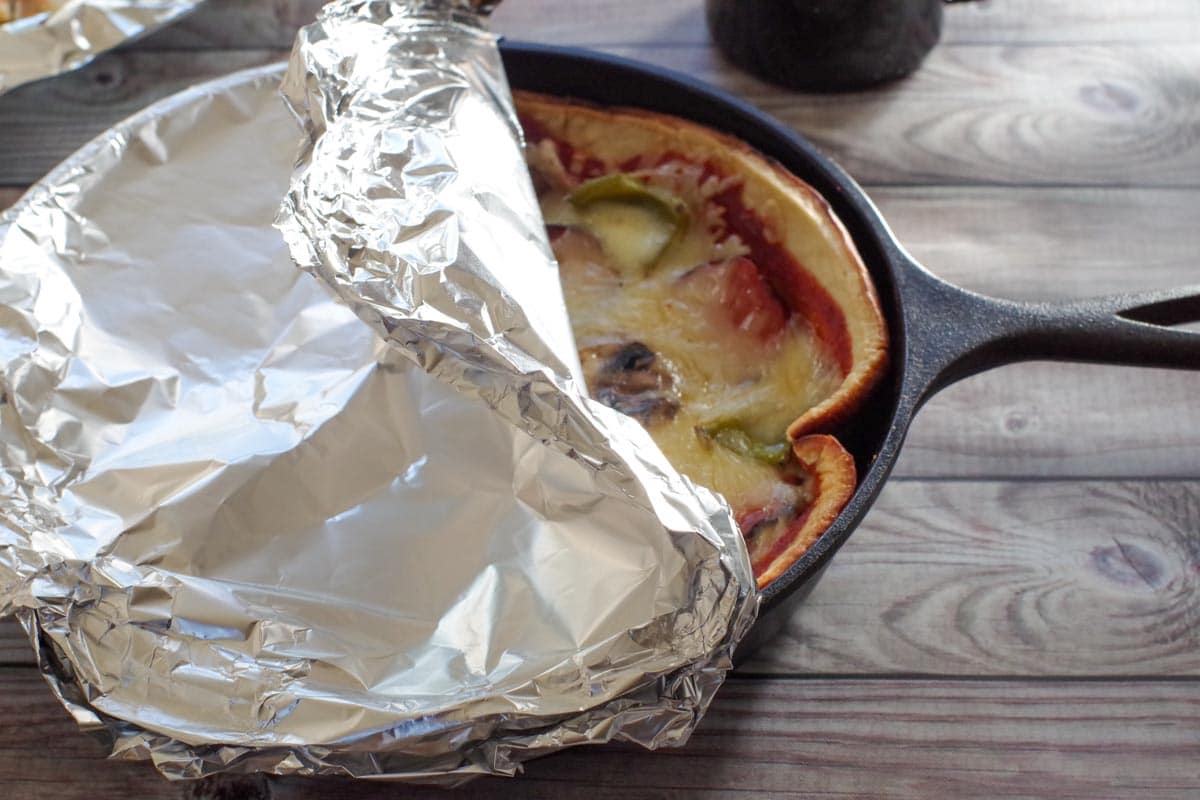
Step 5: Enjoy!
Top tip
If you are using wooden skewers for the grilled toppings, soak your skewers in cold water for 10 minutes before using them on the grill. This will prevent them from catching on fire while you are grilling!

Expert Recipe Tips
- Soak wooden skewers before grilling: Soak wooden skewers in cold water for at least 10 minutes before grilling to prevent them from catching fire.
- Grill toppings separately for better flavor: Grilling the toppings on skewers before assembling the pizza adds a smoky, barbecue flavor that you can't get from cooking everything directly on the crust.
- Use thicker crusts for campfire cooking: Thin crusts can burn quickly over uneven campfire heat. Thicker crusts provide better insulation and more forgiving results.
- Preheat the grill or camp stove: Make sure your grill or cast iron pan is properly preheated to avoid soggy crust and ensure quick, even cooking.
- Rotate cast iron over fire frequently: If using a cast iron pan over open flames, rotate it regularly to prevent hot spots and burning on the bottom.
- Don't overload the toppings: Too many toppings can make the pizza soggy and prevent the cheese from melting properly. Keep it balanced and pre-cooked.
- Use foil as a lid substitute: If your cast iron pan doesn't have a lid, tightly sealed aluminum foil works great for trapping heat and melting the cheese.
- Heat sauce ahead if possible: Warming the sauce before adding it to the pizza helps everything heat through more evenly, especially when you're not using a second burner.
- Bring a grill mat or pizza stone: If space allows, a heat-safe grill mat or pizza stone can help regulate heat and minimize burning, especially with thinner crusts.
👪 Serving Size
This campfire pizza recipe makes 20 servings. However, you can half, double, or triple the recipe by clicking on the serving number and selecting the number of servings you'd like. The ingredient quantities will automatically adjust.
🥗 What to serve with this Camping Pizza Recipe
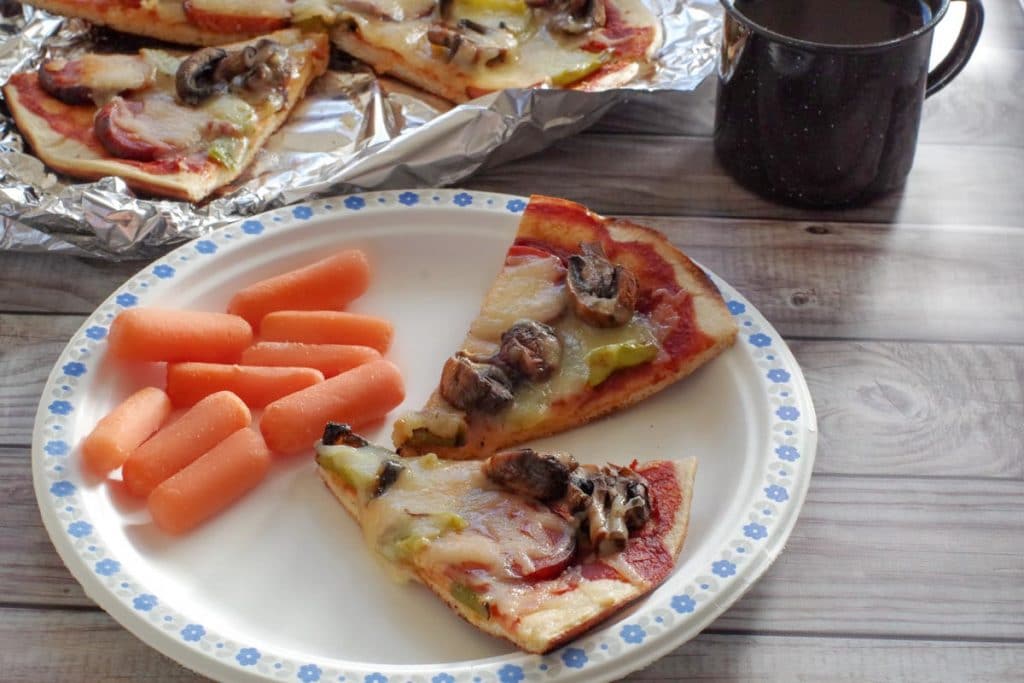
Serve this camping pizza recipe with easy sides like cut-up vegetables, cucumber kimchi, or a side salad.
🌡️Storage
Store this campfire pizza in a fridge or a cooler for up to 4 days in an airtight container.
❔ Recipe FAQs
Use indirect heat by placing the pizza on a cooler section of the grill or fire. Also, using a thicker crust helps reduce the risk of burning, especially if you're cooking over open flames.
It's a good idea to lightly oil the grill grates to prevent sticking, especially if your crust is thin.
You can, but it's not recommended for grilling or campfire cooking, as it's harder to cook evenly without burning. Store-bought crusts are more reliable and quicker in outdoor conditions.
Reheat it in a covered pan over medium-low heat on the camp stove or grill. You can also wrap it in foil and warm it near the campfire for a few minutes.
So, if you are looking for unique camping food or grilling pizza recipes for your next camping trip, you will love this one! This delicious recipe is sure to become one the whole family loves, as well as a camping tradition!
And if you're heading out camping, be sure to check out this What to pack for camping article, so you don't forget any essentials!
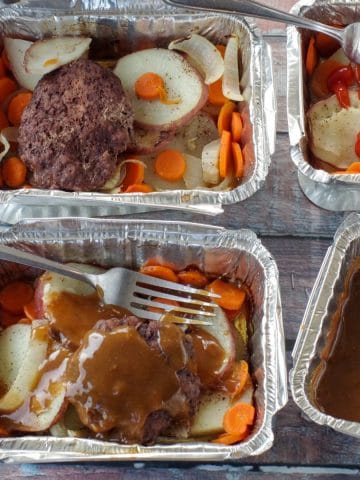
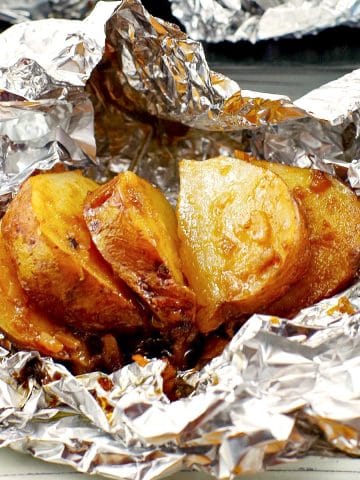
📋 More Camping Recipes


Did your family❤️this recipe? Did you know that commenting and⭐rating recipes is one of the best ways to support your favorite recipe creators? If you LOVED this recipe, please comment and rate it in the recipe card or share photos on social media using the hashtag #foodmeanderings or tagging @foodmeanderings !
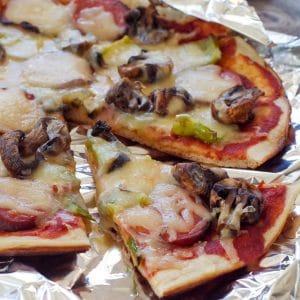

🍕 Camping Pizza Recipe
Ingredients
- ½ lb pepperoni about a 250 g chub
- ½ lb mushrooms approximately
- 1 green peppers
- 2 -10 inch ready made pizza crusts * or store-bought pizza crusts and use any pizza sauce
- ½ cup pizza sauce
- 1 lb Mozzarella cheese
Instructions
- Slice pepperoni, green peppers and wash mushrooms. Place on skewers (soak skewers first - see NOTES)
- Preheat the grill to 350 degrees F/175 degrees C.
- Grilled pizza toppings: For both the grilled pizza and cast iron pizza method, you'll need to grill the toppings. Cook the skewers on a grilling rack for 8 - 10 minutes, lid down on the BBQ, turning to brown on each side.
Grill method:
- Step 1: Grill the store-bought pizza crust, checking regularly, until lightly browned. This will only take about 2 minutes if you have thin crusts, so watch it closely.
- Step 2: Heat the sauce in a saucepan on burner (or if you don't have an additional burner, simply add the sauce to the pizza crusts, while they are grilling).
- At this point, you'll want to add any sliced olives or hot peppers ( anything that doesn't require actual cooking ( just warming)
- Step 3: Add grilled toppings, turn off grill, and place the lid down until cheese is melted.
Cast Iron Method:
- Chop, skewer and grill the toppings, as described above.
- Step 1: Add the sauce to the store-bought pizza sauce (you can do this in the pan or out of the pan and put it in the pan after)
- Step 2: Add the grilled pizza toppings, then the cheese
- Step 3: Seal the cast iron pan with foil and place it over heat for about 3 - 5 minutes, or until cheese has melted (keeping a close eye on it)
- Serve warm with baby carrots, sliced cucumbers or salad! Enjoy


Sadia Malik says
Looks delicious and so easy to make
nancy says
I love camping pizza especially on a cast iron! They are so crispy and makes camping food more enjoyable!
Colleen says
We are going camping next week and now we can have our pizza fix! I love the cast iron option even though we always bring the bbq. Can't wait to try it out!
Bernice says
Our kids loved making individual camping pizzas! One time we actually made a solar box oven out of aluminum foil too. I think doing these on a bbq like you did would be much easier.