


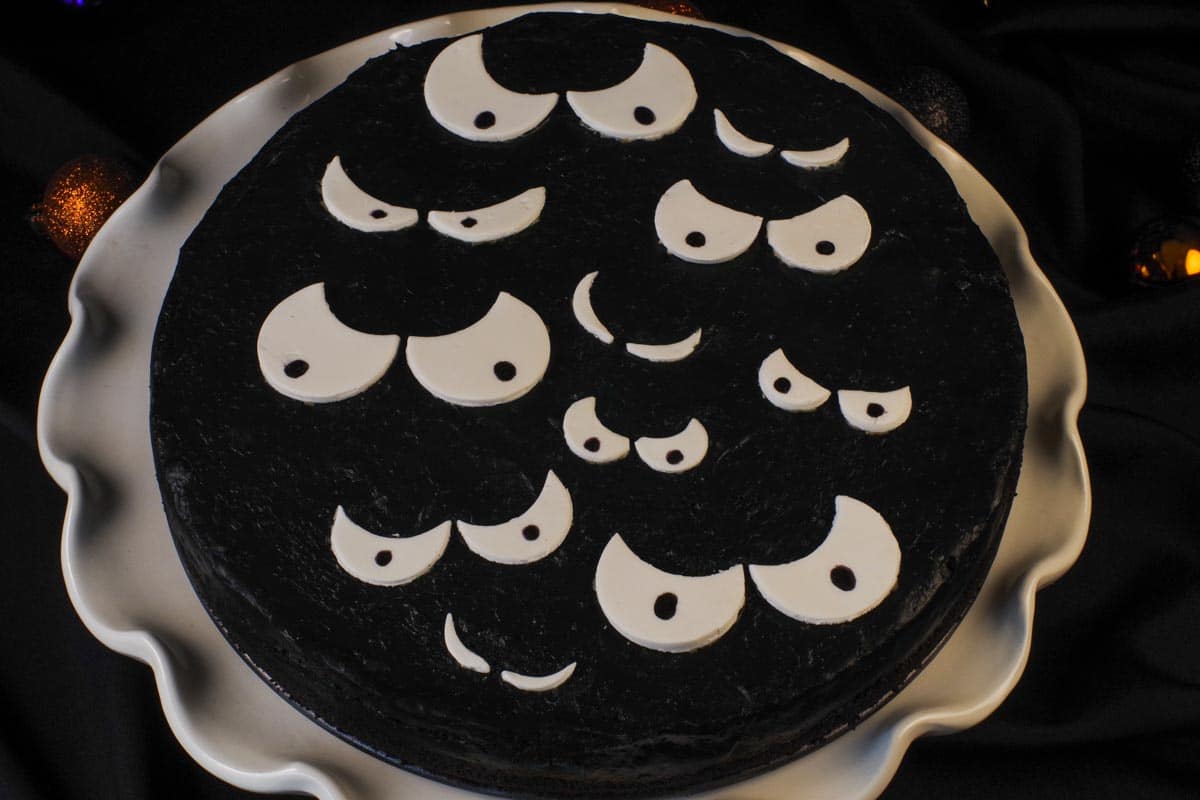
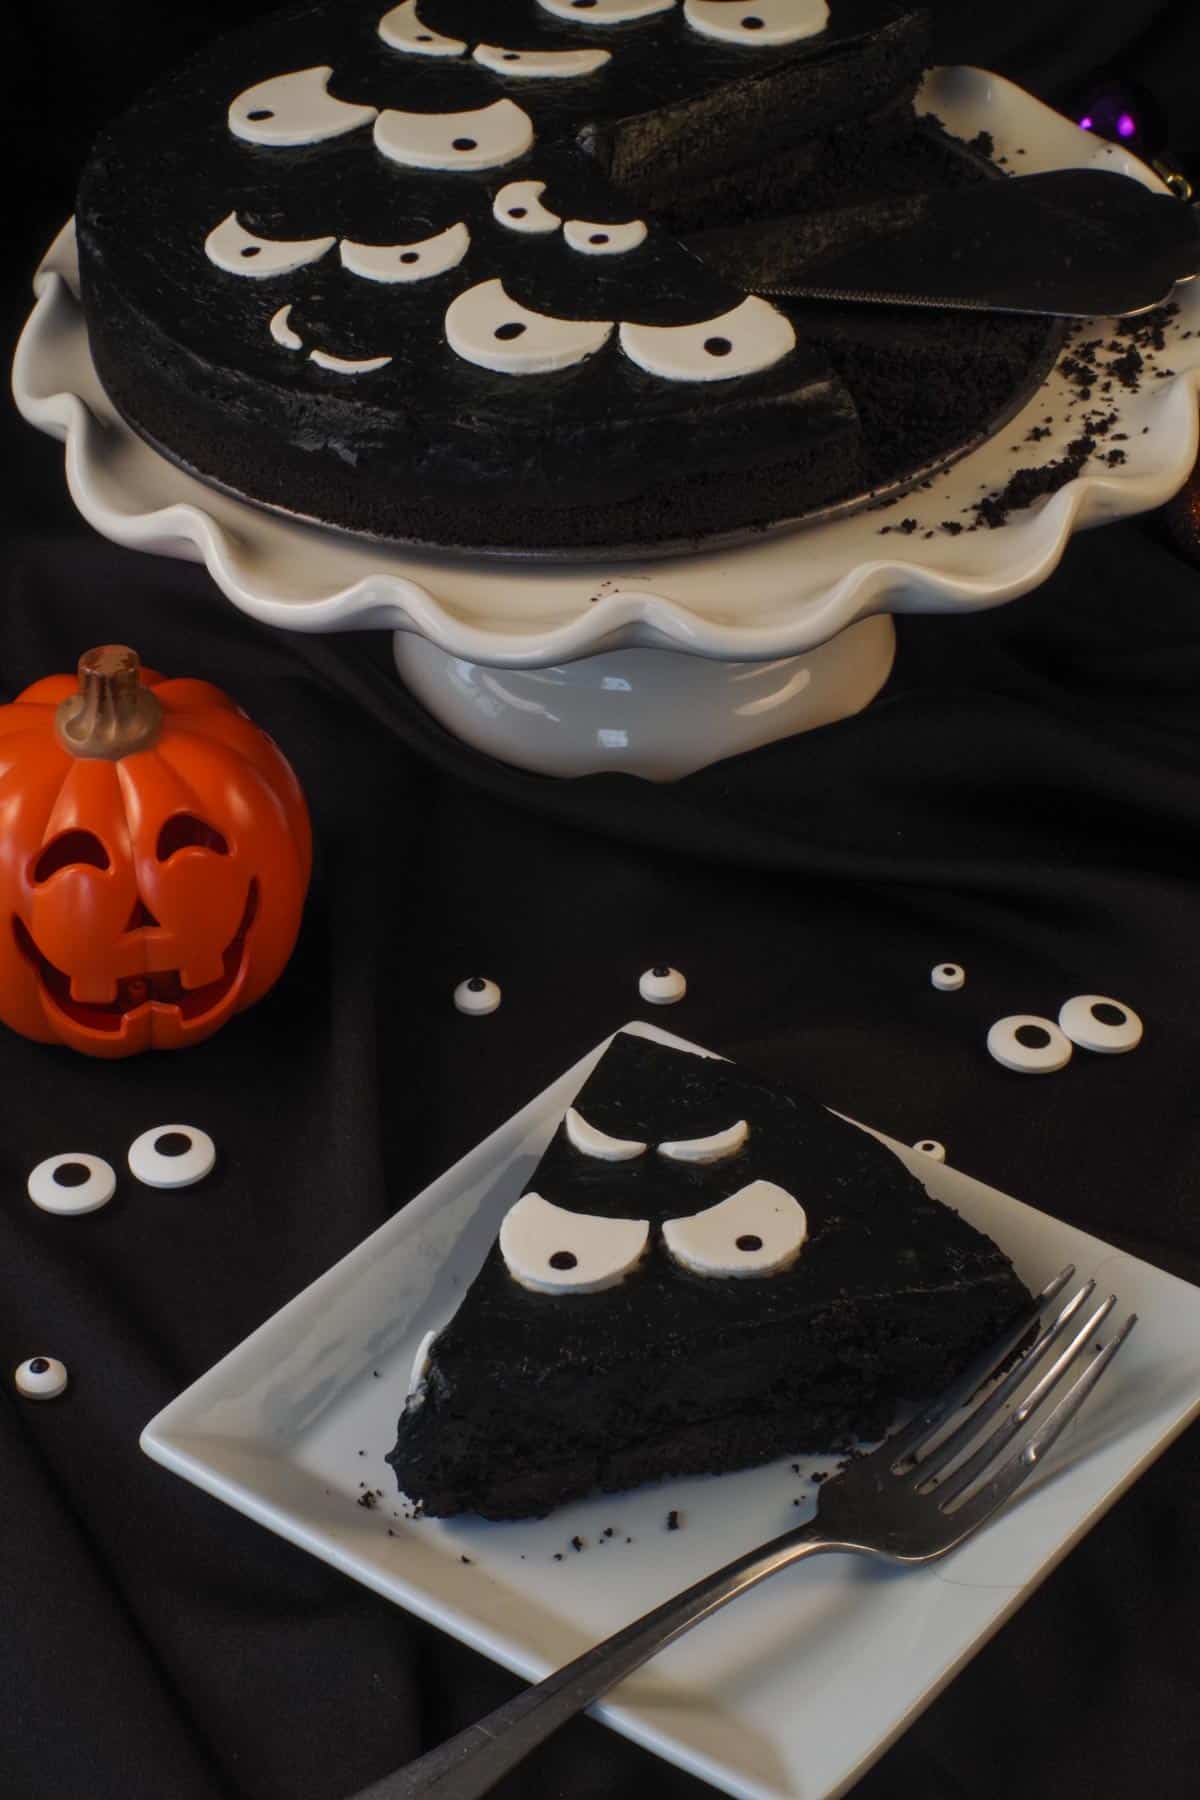
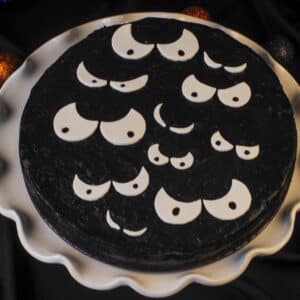
This Scary Eyes in the Dark Halloween Cheesecake is a fun and easy Halloween dessert! It's a black cheesecake, but it tastes like chocolate, has an Oreo cookie crust, and it's the perfect Party Halloween Cheesecake!
This black cheesecake is popular at Halloween, but also great any time of year for a horror movie marathon or party. It was inspired by my Halloween Pie, my Boo Batter Ice Cream, and my No Bake Black Forest Cheesecake.
Jump to:
- 🥘Ingredient Notes
- 📖 Variations & Substitutions
- Top Tip - Alternatives to Black Food Coloring
- 🔪Step-by-Step: How to make No Bake Halloween Cheesecake
- Expert Recipe Tips
- 🥗 What to serve with Halloween Cheesecake
- 🌡️Storage
- 👪 Serving Size
- ❔ Recipe FAQs
- Didn't find the answer you're looking for?
- 🎃 More Easy Halloween Desserts
- 🎃Halloween Cheesecake Recipe
When I was a kid, these scary eyes in the dark were always in the scary parts of cartoons and always creeped me out. That's what inspired this cake design.
🥘Ingredient Notes
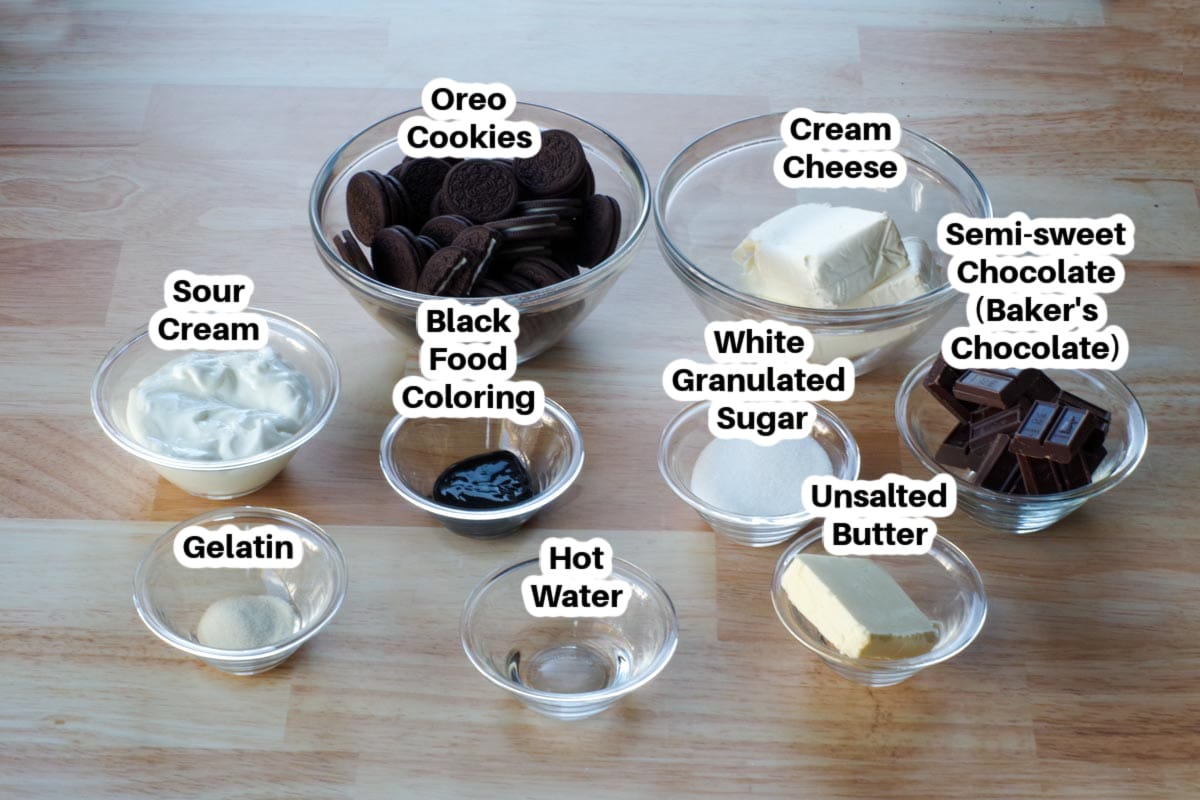
- Unsalted butter & Oreo cookies. This is the base for the cheesecake. Don't use double-stuffed or anything different from plain Oreo cookies.
- Cream cheese. Cream cheese is the basis of cheesecake. I used full-fat for this one. And just make sure it's at room temperature.
- Sour cream. Sour cream makes this cheesecake extra creamy!
- Super black food coloring. It's important to use Super Black Food Coloring, or you'll end up using too much, and it will alter the taste of the Cheesecake. Americolor brand is my favorite!
- White fondant. You can buy any type of white fondant or make your own. I usually use Wilton.
- Black edible marker. I also recommend Americolor edible markers. You should use a fine marker.
Please see recipe card for full list of ingredients and quantities.
📖 Variations & Substitutions
- Cream cheese- you can use regular, low-fat or non-fat.
- Sour cream --you can use regular, low-fat or non-fat.
- Crust - you could use chocolate baking crumbs or Oreo crumbs instead of Oreo cookies (although they are becoming harder to find).
Top Tip - Alternatives to Black Food Coloring
I will warn you that because of the black food coloring, this cake will temporarily stain lips, tongues, and teeth. And if you're serving kids, it can get messy with stained hands and furniture, etc... For these reasons and others, not everyone wants to eat or serve black food coloring.
HERE ARE SOME ALTERNATIVES TO USING BLACK FOOD COLORING:
A great alternative is BLACK COCOA POWDER (Dutch cocoa) to get a dark, saturated black color. Here is a simple recipe for naturally black-colored icing:
Black Icing (with Dutch Cocoa Powder)
1 cup powdered sugar
1 ½ tablespoon black cocoa
1 ½ tablespoon milk
Mix together and spread on top of the cheesecake. You'll need to at least double it for the top of the cake and maybe triple it if you want to do the sides of the cake.
Another excellent alternative is a Chocolate Glaze. You can also add a little black food coloring if you wish, but you won't need to use nearly as much as I did. *If you use black food coloring it needs to be added to the corn syrup prior to mixing with the butter and chocolate.
Chocolate Glaze:
- 3 oz. semi-sweet bakers' chocolate, chopped * NOT chocolate chips
- 5 tablespoons unsalted butter
- 1 tablespoon light corn syrup
In a small bowl, melt the 3 oz. chopped chocolate and the butter. Add the corn syrup and whisk until smooth. Unclasp and remove the side of the springform pan and run a long, thin metal spatula under the bottom crust of the cheesecake. Carefully slide the cake onto a flat serving plate. Pour the glaze on the cheesecake and spread it evenly. Put in the fridge for a few minutes to set.
To serve, run a thin knife under hot water, wipe it dry, and cut the cake into slices, heating and wiping the knife after every slice.
🔪Step-by-Step: How to make No Bake Halloween Cheesecake
Prep: Spray a 9-inch springform pan with non-stick cooking spray

- Step 1: Oreo Crust: Place melted butter and Oreo cookies in a food processor. Mix on high until combined into crumbs.
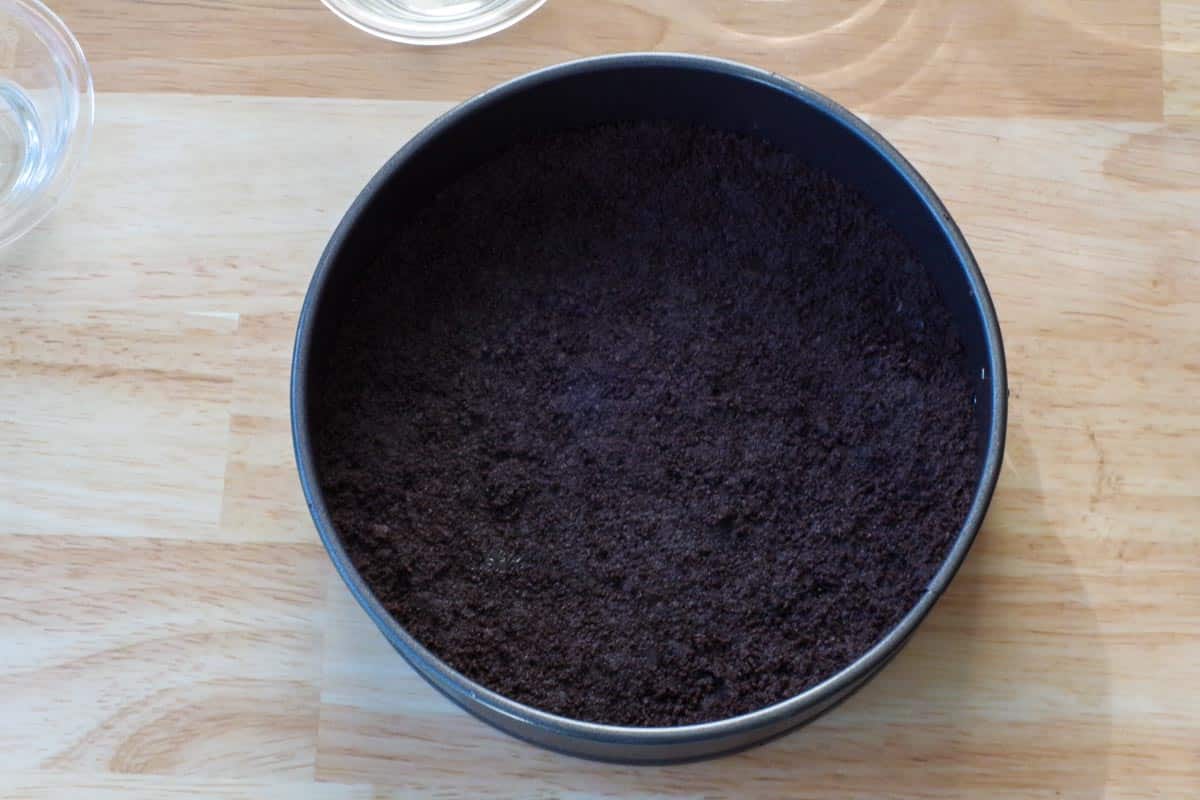
- Step 2: Press the Oreo crumb mixture into an even layer in a prepared springform pan.
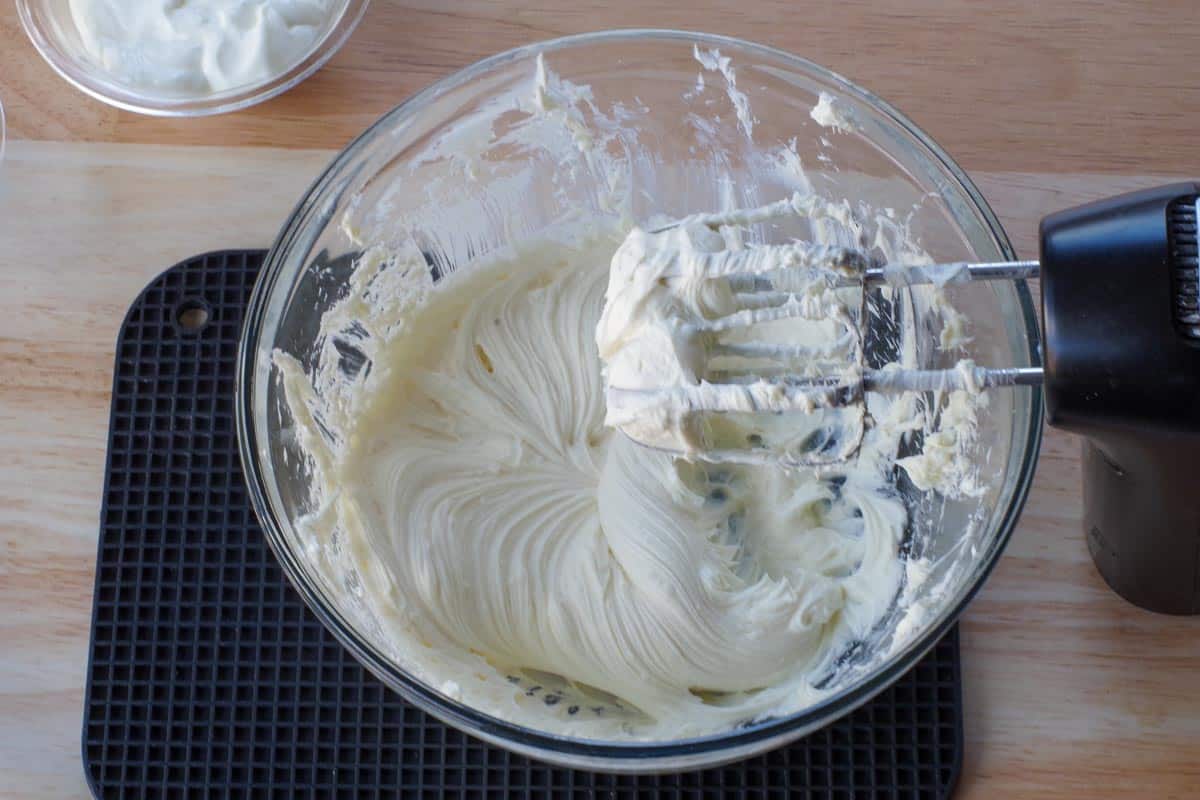
- Step 3: Filling: In a large bowl, beat cream cheese and sugar together until fluffy.
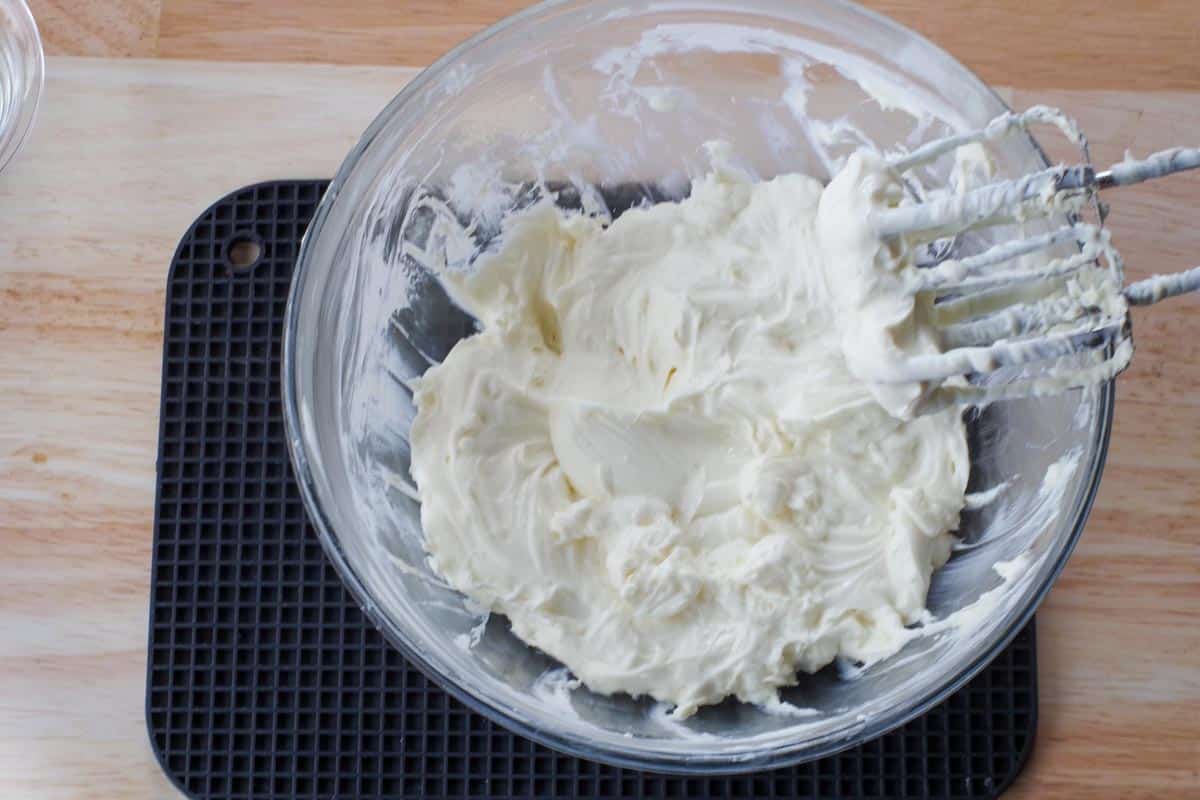
- Step 4: Beat in sour cream.
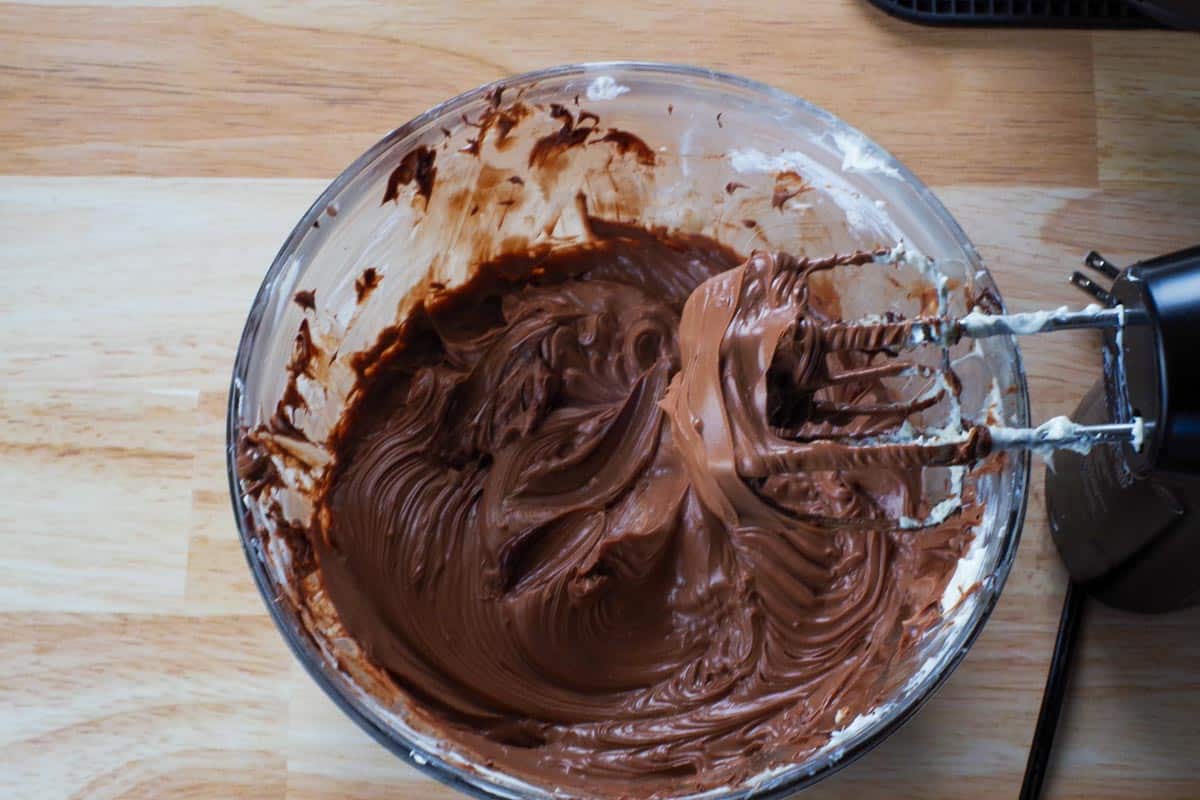
- Step 5: Melt chocolate in microwave at 50% power for 2-3 minutes, until just melted (or use a double boiler), and add melted chocolate to cream cheese and sugar mixture. *Make sure your chocolate, bowls, or utensils don't come into contact with water/moisture, or your chocolate will seize. Alternatively, you can melt chocolate in a double boiler.
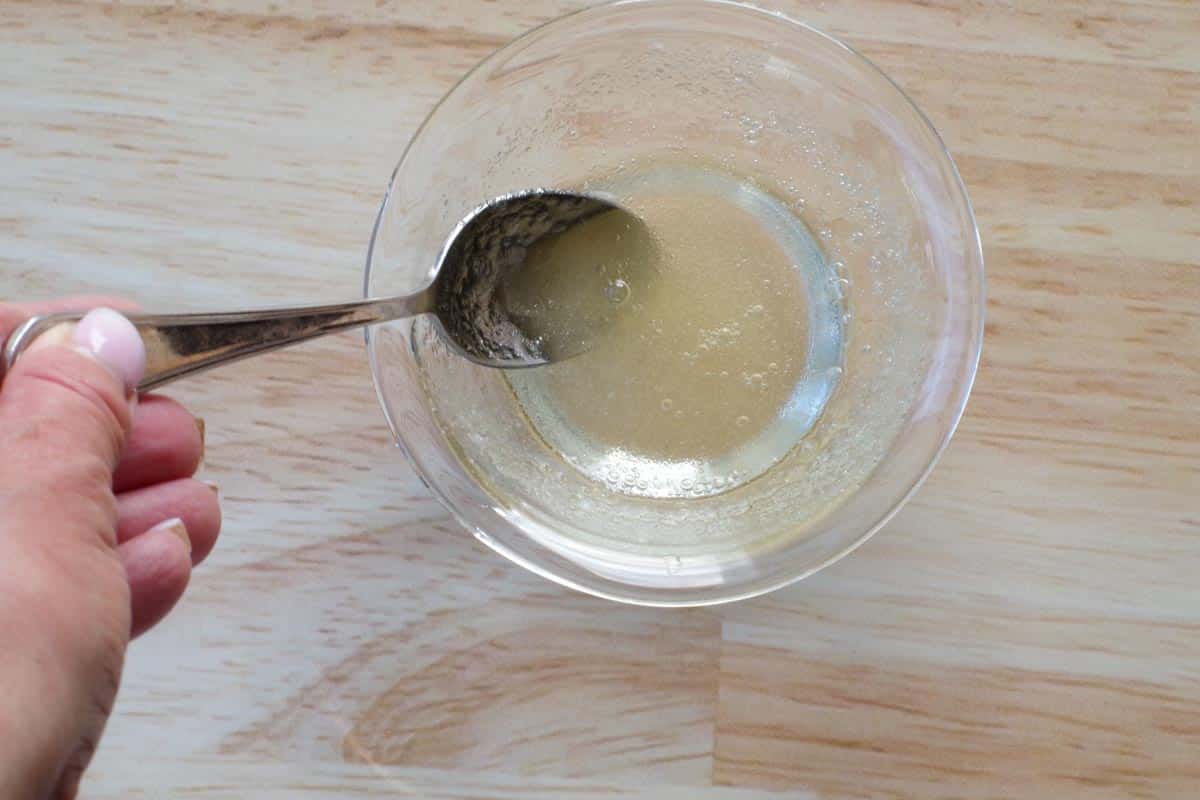
- Step 6: Stir 1-7 g pkg of gelatin into 2 tbsps (hot- not boiling) water and stir until dissolved.

- Step 7: Beat gelatin and black food coloring into the chocolate cream cheese mixture, a little at a time (by the tsp) until you achieve the desired color. *See TOP TIP if you don't want to use black icing (or want to use less).
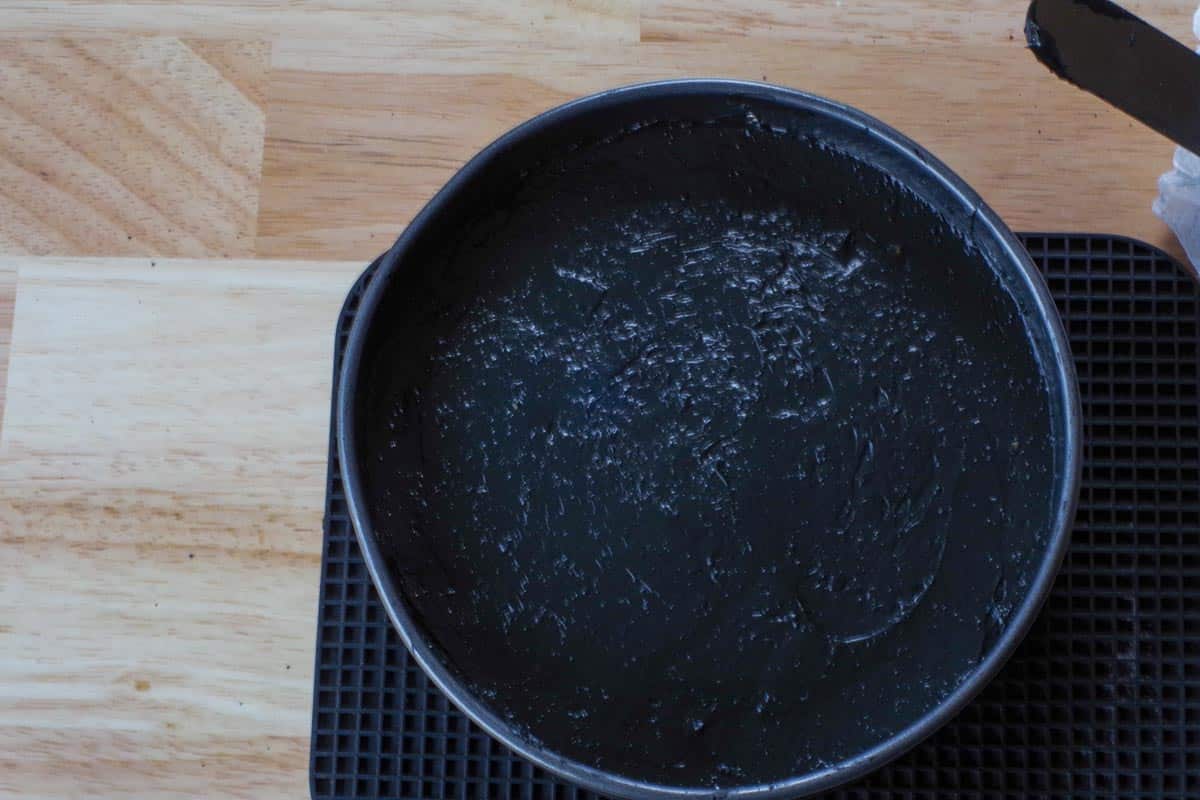
- Step 8: Spoon the chocolate cheesecake filling onto the crust. Cover in plastic wrap and chill in the fridge for at least 3 -4 hours or overnight.
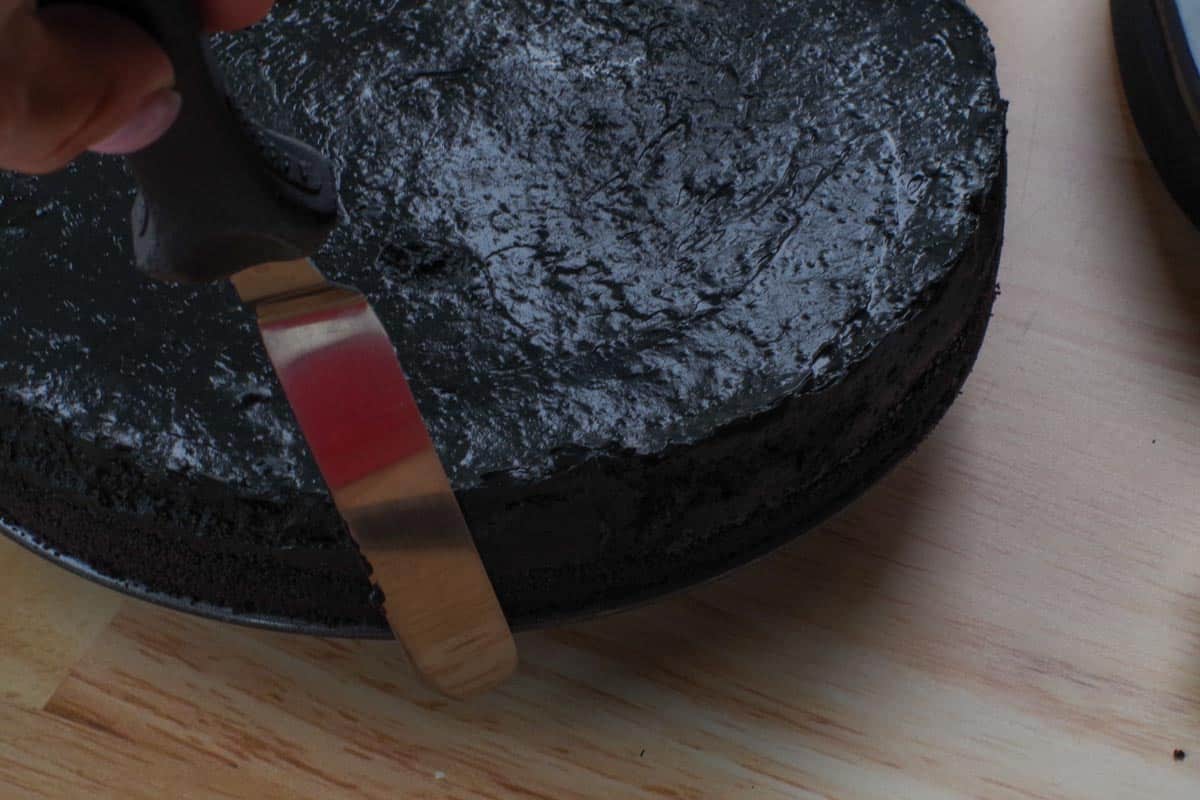
- Step 9: Unmold and smooth sides and top with a hot cake offset spatula or butter knife.

- Step 10: Roll out the white fondant. Cut little circles in different sizes, with whatever works (I use the bottom of my frosting tips). Then make a cut in them at the top, then draw a little circle for the eyeballs with an edible black marker.
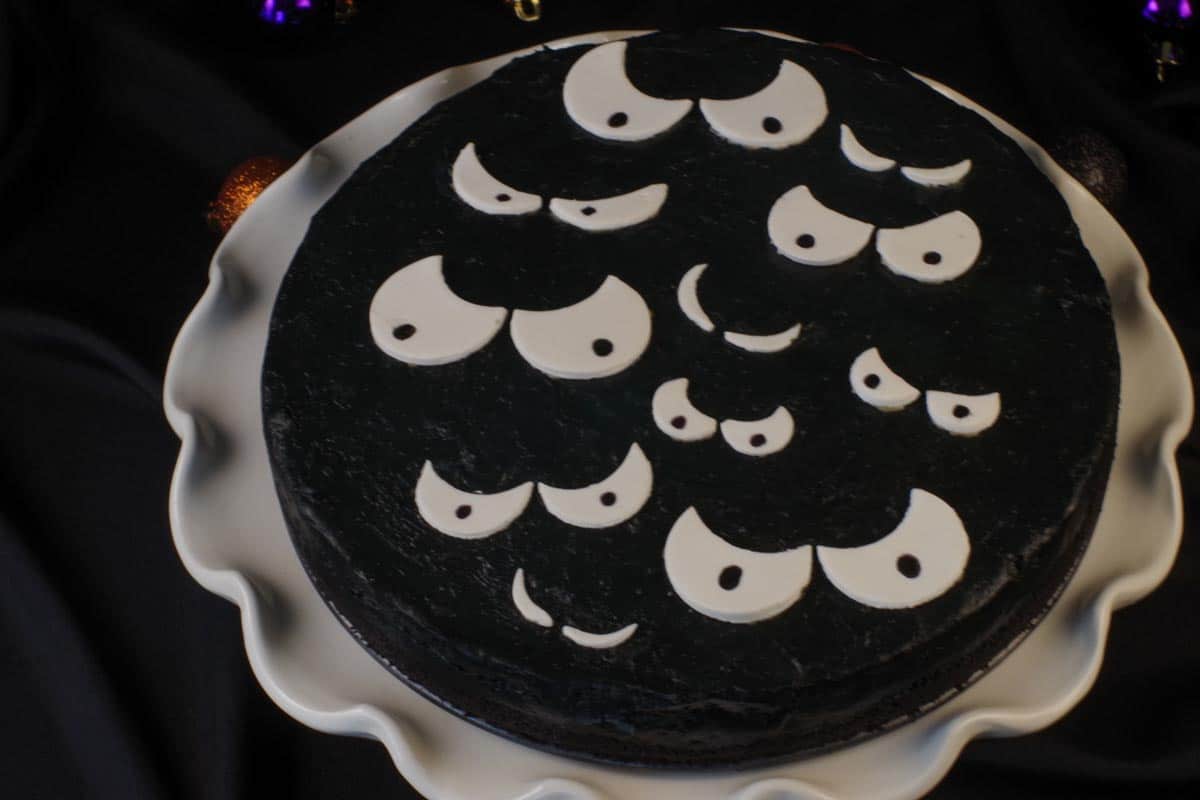
Put the eyes on the cake just before serving. If you put them on too early (and put the cake back in the fridge) it will run.
Hint: Make sure to grease the mat you're working on with shortening or sprinkle cornstarch before you roll out the fondant (and use a silicone or marble rolling pin). I use a Silpat mat
Expert Recipe Tips
- Use room temperature cream cheese: This ensures a smooth, lump-free filling. Cold cream cheese can make the mixture grainy or uneven.
- Don't overmix the batter: Once you've added the gelatin, mix just until incorporated to avoid a loose or airy texture.
- Add food coloring gradually: Start with a small amount of super black food coloring and increase slowly to reach your desired shade. Using too much can affect both flavor and texture.
- Melt chocolate carefully: Chocolate can seize easily if it comes into contact with water or overheats. Melt it slowly at 50% power in the microwave, or use a double boiler for better control.
- Chill overnight for best texture: While 3-4 hours is the minimum, overnight chilling helps the cheesecake firm up perfectly and makes for cleaner slices.
- Smooth the sides easily: Dip your offset spatula or butter knife in hot water, wipe it dry, then smooth around the edges of the chilled cake for a polished, professional look.
- Wait to add fondant eyes: Add them just before serving. Refrigeration can cause condensation, making the eyes bleed or slide off.
- Use a high-quality black food coloring or black cocoa: Americolor Super Black gives the deepest color with the least product, but black cocoa powder is a great natural alternative if you prefer to avoid dyes.
- Work fondant on a greased or dusted surface: Use shortening or cornstarch on your mat and rolling pin to prevent sticking and tearing when cutting the eyes.
- For neat slices: Heat your knife under hot water, wipe it dry, and cut. Repeat between slices to keep the edges clean and sharp.
🥗 What to serve with Halloween Cheesecake
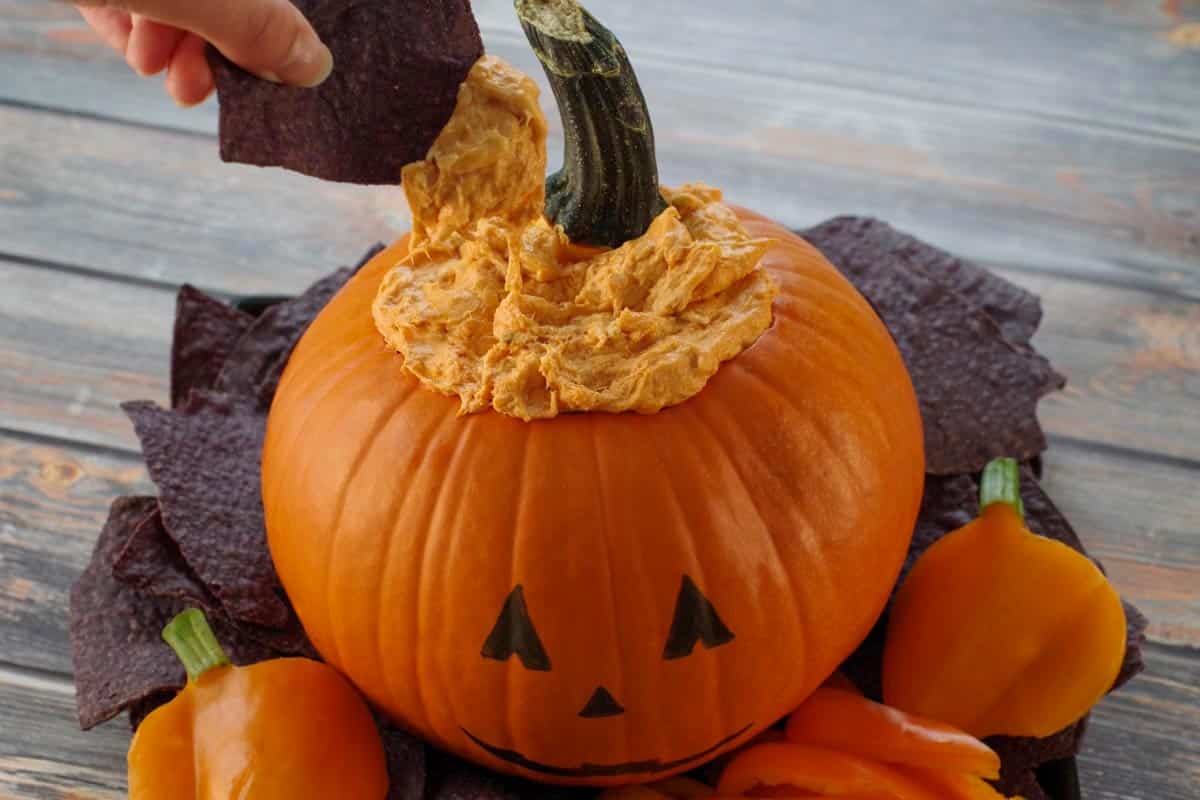
Having a Halloween Party? Serve this cheesecake with some Halloween Blood Bags Drinks and some Slow Cooker Halloween Buffalo Chicken Dip(shown below)
Or serve it for dessert with Frankenstein Fettuccine for dinner!
🌡️Storage
Store this spooky cheesecake in the fridge in an airtight container for up to 3 days. Don't put the eyes on until just before serving, as the condensation will make the cheesecake weep and run underneath the eyes
Freezing: You can freeze this no-bake cheesecake, but it's important to note that the result may not be the same as the fresh-baked version. While freezing helps preserve the flavors of the no-bake version, the texture will not be the same once thawed.
👪 Serving Size
This recipe makes 12 servings. However, you can half, double, or triple the recipe by clicking on the serving number and selecting the number of servings you'd like. The ingredient quantities will automatically adjust.
❔ Recipe FAQs
If you don't have a springform pan, you can use a deep 9-inch round cake pan lined with parchment paper. Leave some parchment overhang so you can lift the cheesecake out once it's chilled.
Yes, if you can't find Oreo cookies or prefer something different, chocolate wafer cookies or chocolate graham crackers will work well. You may need to add a little extra butter if the crumbs seem too dry.
Absolutely! You can use candy eyeballs, white chocolate chips with a dot of black icing, or even pipe spooky designs like spiderwebs with white chocolate or icing.
Yes! This cheesecake is perfect for making ahead. You can prepare it up to 2 days in advance and store it covered in the fridge. Just wait to add the fondant eyes until right before serving to prevent them from getting sticky or bleeding onto the cake.
Didn't find the answer you're looking for?
Ask AI to answer based on this specific recipe
If you're looking for a fun Halloween Dessert, you'll love this no bake black cheesecake!
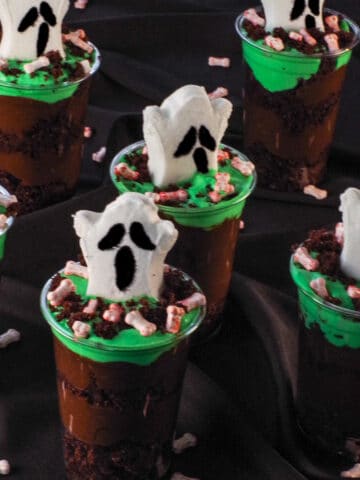
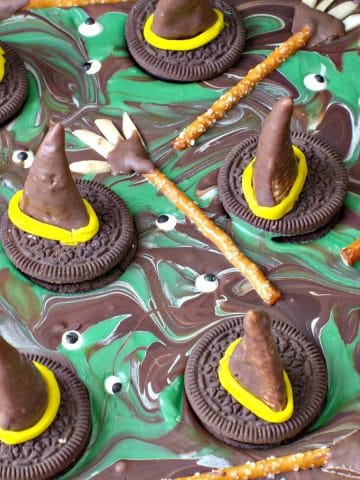
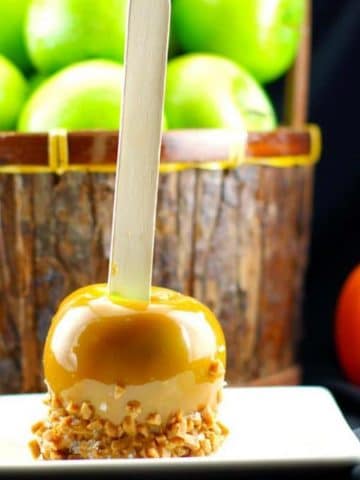
🎃 More Easy Halloween Desserts
Looking for other recipes like this? Try these:

Did your family❤️this recipe? Did you know that commenting and⭐rating recipes is one of the best ways to support your favorite recipe creators? If you LOVED this recipe, please comment and rate it in the recipe card or share photos on social media using the hashtag #foodmeanderings or tagging @foodmeanderings !

🎃Halloween Cheesecake Recipe
Equipment
- white fondant * I use Wilton
- black edible marker *I use Americolor
- electric hand mixer ( or stand mixer)
Ingredients
- ¼ cup unsalted butter
- 35 whole Oreo cookies 439 gram package
- 16 oz cream cheese softened at room temperature 2-8 oz packages
- ⅓ cup white granulated sugar
- 8 oz semi-sweet chocolate squares baker's chocolate
- 1 cup sour cream
- 7 g -package of gelatin powder
- 2 tablespoon hot water
- 2-4 tablespoon super black food coloring * I use Americolor
Instructions
Crust:
- Place melted butter and Oreo cookies in food processor. Mix on high until combined into crumbs.¼ cup unsalted butter, 35 whole Oreo cookies
- Press the Oreo crumb mixture into an even layer in a prepared 9-inch springform pan.
Cheescake:
- In a large mixing bowl, beat cream cheese and sugar together until fluffy.16 oz cream cheese, ⅓ cup white granulated sugar
- Beat in sour cream.1 cup sour cream
- Melt chocolate in microwave (in a microwave safe bowl) at 50% power for 2-3 minutes, until just melted (or use a double boiler) and add to cream cheese mixture.*Be careful that your chocolate, bowls, utensils etc. do not contact water/moisture or your chocolate will seize.Alternatively, you can melt chocolate in a double boiler.8 oz semi-sweet chocolate squares
- Dissolve 7 g package of gelatin in 2 tablespoon hot water7 g -package of gelatin powder, 2 tablespoon hot water
- Beat gelatin and black food coloring into chocolate cream cheese mixture.Add food coloring a little at a time (tsp) until you achieve the desired color. *If you don't want to use as much food coloring, see Top Tip. You can use a chocolate glaze with a little black food coloring or natural cocoa.2-4 tablespoon super black food coloring
- Spoon the chocolate cheesecake batter onto the crust.
- Cover and chill in the fridge for at least least 3 -4 hours or overnight.
- Unmold and smooth sides and top with a hot cake decorating spatula (see equipment in recipe card) or butter knife.
- Roll out the white fondant. Cut little circles in different sizes, with whatever works (I use the bottom of my frosting tips) Then make a cut in them at the top, then draw a little circle for the eyeballs with an edible black marker.
- Don't place eyes on cake until just before serving.
Notes
- Use room temperature cream cheese: This ensures a smooth, lump-free filling. Cold cream cheese can make the mixture grainy or uneven.
- Don't overmix the batter: Once you've added the gelatin, mix just until incorporated to avoid a loose or airy texture.
- Add food coloring gradually: Start with a small amount of super black food coloring and increase slowly to reach your desired shade. Using too much can affect both flavor and texture.
- Melt chocolate carefully: Chocolate can seize easily if it comes into contact with water or overheats. Melt it slowly at 50% power in the microwave, or use a double boiler for better control.
- Chill overnight for best texture: While 3-4 hours is the minimum, overnight chilling helps the cheesecake firm up perfectly and makes for cleaner slices.
- Smooth the sides easily: Dip your offset spatula or butter knife in hot water, wipe it dry, then smooth around the edges of the chilled cake for a polished, professional look.
- Wait to add fondant eyes: Add them just before serving. Refrigeration can cause condensation, making the eyes bleed or slide off.
- Use a high-quality black food coloring or black cocoa: Americolor Super Black gives the deepest color with the least product, but black cocoa powder is a great natural alternative if you prefer to avoid dyes.
- Work fondant on a greased or dusted surface: Use shortening or cornstarch on your mat and rolling pin to prevent sticking and tearing when cutting the eyes.
- For neat slices: Heat your knife under hot water, wipe it dry, and cut. Repeat between slices to keep the edges clean and sharp.
1 ½ tablespoon black cocoa
1 ½ tablespoon milk Mix together and spread on top of the cheesecake. You'll need to at least double it for the top of the cake and maybe triple it if you want to do the sides of the cake. Another excellent alternative is a Chocolate Glaze. You can also add a little black food coloring if you wish, but you won't need to use nearly as much as I did. *If you use black food coloring it needs to be added to the corn syrup prior to mixing with the butter and chocolate.
Chocolate Glaze:
- 3 oz. semi-sweet bakers' chocolate, chopped * NOT chocolate chips
- 5 tablespoons unsalted butter
- 1 tablespoon light corn syrup


Leave a Reply