


I have to confess that I've never been the best cook when it comes to fried chicken. I can't seem to get the coating perfectly browned and get the chicken cooked through at the same time. But I love breaded pan-fried chicken and can't live without it! So, many years ago, I decided I needed to do it differently...
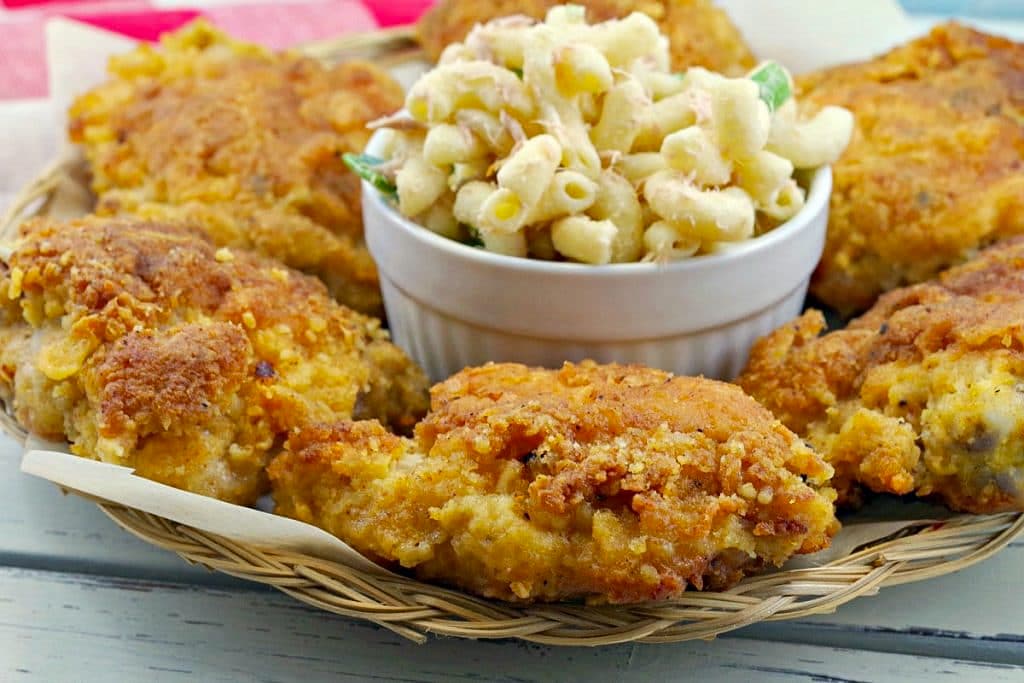
Full Confession: for years I've used the microwave for the last half of the job on my Shortcut Fried Chicken. I use the skillet to get my crispy skin on the outside, but then I use the microwave to cook the inside. I guess it's because I'm also just a little impatient and relatively lazy. If you love crispy fried chicken, without all the work, you'll love this recipe! This crispy fried chicken recipe is popular in the summer but great any time of the year. It's ideal for picnics, cookouts, or Sunday dinner.
Jump to:
While it may feel like culinary blasphemy to some, it sure makes the job quick and no one knows any different. And it's been my little secret... until now. But it's a good secret to share, right? I wanted everyone to know that even if you have the same issue as me, you can still make awesome pan-fried chicken thighs that are as delicious as if they were cooked in the skillet the entire time!
🥘 Ingredients
This recipe is my go-to stovetop fried chicken and I've spent years perfecting it. And in my quest to create the best fried chicken, I've followed the advice of several different cooks. Some cooks told me to coat it in butter and egg to get the breading to stick to the chicken and some said egg and milk work best. And while they were both tasty and worked relatively well, they were still a little too fattening for my liking (especially the butter version). So, on a whim, I tried using fat-free liquid egg replacement (affiliate link), and WOW. It seriously works like a charm!
Hey, just because I eat fried chicken doesn't mean that I don't care about calories! Not only are they low-fat, but the taste of these liquid eggs as a coating is also simply amazing - a total flavor enhancer! I use either cheese & chive or garden vegetable flavor.
This fried chicken recipe has no buttermilk. In addition to liquid egg replacement (I use Burnbrae Farms Egg Creations cheese and chive), you'll also need these simple ingredients:
- chicken thighs
- vegetable cooking oil
- fine bread crumbs
- all-purpose flour
- salt
- parmesan cheese
- garlic powder
- black pepper
- Cajun seasoning
📖Substitutions & Variations
- Chicken - you can use any chicken pieces for this recipe: chicken thighs, bone-in or boneless chicken breasts, quarters, or chicken drumsticks
- Spicy- add additional Cajun seasoning into the coating to add heat, or you could use cayenne pepper or chili powder instead.
- Egg replacement - use another flavor or you can simply use eggs (but it won't have the same flavor)
- Cooking Oil - I use vegetable oil, but you can use any type of cooking oil (such as canola oil or olive oil)
👪 Serving Size
This fried chicken thighs (with no buttermilk) recipe makes 8 servings. However, you can half, double, or triple the recipe by clicking on the blue servings number in the recipe cares. The ingredient quantities will adjust accordingly.
🔪Instructions
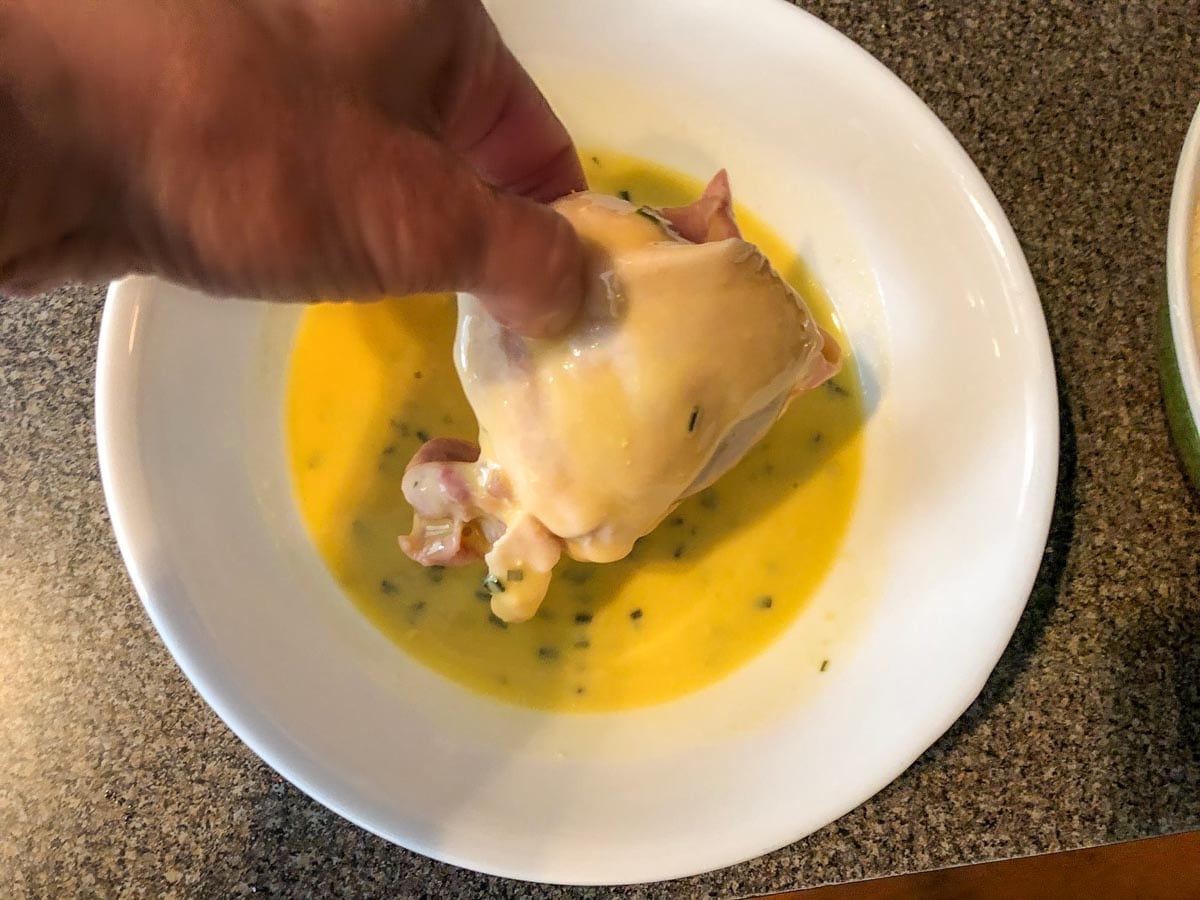
Heat oil in skillet on medium-high heat. Coating: Dip chicken, then thoroughly coat in egg replacement turning to cover completely.
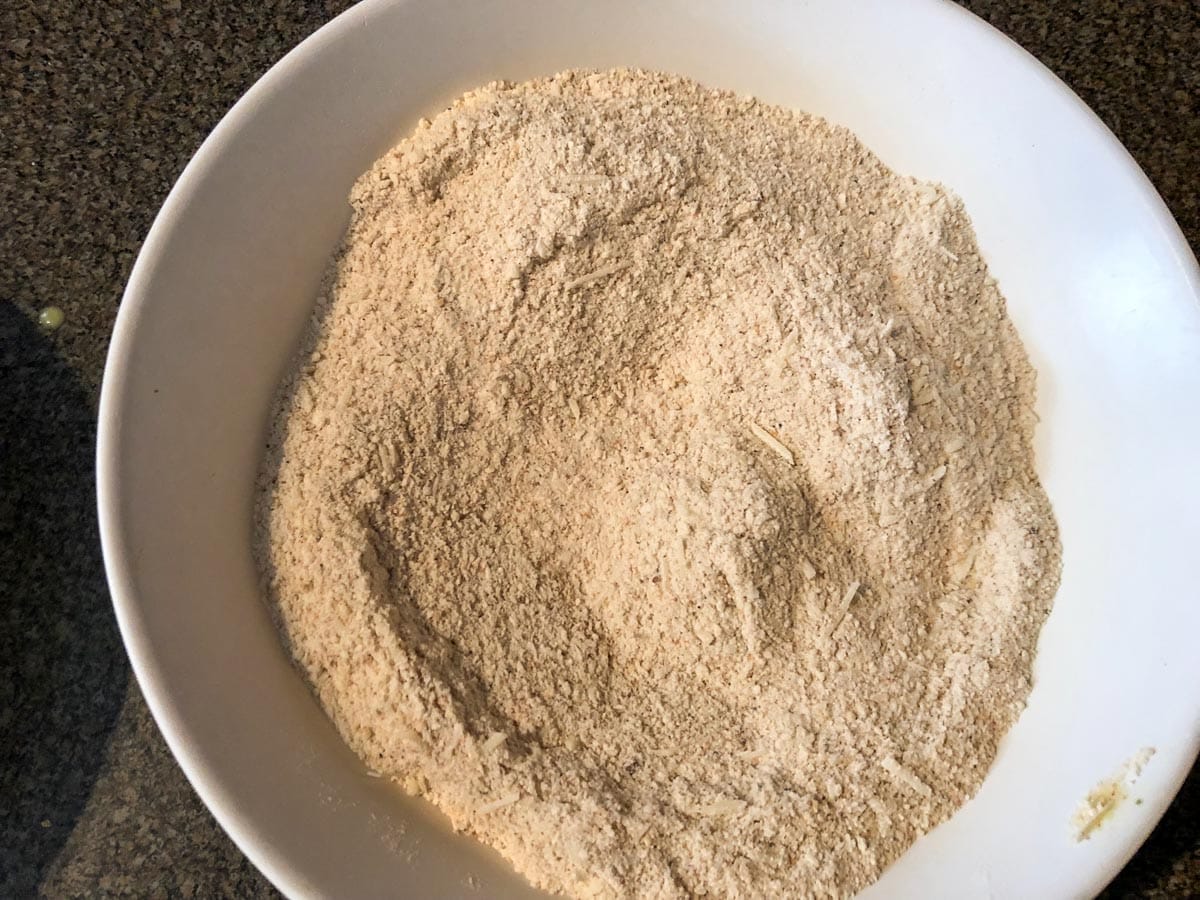
Breading: In a separate shallow, large bowl mix dry ingredients (parmesan cheese, bread crumbs, flour, salt, Cajun seasoning and garlic powder).
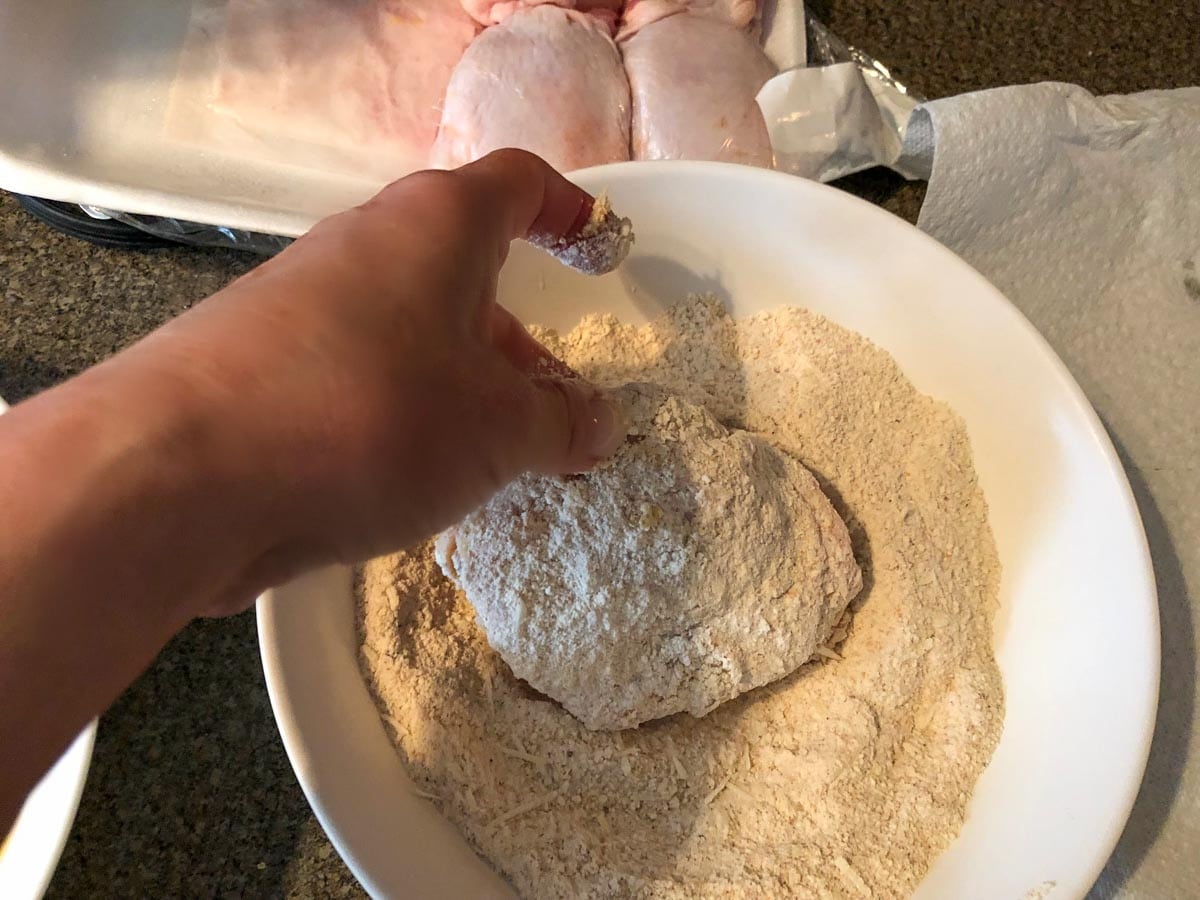
Thoroughly coat raw chicken in flour mixture.
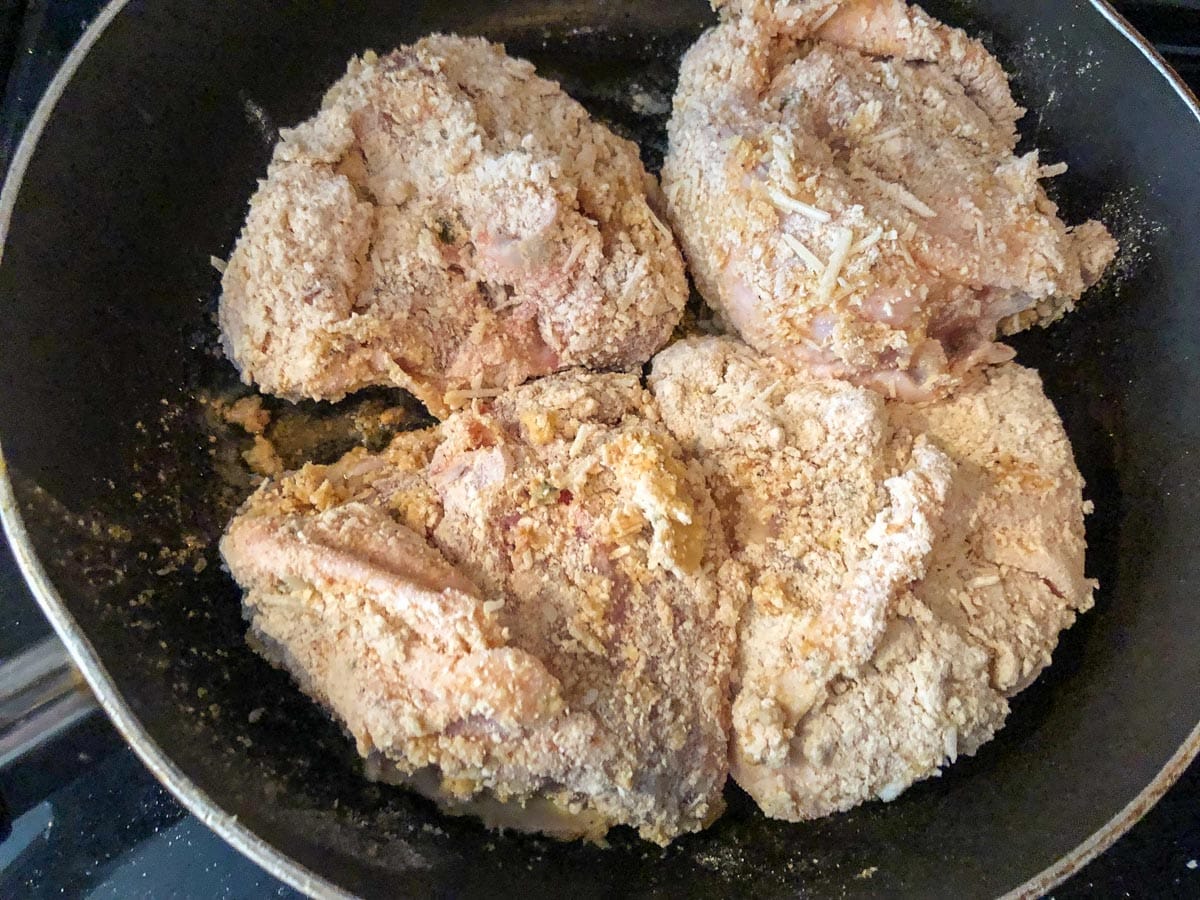
Immediately transfer each piece of chicken to hot frying pan and cook (pan fry), skin side down, uncovered in hot oil for approximately 5-7 minutes on medium-high heat, until one side is brown and crispy.
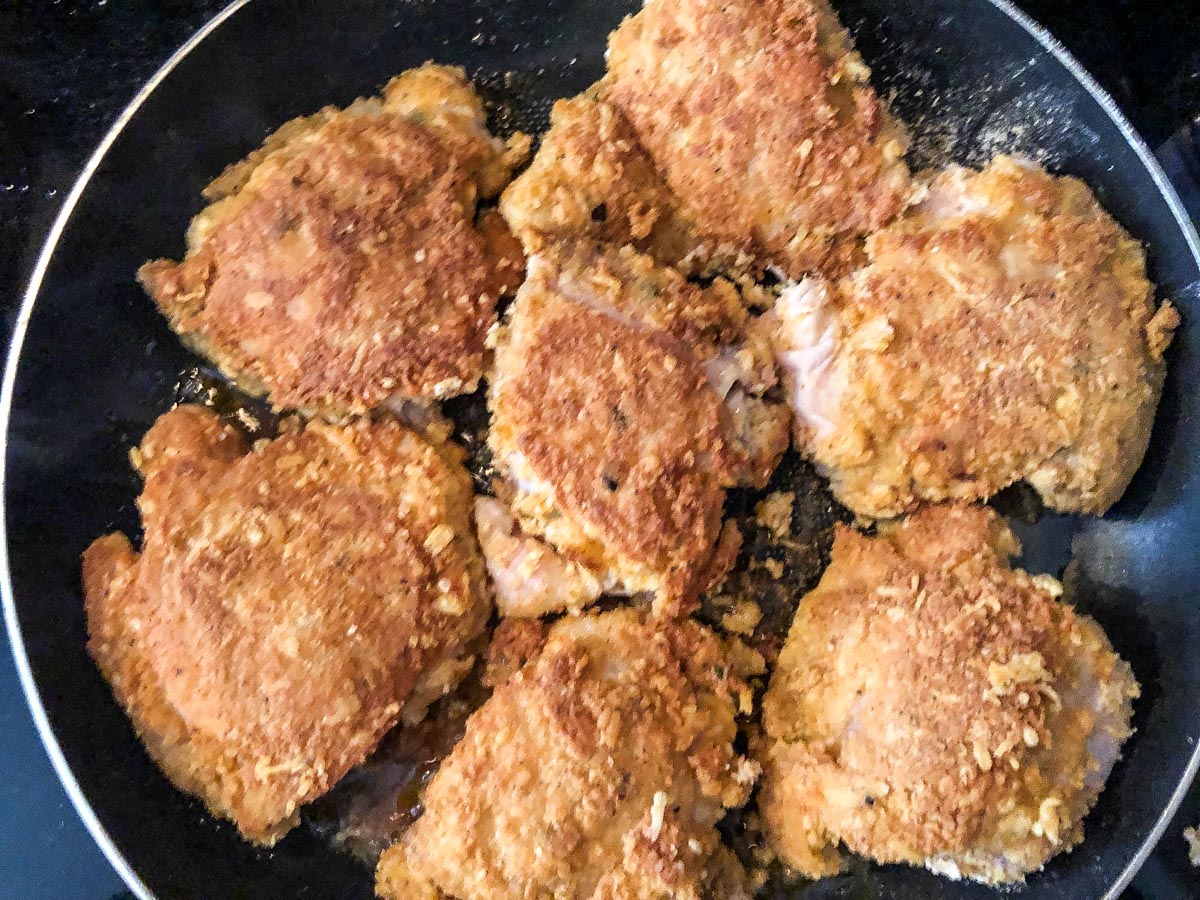
Turn gently and cook on other side for same time or until golden brown on outside. Cook about 5 minutes medium high on each side,
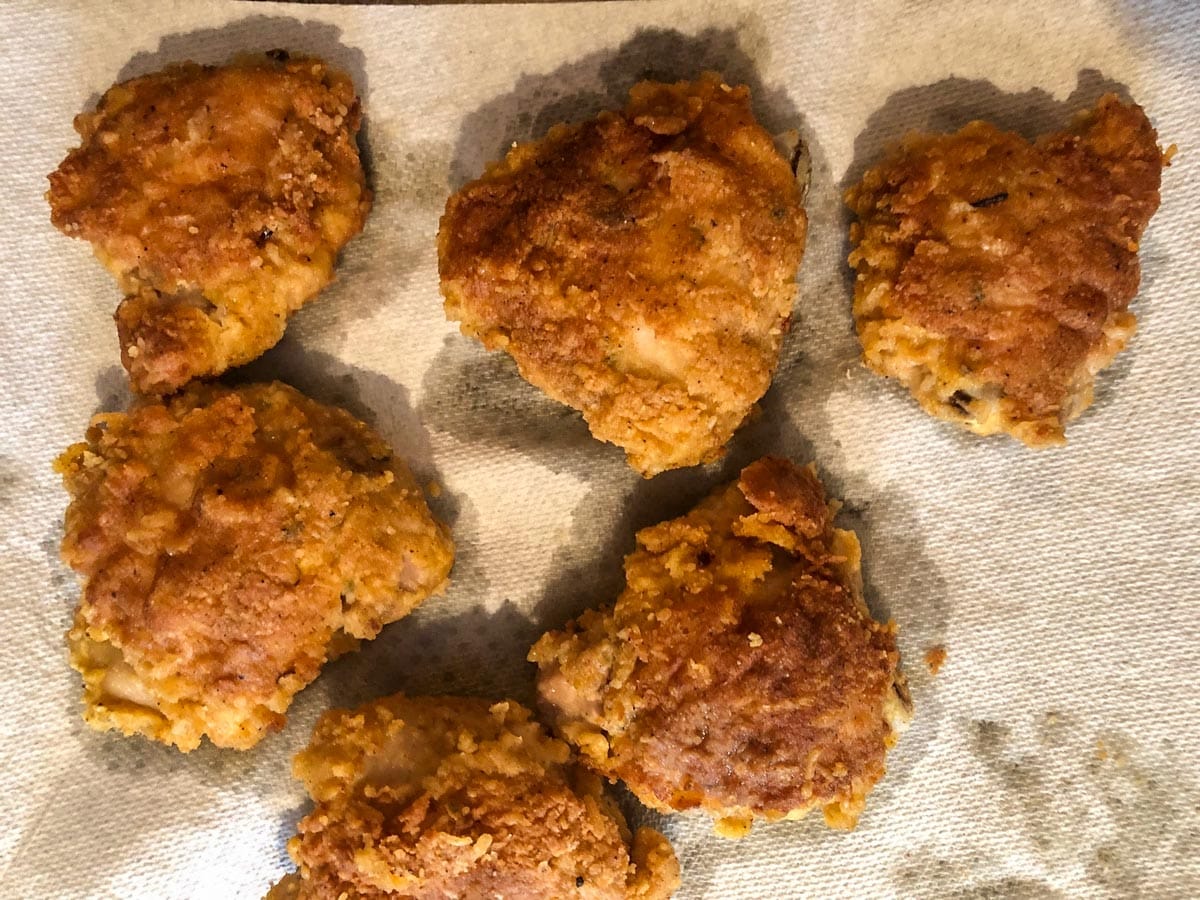
Remove cooked chicken from skillet. *Microwave for 5-7 minutes until no longer pink- 7 minutes is the magic number for me. **The internal temperature of the chicken should be 165 degrees F (insert the instant-read thermometer into the thickest part of the chicken thigh).
Drain off oil and juices and place on paper towels to absorb any remaining oil and pat chicken dry.
🍽Equipment
You don't need any special equipment for this recipe. You can use any type of large skillet for this delicious fried chicken recipe. I use a non-stick skillet, but you could also use a cast iron skillet or an electric skillet for this pan-fried chicken. You could also use a deep fryer or air fryer to make this recipe. A good instant read meat thermometer (affiliate links) is also very handy!
💭 Top tip: Fried Chicken Breading Secret
I have also learned that the secret to the crunchy, tasty breading is the perfect ratio of flour, fine bread crumbs, salt, spices and parmesan cheese. Yes, parmesan cheese - it really boosts the flavor. And I have nailed it!
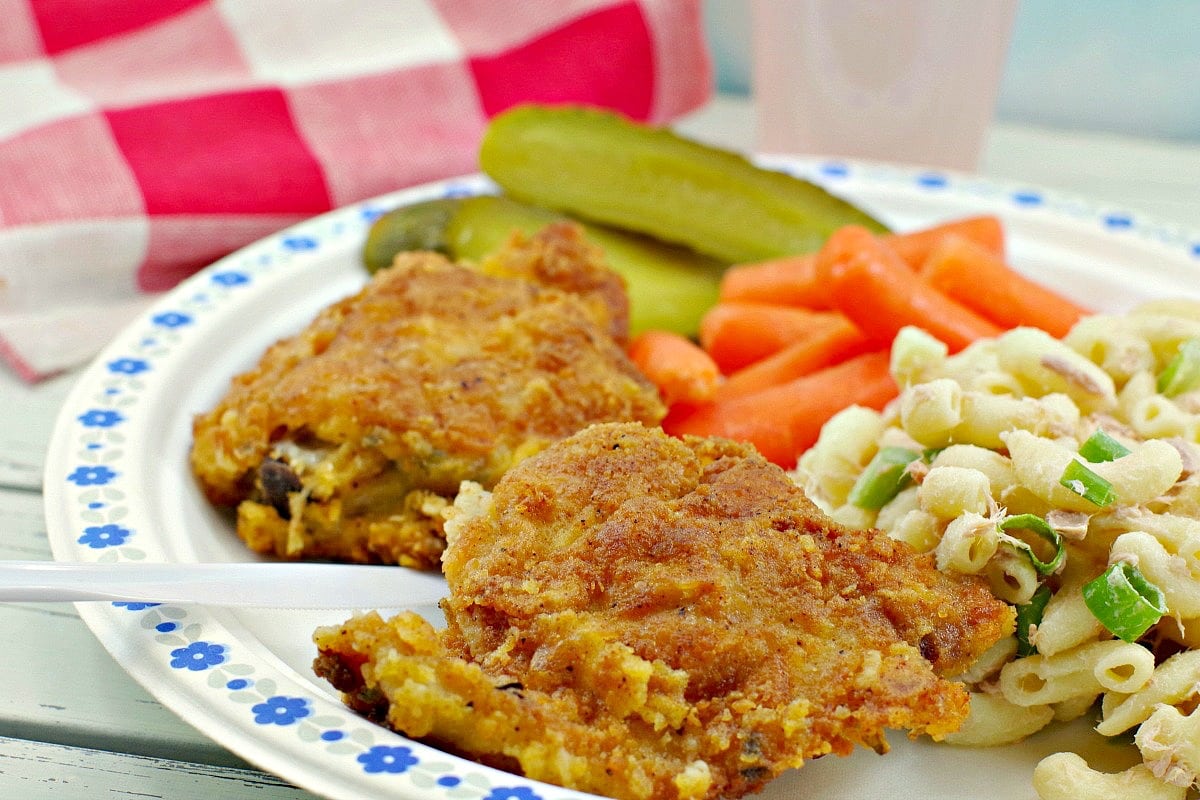
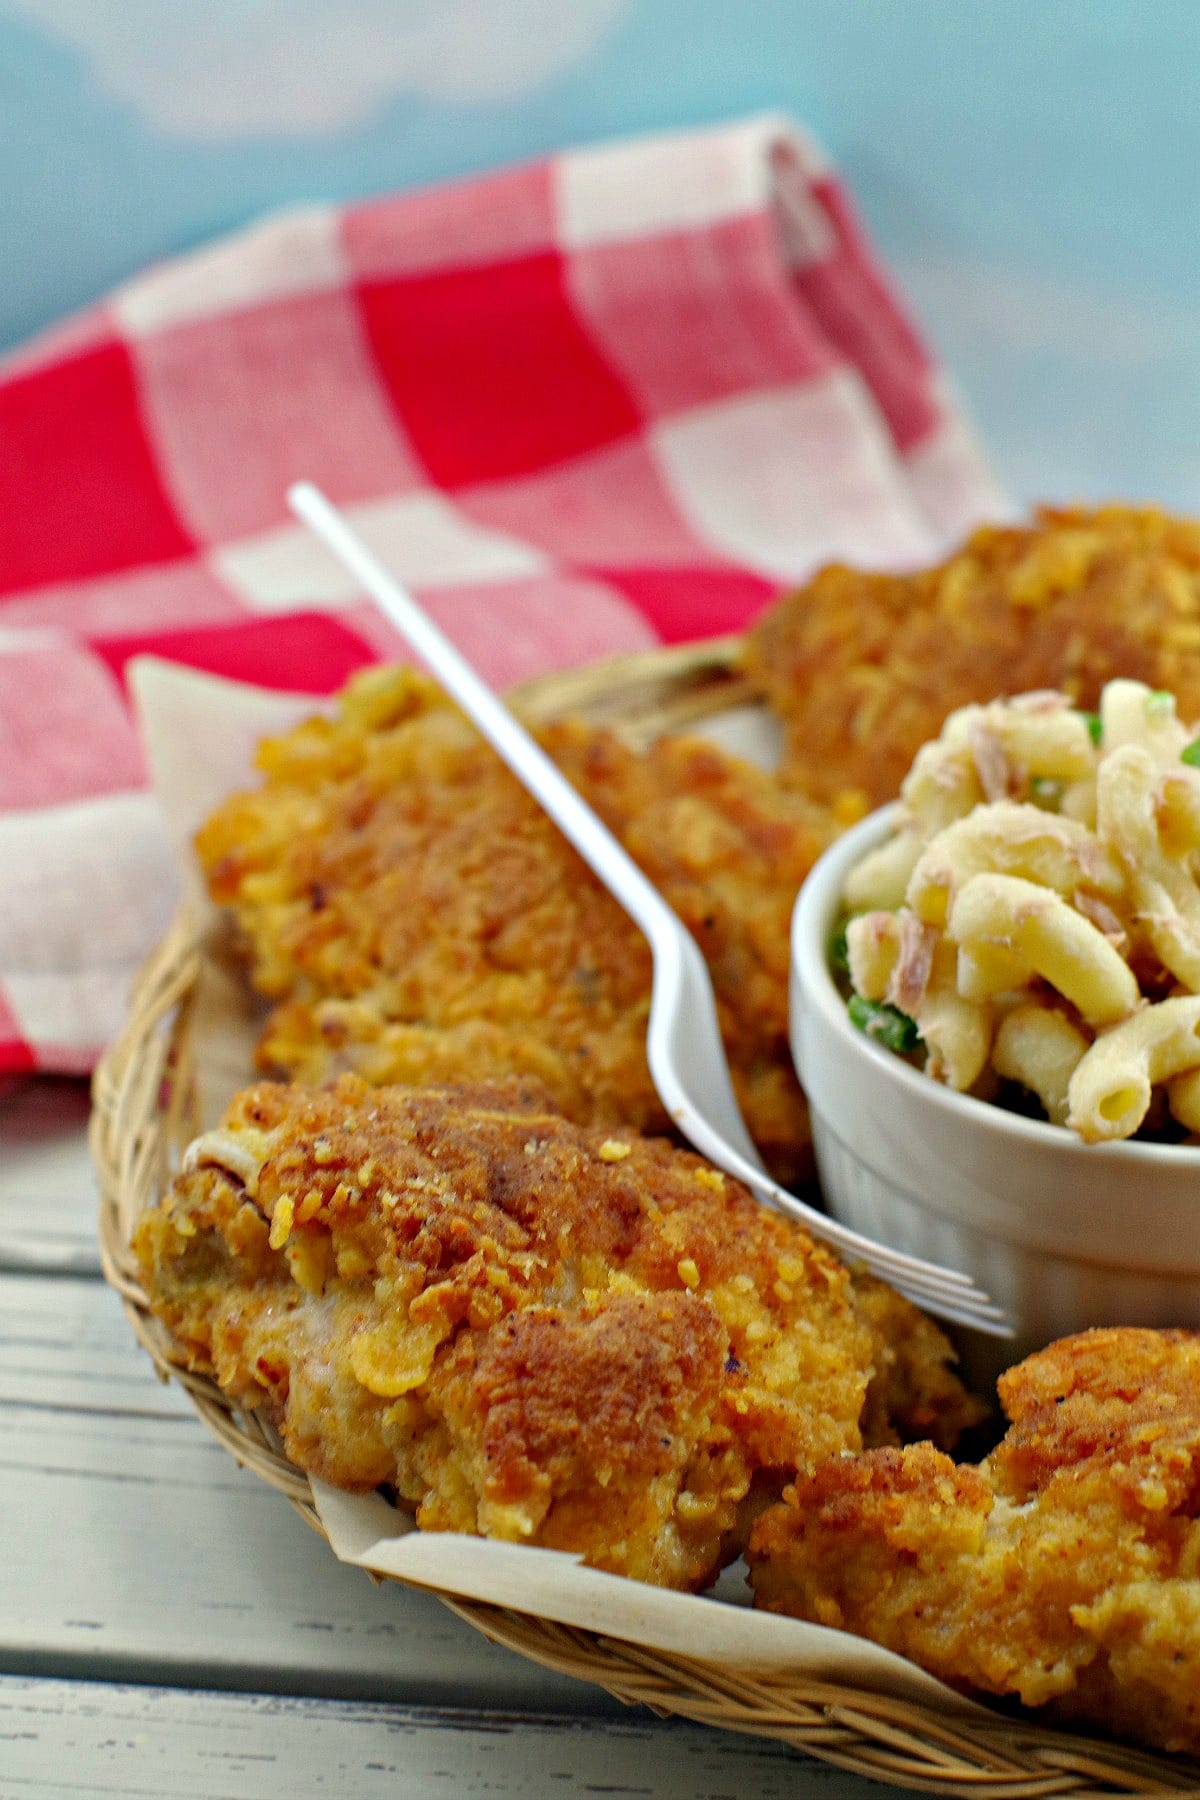
These pan-fried chicken thighs make an excellent picnic chicken or a great addition to your lunchbox because it's not greasy, it's portable and easy to eat. And eating in your vehicle may not exactly be a picnic, but eating lunch in my vehicle between meetings is pretty standard for me, so PORTABLE is a necessary lunchbox requirement. And it's also great lunch to send to school with the kids. They love having these leftovers in their lunchbox!
🌡️Storage
Store leftover fried chicken in an airtight container for up to 4 days in the fridge. This fried chicken can be frozen for up to 3 months in a sealed container. Eat cold or reheat in the microwave for about 1-2 minutes.
🥗 Side dishes
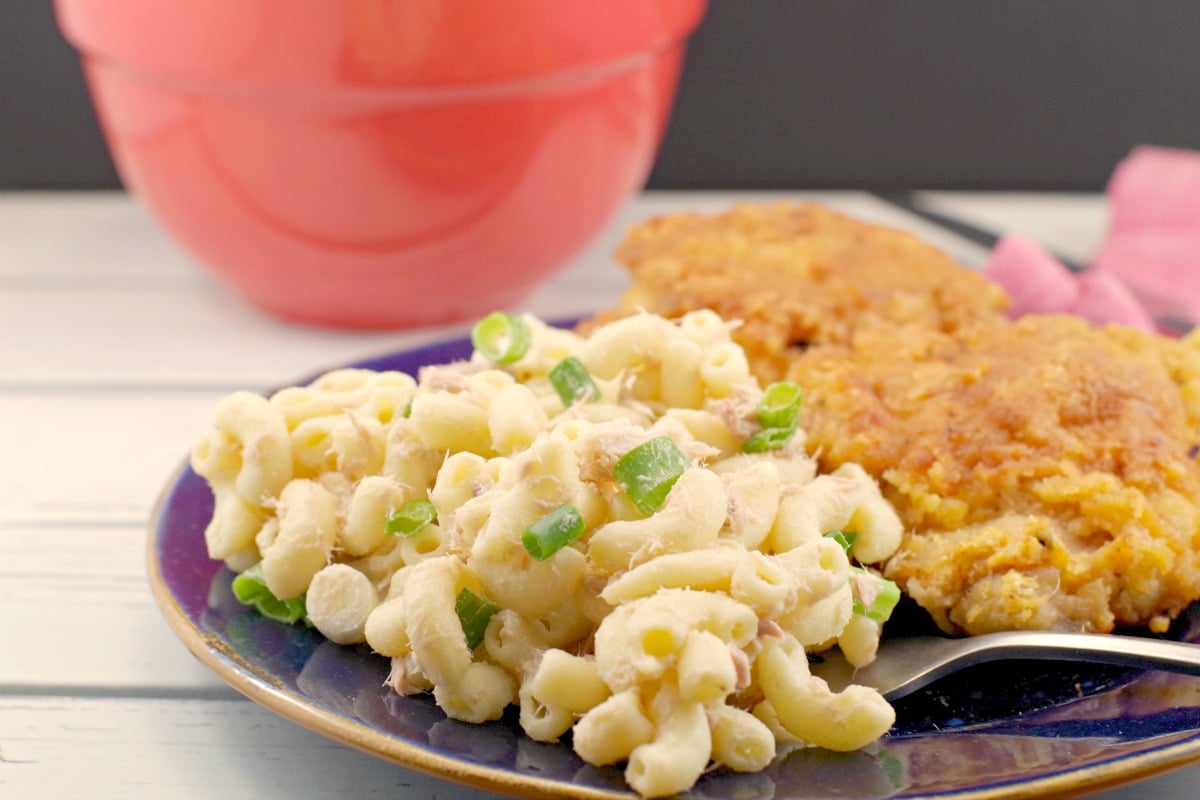
What to serve with fried chicken:
- Tuna Macaroni Salad (shown below)
- Your favorite salad- mine is: Spinach salad
- Greek Pasta Salad
- Easy Bean Salad
- Healthy Potato Salad
- Green beans
🦺FOOD SAFETY
- Cook chicken to internal temperature of 165 degrees F/ 74 degrees C
- Do not use the same utensils on cooked food, that previously touched raw meat
- Wash hands after touching raw meat
- Don't leave food sitting out at room temperature for extended periods
- Never leave cooking food unattended
- Use oils with high smoke point to avoid harmful compounds (canola oil, peanut oil, almond oil, olive oil, avocado oil, and high oleic sunflower and safflower oil.)
- Always have good ventilation when using a gas stove
See more guidelines at USDA.gov.
So if you also struggle with getting the inside of your chicken, as well as the outside, cooked to perfection or just want to do it faster, then give this easy fried chicken recipe a try! And if the skillet method and time are not issues for you, then go ahead and cook it the entire time in the skillet! It's still the best fried chicken coating/breading ever!


📋 Shortcut Fried Chicken (without buttermilk) Recipe
Equipment
Ingredients
- 8 chicken thighs
- 3 tablespoon vegetable cooking oil
Coating
- ½ cup Liquid egg replacement *I use Burnbrae farms Cheese & Chive or Garden Vegetable
Breading
- ¾ cup fine bread crumbs
- ½ cup all purpose flour
- 1 tablespoon salt
- ¼ cup parmesan cheese
- 1 tablespoon garlic powder
- ½ teaspoon pepper
- ½ tablespoon cajun seasoning
Instructions
- Heat oil in skillet on medium.
Coating
- Thoroughly coat chicken in egg replacement turning to cover completely.
Breading
- In a separate bowl mix parmesan cheese, bread crumbs, flour, salt, cajun seasoning and garlic powder.
- Thoroughly coat chicken in dry mixture
- Immediately transfer to hot frying pan and cook, skin side down, uncovered for approximately 5-7 minutes on medium high, until one side is brown and crispy.
- Turn gently and cook on other side for same time or until browned on outside. Cook about 5 minutes medium high on each side,
- Remove from skillet and microwave for 5-7 minutes until no longer pink. *7 minutes is the magic number for me!
- Cut to ensure inside is cooked, then drain off oil and juices and place on paper towel to absorb any remaining oil.
- Serve hot or cold!


linda says
This looks good ,are you using bone in or boneless?
Terri Gilson says
Thanks, Linda! I usually use bone in thighs, but have used boneless. I just find the bone in better for fried chicken! Enjoy!
Michelle Miller says
Can't get enough of that fried chicken! Such a beautiful recipe!
Terri Gilson says
Thanks, Michelle!
Farah Maizar says
Easy fried chicken! Sounds like a winner. I love the step by step photos!
Terri Gilson says
Thanks, Farah!
Jimmy says
I too have trouble getting chicken done all the way through but instead of microwaving try boiling chicken first. Let it cool n cook according to recipe without the microwave..tks,
Emma says
Regardless of how you cook it this fried chicken looks pretty damn delicious to me! You had me drooling when describing that coating!
Terri Gilson says
Thank you, Emma! The coating is really good- it took a long time to perfect 🙂
Brian Jones says
What an interesting recipe, unlike any fried chicken I have come across before, definitely looking forward to trying this.
Terri Gilson says
Thanks, Brian. Hope you enjoy it!
Natalie says
I love fried chicken! Looks so crispy and delicious - perfect for BBQ season.
Terri Gilson says
Thank you, Natalie!
Terri Gilson says
Natalie - yes, it's great to bring along to a potluck BBQ or picnic . Thanks!