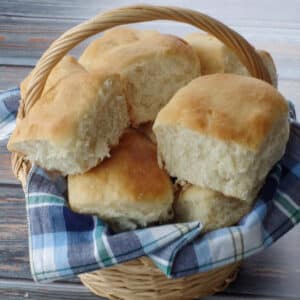
I love the name Granny buns because these truly are my Granny's buns. These Old Fashioned Dinner Rolls are the ones she made all the time when I was growing up. They would be at all holiday family dinners and they were highly coveted. These homemade Granny buns are light, fluffy, soft, and taste heavenly!
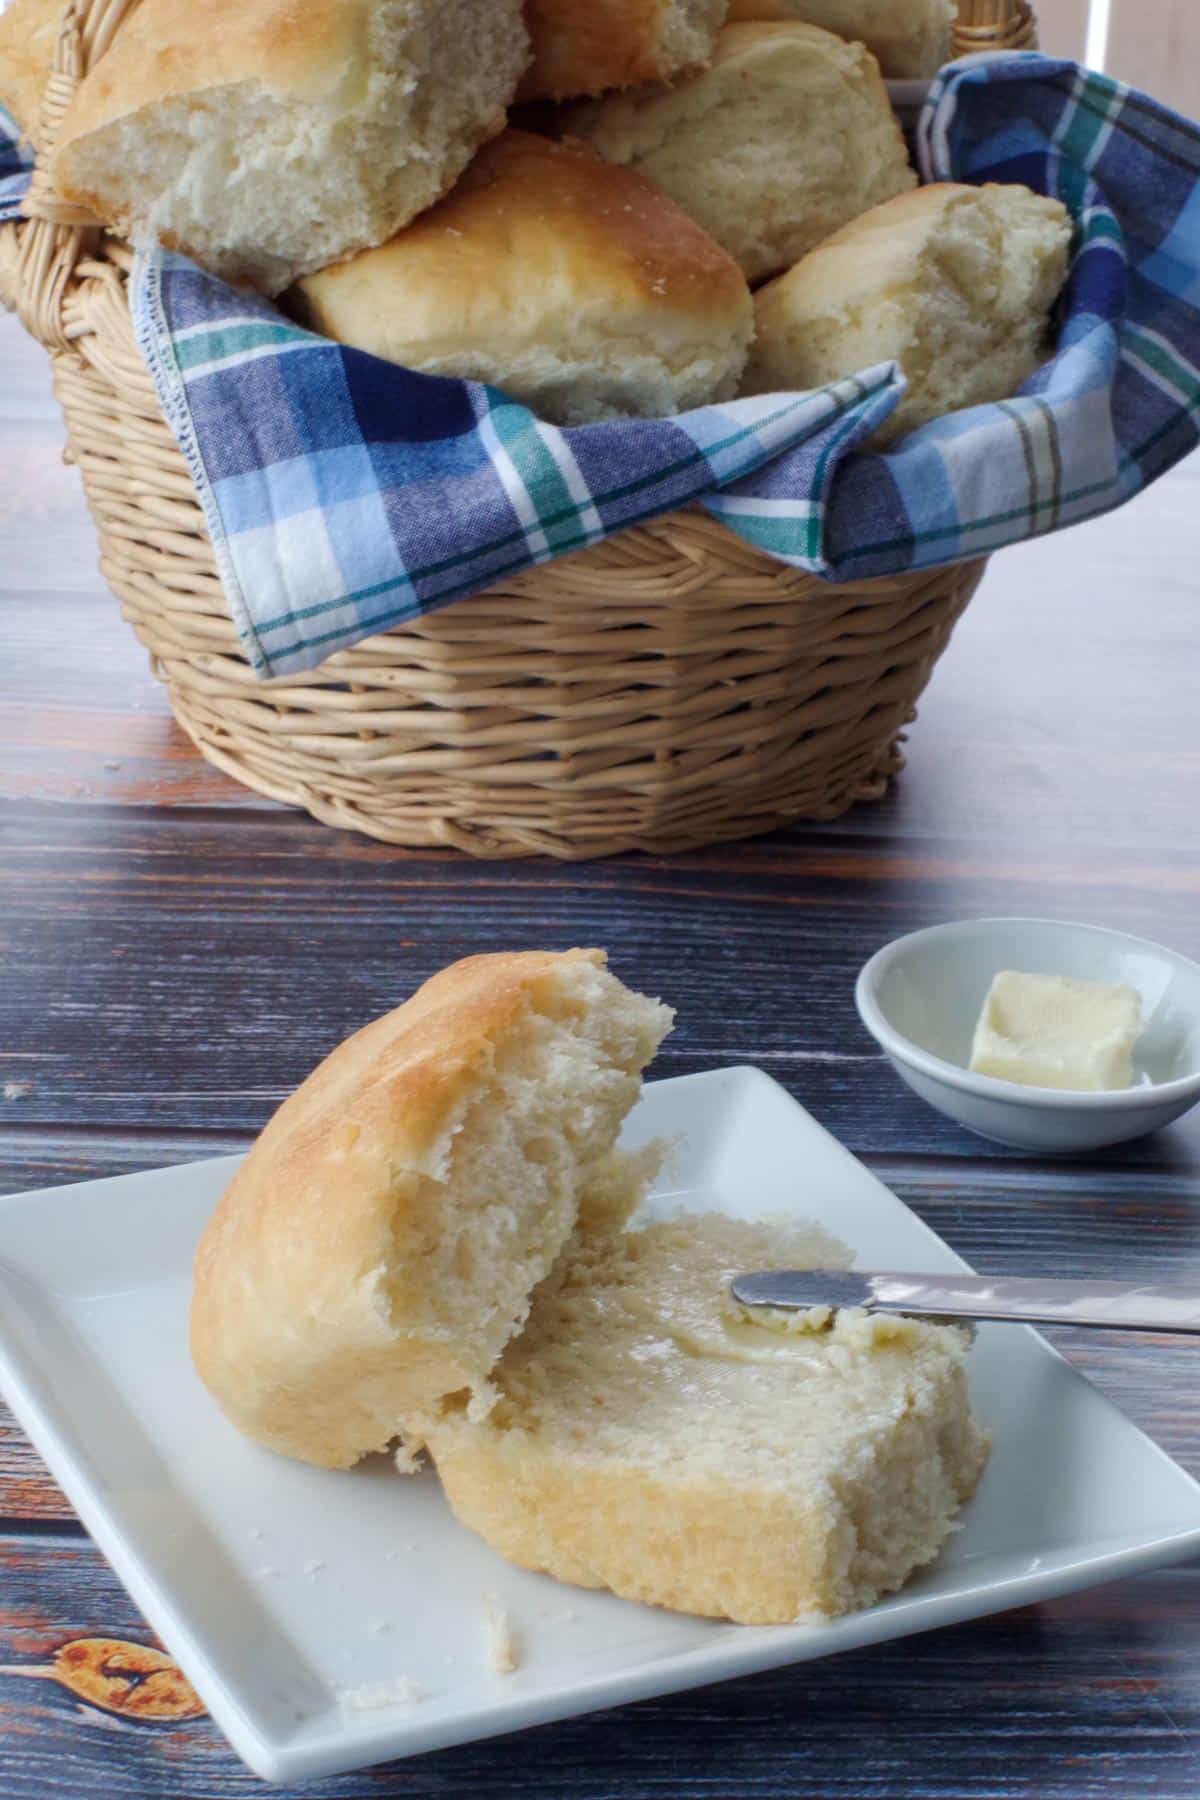
These fluffy dinner rolls are popular during holiday dinners such as Thanksgiving dinner, Christmas brunch or Easter brunch , but are great for any time of the year. They are also ideal for bringing along to a potluck, family gathering or a backyard BBQ~!
Jump to:
A few years ago, my Grandma and I were talking about great recipes and she told me I just had to make these dinner buns! I didn't even realize they were the buns she was talking about. And now that she has passed away, it's even more special for me to be able to carry on the tradition and make her buns.
Once in a while she used to tell me that I just had to make a recipe and the last time my Grandma told me that, it was our family's Old Fashioned Date Nut Loaf she was referring to. And I was completely and unexpectedly blown away by how good it was! Was she ever right about that. So of course I couldn't resist making these grandma buns.
🥘 Ingredients
Although I make a lot of bread in my bread machine, there is nothing, in this world as divine as the smell of yeast and fresh buns baking in the oven! Personally, it brings back some of the most wonderful baking (and eating) memories from my childhood. My aunt loves this nostalgic aroma so much that she makes them just for that reason, even though she's celiac and can't even eat them!
Yeast is the key ingredient but these dinner rolls have all the other usual suspects like water, oil, flour, and eggs. but it's the additional sugar that makes them special. They are a little sweeter than your typical homemade roll.
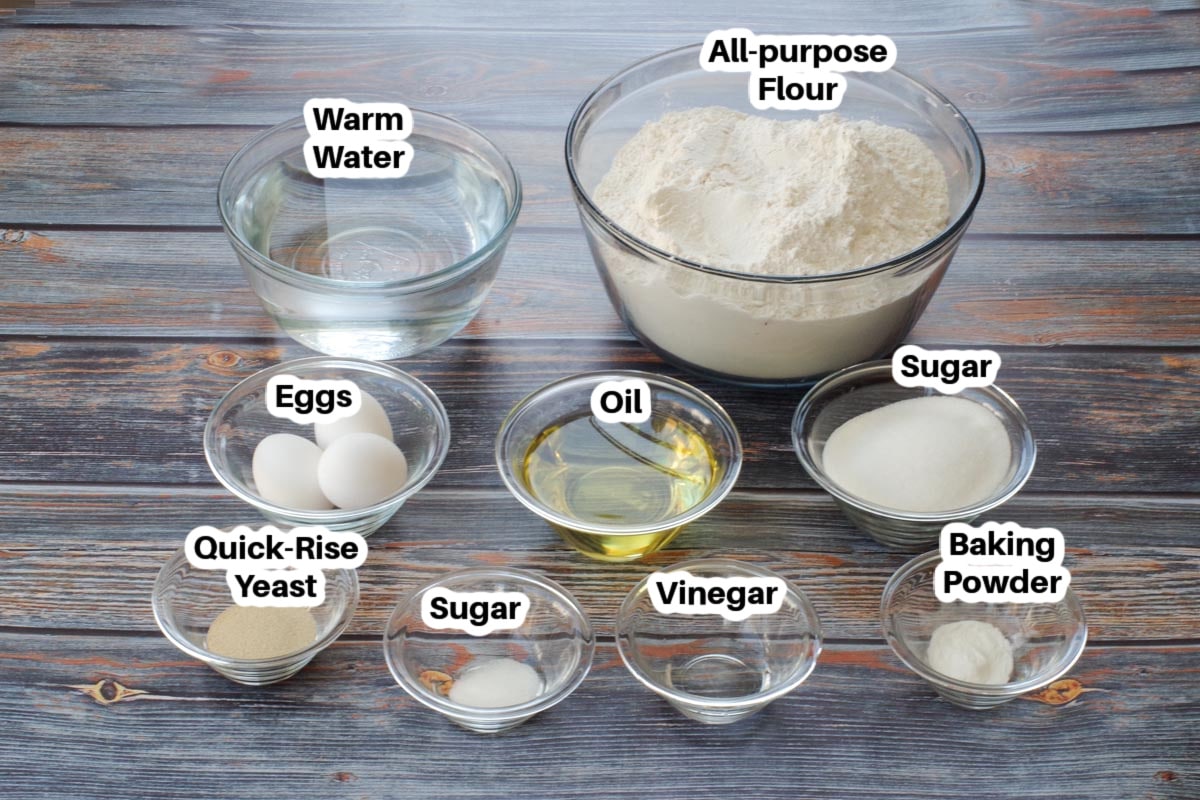
For this bun recipe, you'll need:
- warm water
- white granulated sugar
- quick-rise yeast
- eggs
- cooking oil *I use canola oil
- white vinegar
- baking powder
- all- purpose flour
- melted butter (optional)
When I told my daughter I could officially be a granny now because I made these Granny buns, she laughed and said I didn't have to worry about that. Apparently I already make so much old fashioned foods I'm well on my way... haha!
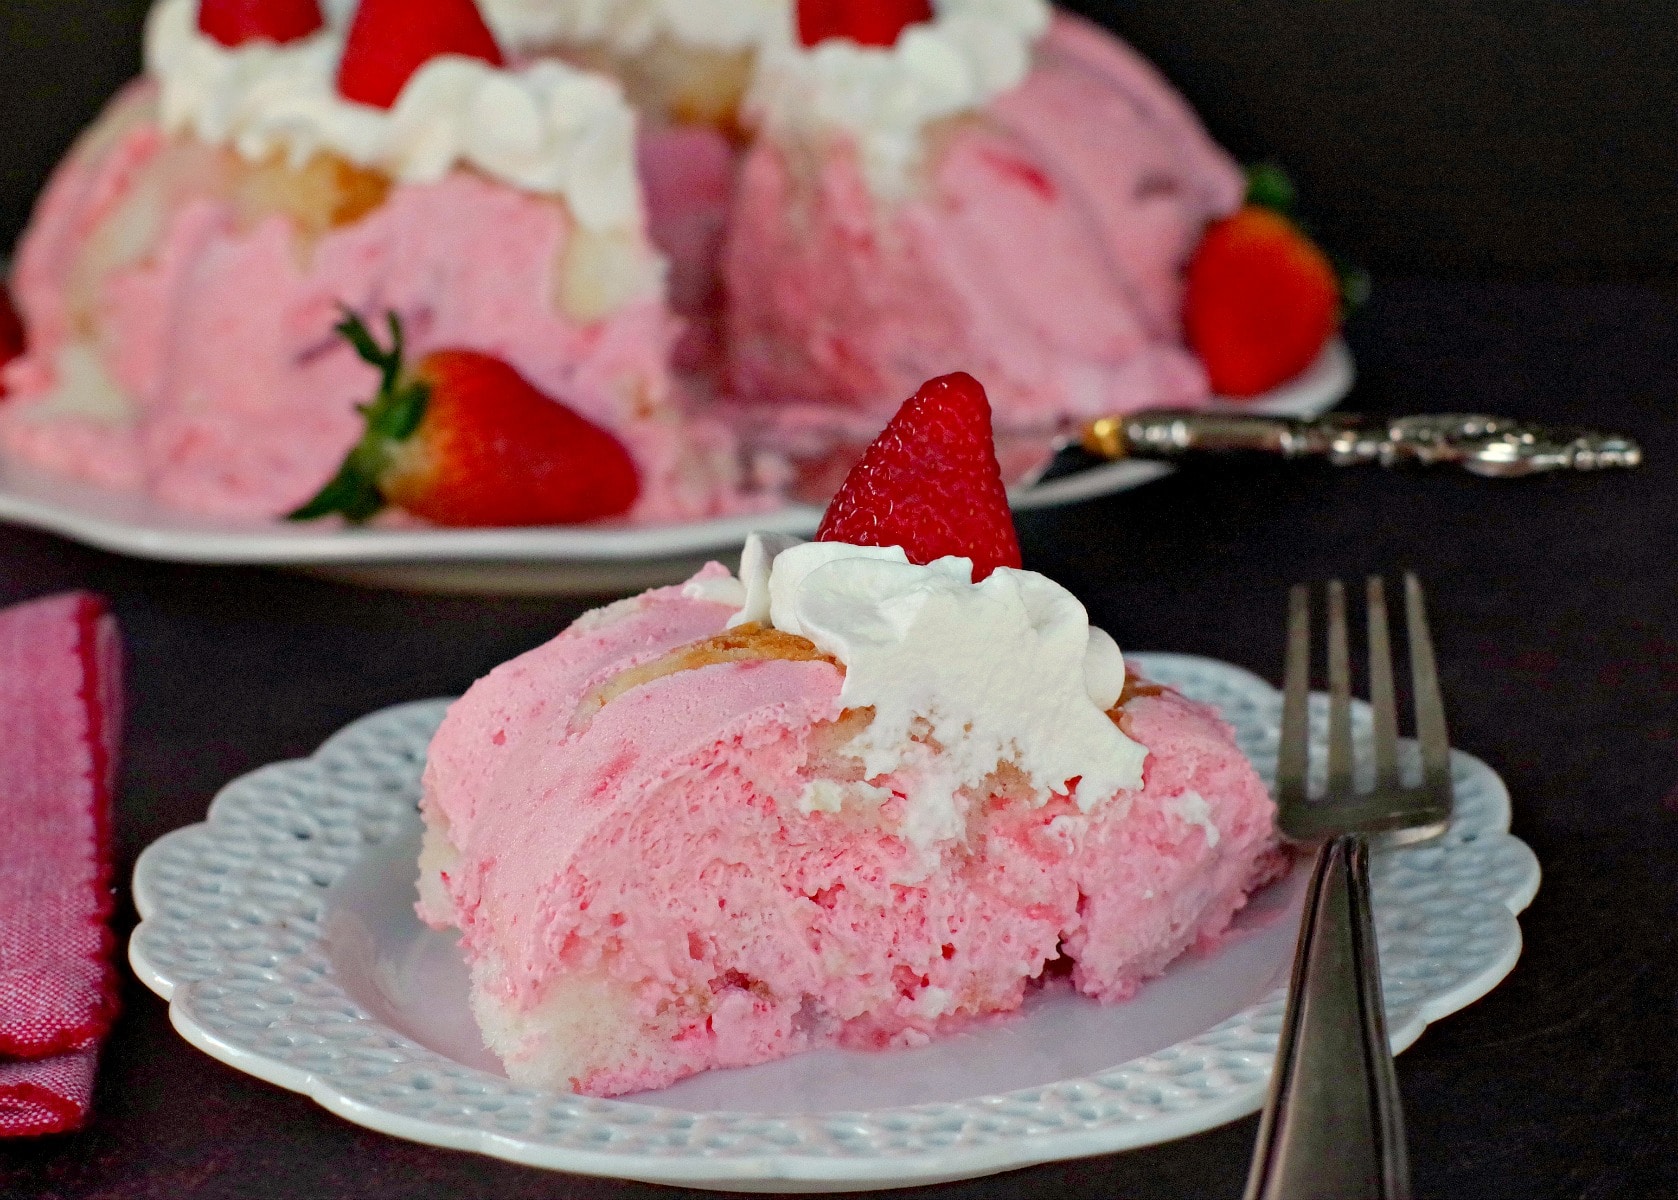
And when I think about it, I guess she's right. My Strawberry Jello Angel Food Cake, (shown) Pistachio Fluff and my Chocolate Mayonnaise Cake are all pretty retro. And I'm sure there are many more that I just can't recall right now.
🍽Equipment
You will need a stand mixer (preferably with a dough hook). You could use a hand mixer (as you can see I did in the photos because I was too lazy to get out my stand mixer), but I don't recommend it. You will need to stop using the mixer in the middle of the process and it will require a lot of manual labor. You'll also need a very large mixing bowl, measuring cups, and a 9x13 baking dish (metal lasagna pans work best- do not use glass) to make these dinner buns. *See recipe card for recommended equipment photo and links
🔪Instructions
Okay, so I'm going to be very honest - this is a day job! These buns are very time consuming (4-5 hours) not including clean up. But they are also sooo worth the effort! So if you're up for a challenge or for simply enjoying some zen baking (and have some time on your hands), then this recipe is for you. If you are in a hurry, do not make these!
I have very detailed step-by-step instructions because it can be tricky to get it right, especially if you're not a seasoned bread maker.
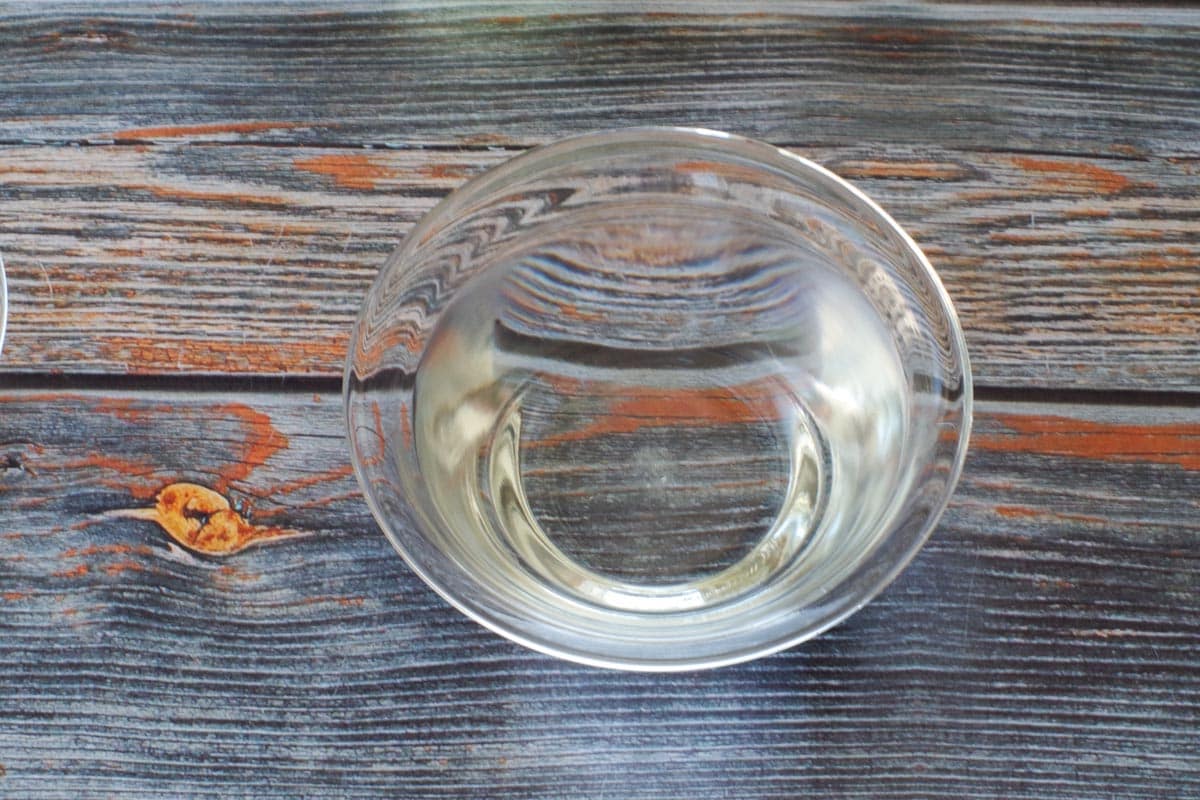
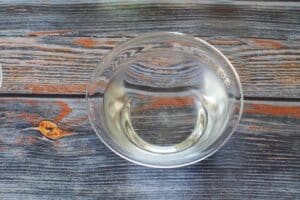
Dissolve 1 teaspoon sugar in 1 cup water.
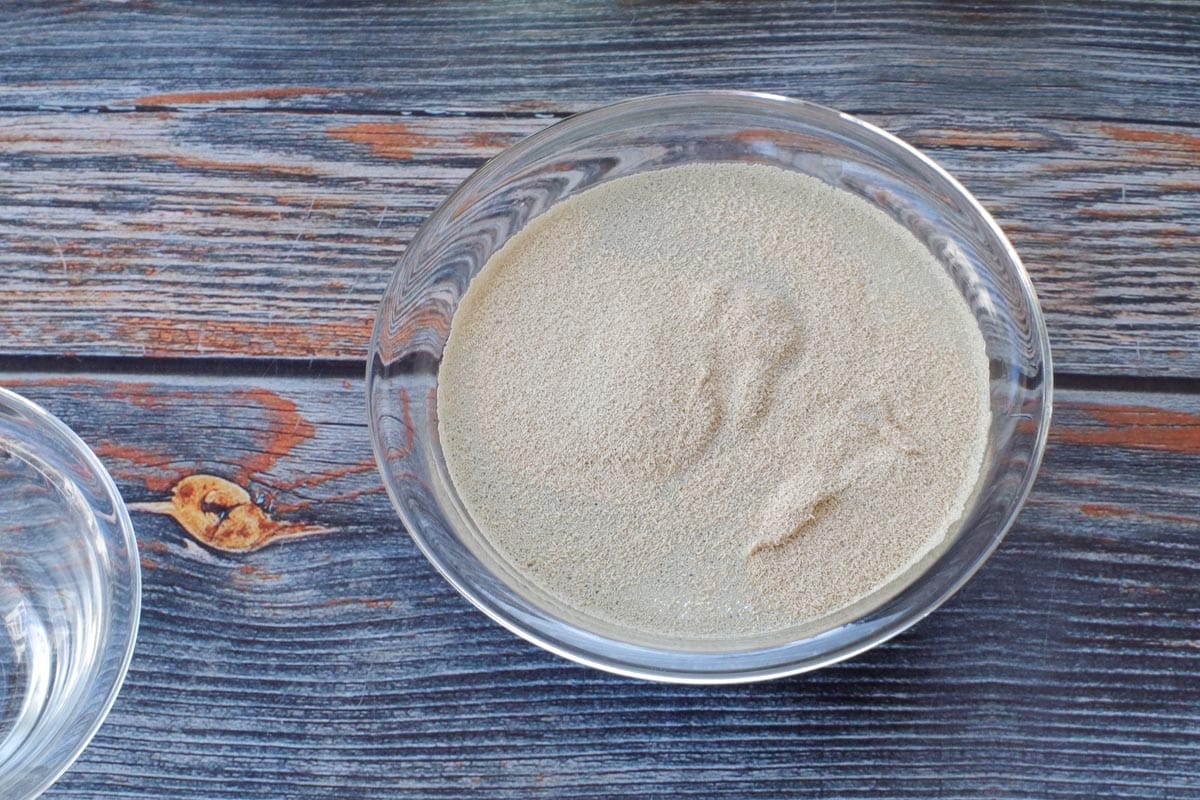
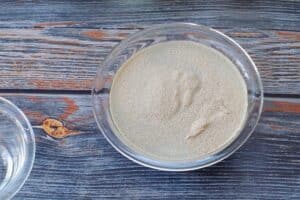
Sprinkle yeast (do not stir), then let stand for 5 minutes.
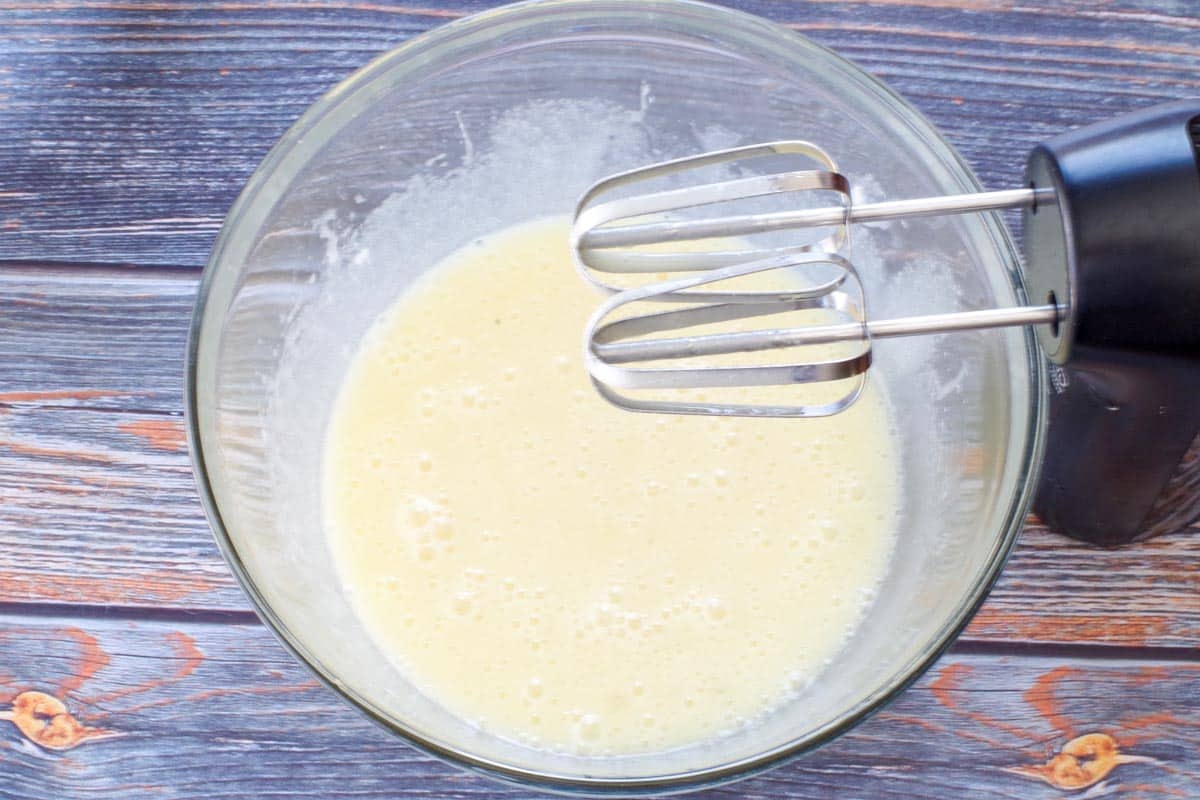
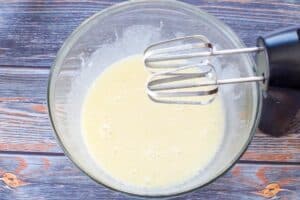
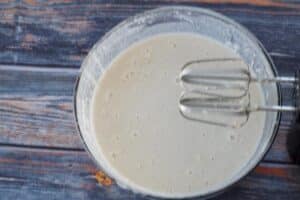
Meanwhile, in a large bowl (or bowl of a stand mixer), beat together: 3 eggs, 1 cup oil, 1 cup sugar, 1 teaspoon baking powder, and 2 tsps vinegar.
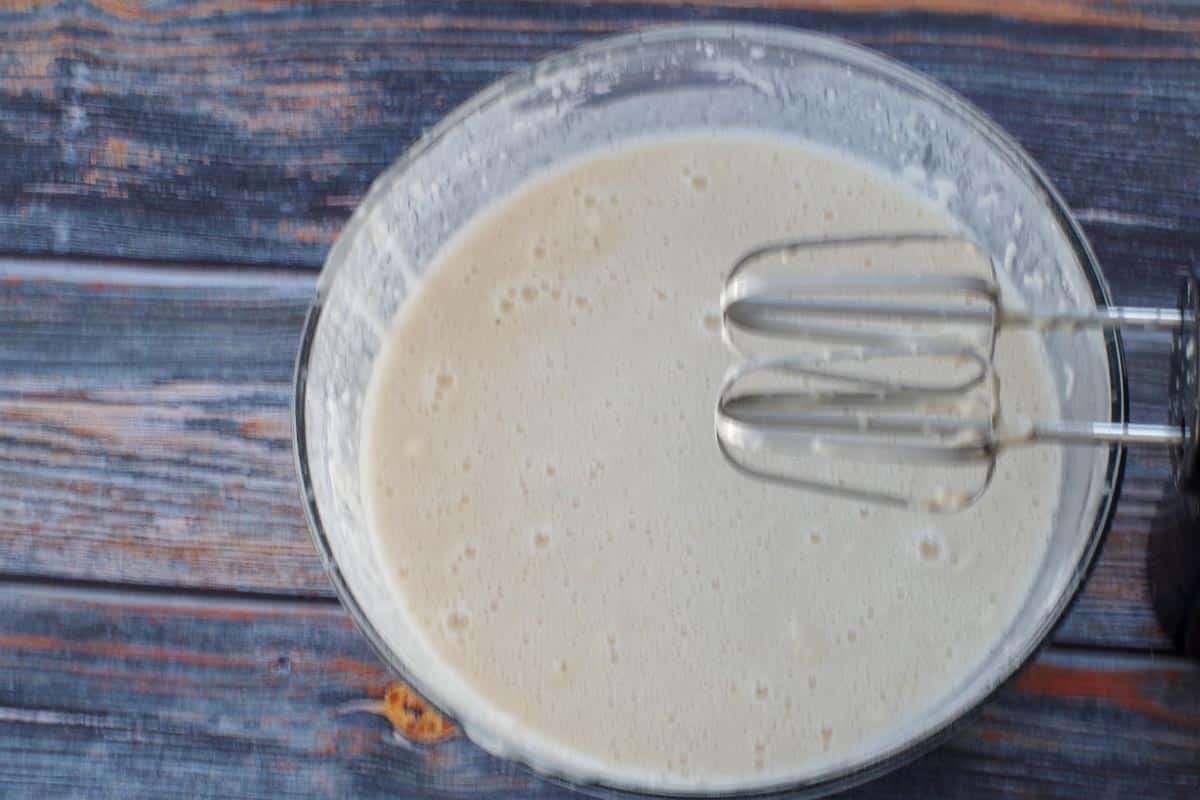
Add yeast mixture to egg mixture.
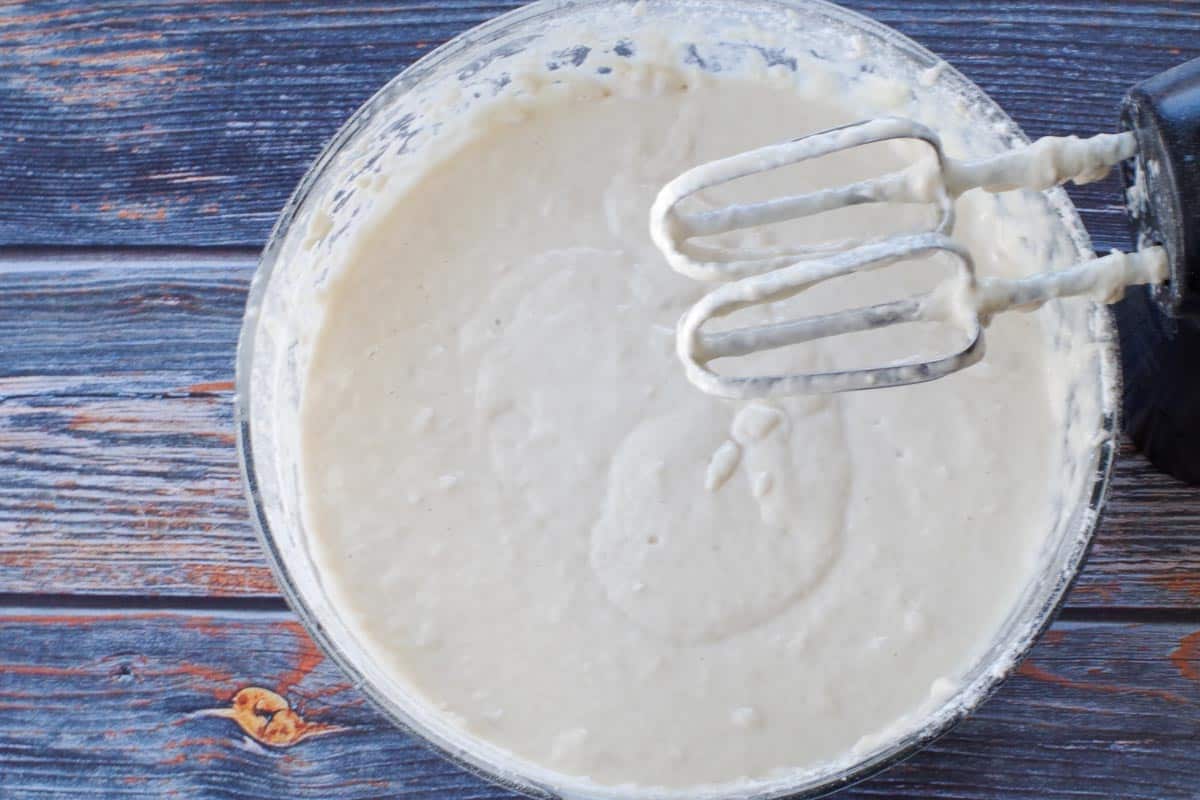
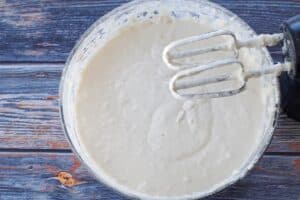
Add 4 cups warm water and 4 cups flour. Beat well with an electric mixer for about 2 minutes on low speed.
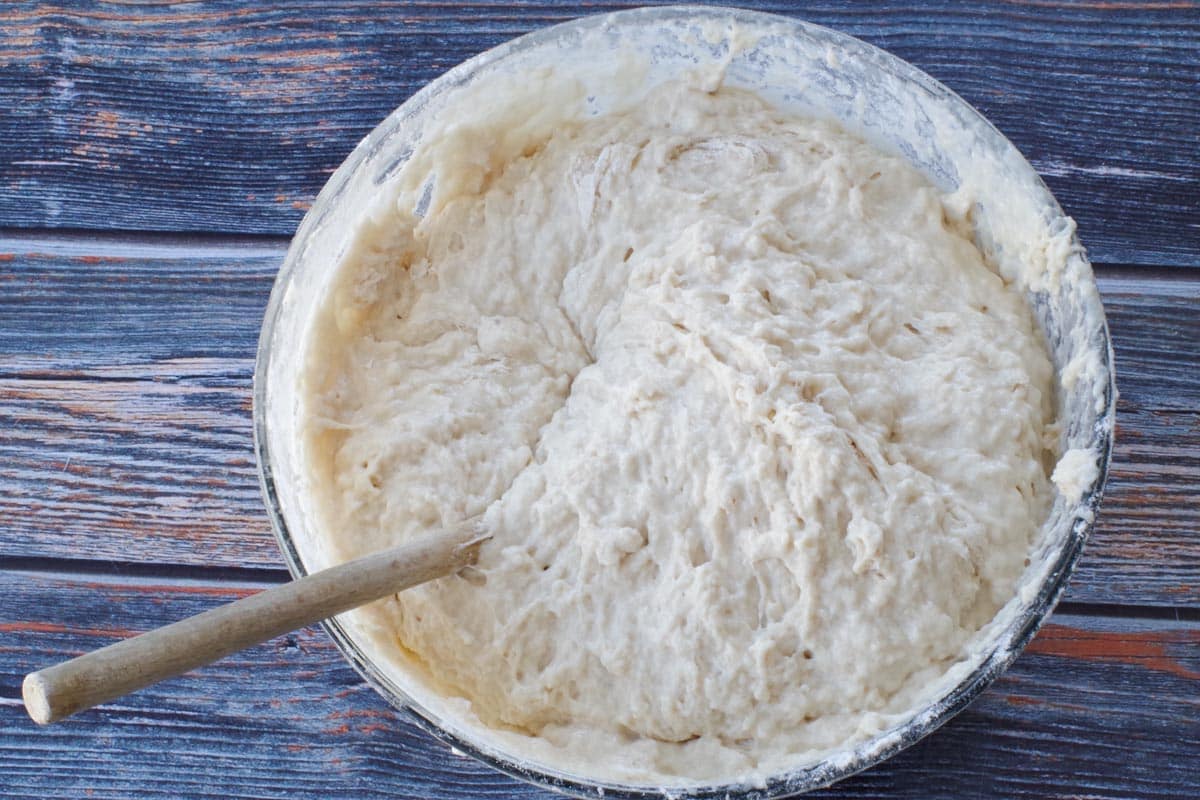
Add 6 more cups of flour and mix well.
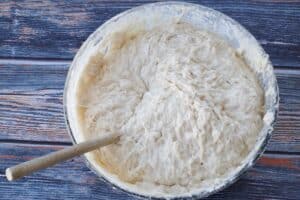
* If you are using a hand mixer, switch to a spoon at this point.
*If using a stand mixer continue to mix with mixer
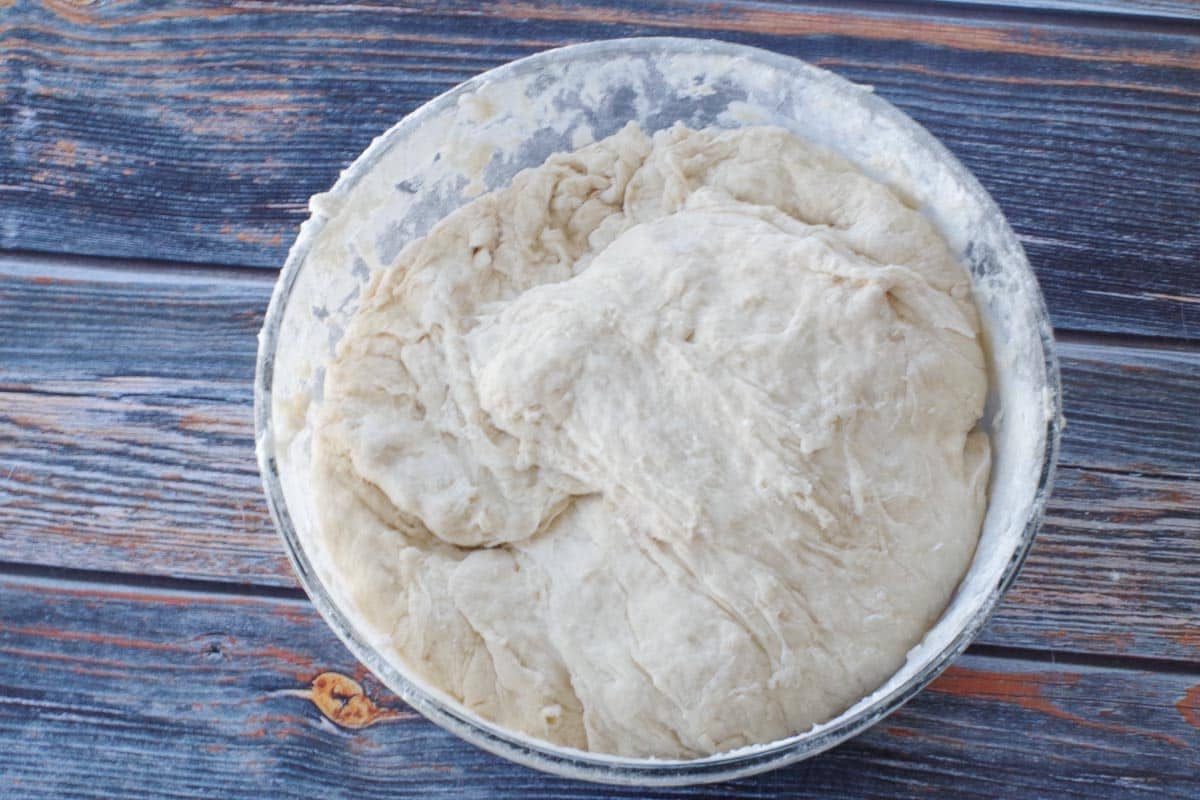
Then add more flour (½ cup at a time) until dough is soft and spongy **I added about about 1 ½ additional cups flour in addition, but you may not need as much flour (or you may need more)!
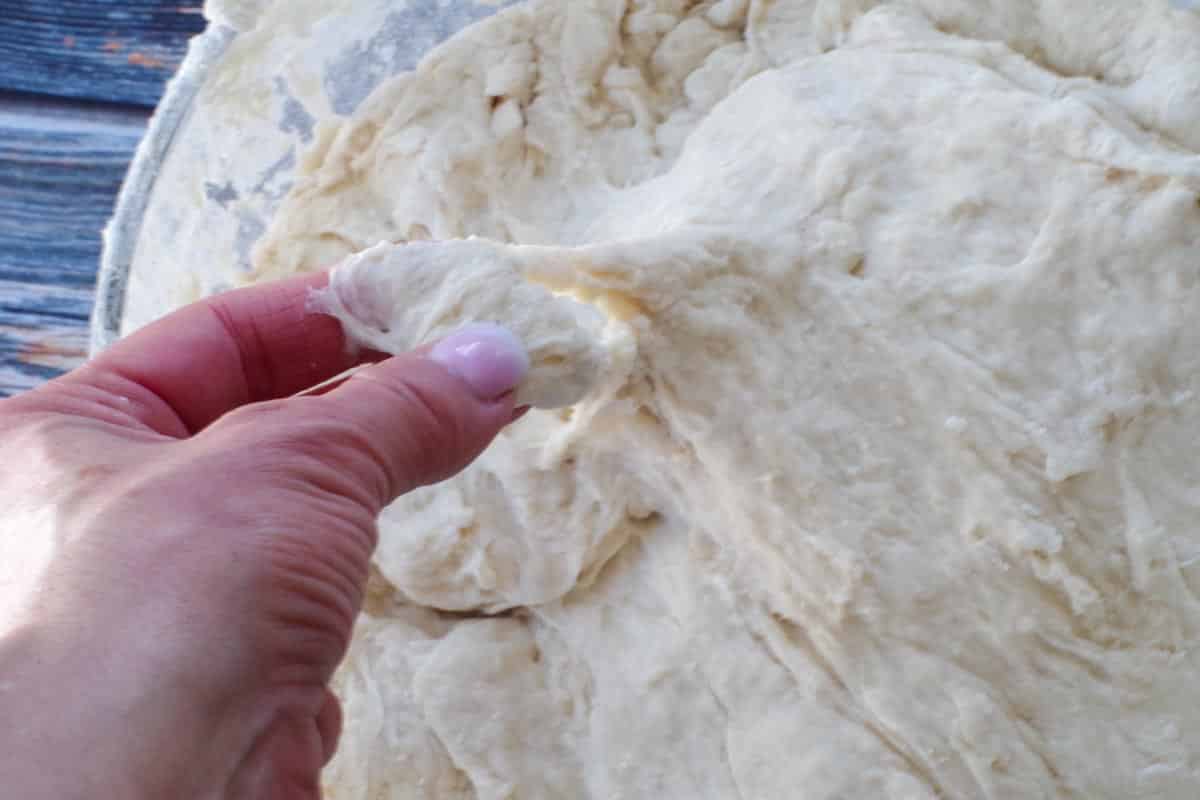
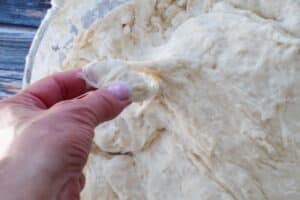
But it will depend on how the dough feels soft and spongy. *you don't want it to be sticky - it should come away from your fingers.
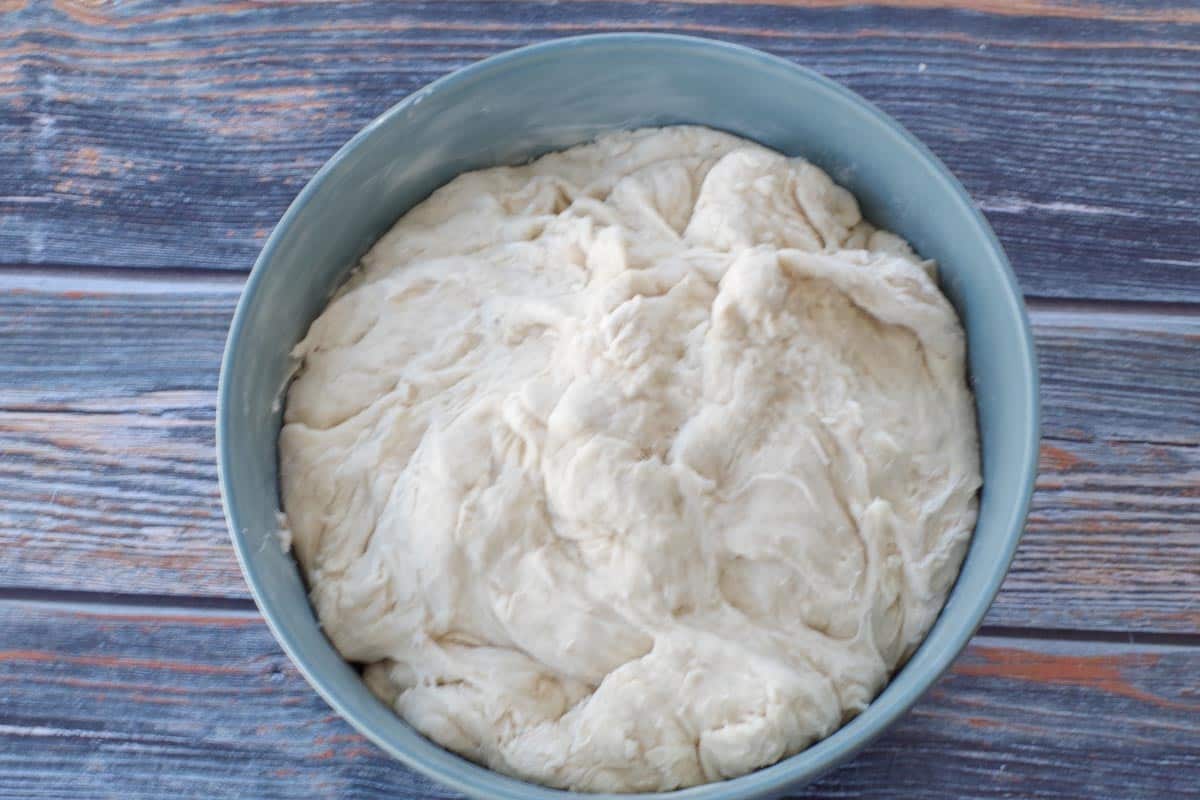
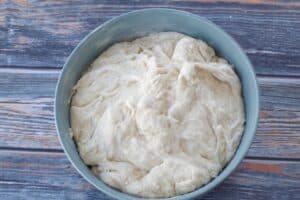
Grease the inside of a large bowl and place dough inside greased bowl (Make sure to grease the sides of the bowl).
Cover with a clean kitchen towel and place in a draft-free warm place
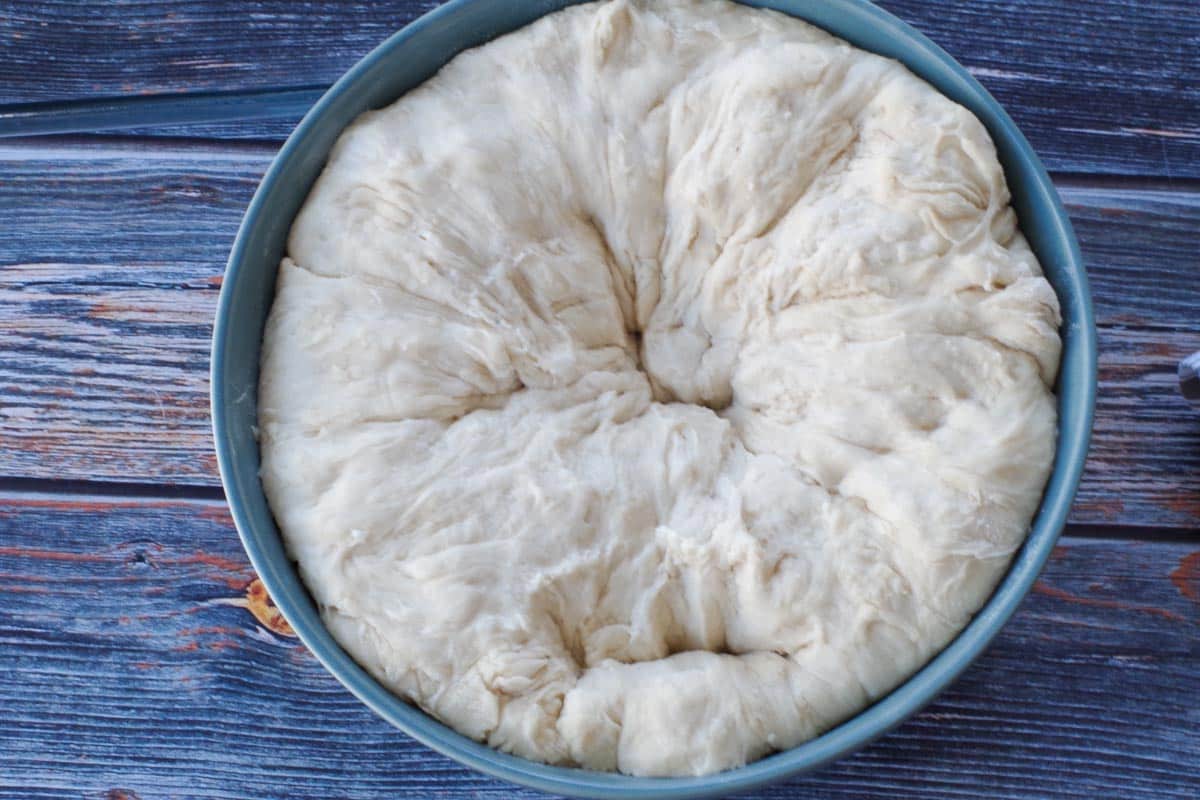
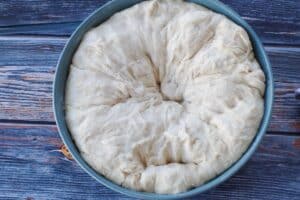
First rise: Allow dough to rise for 20 minutes, then punch down (See VIDEO in NOTES for how to punch down dough)
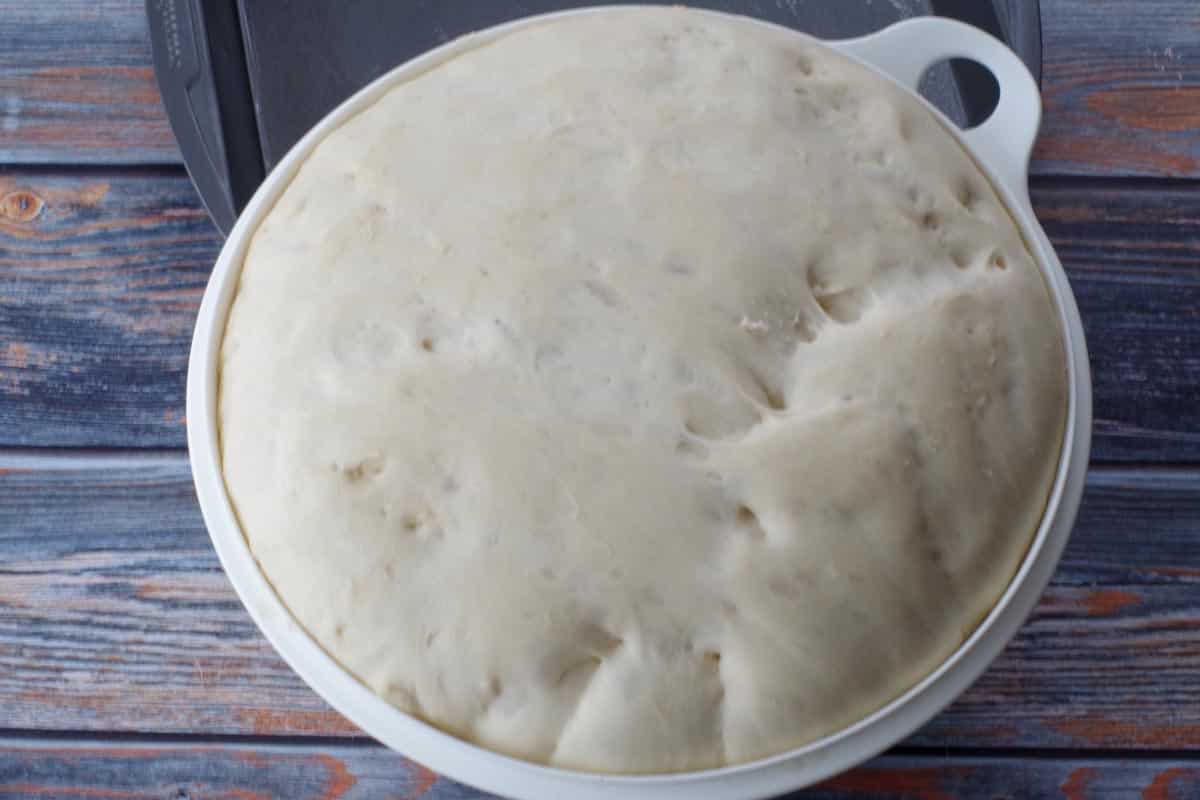
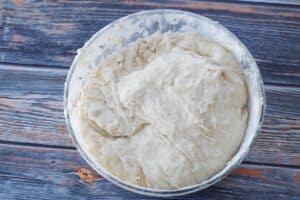
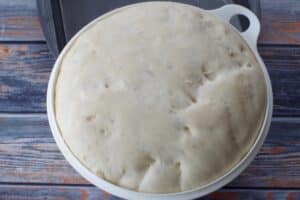
Second rise: Let rise again in a warm spot, until double in size (this takes about an hour)
*You will likely need to move it to a larger bowl
*If you plan to freeze part of the dough, remove it now and place it in a labelled Ziploc freezer bag and freeze it for up to 3 months.
When it's defrosted at room temperature, you can go on to the next step and form it into balls, then rise agian and bake as per directions.
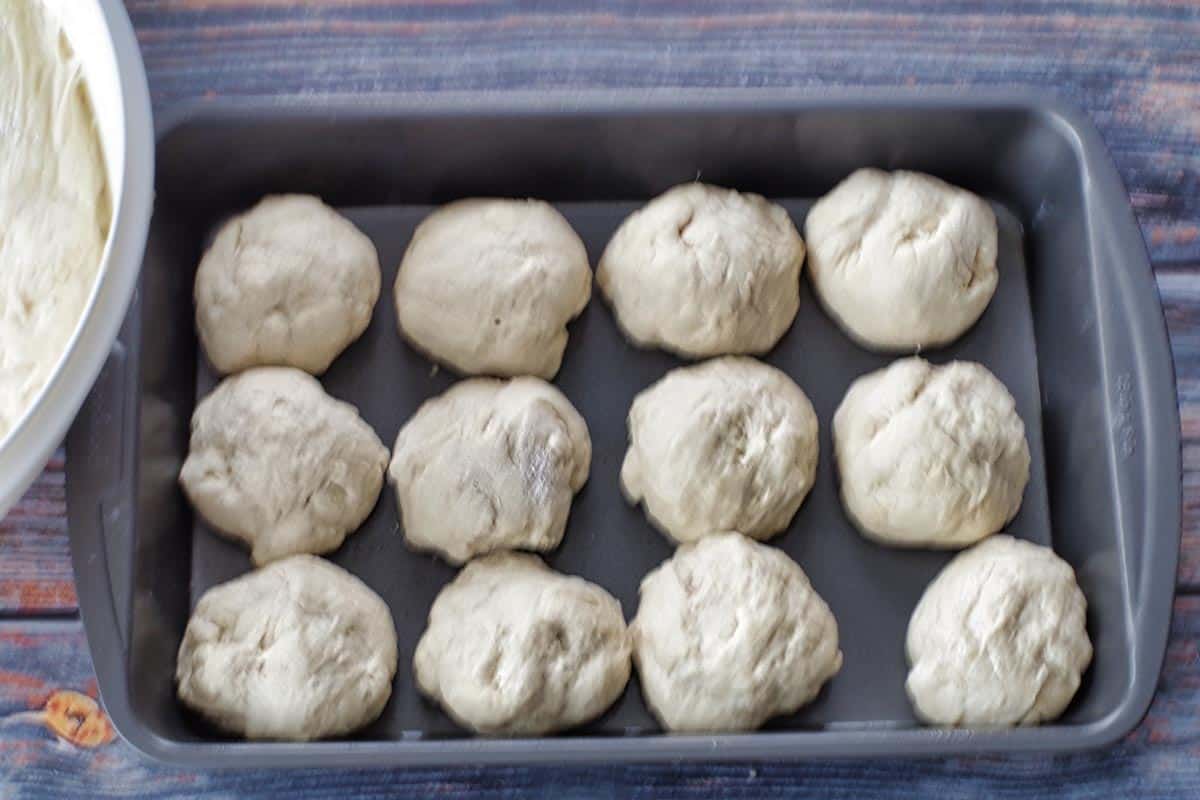
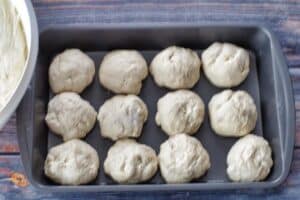
Spray two to three 9X13 pans with non-stick cooking spray and form the dough into a dough ball.
Take enough dough so that you can make the size between a golf ball and a tennis ball.
Make it into a round(ish) shape and place in greased pan (you can grease the pan with butter or use PAM -I use PAM)
*You can make them smaller if you want to get more buns out of them
Keep making dough balls until the dough runs out but only put 12 per pan.
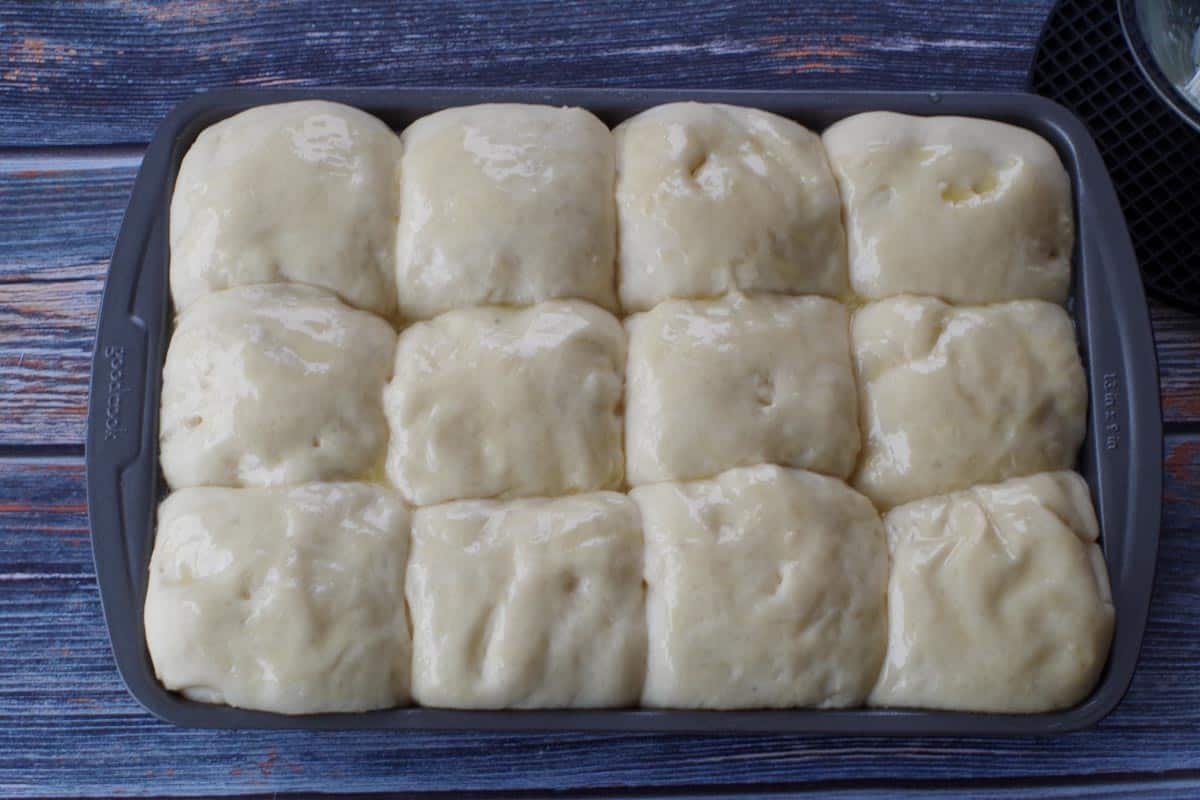
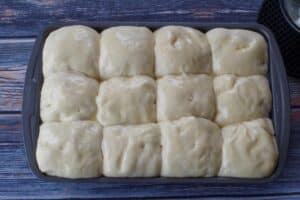
Cover with a clean towel and let rise for 2 more hours!
*This is how they should look after this final rise
Preheat oven to 350 degrees F/176 degrees C
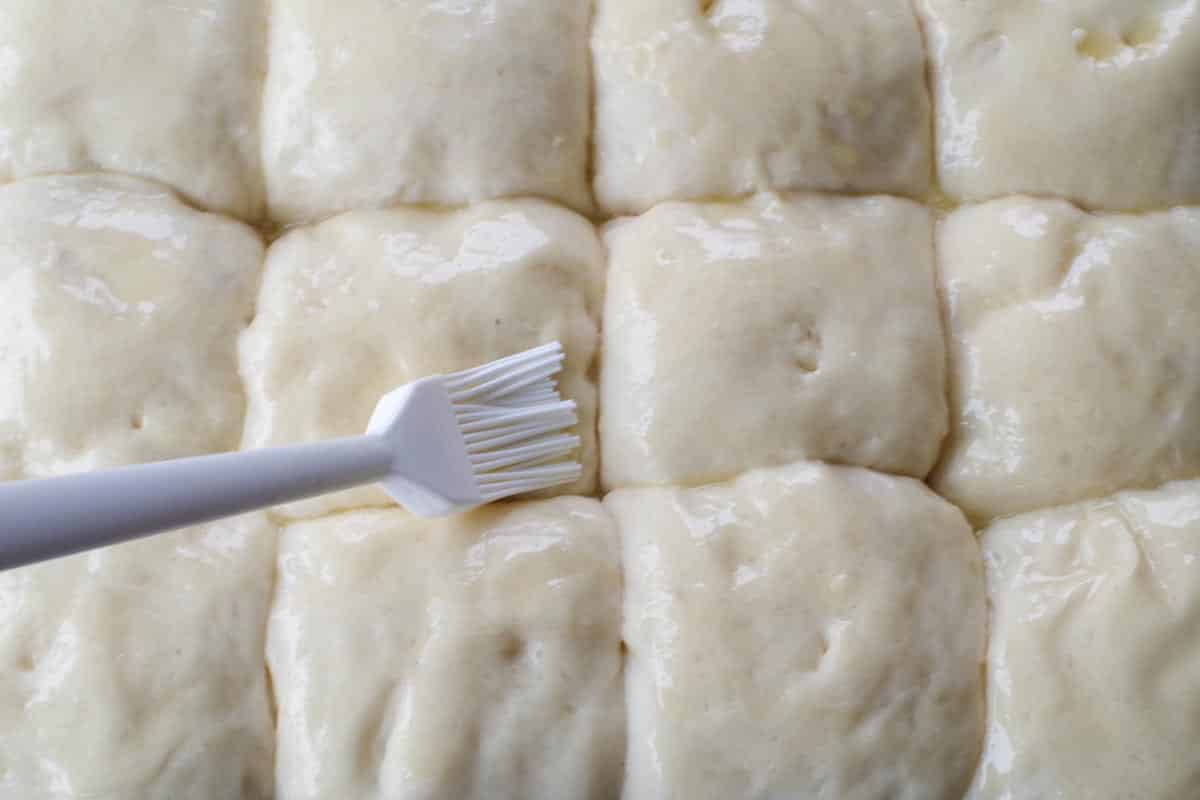
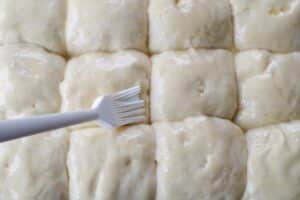
Optional: Use a pastry brush to brush tops with a little butter before putting buns in the oven. (I did this!)
.* Some may brown a little darker than others, depending on how the butter is distributed
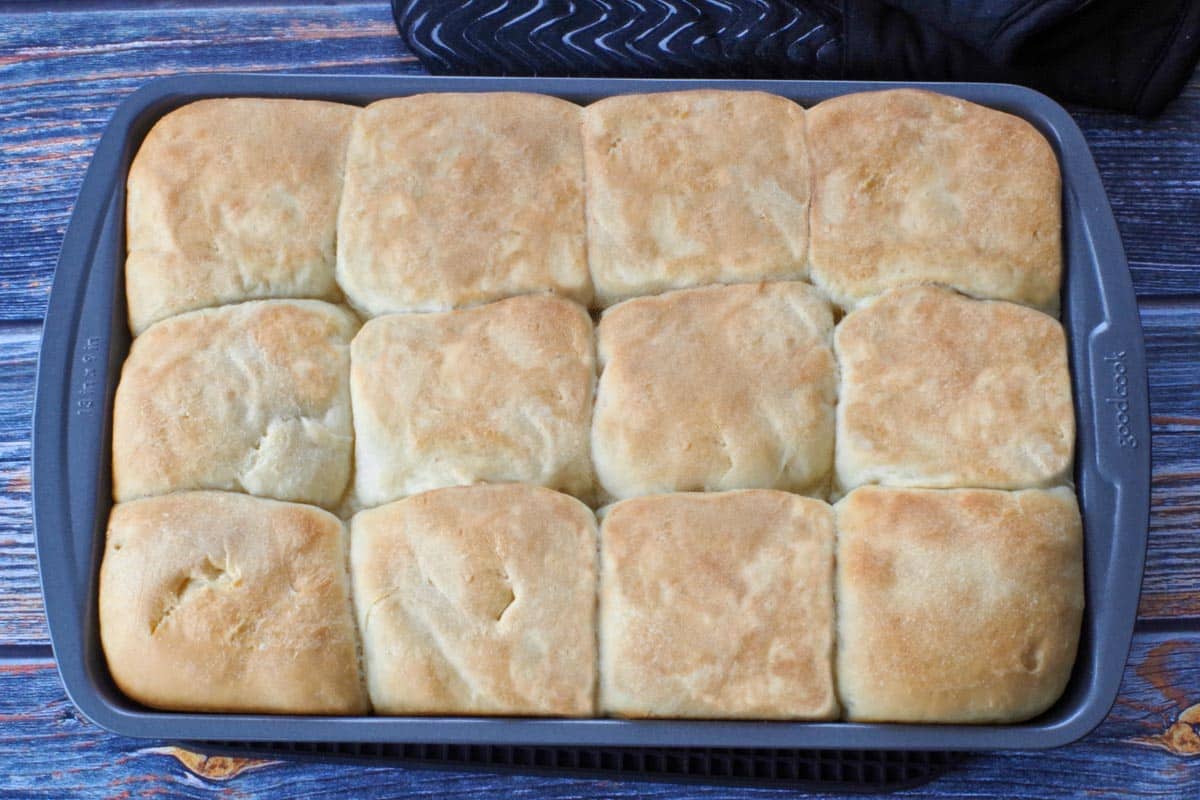
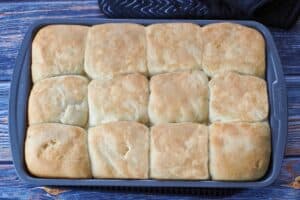
Bake at 325 degrees F/176 degrees C for 20-25 minutes or until golden brown
Cool for 10 minutes in the pan, then remove and place buns on a cooling rack.
🌡️Storage
Store these leftover dinner rolls in an airtight container at room temperature for up to 5 days. If you are just storing them overnight, you can keep them in the pan and cover it with plastic wrap.
🌡️ Can they be frozen?
Yes, these homemade dinner rolls freeze well. After they are completely cool, I put leftover rolls into a large ziplock bag and freeze them for up to 3 months (you could even push it to 6 months).
You can also freeze the dough. You'll want to do this after STEP 11 (the second dough rise)
It's best to defrost them at room temperature, but you can put them in the microwave for 20 seconds to defrost them if you need them STAT (as I just did while I was writing this post 🙂 )
👪 Servings Size
This homemade rolls recipe makes about 3-4 dozen (36-48 buns) but that depends on how large you make them. If you make them the size I did, you'll get 36, but you can make them smaller and get up to 48.
🎥 Video
VIDEO: How to punch down dough
When you are preparing these buns, be sure have a look at the video, as it shows you how much you should "punch down" the dough. I'm not sure about you, but I have a tendency to 'overpunch'; it's a good way to release tension 🙂
Punching down is actually an antiquated term, as artisan bakers prefer to treat dough more gently, pressing and gently deflating it rather than punching it.
To punch down dough, transfer it to a lightly floured surface, then use your fingertips to gently press and stretch it. Again, see video. This “punching” helps remove some of the bubbles of gas that have formed thanks to the yeast during the rising period.
Gently deflating them gives the bread a finer texture. It also redistributes the cells of yeast and moisture so that they can ferment and rise during the next rising period.
🥗 Pairing
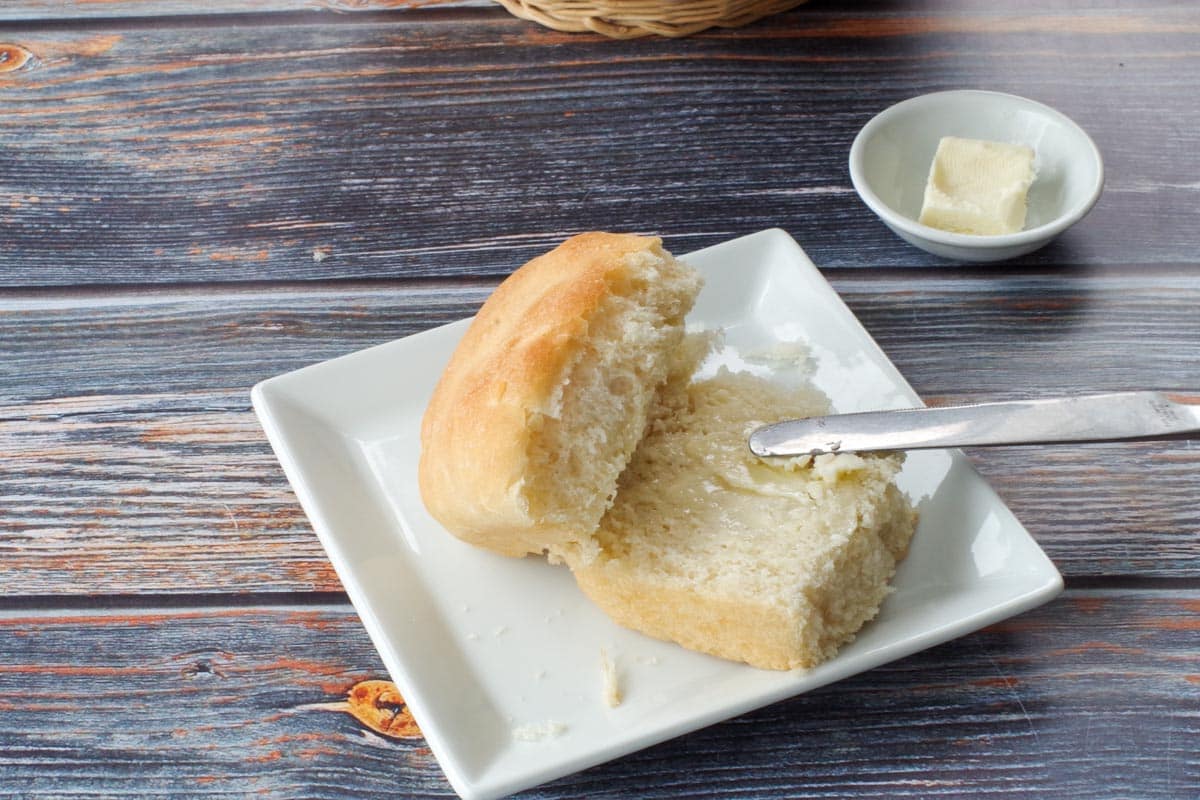
Old Fashioned Buns go with just about ANY meal, especially a big holiday meal! I also love to eat them slathered with butter (or in our house we eat my daughter's dairy-free Becel Vegan margarine) and they still taste amazing! They also make a great sandwich bun and pair well with soups, stews or chili and salads.
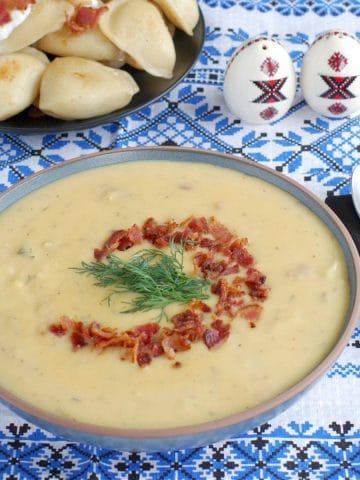
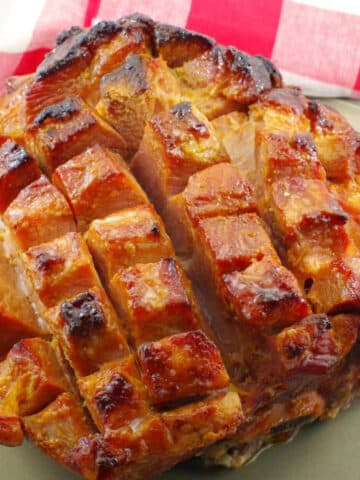
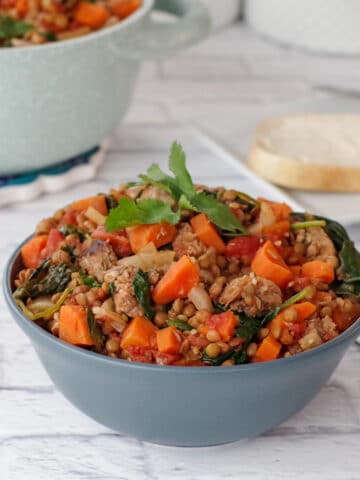
Here are a few of my favorite recipes to eat these buns with:
However, they are simply amazing as a side with holiday dinners. I'll be having them with my Thanksgiving, Christmas and Easter dinners this year and I would encourage you to do the same!
⭐ Comments & Reviews
Did you know that commenting and rating recipes is one of the best ways to support your favorite recipe creators? If you loved this recipe, please comment and rate it in the recipe card or share photos on social media using the hashtag #foodmeanderings or tagging @foodmeanderings !
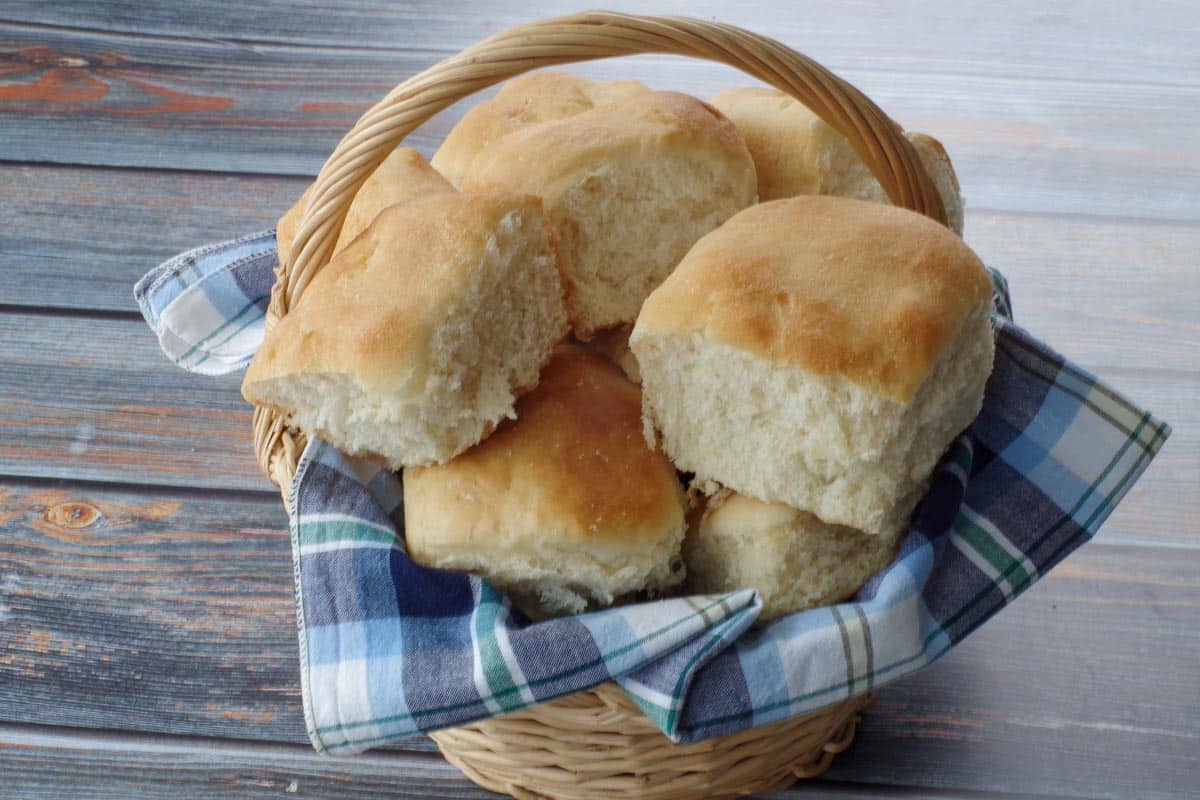
Although these soft dinner rolls may be old-fashioned, they are truly timeless... They have a fluffy cloud-like texture that a store-bought bun can't come close to!

📋 Granny Buns Recipe (Old Fashioned Dinner Rolls) Recipe
Equipment
Ingredients
- 5 cups warm water
- 1 cup + 1 teaspoon granulated white sugar
- 1.5 tablespoon quick-rise yeast (it comes in little packs of 3)
- 3 eggs
- 1 cup oil
- 2 tsp vinegar
- 1 teaspoon baking powder
- 11-12 cups all- purpose flour, sifted
- 3-4 tablespoon melted butter (optional)
Instructions
NOTE: The photos in this recipe card will NOT print unless you set them to print by selecting "recipe image"
- HEADS UP: These buns are very time consuming (4-5 hours) not including clean up. But they are also sooo worth the effort! So if you're up for a challenge or for simply enjoying some zen baking (and have some time on your hands), then this recipe is for you. If you are in a hurry, do not make these!
- Dissolve 1 teaspoon sugar in 1 cup water.

- Sprinkle yeast and let stand for 5 minutes (do not stir in the yeast).

- Meanwhile, in a large bowl, beat together: 3 egg, s1 cup oil, 1 cup sugar, 1 teaspoon baking powder, and 2 tsps vinegar,

- Then add yeast mixture.

- Add 4 cups warm water and 4 cups of flour. Beat well with an electric mixer for about 2 minutes.

- Add 6 more cups flour; mix well.

- Then add more flour (½ cup at a time) until dough is soft and spongy **I added about about 1 ½ additional cups flour in addition.

- But it will depend on how the dough feels soft and spongy. *you don't want it to be sticky - it should come away from your fingers.

- Grease the inside of a large bowl and place dough inside.

- Allow dough to rise for 20 minutes, then punch down (See VIDEO in NOTES for how to punch down dough)

- Let rise again until double in size (this takes about an hour). You will want to move it to a larger greased bowl at this point.*If you plan to freeze part of the dough, remove it now and place it in a labelled Ziploc freezer bag and freeze it for up to 3 months. When it's defrosted at room temperature, you can go on to the next step and form it into balls and then rise again and bake as per directions.

- Spray two to three 9X13 pans with non-stick cooking spray and make buns: Take the amount tennis ball and make it into a round(ish) shape and place in greased pan.*You can make them smaller if you want to get more buns out of them (between the size of a golf ball and tennis ball)

- Cover and let rise for 2 more hours!

- Preheat oven to 350 degrees F/176 degrees C
- Optional: brush tops with a little melted butter before putting buns in the oven.

- Bake at 325 degrees F/176 degrees C for 20-25 minutes or until lightly browned.Allow to cool in pan, then remove to cooling rack (or simply leave them in the pan).







Sue
It’s one thing to have a good recipe but quite another to have one passed down through the generations. Such a recipe is a treasured keepsake.
Debbie
Why don't you have a Pinterest link?
Terri Gilson
Hi Debbie,
I have updated my menu on mobile so the links for Pinterest, Facebook, Twitter and Instagram are under the menu items. Thank you for pointing this out!
Terri
Vicky Ford
I have I about 20 recipes for buns on my Pinterest board but how can I not save the only one called Granny Buns. I love it and can't wait to try them out. I'm sure they will be my favorite.
Terri Gilson
Haha - I know I love the name too! that is what they have always been 'officially' called. I hope they will be your fave too 🙂 !
Gayle Kadlec
Thanks Terri! This is an amazing recipe. It makes a huge amount of lovely buns!
Terri Gilson
Hi Gayle,
Glad to hear you loved it- this recipe is near and dear to my heart! And great to see you are enjoying retirement 🙂
Yes, it does make a ton. I've been freezing them and every time I crave one, I pull it out of the freezer and pop it into the microwave for 15-20 seconds and it tastes freshly baked! Sometimes I freeze 1/2 the dough for later. That works great too.
Enjoy!
Terri
Barbara
This is a huge amount of buns! Have you ever cut recipe in half?
Terri Gilson
Hi Barbara,
Yes it does make a lot! No, it's hard to cut in half, because 3 eggs can't be halved. I'd probably make 1/3 of the recipe.
So I make the dough and freeze half of it at step 12 in the recipe card: "*If you plan to freeze part of the dough, remove it now and place it in a labelled Ziploc freezer bag and freeze it for up to 3 months. (I have used it after 6 months in the freezer)
When it's defrosted at room temperature, you can go on to the next step and form it into balls and then rise again and bake as per directions."
Anyway, if I make the whole recipe, I only get 36 buns with the size I make them, so I freeze the rest in a Ziploc freezer bag - I have also used them after 6 months in the freezer (I pull them out as I want them and pop them in the microwave for about 15 seconds and they taste freshly baked!).
Enjoy!