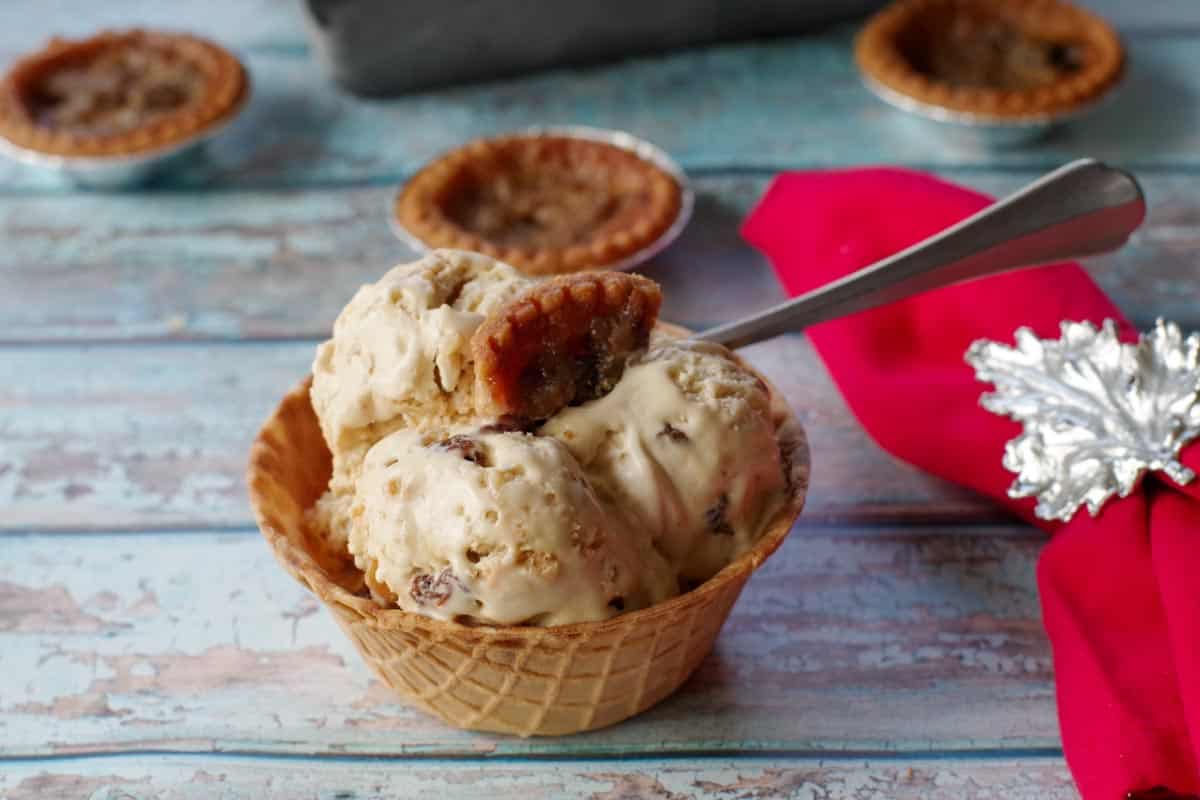
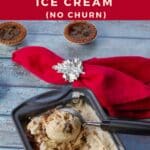
This No Churn Butter Tart Ice Cream tastes exactly like butter tarts. It's really like eating a butter tart in ice cream form. It's also simple to make at home (NO ice cream maker required)!
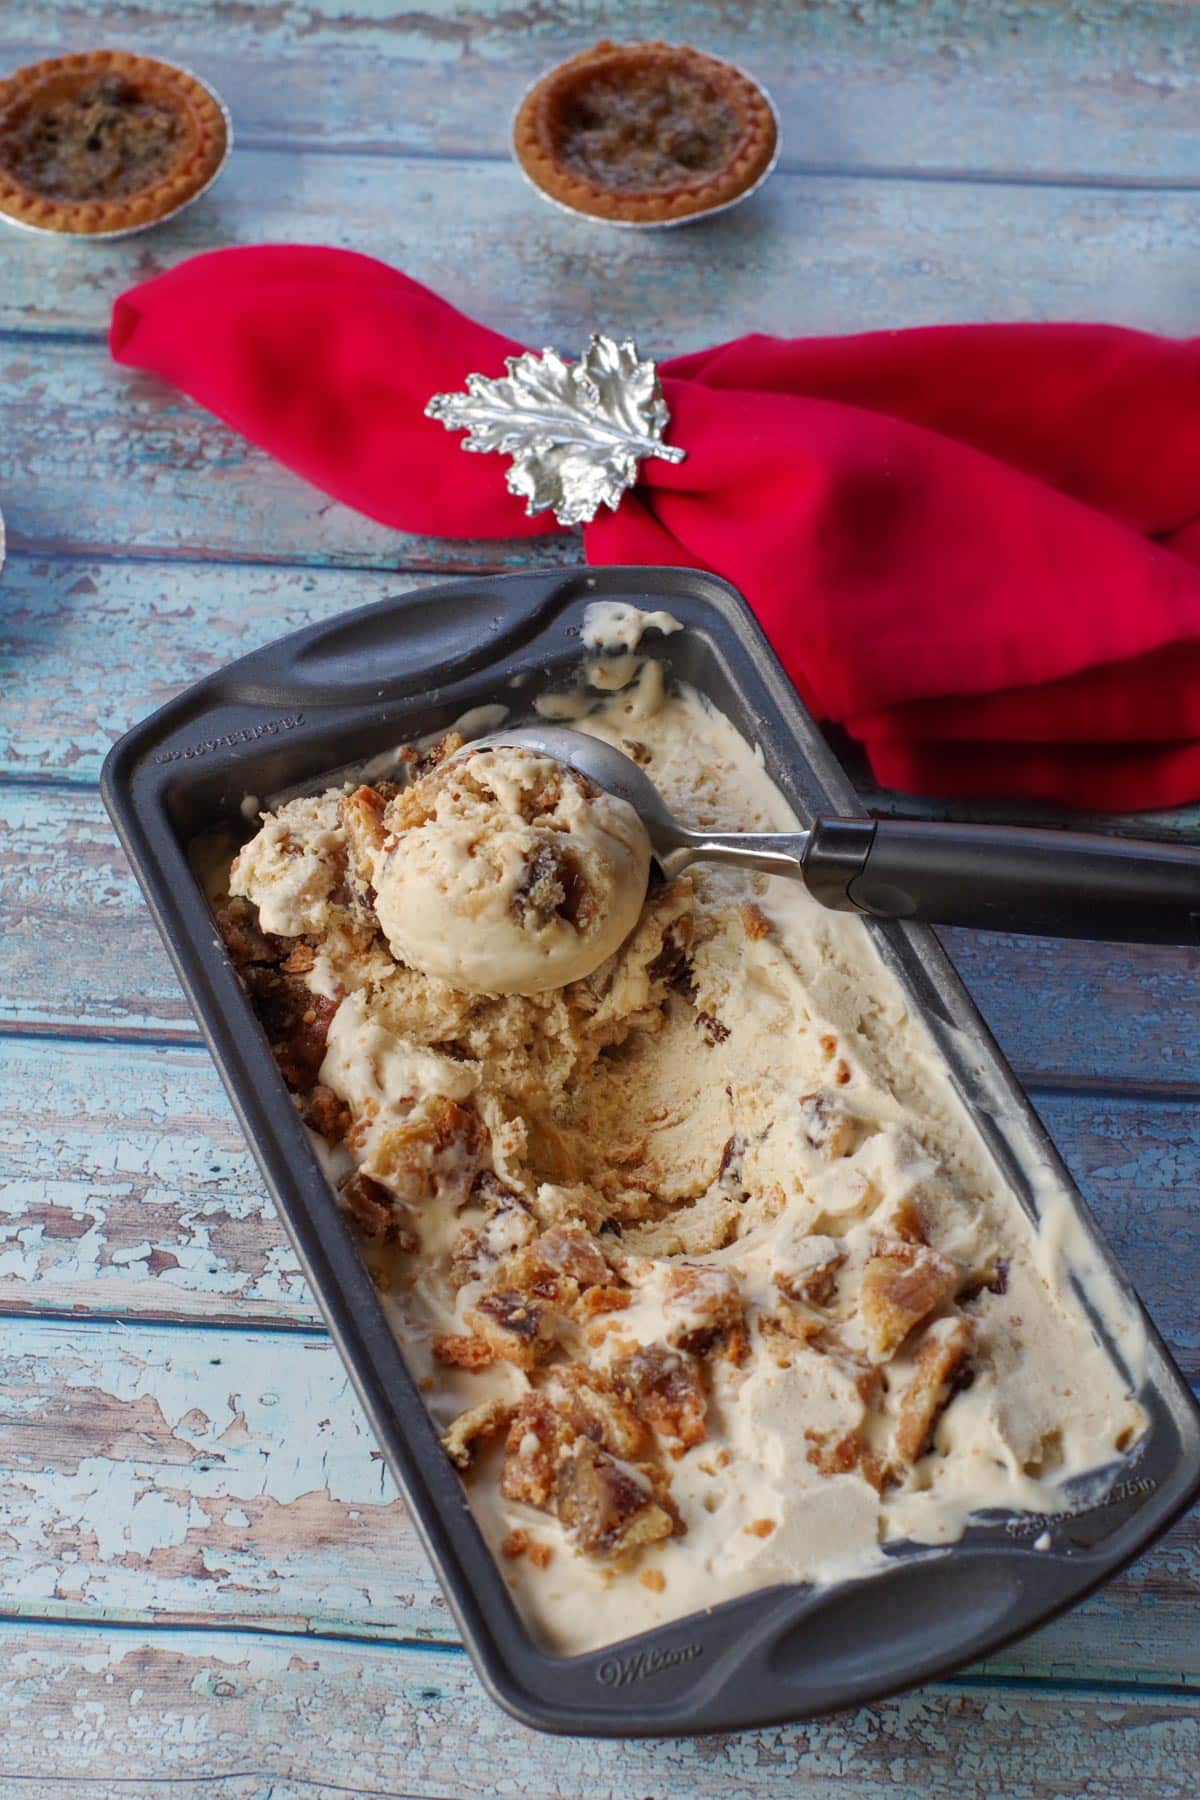
Butter tarts are popular any time of the year, especially in Canada, but butter tart ice cream is most popular during the summer. It's the perfect dessert for your Canada Day celebrations! This recipe was inspired by my love of butter tarts, but I used the same filling I use for my Butter tart thumbprint cookies.
Jump to:
In fact, I love butter tarts so much that in addition to cookies, I have also created a butter tart bundt cake and butter tart waffles!
🥘Ingredients
Most butter tart ice cream recipes I have come across don't taste butter tart enough for me. They either simply use chopped-up butter tarts or a caramel swirl. This recipe uses a special butter tart filling that I created for my butter tart cookies, based on my Grandma's butter tart filling. This Butter Tart Ice Cream has just the right amount of sweetness; for someone with or without a sweet tooth.
You will need the following ingredients for this recipe:
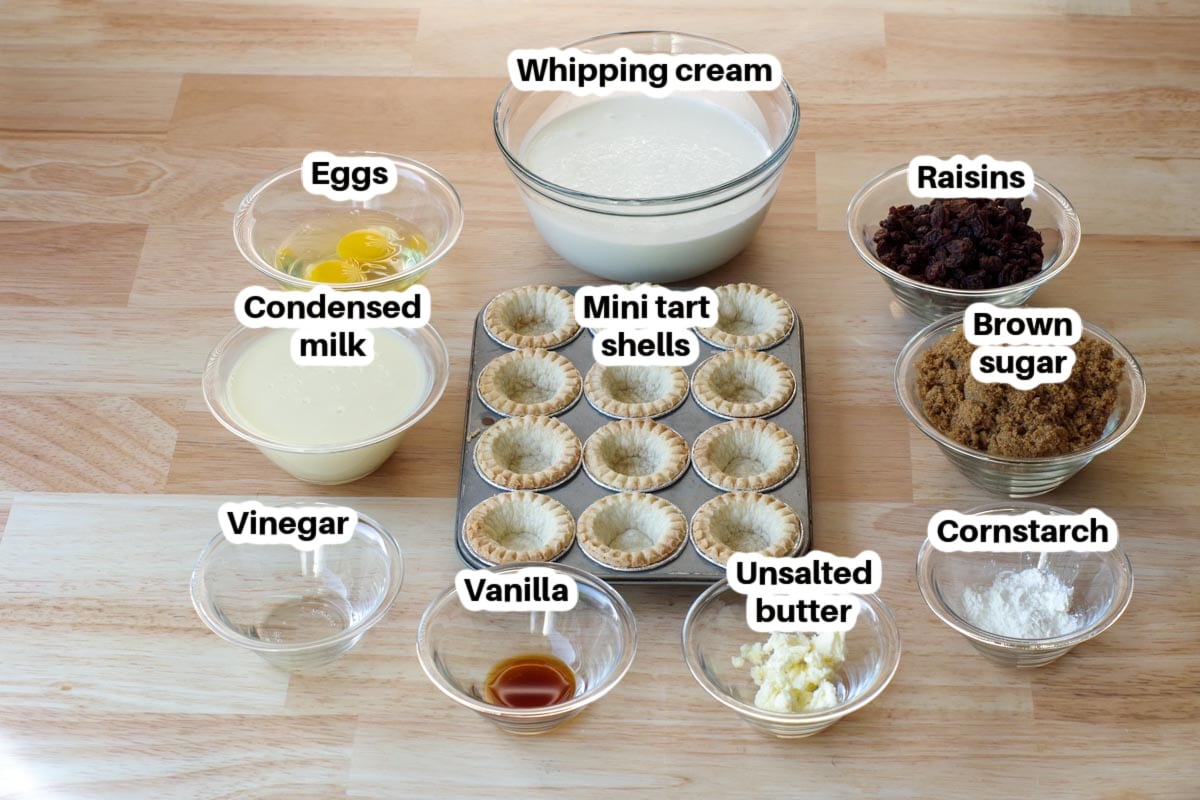
- 300 ml can of sweetened condensed milk (about 10 oz)
- 3 cups whipping cream (aka heavy cream) * I use 33-36%
- 2 ½ teaspoons unsalted butter
- 1 teaspoon vanilla
- 1 ½ cups brown sugar
- 2 whole eggs
- 2 teaspoon vinegar
- 2 teaspoon cornstarch
- 1 cup raisins
- Optional Topping/Garnish: 2-3 butter tarts, chopped
🔪Instructions
Prep: Bake mini tart shells as per package directions (about 10-12 minutes) and cool.

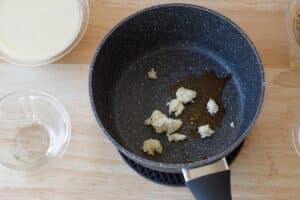
In small pot on stove top, add vanilla and butter. Melt over medium-low heat.
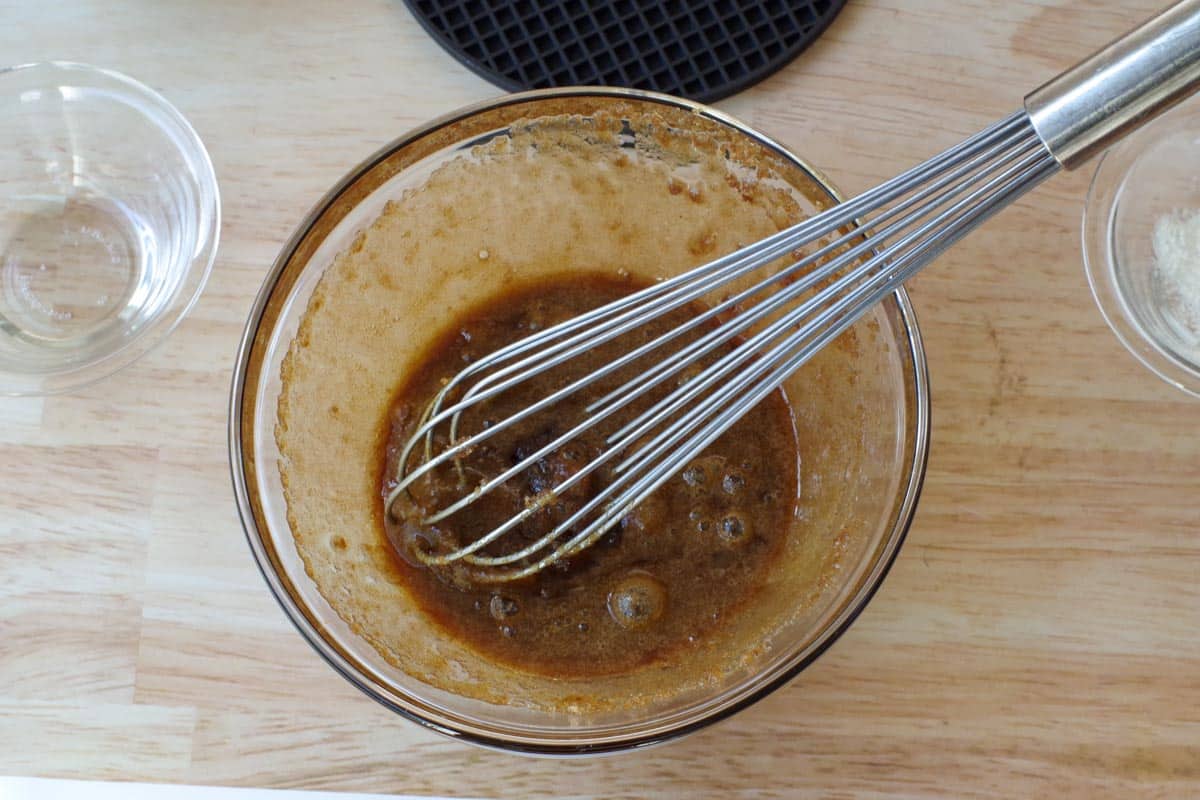
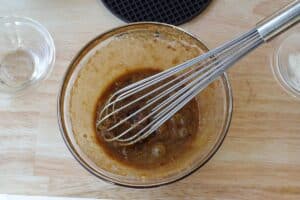
In a separate bowl, combine egg, and brown sugar.
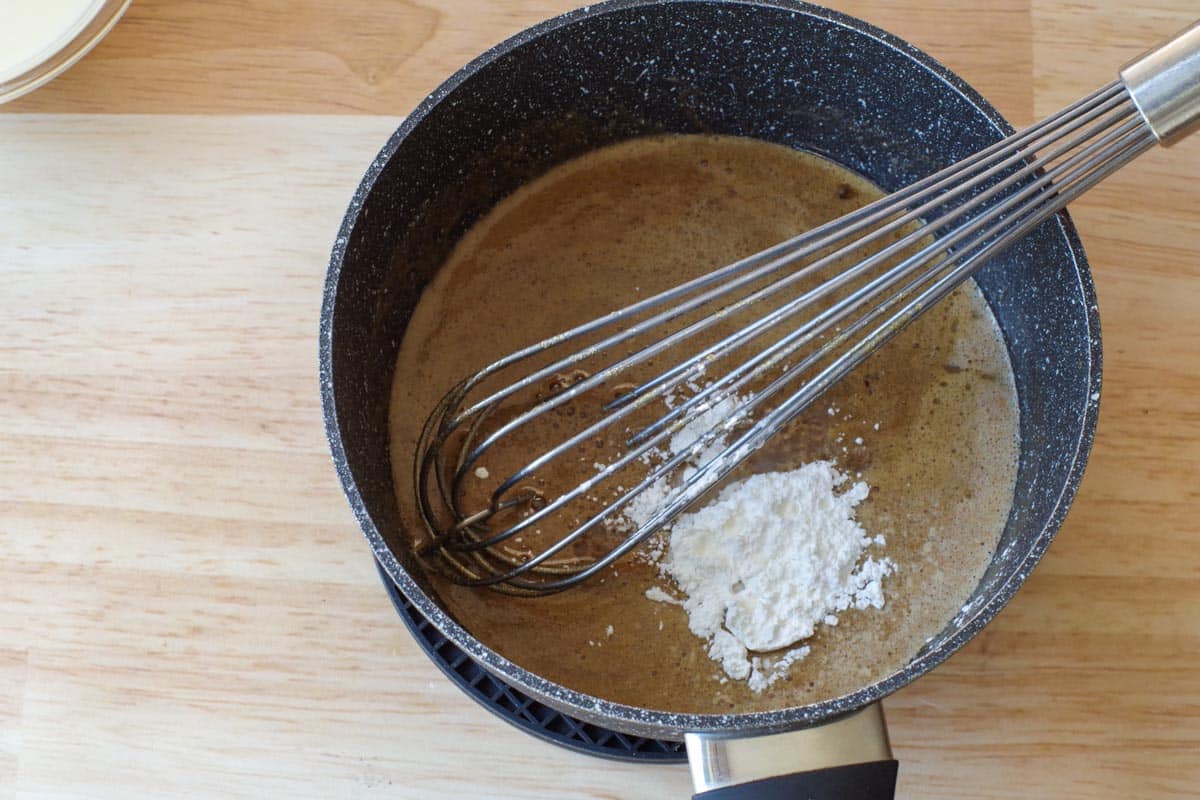
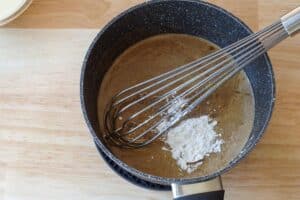
Add egg and brown sugar mixture to warm butter and vanilla mixture and simmer on low, then add vinegar and cornstarch.
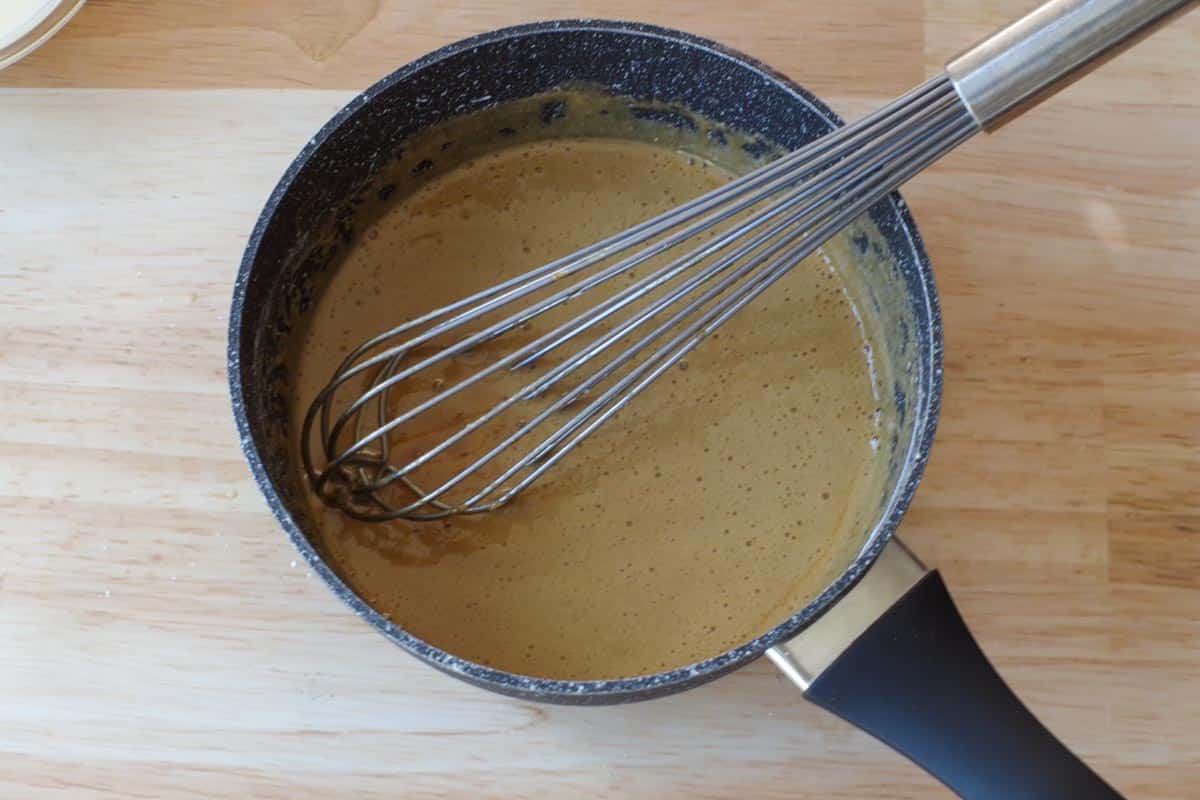
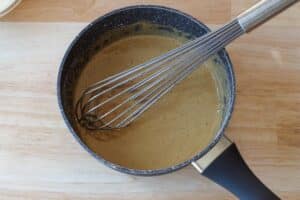
Keep whisking until thickened on low to medium heat for about 10 minutes. It should be the consistency of gravy.
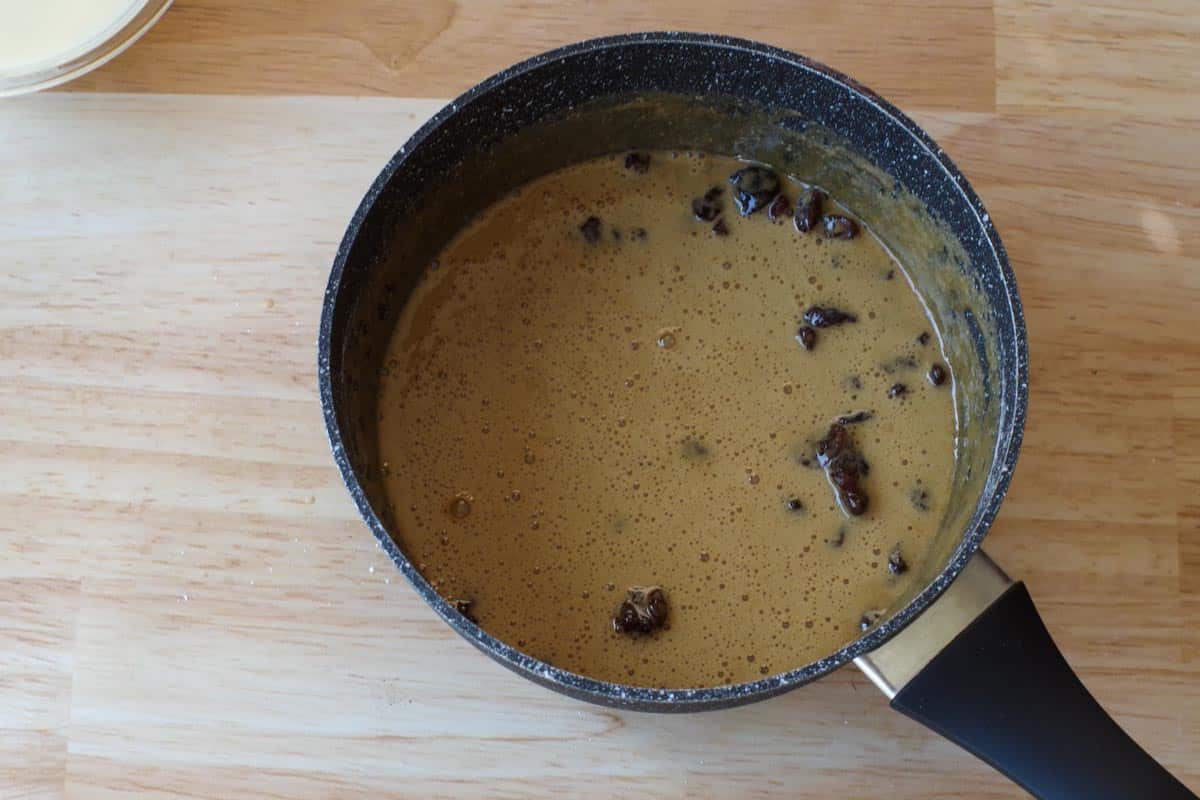
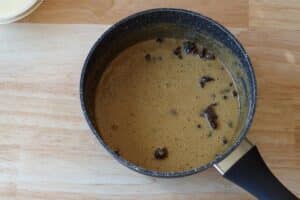
Remove butter tart filling from heat and add raisins. Set aside to cool.
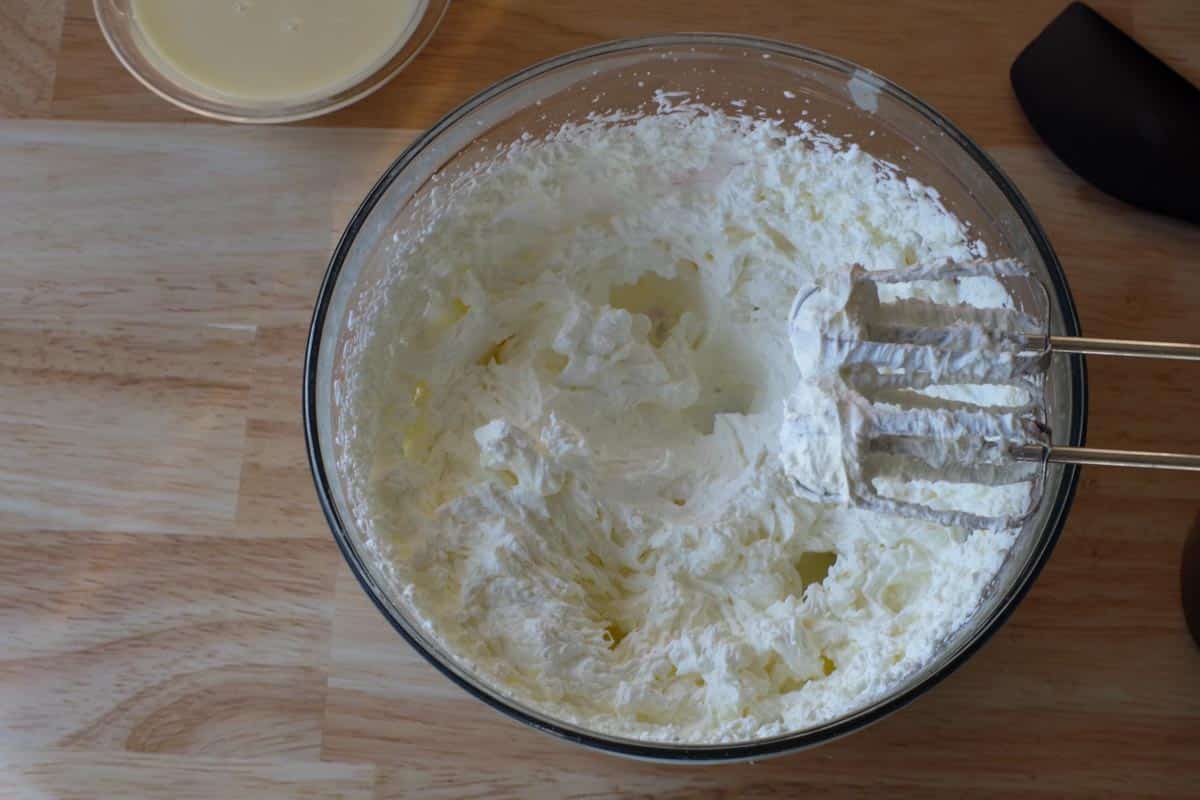
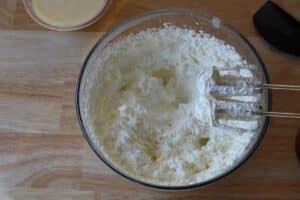
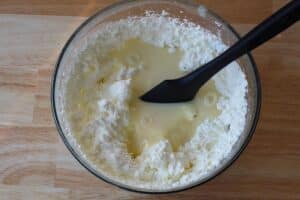
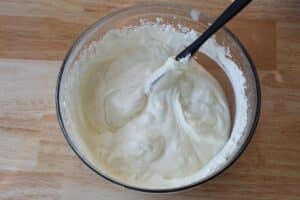
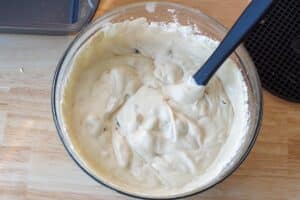
In a large bowl, beat whipping cream to stiff peaks.
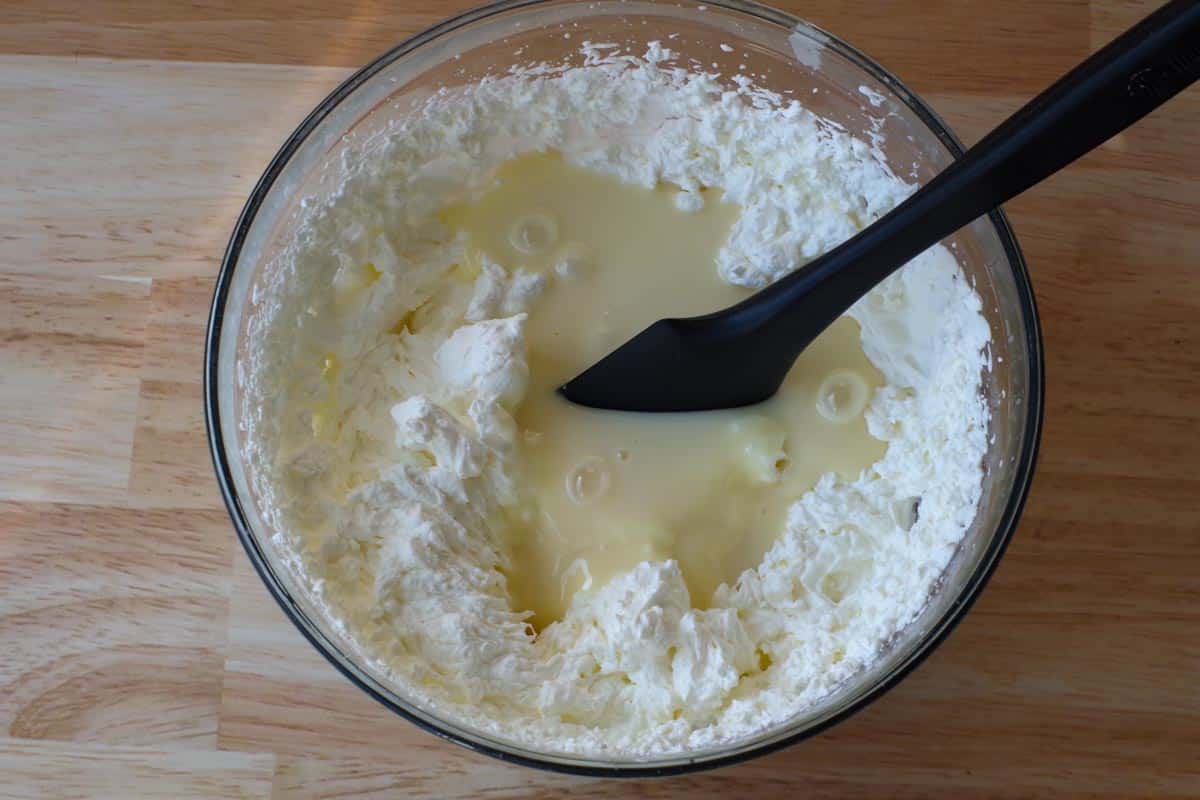
Gently fold in condensed milk.
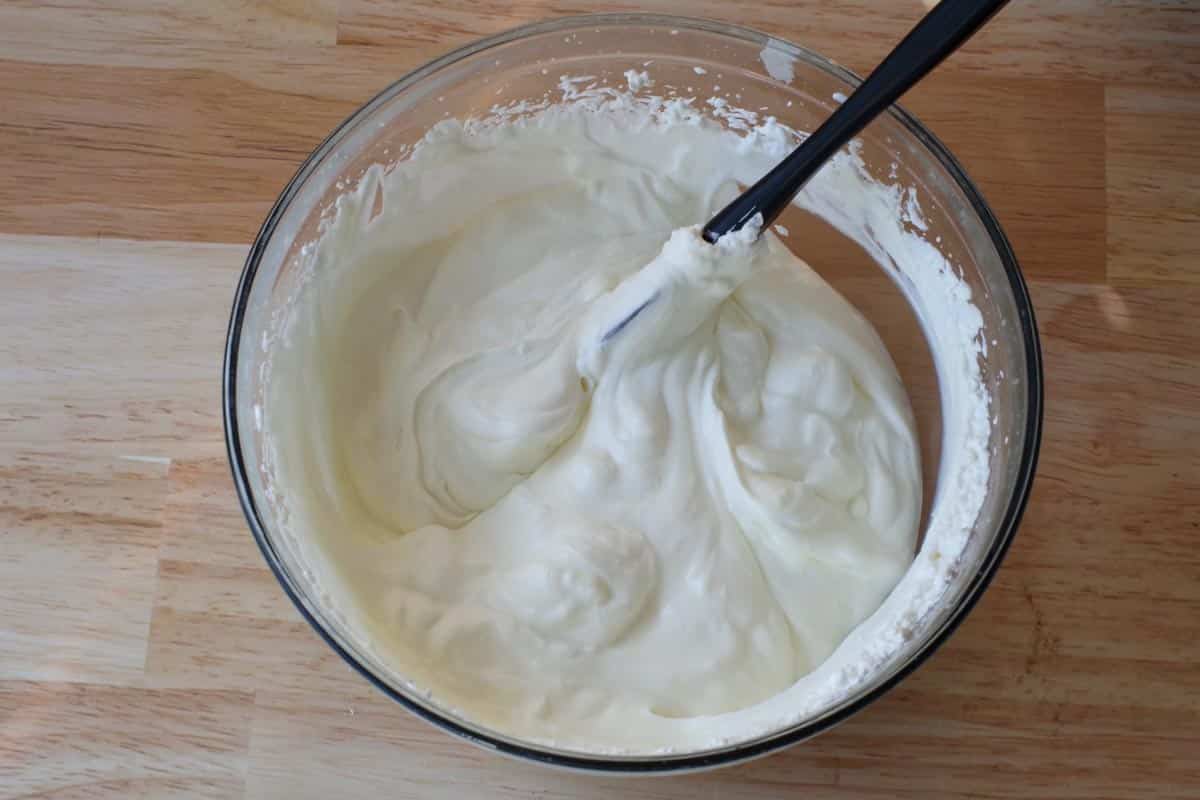
Stir only until combined.
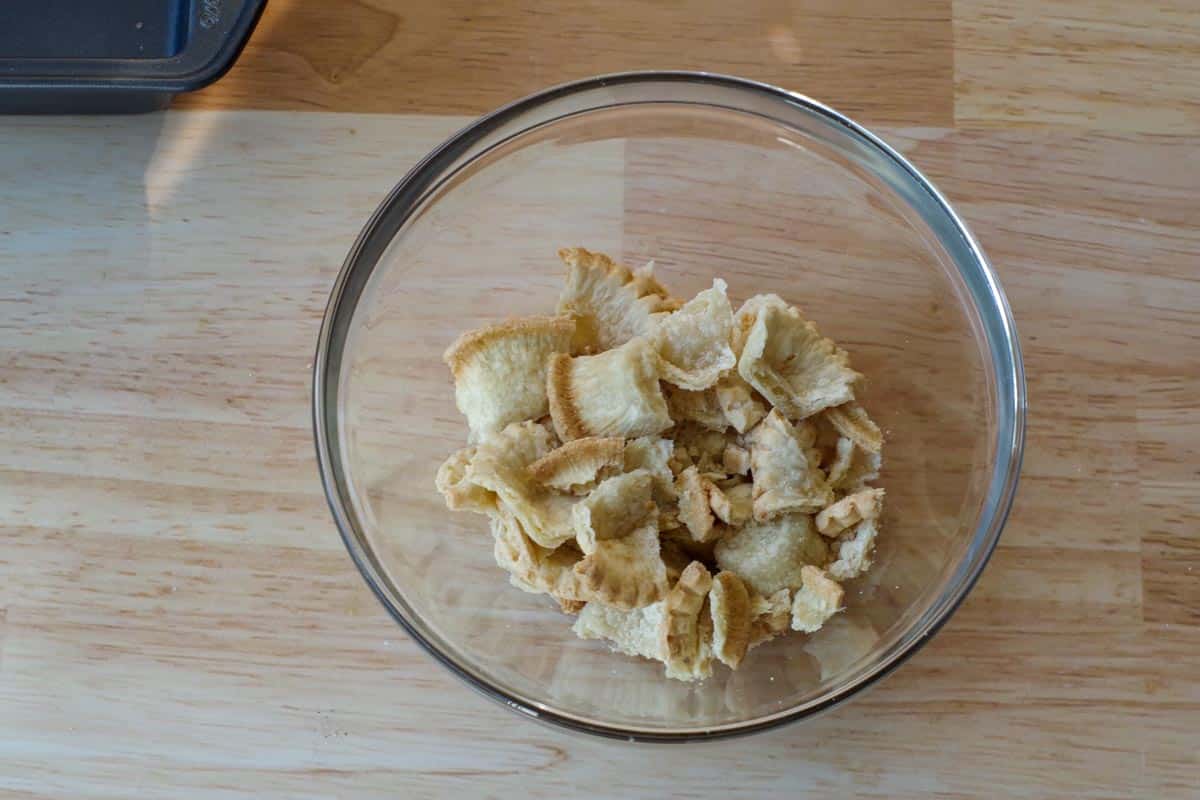
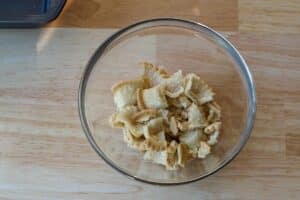
Break baked mini tart shells into small pieces
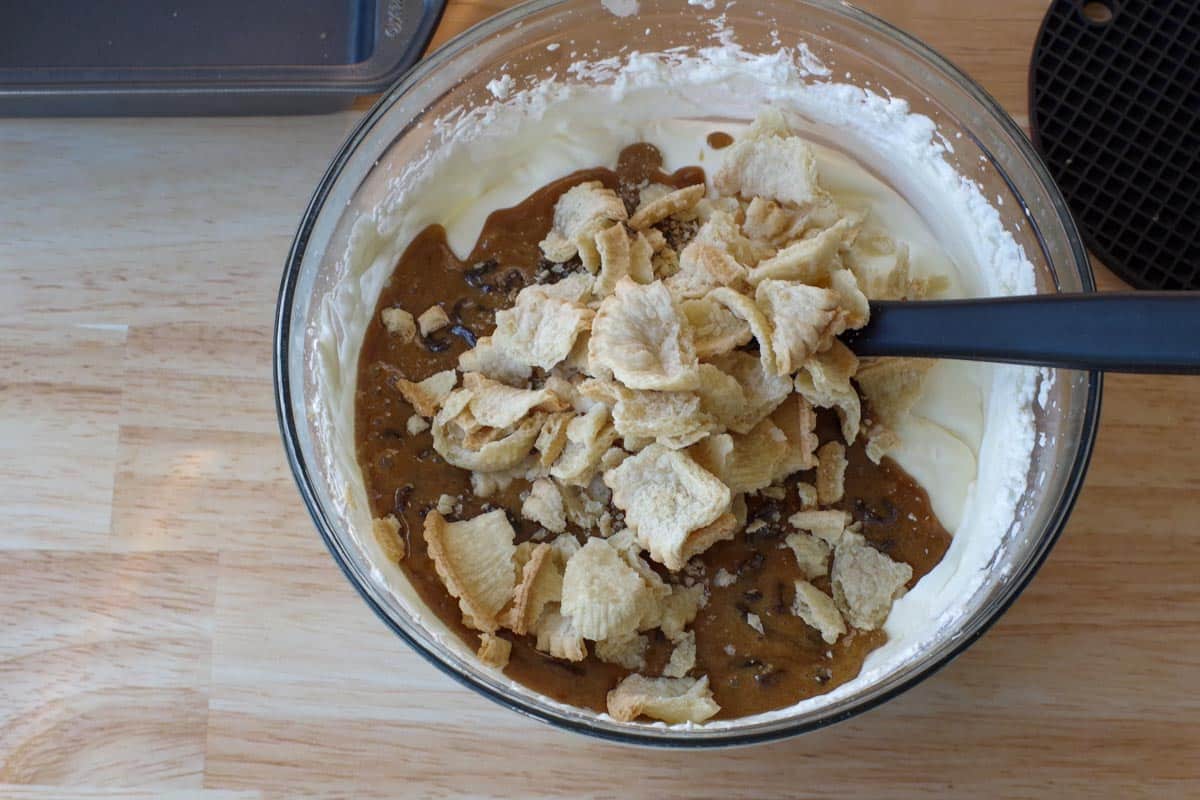
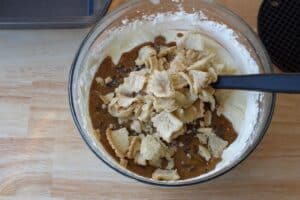
Add pastry pieces and butter tart mixture.
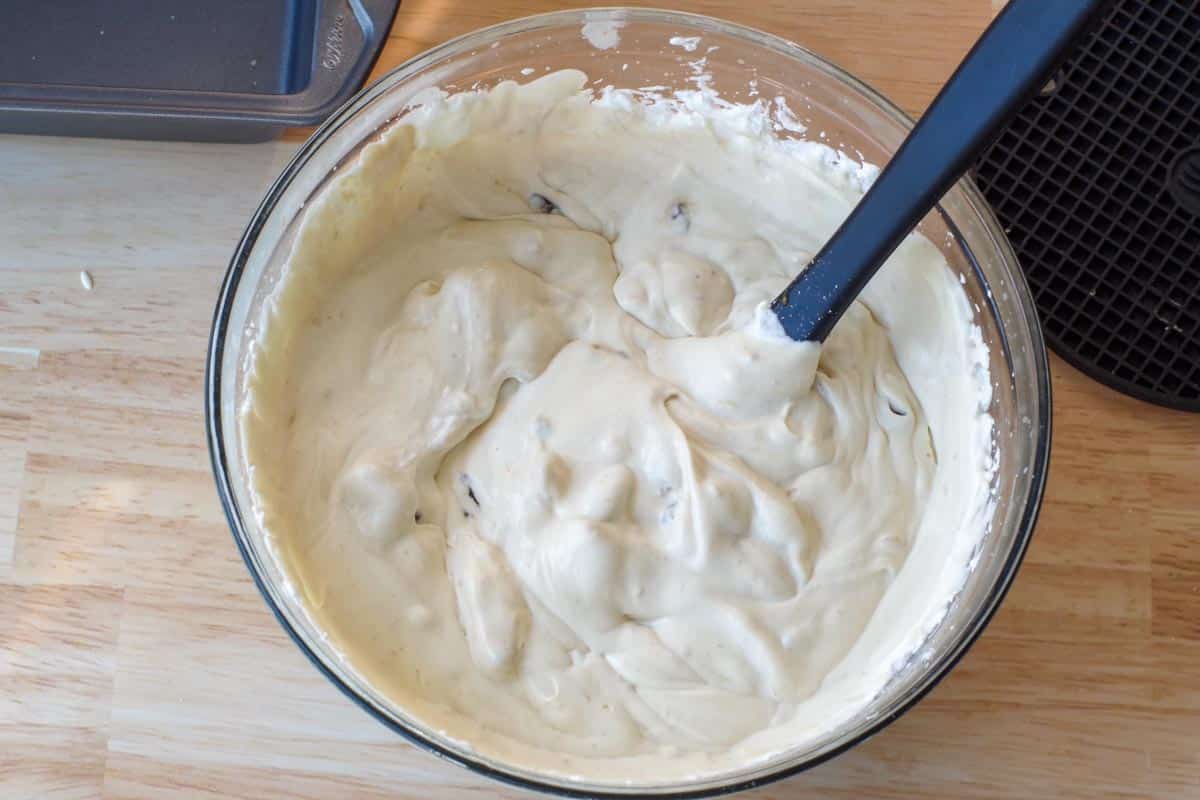
Stir until just combined.

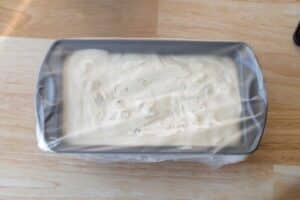
Pour ice cream mixture into a 9x5 loaf pan (a square cake pan, or any sealed container), cover, and freeze for at least 8 hours or until solid. *It may need to be frozen longer, depending on how full your freezer is.
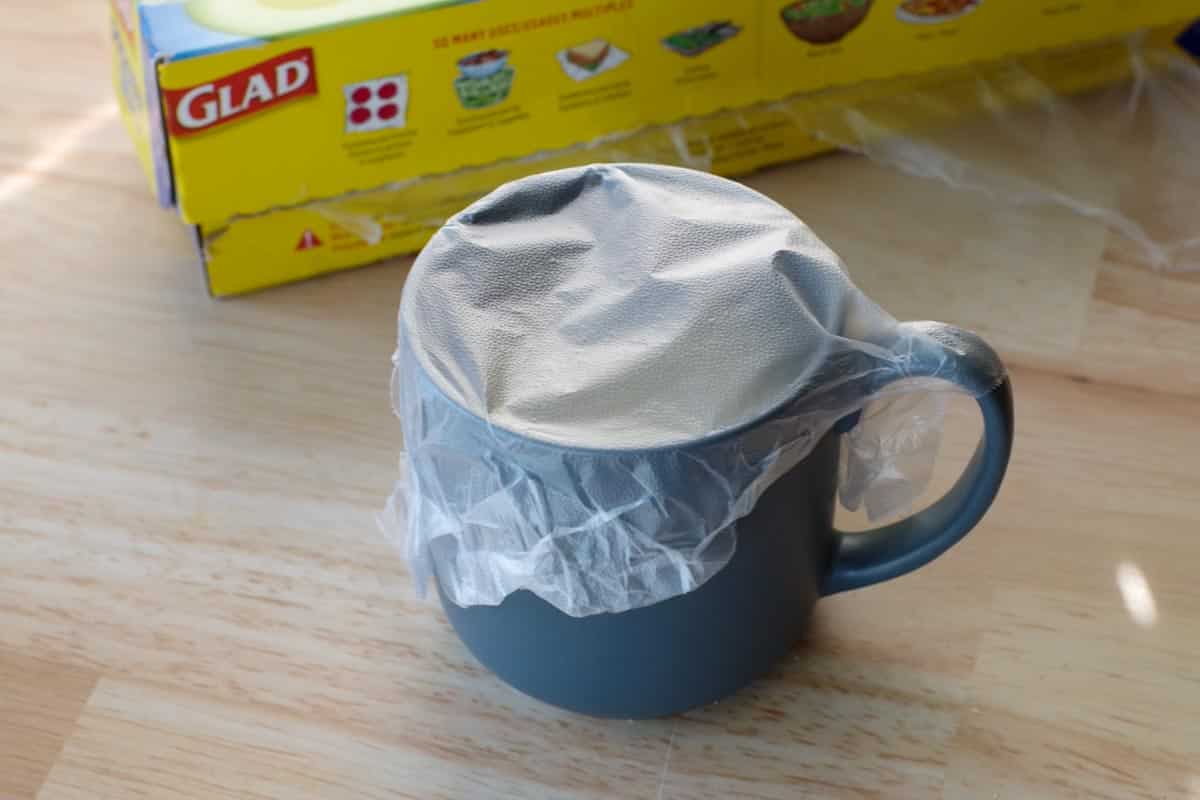
*I use Glad Press n' Seal (affiliate link) instead of regular plastic wrap, as it's stronger, and seals better.
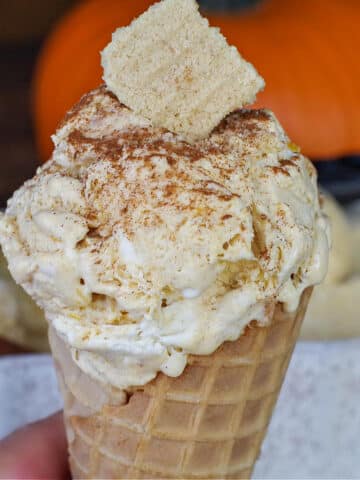
Optional Garnish: Chop up 2-3 butter tarts and sprinkle on top (before or after freezing- I put them on after) or serve with a wedge of butter tart (make your own or buy them from the grocery store).
Hint: No churn ice cream melts really FAST, so serve it immediately and return the container to the freezer as soon as you are done serving.
📖Variations & Substitutions
- Raisins - you can use regular pecans or praline pecans instead of raisins, if you prefer (but I recommend toasting plain pecans before adding them to the ice cream)
- Tart Shells - you can make your own or use a store-bought tart shell. You could also use leftover pastry.
- Butter- you can use salted butter for this recipe if you prefer
- Ice cream sandwich - you could also make this into a butter tart ice cream sandwich by putting the ice cream between 2 graham crackers
🥗 Meals to serve with Butter tart ice cream
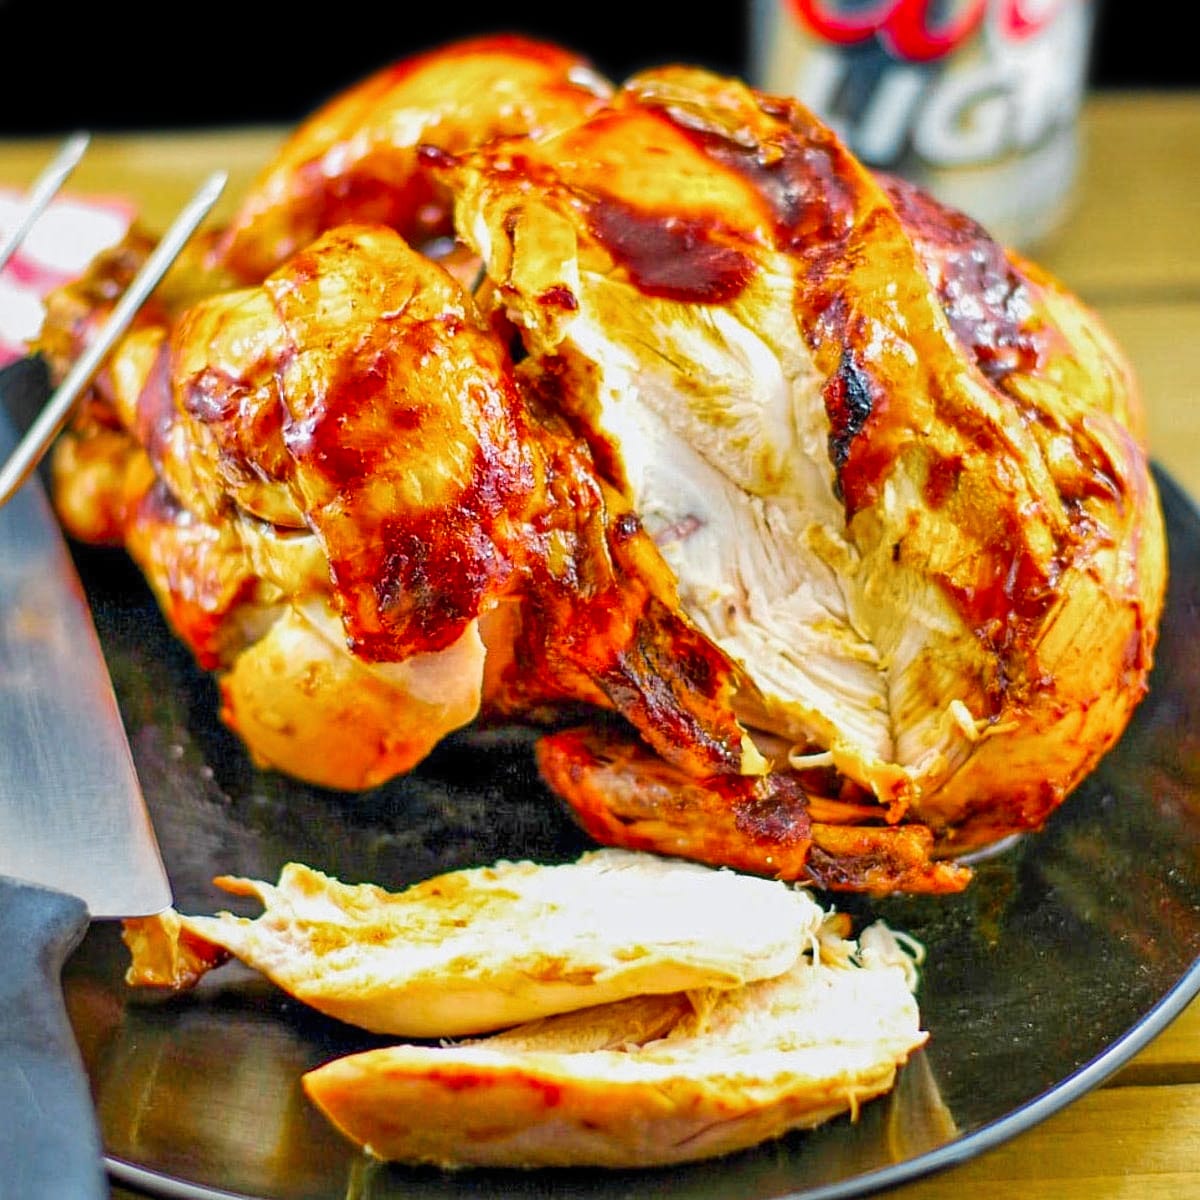
Butter tart ice cream pairs well with just about any meal. Try it with any of these summer meals:
🍽Equipment
You don't need an ice cream machine to make this butter tart ice cream, but you'll need a small pot, a whisk, mixing bowls, and a container to freeze the ice cream. I use a loaf pan, but you could use any type of container. You'll also need an electric mixer (affiliate links)
🌡️Storage
Store leftover ice cream in an airtight container in the freezer. If you are storing this ice cream for longer than a few days, I recommend transferring the ice cream to a sealed plastic container. * you can also store the excess (that won't fit in a loaf pan) in any container. I like to freeze mine in a coffee mug. It can be stored for 2-3 weeks in the freezer.
👪 Serving Size
This creamy ice cream makes 10 servings. However, you can half, double, or triple the recipe by clicking on the blue serving number and selecting the number of servings you'd like. The ingredient quantities will automatically adjust.
💭Top Tip
What to do with leftover condensed milk?
If you can only find a 14 oz can of condensed milk, you'll have leftovers, so you can freeze it or use it to make Butter Chicken, Lemon Chicken Pasta or Rice Pudding.
🦺Food safety
- Do not use the same utensils on cooked food, that previously touched raw egg
- Wash hands after touching raw egg
- Don't leave food sitting out at room temperature for extended periods
- Always have good ventilation when using a gas stove
- Never leave cooking food unattended
❔ Frequently Asked Questions
Condensed milk allows sugar to dissolve within cream, resulting in the formation of inverted sugar. This inverted sugar not only adds sweetness to ice cream, enhancing its flavor, but also reduces the freezing point, thereby creating a smooth and creamy texture.
When cream is whipped, it expands in volume due to the infusion of air, making it lighter. This principle is analogous to the process of churning ice cream, where air and lightness are incorporated into the mixture.
No churn ice cream can be stored in a sealed container in the freezer for 2-3 weeks. After that, the texture tends to become grainy.
Butter Tarts are a Canadian favorite and this Butter Tart Ice Cream is perfect for your Canada Day celebrations. And it's a treat the whole family will love!
And if you're looking for more desserts to celebrate Canada Day, check out this selection!


📋Butter Tart Ice Cream Recipe (no churn)
Equipment
Ingredients
- 14 oz - can of sweetened condensed milk
- 3 cups whipping cream (aka heavy cream) *I use 33- 36%)
- 2 ½ teaspoon unsalted butter
- 1 teaspoon vanilla extract
- 1 ½ cups brown sugar
- 2 whole eggs
- 2 teaspoon vinegar
- 2 teaspoon cornstarch
- 1 cup raisins
- 12 mini tarts shells (baked)
Instructions
- Prep: Bake mini tart shells, as per directions on package (usually 10-12 minutes). set aside to cool.
- In small saucepan on stovetop, add vanilla and butter. Melt over medium-low.

- In a separate bowl, combine egg, and brown sugar.

- Add egg and brown sugar mixture to warm butter and vanilla mixture and simmer on low, then add vinegar and cornstarch.

- Keep whisking until thickened on med-low heat for about 10 minutes. It should be the consistency of gravy.

- Remove from heat and add raisins. Set aside to cool.

- In a large bowl, beat whipping cream to stiff peaks.

- Gently fold in condensed milk.

- Stir only until combined

- Break apart mini tart shells

- Add tart pieces and gently stir tart chunks and butter tart mixture into whipped cream mixture.

- Stir only until combined.

- Pour into a container ( I like to use a 9X5 loaf container) but you could use any container. Cover with plastic wrap and freeze for at least 8 hours or until solid. *It may need to be frozen longer, depending on how full your freezer is.

Garnish (optional)
- Chop up 2-3 whole butter tarts and sprinkle on top (either before you freeze or after). You can also serve with a wedge of butter tart.







Leave a Reply