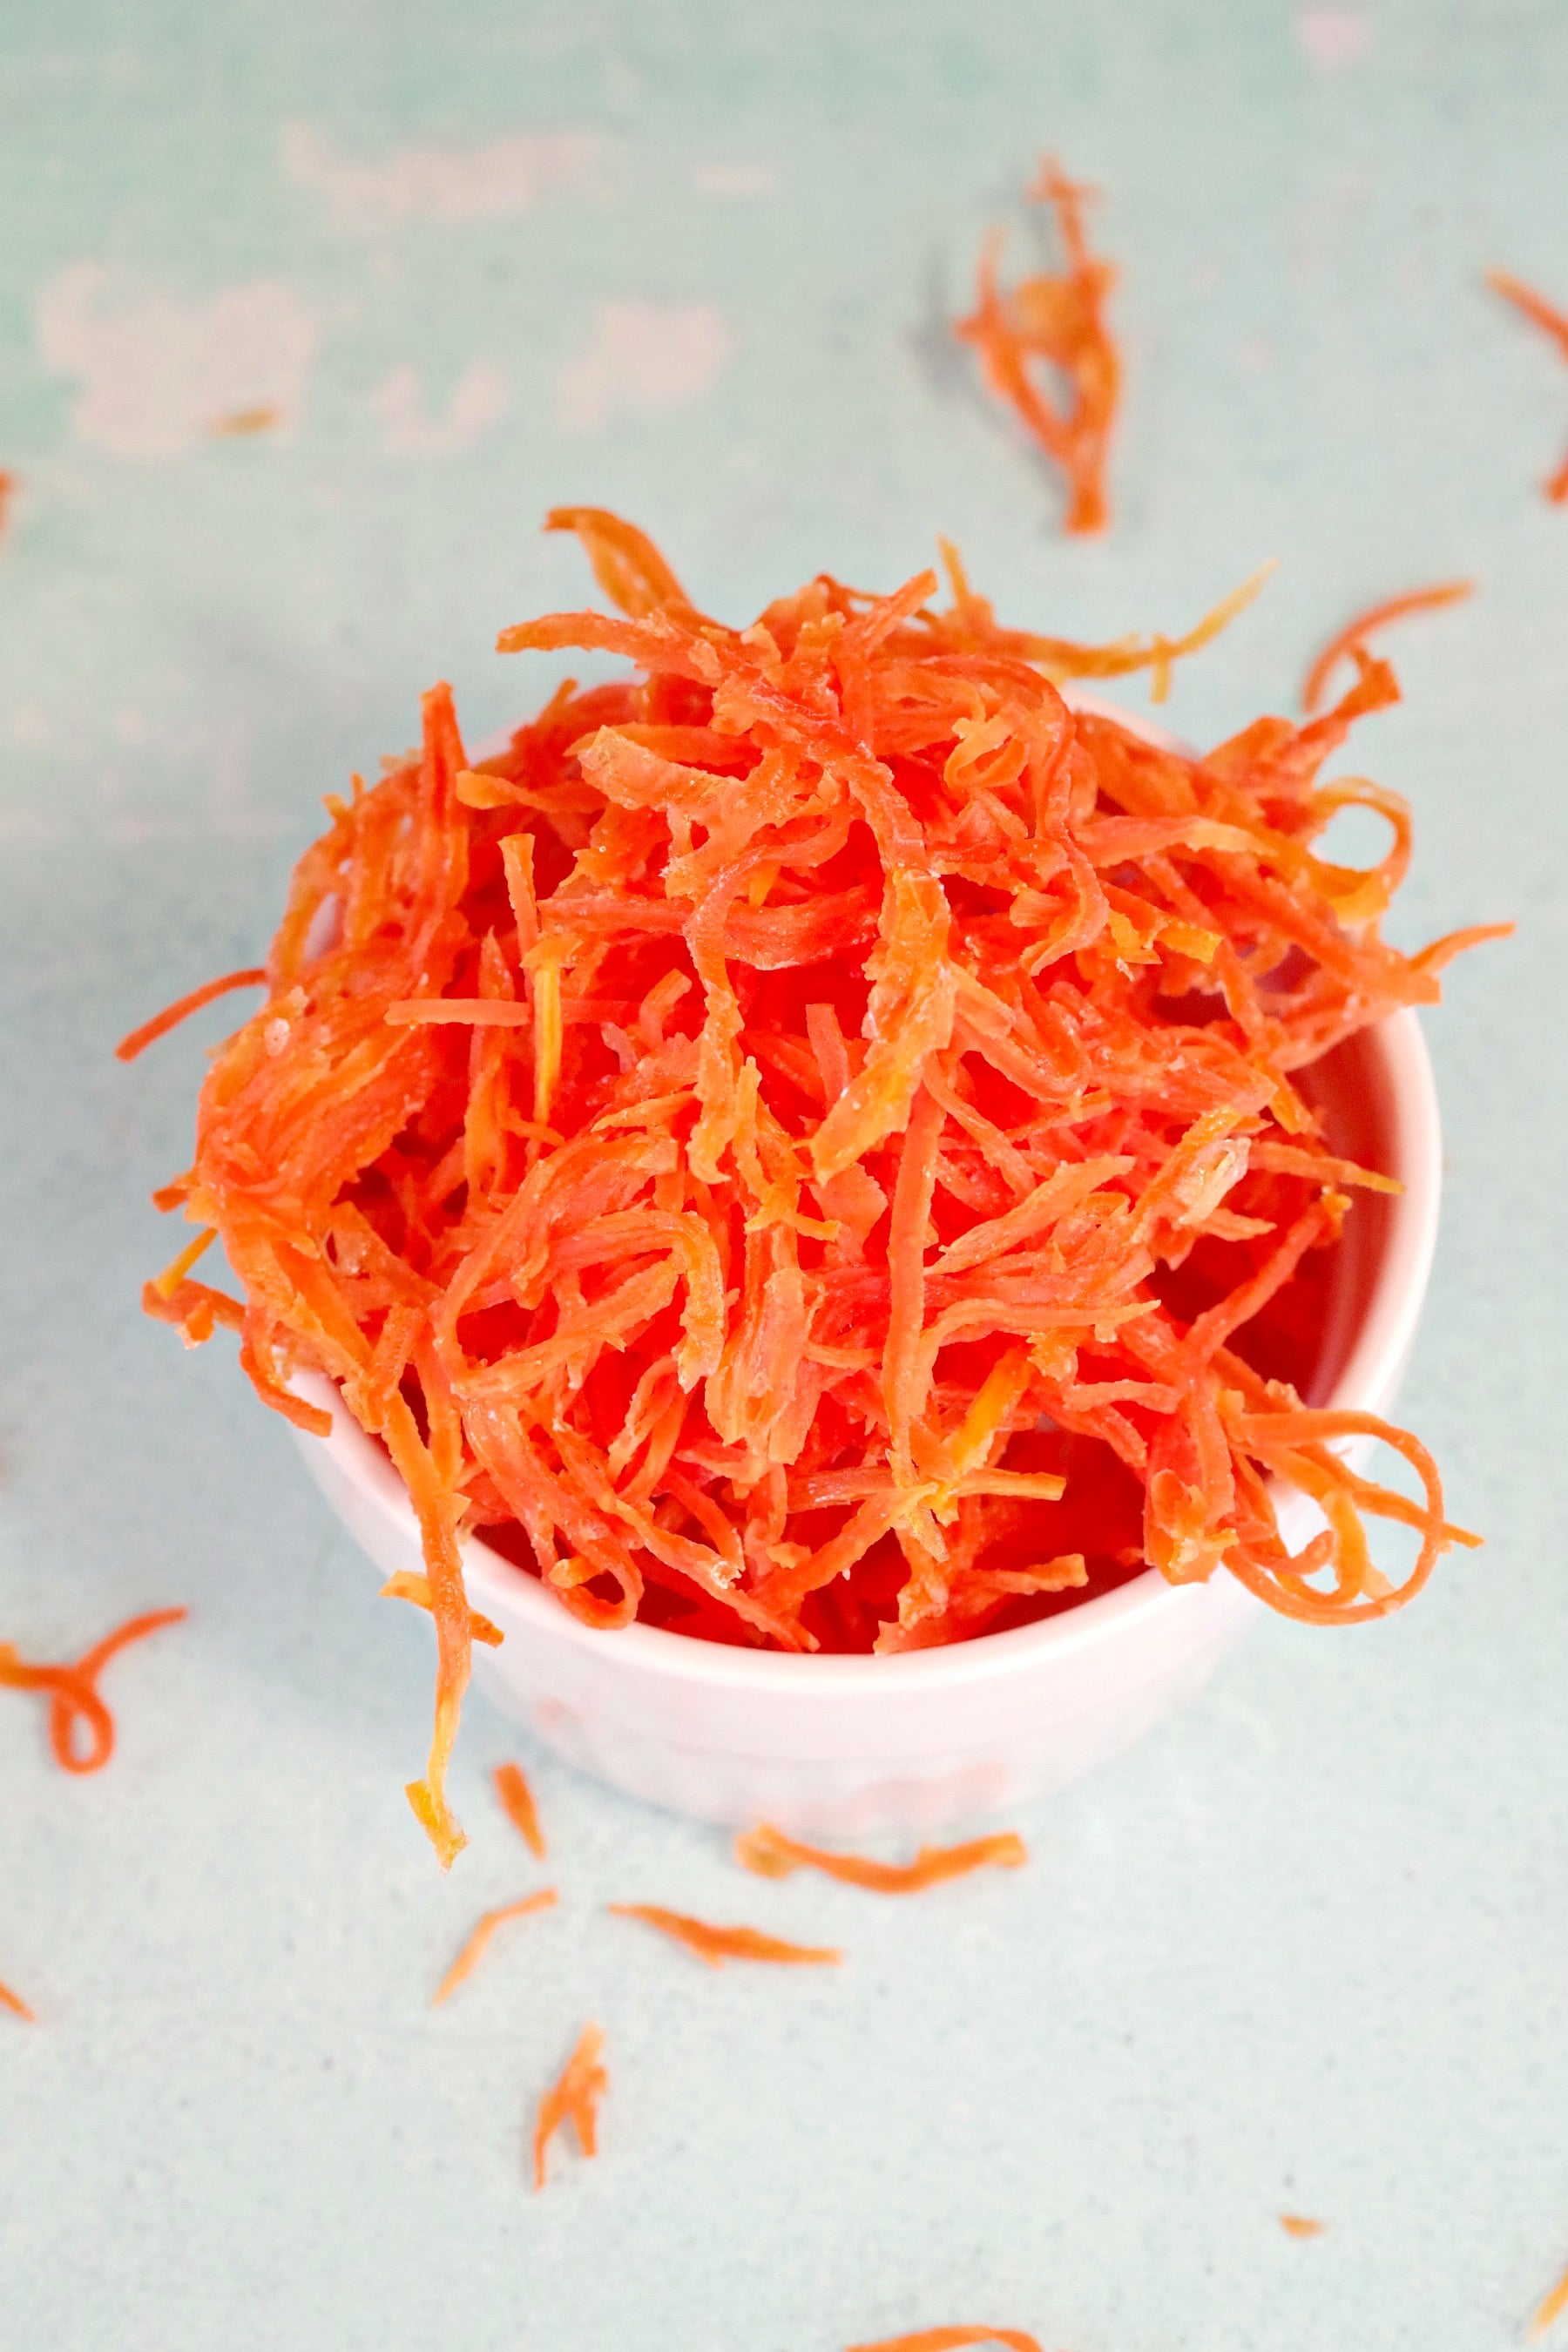
I don't want to brag or anything, but turning vegetables into candy is my superpower. The first time I made this Candied Carrot recipe my family was beyond impressed! These candied carrots are easy to make (no curling individual carrot strips involved) and they make a fantastic topping/garnish for carrot muffins, cupcakes, cakes, trail mix, and more.
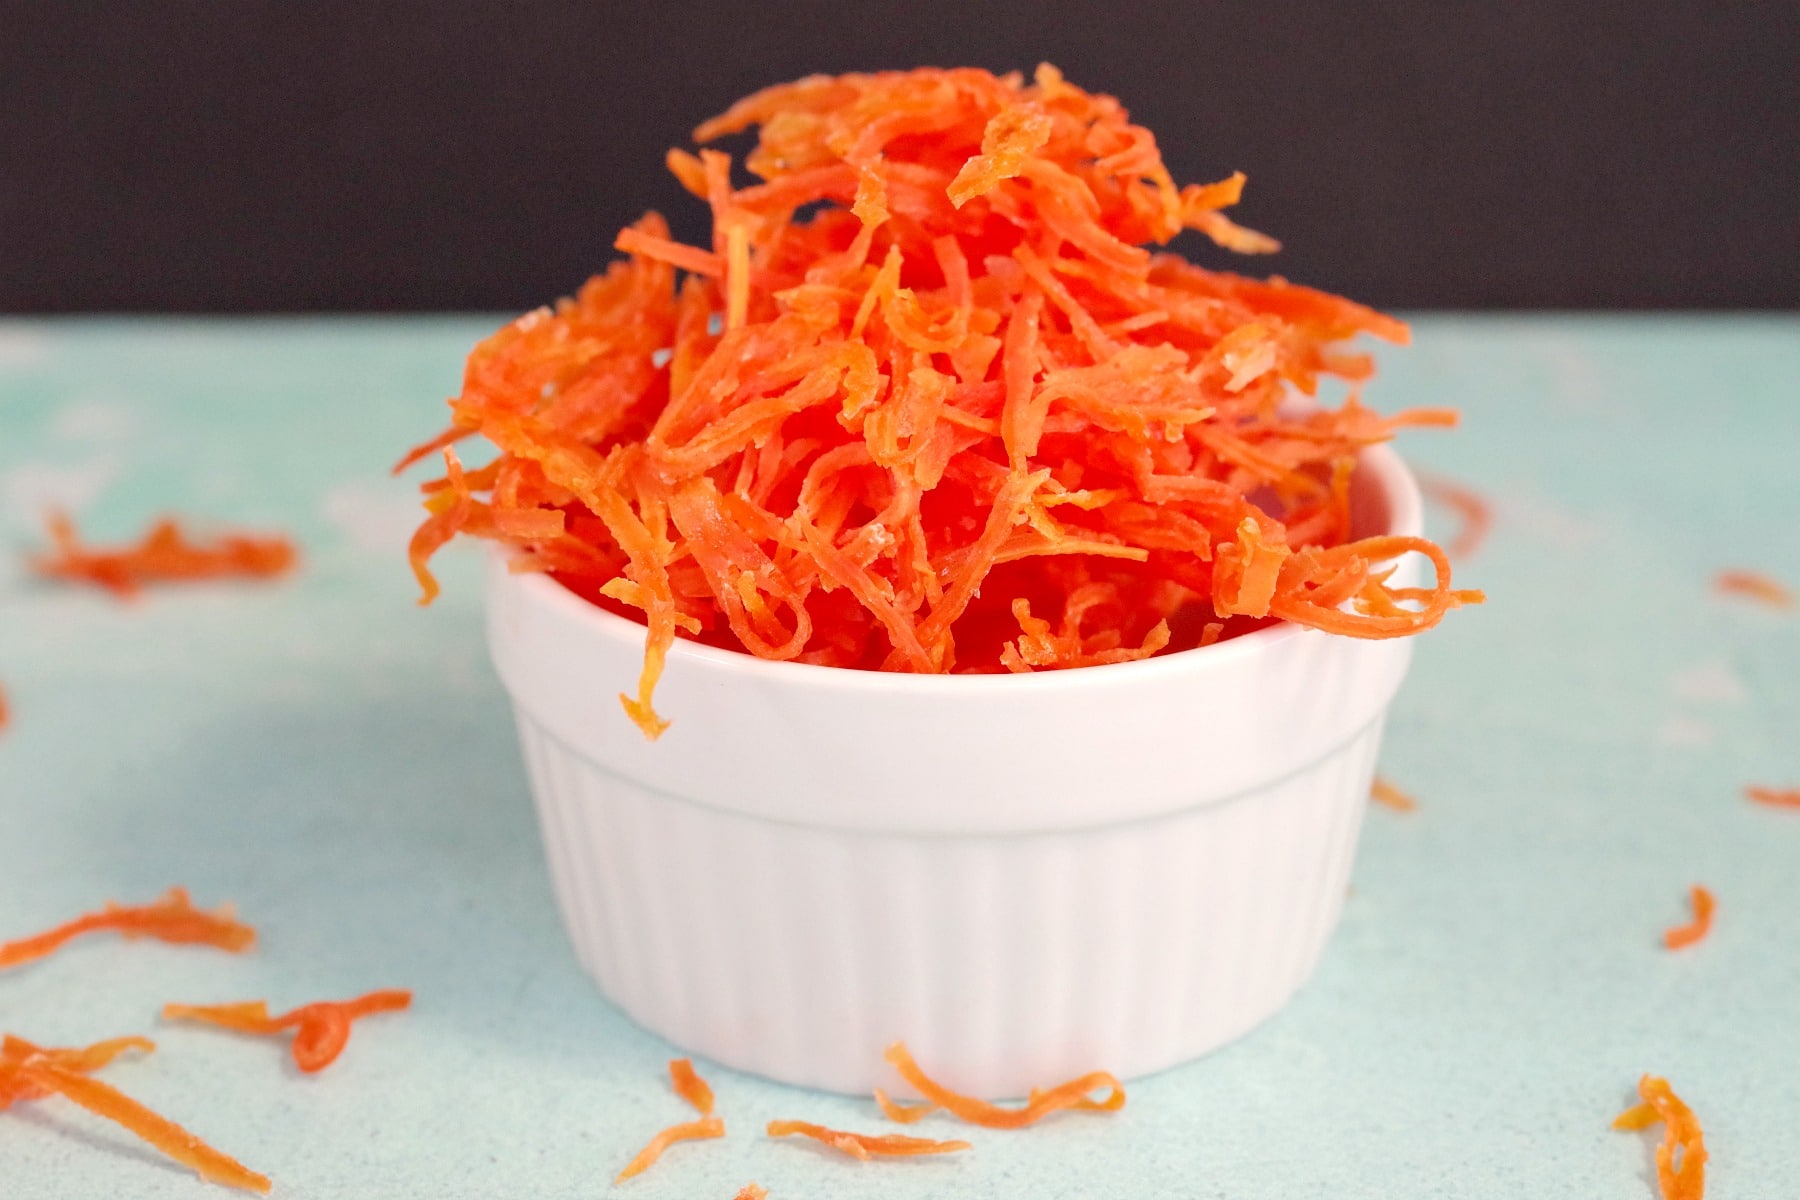
Not only are they a fun and edible decoration, you can even eat them straight up! They are also a nice addition to a dessert for a holiday meal. I love to serve them as a garnish on my Easter Light Carrot Cake after a holiday meal of Picnic Shoulder Ham, Old Fashioned Scalloped Potatoes, and Asparagus with Cherry Tomatoes.
🍒Reader Review
"I made these to top a carrot cake for my husband's birthday and they turned out fantastic! Thank you for the recipe!!" ⭐⭐⭐⭐⭐
Jump to:
I had become so used to hiding veggies in recipes like spinach and applesauce brownies , healthy chocolate chip spinach cookies, and healthy red velvet pancakes, in order to get extra healthy vegetables into my kids, so that the first time I made these, it seemed a bit brazen to be flaunting veggies ON TOP of my baking!
So, I was even more surprised by my kids' reactions; my daughter loves them so much that she begged me to make them again! So rest assured, even picky eaters will love these.
🥘 Ingredient Notes
You only need 3 ingredients to make candied carrots:
- Fresh carrots. Use regular carrots. Do NOT use baby carrots
- White Granulated Sugar. Don't try to use another type of sugar - it won't work nearly as well.
- Water. You're boiling it so it doesn't matter what temperature the water is when you pour it into that pot.
*See recipe card for full list of ingredients and quantities
🔪 How to Make Candied Carrots
My recipe is a bit different than many of the other recipes out there because it's EASY! You don't have to do any fancy wrapping of carrot pieces around objects to make candied carrot curls.
Other recipes I've come across require wrapping every single piece of carrot around a wooden skewer! Seriously. I don't know about you, but I have much better things to do with my time?!
This is a great way to get candied carrot with a lot less effort.
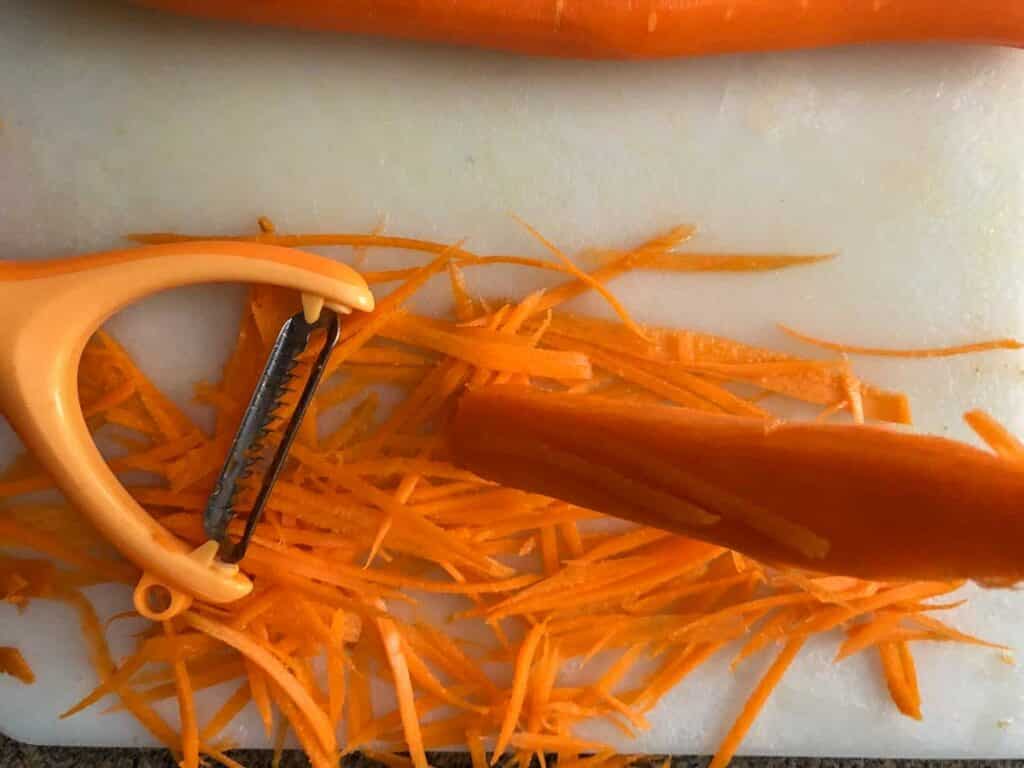
Shred whole carrots with julienne/vegetable peeler.
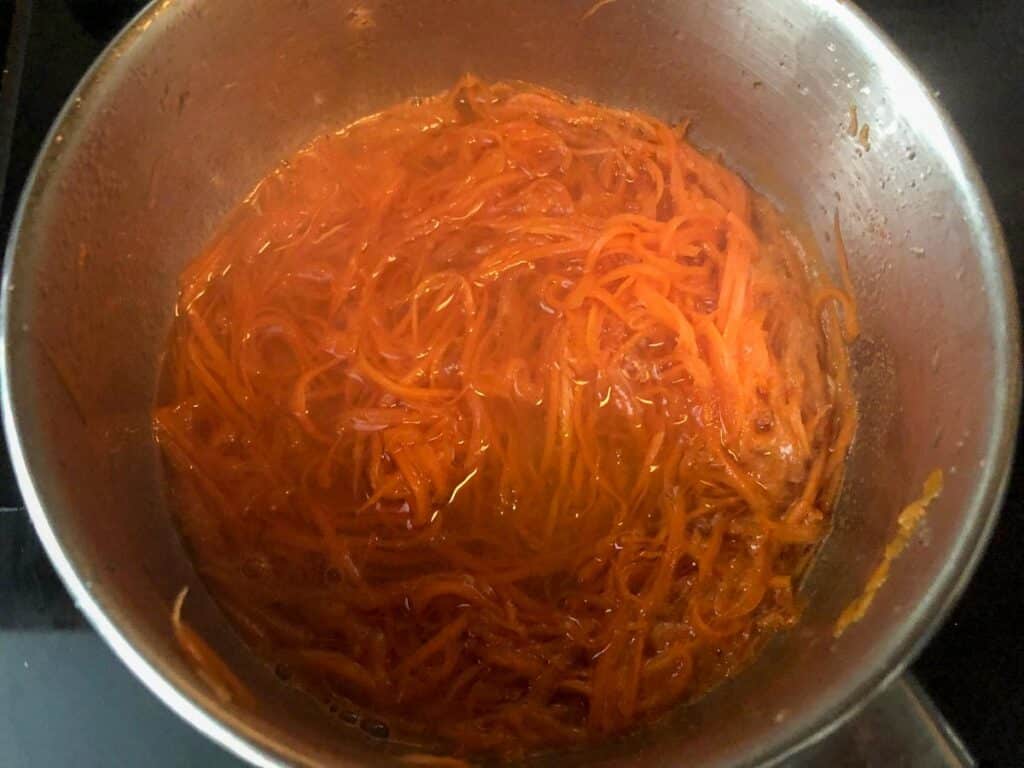
In a small saucepan make a simple syrup by heating water and sugar on medium heat until the sugar dissolves.
Bring to a boil, add the shredded raw carrots to the sugar mixture, turn down to medium - low heat, and simmer for 10 minutes.
Turn off the heat and leave the carrot mixture to stand for another 5 minutes.
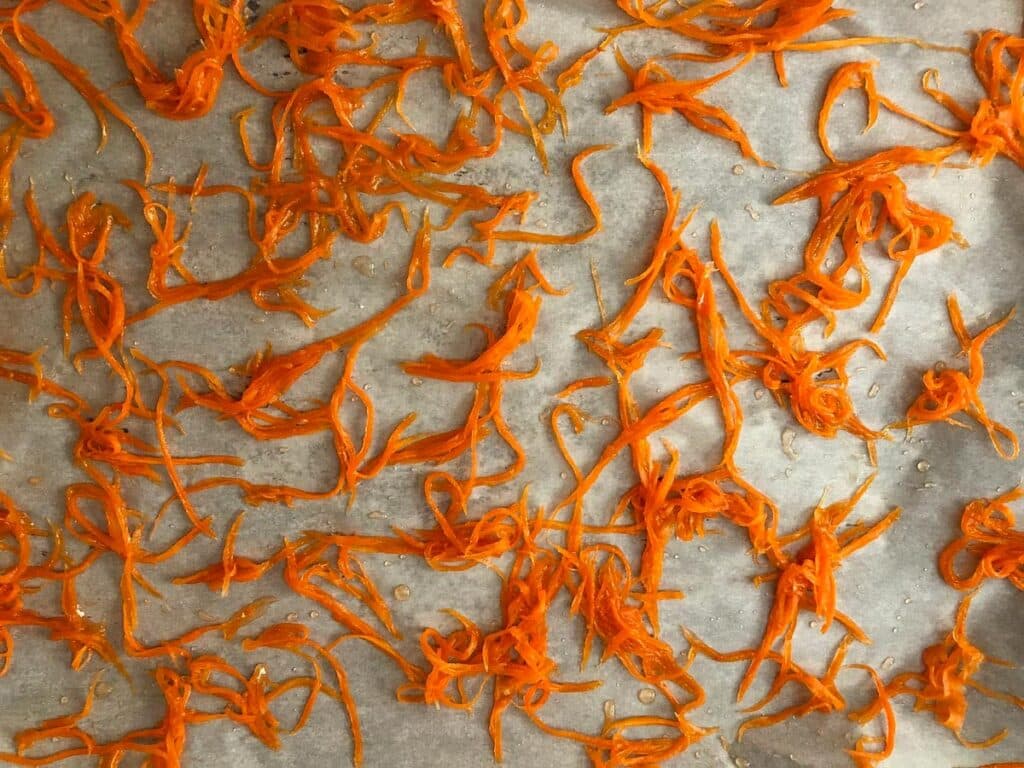
Remove carrots with a slotted spoon, draining off as much liquid as possible.
Then spread the carrots out on a parchment-lined baking sheet in a single layer.
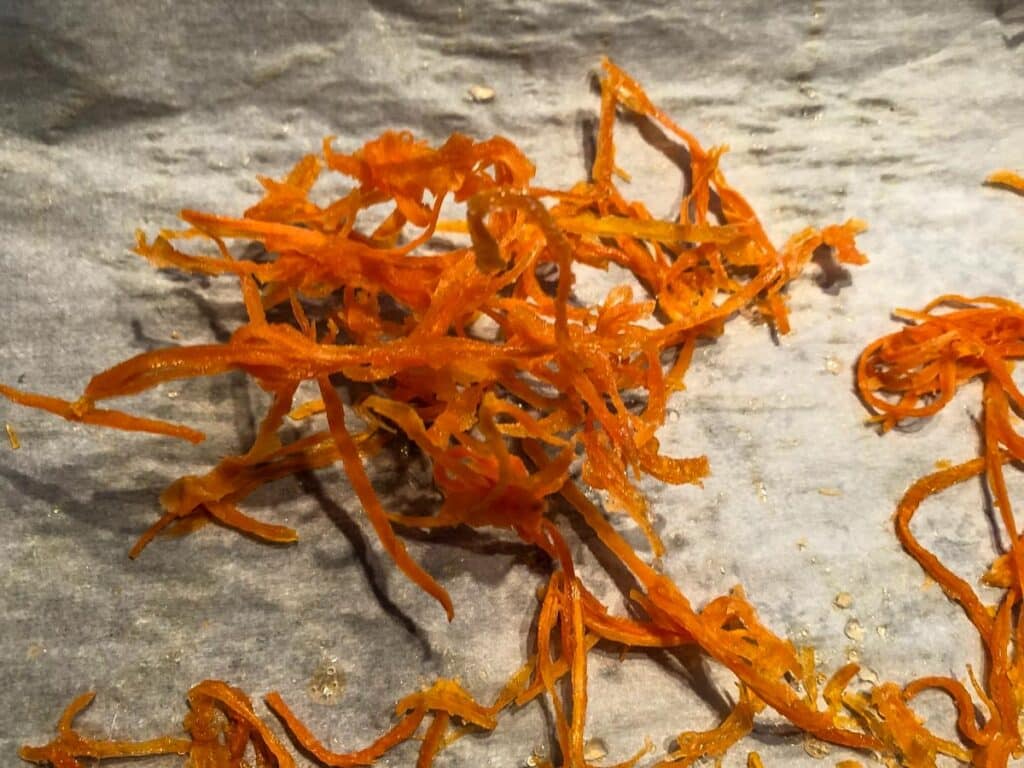
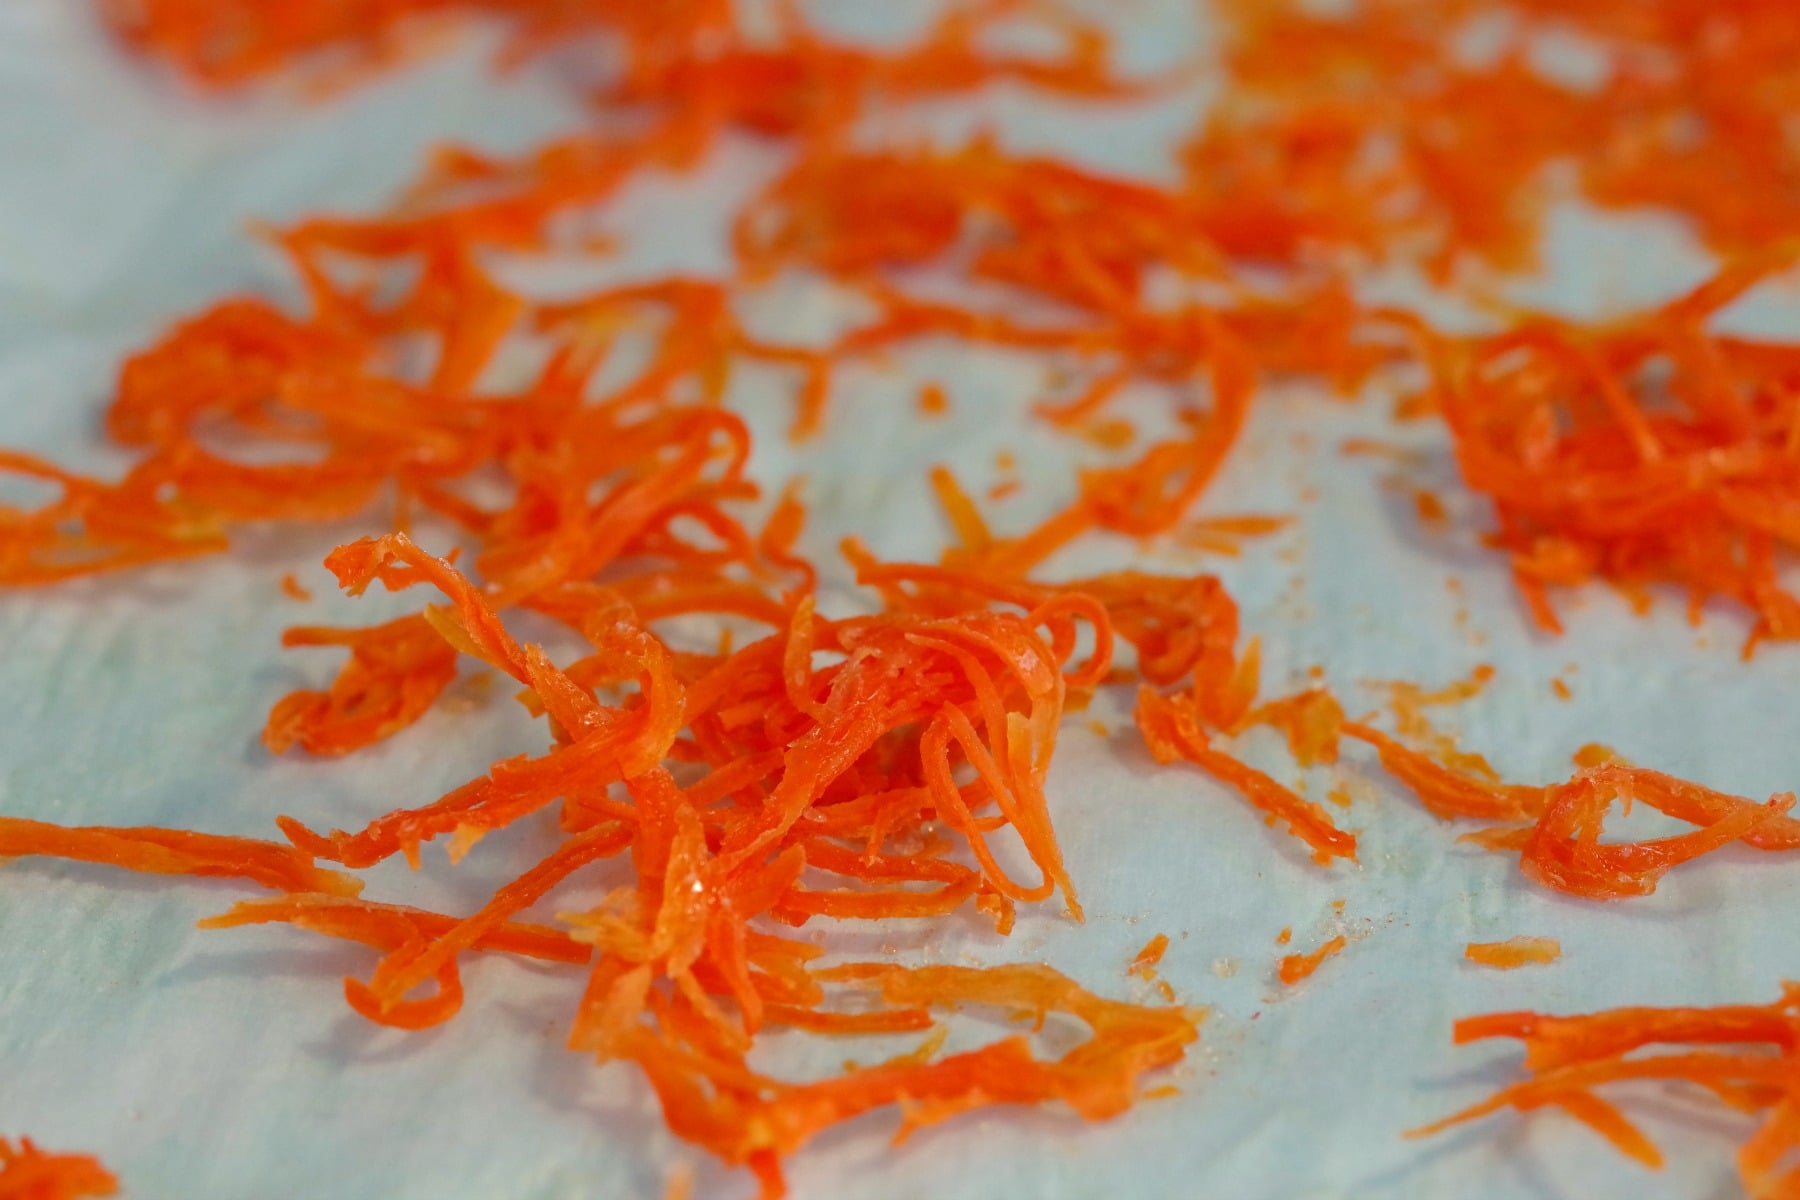
Let them dry for 24 hours in a cool, dry place OR bake in the oven on low (200 degrees F/93 degrees C) for 2 hours or until carrots are dried (as in the photo).
* Another option- this is what I do: I just let them dry overnight, then put them in the oven for about 20 minutes to dry out completely in the morning.
Recipe Tips
- Use fresh regular carrots. Regular carrots are ideal for this recipe. They are easier to julienne or peel into thin strips compared to baby carrots, which are too short and blunt for this process.
- Use a julienne Y-peeler/vegetable peeler to shred them. This will ensure the carrot pieces are long enough.
- Use a slotted spoon. Make sure you use a slotted spoon to remove the carrots from the sugar water. You need to drain off as much liquid as possible or the carrots will take too long to dry or not dry properly.
- Avoid overcrowding the baking sheet. Spread the carrots out on the baking sheet or use an additional baking sheet if necessary. Overcrowding the pan can prevent even drying.
- Check texture while drying. If air drying overnight, finish them off in the oven the next day for about 20 minutes to ensure they are fully dried and crisp.
- Store Properly. Place candied carrots in an airtight container at room temperature to maintain their texture. Avoid exposure to moisture, which can make them stick
Candied Carrot as a Garnish
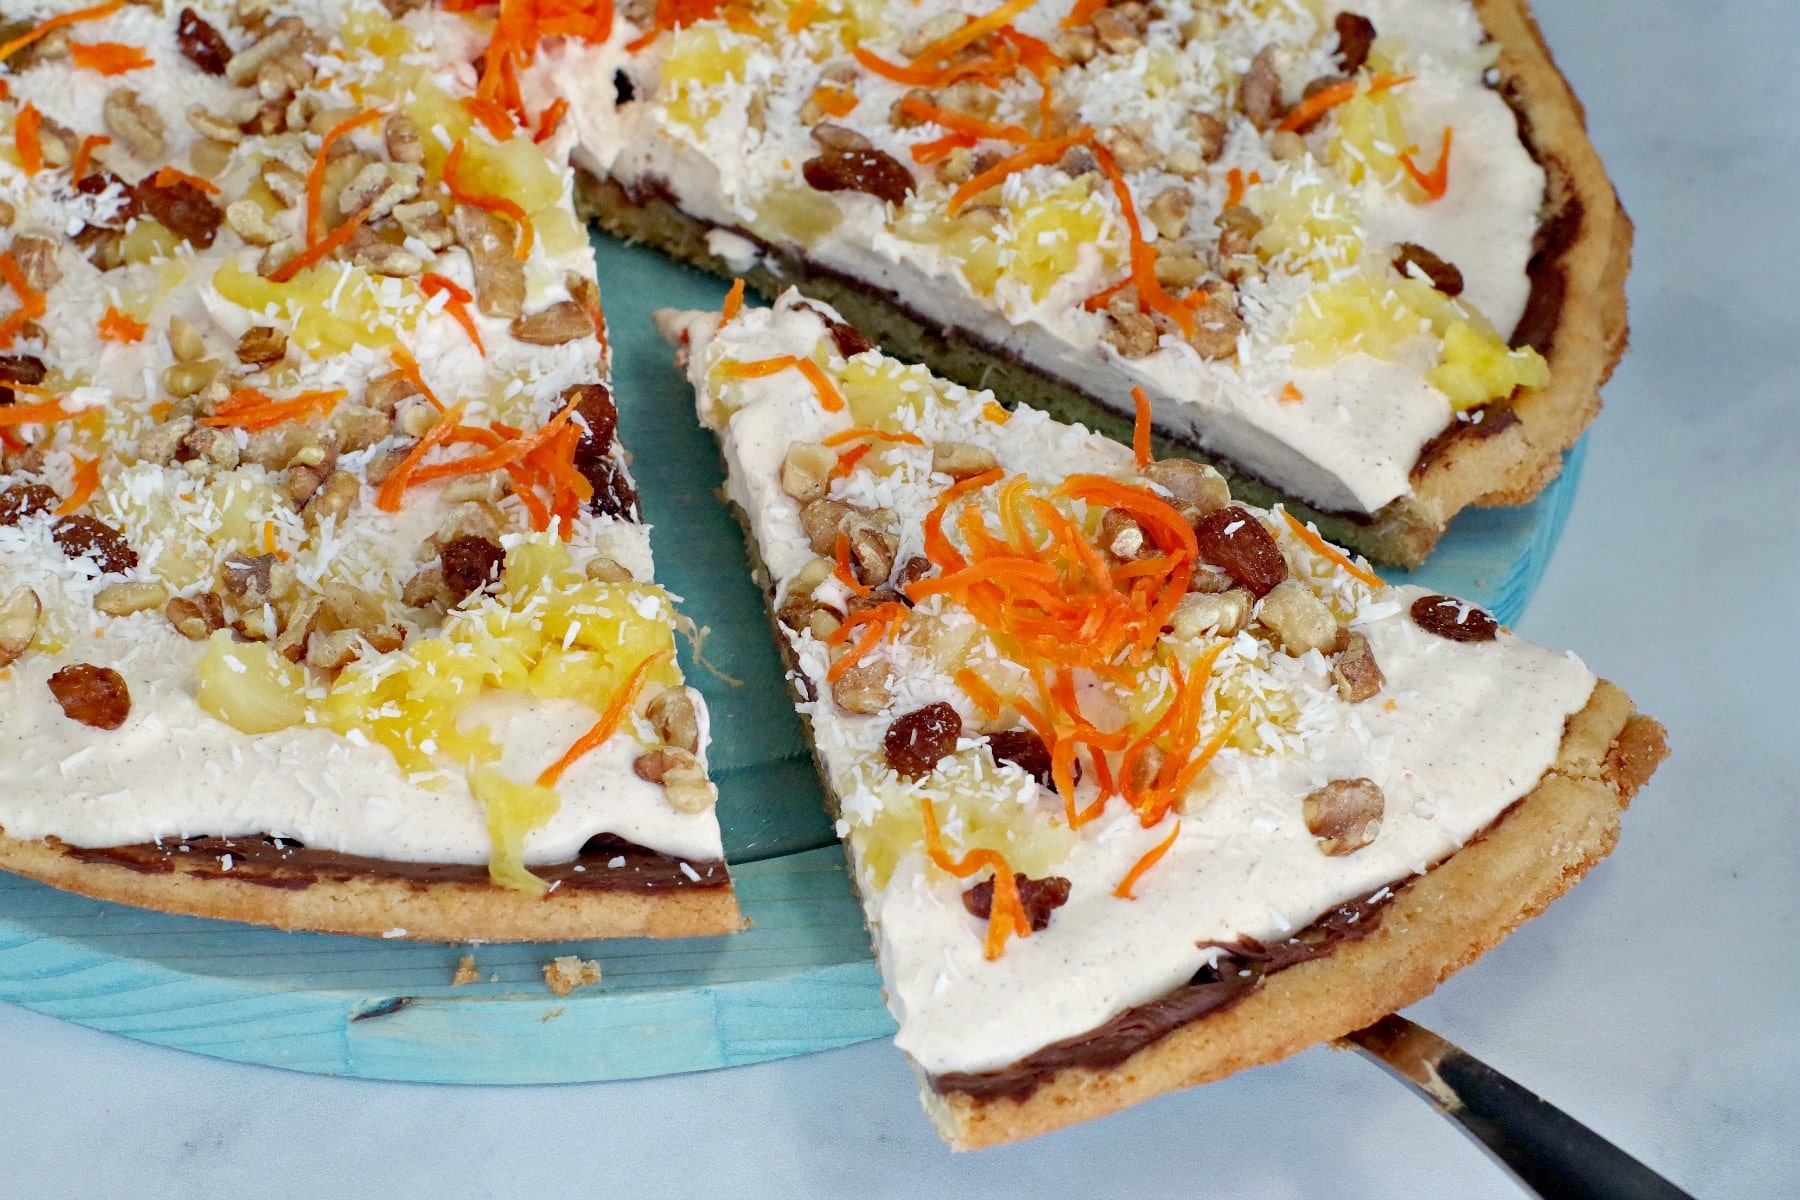
These candied carrots are the perfect topping for my Carrot Cake Dessert Pizza (shown). And make a great garnish on these Carrot Cake Doughnut Muffins. And if you're looking for candid carrots for Carrot Cake, they are ideal!
I have also used them on my Carrot Cake French Toast Casserole, and my Carrot Cake Sheet Pan Pancakes.
🌡️Storage
Store candied carrots in an airtight container for up to 5 days at room temperature.
Candied Carrot does not stand up well to freezing.
❔ Recipe FAQ's
You can use a regular vegetable peeler to create thin carrot strips, but a julienne peeler ensures uniformity and better results.
Overcooking the carrots or burning the sugar can lead to a bitter taste. Keep the heat at medium-low during cooking, and avoid over-boiling.
If your carrots remain sticky or wet after drying, you can bake them in the oven at 200°F (93°C) for an additional 20-30 minutes until they reach the desired texture.
Yes, candied carrots can be made up to 5 days in advance. Store them in an airtight container at room temperature for best results.
The little extra time these take to make this easy candied carrot recipe is totally worth the cool look (and taste) you get as a garnish/topping on your muffin, cupcake, cake, or dessert.
So if you're looking for an easy and great recipe for candy carrots for cake, dessert, or a carrot cake garnish, these candied carrots are ideal!
And if you're looking for savory garnishes, try my Parsnip crisps. They pair perfectly with any garden salad!
🥕More Carrot Recipes
Did your family❤️this recipe? Did you know that commenting and⭐rating recipes is one of the best ways to support your favorite recipe creators? If you LOVED this recipe, please comment and rate it in the recipe card or share photos on social media using the hashtag #foodmeanderings or tagging @foodmeanderings !


📋 Candied Carrot Recipe
Ingredients
- ¼ cup water
- ½ cup sugar
- ¾ cup shredded carrots (about 2 large carrots) *Do NOT use baby carrots
Instructions
- Shred carrots with julienne/vegetable peeler.
- In a small saucepan heat water and sugar till the sugar dissolves. Bring to the boil, add the carrots, and simmer for 10 minutes.
- Turn off the heat and leave to stand for another 5 minutes.
- Remove carrots with a slotted spoon, draining off as much liquid as possible and spread the carrots out on a parchment lined baking sheet.
- Let them dry 24 hours in a cool, dry place OR bake in oven on low (200 degrees F) for 2 hours or until carrots are dried (as in photo) * I let them dry overnight, then put them in the oven for about 20 minutes to dry out completely.
Notes
- Use fresh regular carrots. Regular carrots are ideal for this recipe. They are easier to julienne or peel into thin strips compared to baby carrots, which are too short and blunt for this process.
- Use a julienne Y-peeler/vegetable peeler to shred them. This will ensure the carrot pieces are long enough.
- Use a slotted spoon. Make sure you use a slotted spoon to remove the carrots from the sugar water. You need to drain off as much liquid as possible or the carrots will take too long to dry or not dry properly.
- Avoid overcrowding the baking sheet. Spread the carrots out on the baking sheet or use an additional baking sheet if necessary. Overcrowding the pan can prevent even drying.
- Check texture while drying. If air drying overnight, finish them off in the oven the next day for about 20 minutes to ensure they are fully dried and crisp.
- Store Properly. Place candied carrots in an airtight container at room temperature to maintain their texture. Avoid exposure to moisture, which can make them stick






Debbie says
These candied shredded carrots were easy to make and added a really nice touch to the carrot cake!
Terri Gilson says
Hi Debbie,
Great to hear! Yes, the 'easy' part is my favorite part!
Terri
Carol Tedrick says
Just made several pounds of these for garnishing carrot cake at a fundraising event!
The hardest part was separating them after drying because there were too many to spread out effectively. They looked beautiful, tasted great and kept well. Thank You!
Terri Gilson says
Hi Carol,
I'm so glad they worked out so well for your event!
Thanks for taking the tien to comment 🙂
Terri
Carrie templemon says
Thank you it works great 👍
Terri Gilson says
Glad to hear that, Carrie!
Melanie says
I made these to top a carrot cake with for my husbands birthday and they turned out fantastic! Thank you for the recipe!
Terri Gilson says
That's great, Melanie! Happy birthday to your husband!
Terri
Tammy says
Hi. I’m making these now but won’t need them for a couple weeks. How long will they keep and what’s the best way to store them
Terri Gilson says
Hi Tammy,
That's pretty far in advance to be making them, as keep for up to 5 days in a sealed container at room temperature. I would try freezing them since you are making them so far in advance. Or at minimum, keep them in the fridge. However, you'll probably want to test them in the freezer before committing the whole batch. I would put a small amount in a freezer bag and freeze for a minimum of 24 hours. Then take them out place them on parchment paper and let them come to room temperature and dry out. You could always pop them back in the oven for a bit if they become limp. I'd love to hear how they fare! Good luck! Terri
Veggie says
I love this recipe. It is soooo easy. Thank you for sharing.
Terri Gilson says
You're welcome! I'm glad you found it easy to make!