Grandma Mary made the best Potato and Cottage Cheese Perogies around! Whenever we left Winnipeg at Christmas, she'd send us home with dozens. And when she was coming to visit Calgary, we'd anxiously await our perogies, which she'd dole out by the pie plate full. Frozen perogies layered between sheets of wax paper in aluminum pie plates, wrapped up in newspapers; that's the way Mary packaged them. She always said they kept best that way. They were, by far, the best authentic perogies ever!
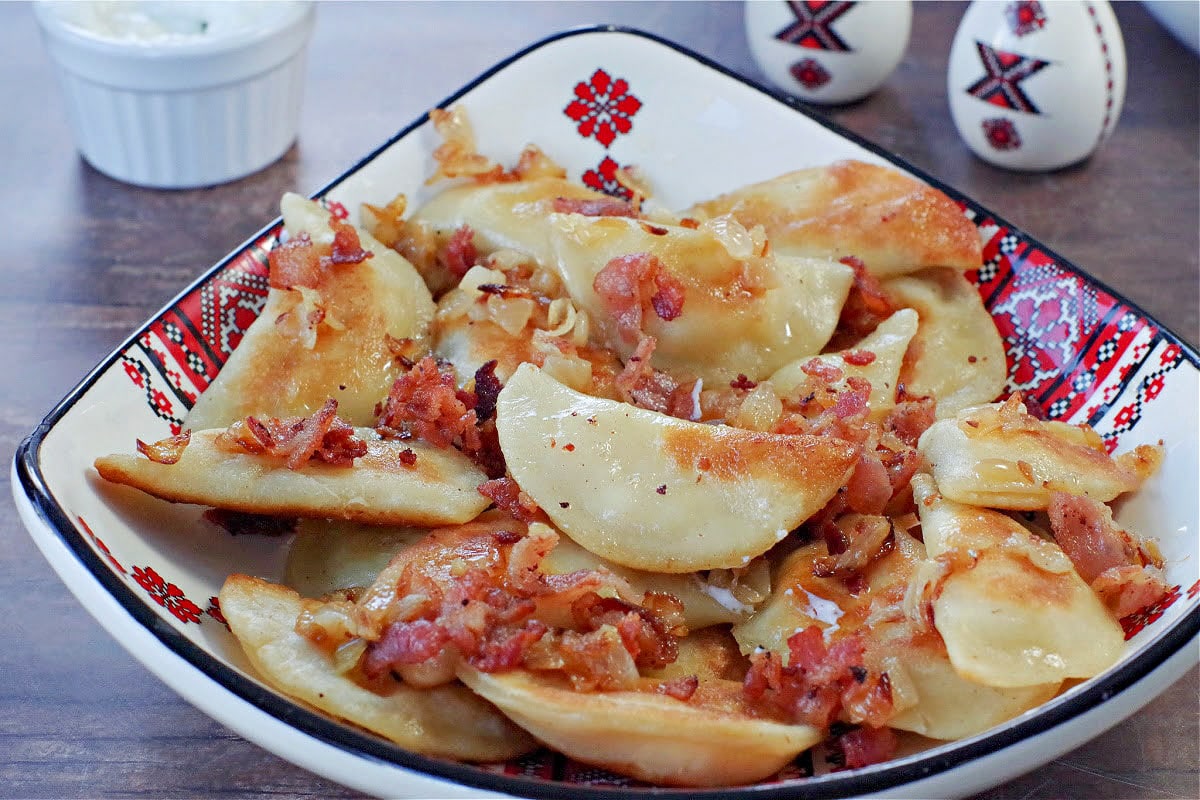
Mary passed away nearly 15 years ago and we miss her dearly. But she lives on through her perogies. And we were lucky enough to not only be blessed with this recipe, but to have the opportunity to watch the master perogy maker at work and record her technique for this wonderful recipe!
🍒Reader Review
"Thank you for an amazing recipe!!!. My boyfriend has talked repeatedly about his grandmothers potato and Cottage cheese pierogies and laments frequent on how he can’t find anyone that makes that combination. I have made different variations of potato and cheddar or bacon and onion before but never cottage cheese and potato together so I went looking for a recipe and came upon yours. I made it exactly as written except I added a tiny bit of garlic and onion powder. He said, not only are they absolutely fantastic, they are better than his any store-bought or restaurant pierogies he’s had, and right up there with his Grams!! I gave him six dozen and he was supposed to give some of those to his mom, but his mom did not get any, lol!! Thank you so much again!!!!" ⭐⭐⭐⭐⭐
Jump to:
- 🍒Reader Review
- 🥘🥔 🧀 Cottage Cheese Perogies Ingredient Notes
- 🔪How to Make Potato and Cottage Cheese Pierogies
- 🎥 Video
- 🎥Video
- Tips for Succes - Making THE BEST Perogies!
- 🥂Have a Perogy Party!
- 👪 Serving Size
- 🥗What to serve with perogies
- 🌡️Storage
- Top tip
- ❔ Frequently Asked Questions about making Potato & Cottage Cheese Perogies
- 🥟More Ukrainian Pierogi Recipes!
- 📋Potato and Cottage Cheese Perogies Recipe
I grew up on perogies and I still love them; they are the ultimate comfort food! Every Sunday when we went to Baba's, there'd always be perogies, along with Borscht , Cabbage Rolls with kubassa and something sweet with poppy seed (you'll want to try my Lemon Poppy Seed Torte. But sadly, I never got my Baba's perogy recipe. I was only 12 when I lost her.
However, I am so very grateful to have Grandma Mary's perogy recipe and honored to be able to share it. Mary was my husband's Grandma and it was a pleasure to have known her and shared so many years with her. She was a strong, wise, kind, generous, and beautiful soul.
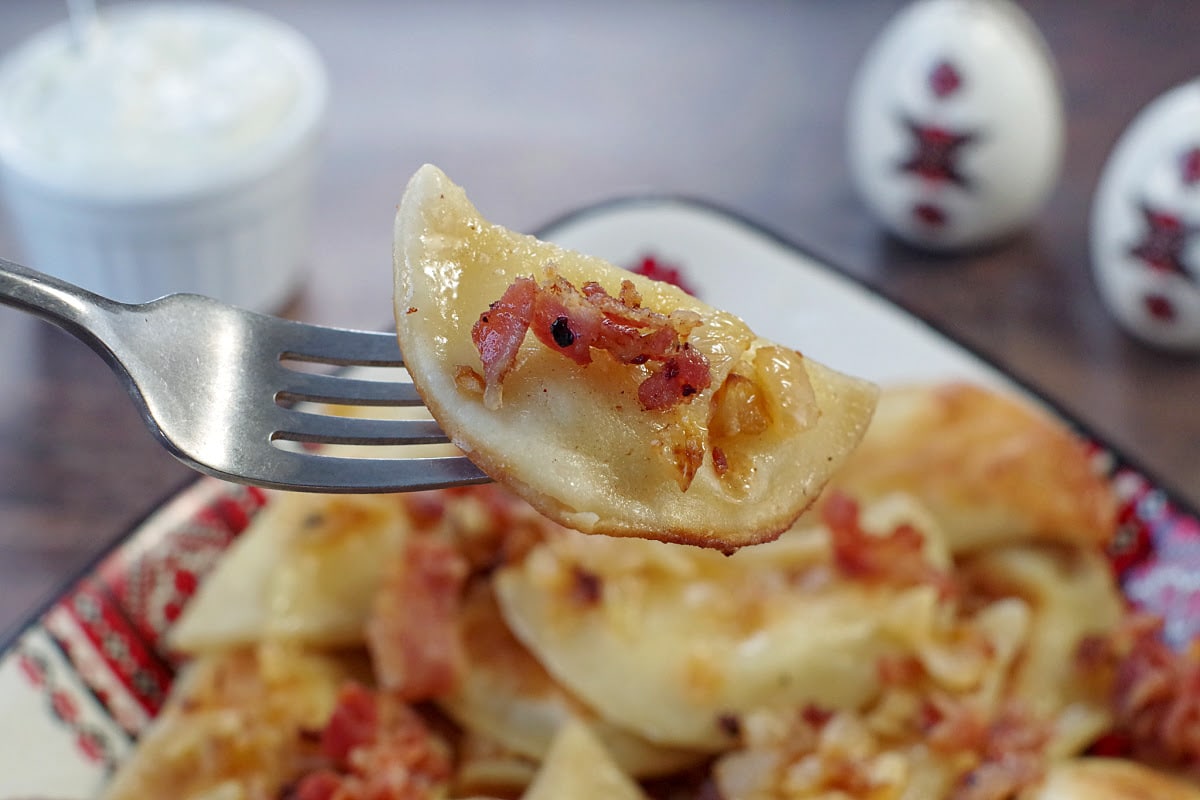
For countless years, every Saturday, she would toil away making hundreds of perogies that she so graciously shared with her family, friends and neighbors. And anyone who was lucky enough to be a recipient of a loaded pie plate wrapped in newspaper, was not only filled with gratitude, but left wanting for more.
Even when she was in her 90's and had a harder time getting around, she'd perch on the stool in her kitchen and make dozens of perogies. You could tell it was important to her, as it was to all of us.
🥘🥔 🧀 Cottage Cheese Perogies Ingredient Notes
These are true authentic and traditional Ukrainian perogies! Ukrainian food is actually pretty plain, simple, and economical. These pierogies are made with simple ingredients like potato, dry cottage cheese, with a simple dough, then boiled, fried in real butter and smothered in fried bacon and onions.
I grew up on potato and cheddar pierogies, but my Baba's perogies were either cheddar cheese and potato or sauerkraut. I had never even heard of dry cottage cheese pierogies until I met my husband and his Grandma's perogies. And I fell in love with them! The dry curd cottage cheese gives these perogies an interesting and unique texture; different from the typical potato and cheese pierogi.
For this perogy recipe, you'll need these basic ingredients:
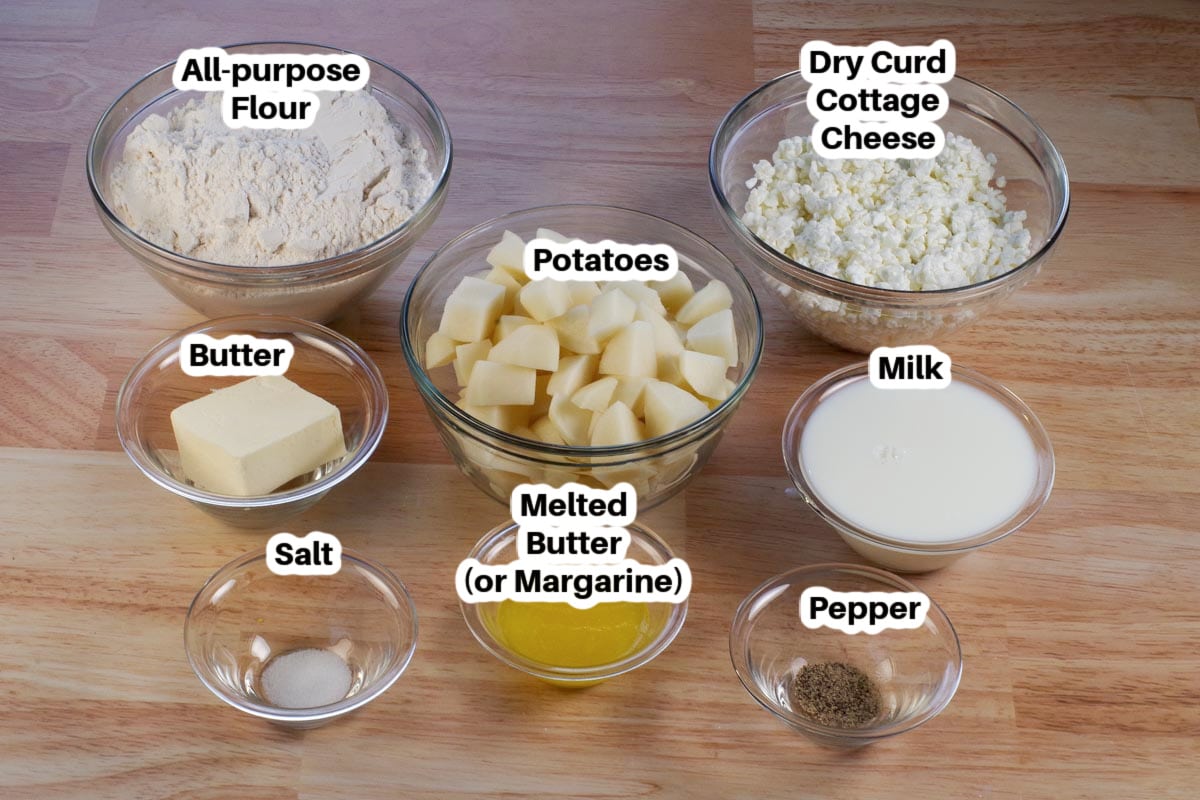
Dough:
- Flour. All-purpose flour is the base for the dough. AP flour is relatively high in protein (in North America) making it a strong dough to work with (it won't easily rip or tear while you are working with it).
- Salt. Salt add flavor to the dough.
- Butter. Butter adds flavor and keeps the dough soft. I use unsalted so I can control the salt.
- Milk. Milk is the liquid in this recipe and it also infuses flavor because it's scalde.d I use 1 % because that's what I have on hand.
Filling:
- Potatoes. I use any type of potato I have on hand.
- Dry cottage cheese. Using dry cottage gives a tasty zing and great texture!
- Pepper. Adds flavor.
- Salt. Adds flavor to the filling too.
Toppings (optional):
- Onions- optional (not shown)
- Bacon - optional
- Sour cream - optional
*see recipe card for quantities

🔪How to Make Potato and Cottage Cheese Pierogies
To help you make the best perogies (that stay together), I have included step by step photos of how to make perogies, as well as a video! Perogies are not hard to make, but they are pretty labor intensive. That's why it costs so much to buy homemade perogies.
PREP: Scald milk (see video below) and cool to 110 degrees F/43 degrees C

🎥 Video
I recommend you scald your milk for this recipe. If you're not sure how to scald milk, then check out this video: How to scald milk. Trust me, it's worth the time!
- Mix all perogy dough ingredients together in a large bowl with a wooden spoon, then with your hands. Keep mixing with your hands until the dough comes away from the sides and off your hands. Meanwhile, keep sprinkling with extra flour (about ½ cup) and mix flour in. Then cover (with airtight lid) and rest the dough for about an hour
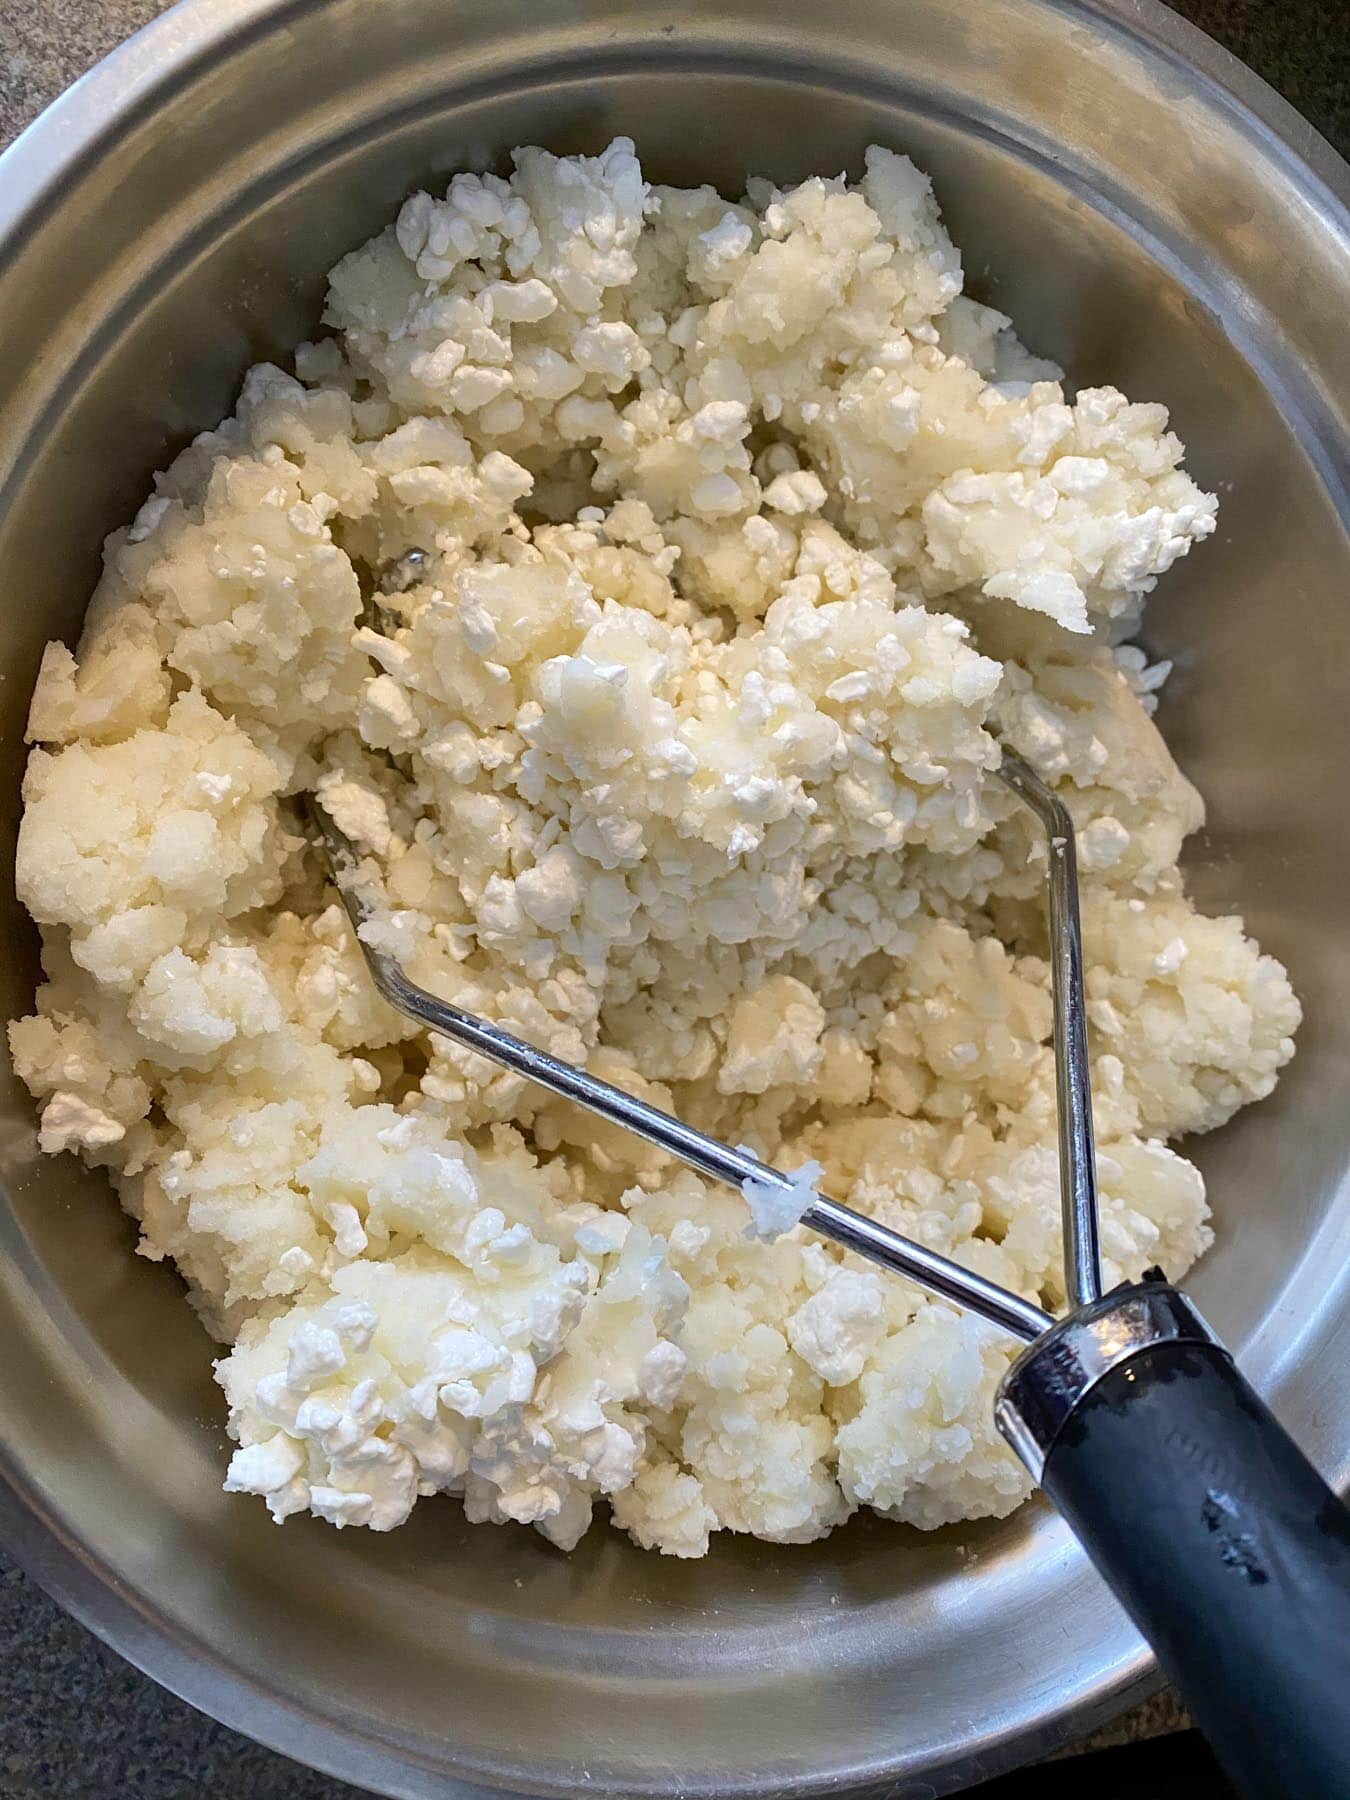
- Cottage Cheese & Potato Filling: Peel and chop potatoes, place potatoes in hot water and boil potatoes until a fork goes easily through potatoes. Drain. Mash cooked potatoes together with dry cottage cheese and salt and pepper. Set aside
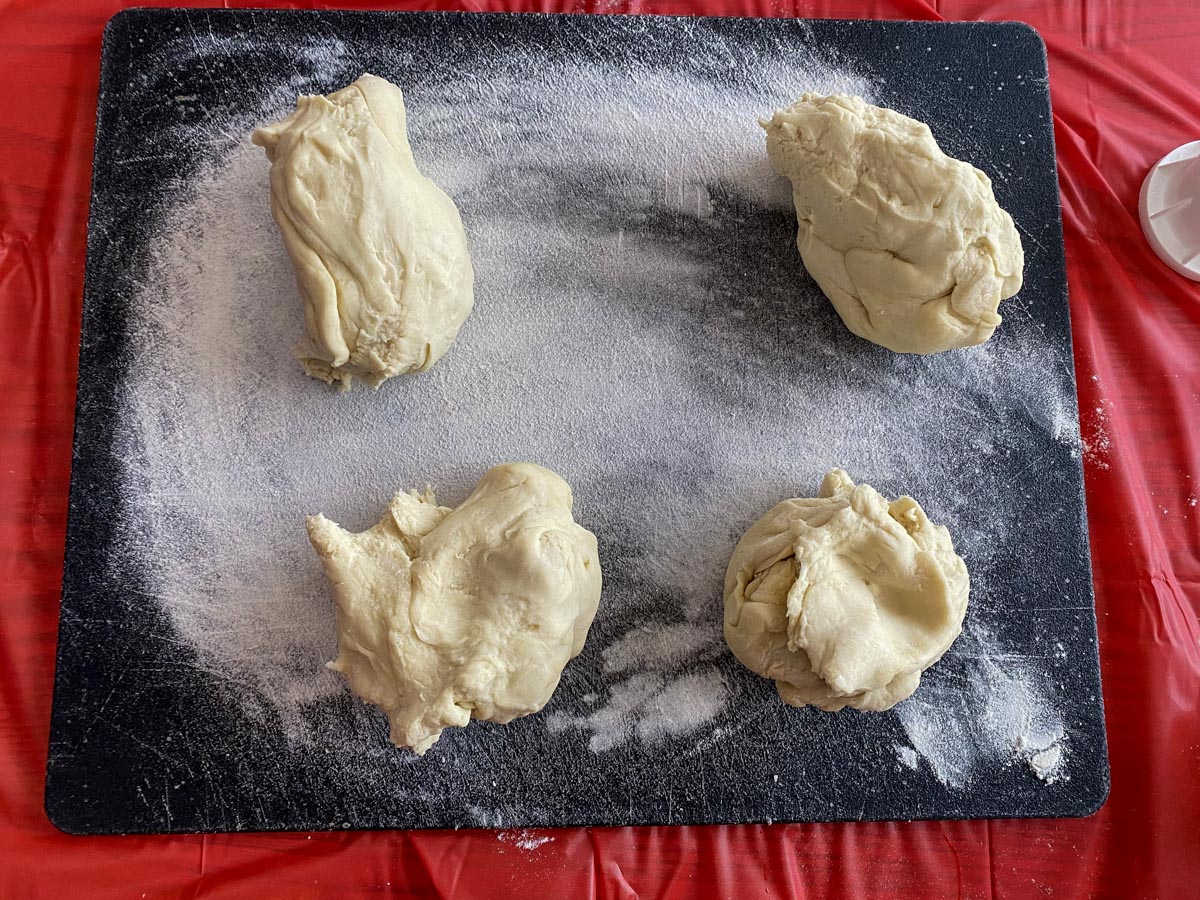
- Assembly: Place dough on floured surface and separate dough into 4 wedges
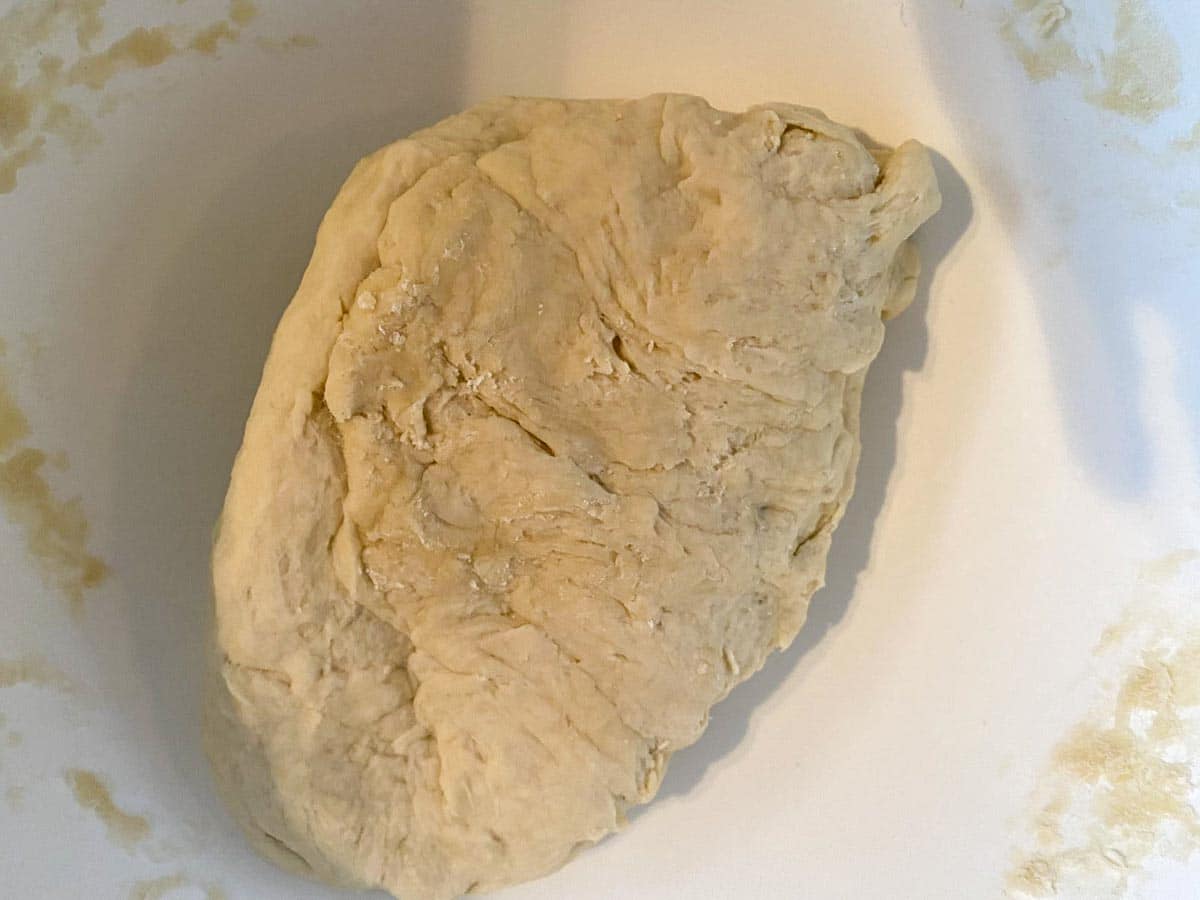
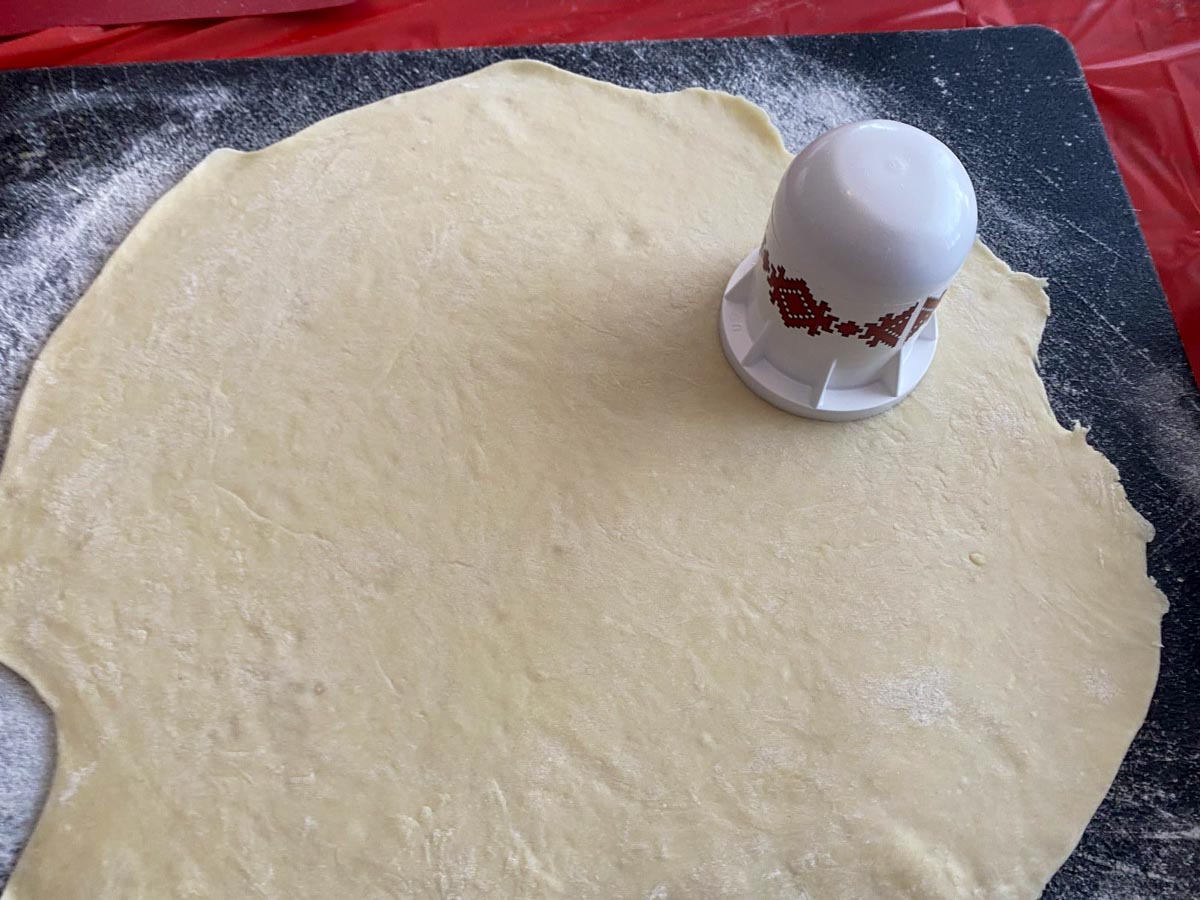
- Roll out one of the 4 parts to ⅛ inch thickness (this will require a lot of muscle!)
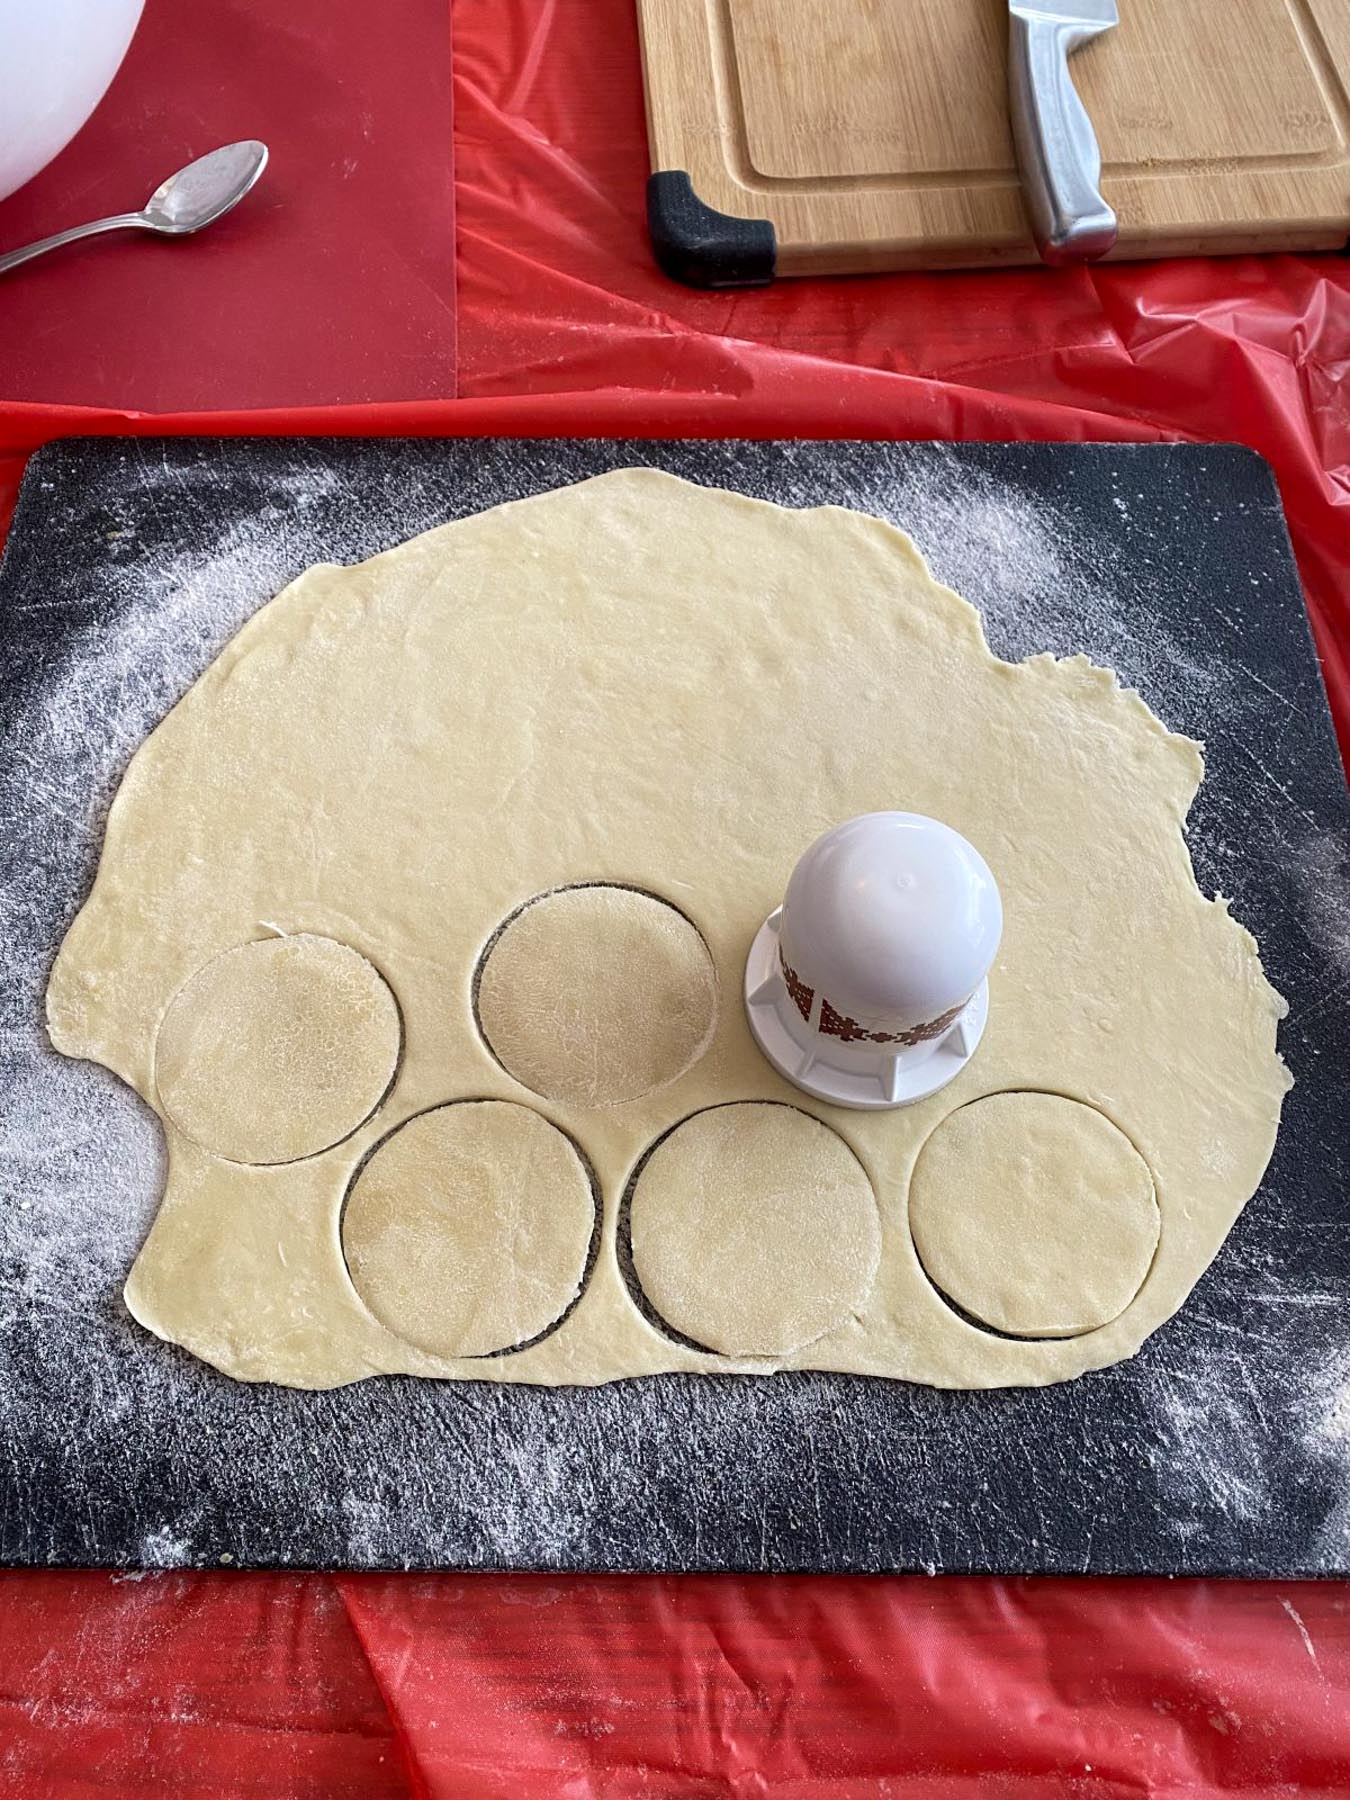
- Cut dough into circles with perogy cutter or you can use anything round that's about 2-3 inches in diameter. *2.5 inches is ideal and what I used. Repeat with remaining dough wedges.
- Add a small amount (about 1-2 teaspoons) of filling to the centre of each circle. Dip your finger in hot water and run it around the outside of the circle, this will help to seal the perogy.
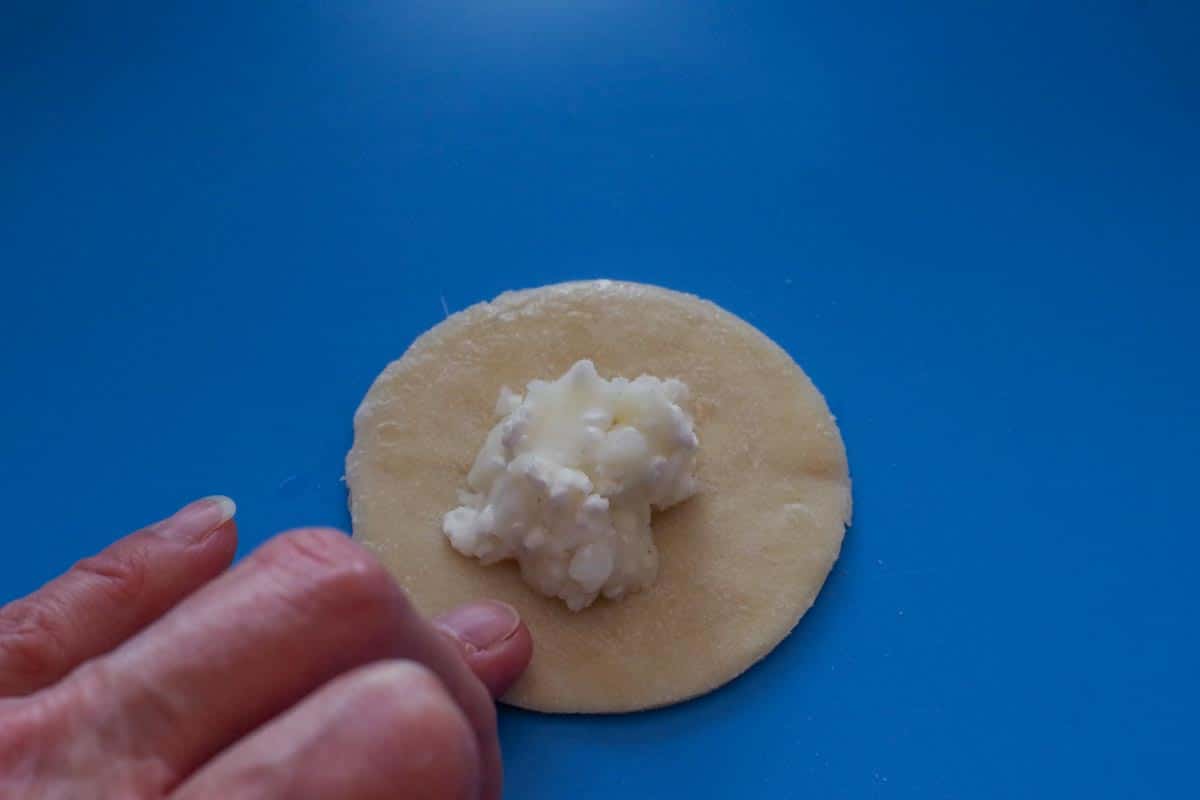
- Pinch together in the middle. Then work your way around the edge, pinching, while ensuring the filling stays in.
- Keep pinching until your perogy is completed sealed. *It's important it's completely sealed so it will not come apart during the boiling process.
- Place perogies in a single layer on a baking sheet (I find this best because you can fit a lot on), but you'll probably need more than one.
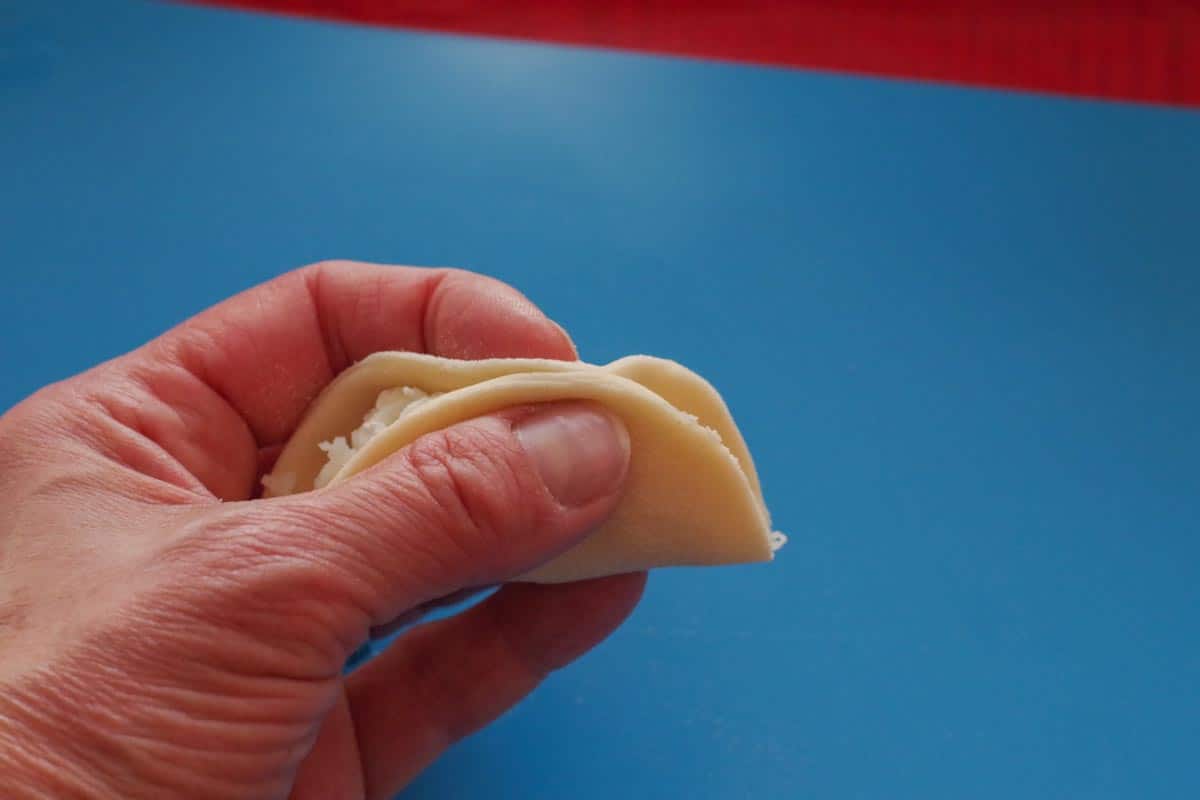
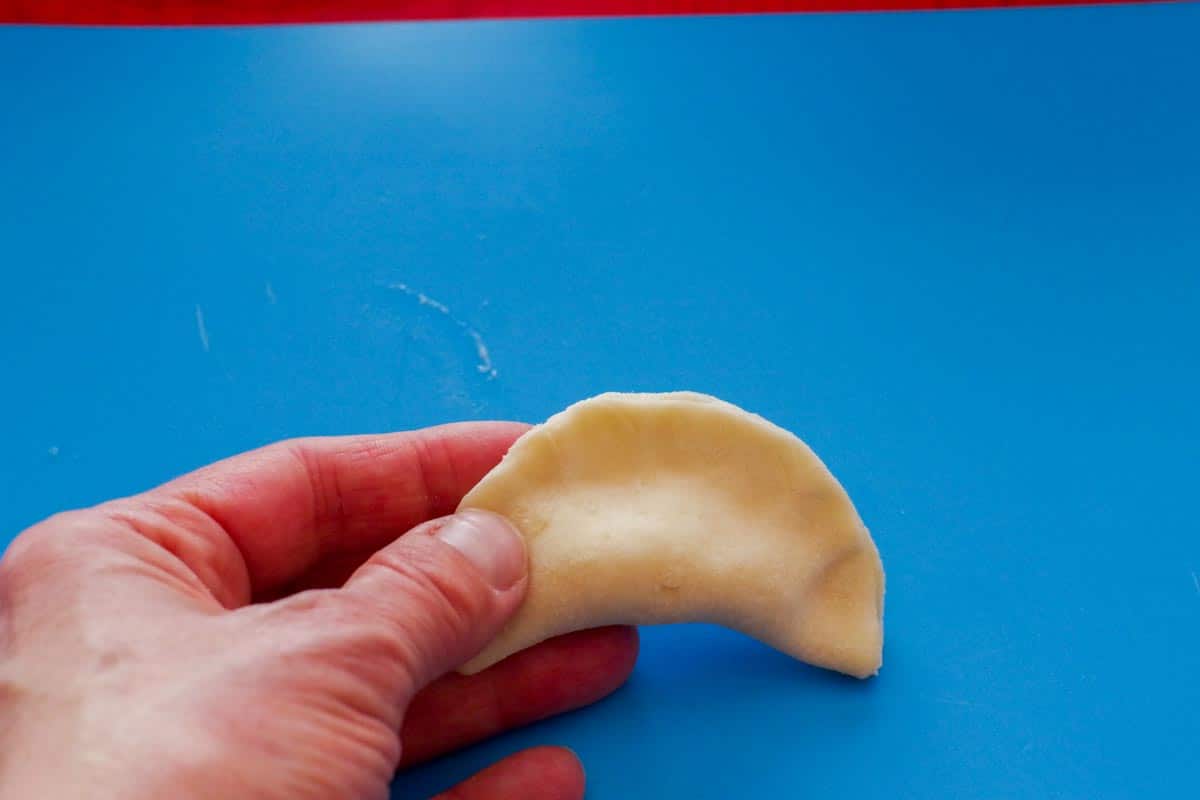
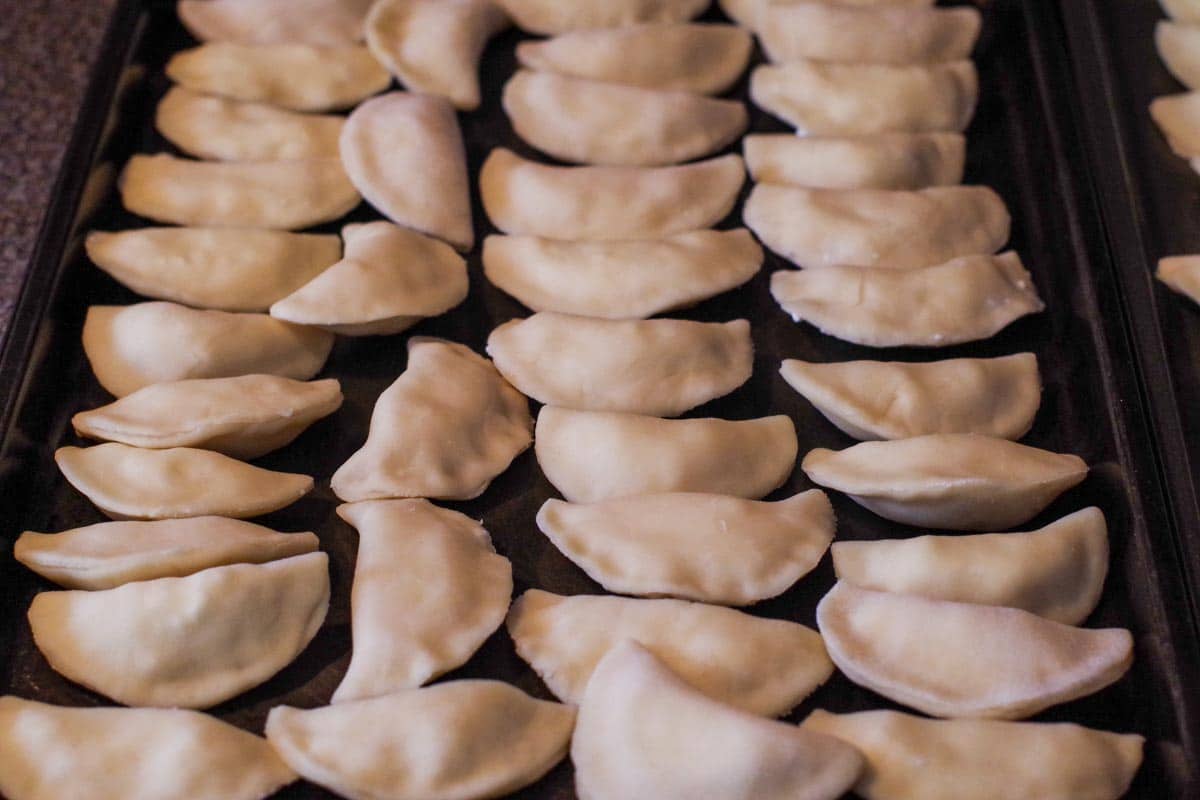
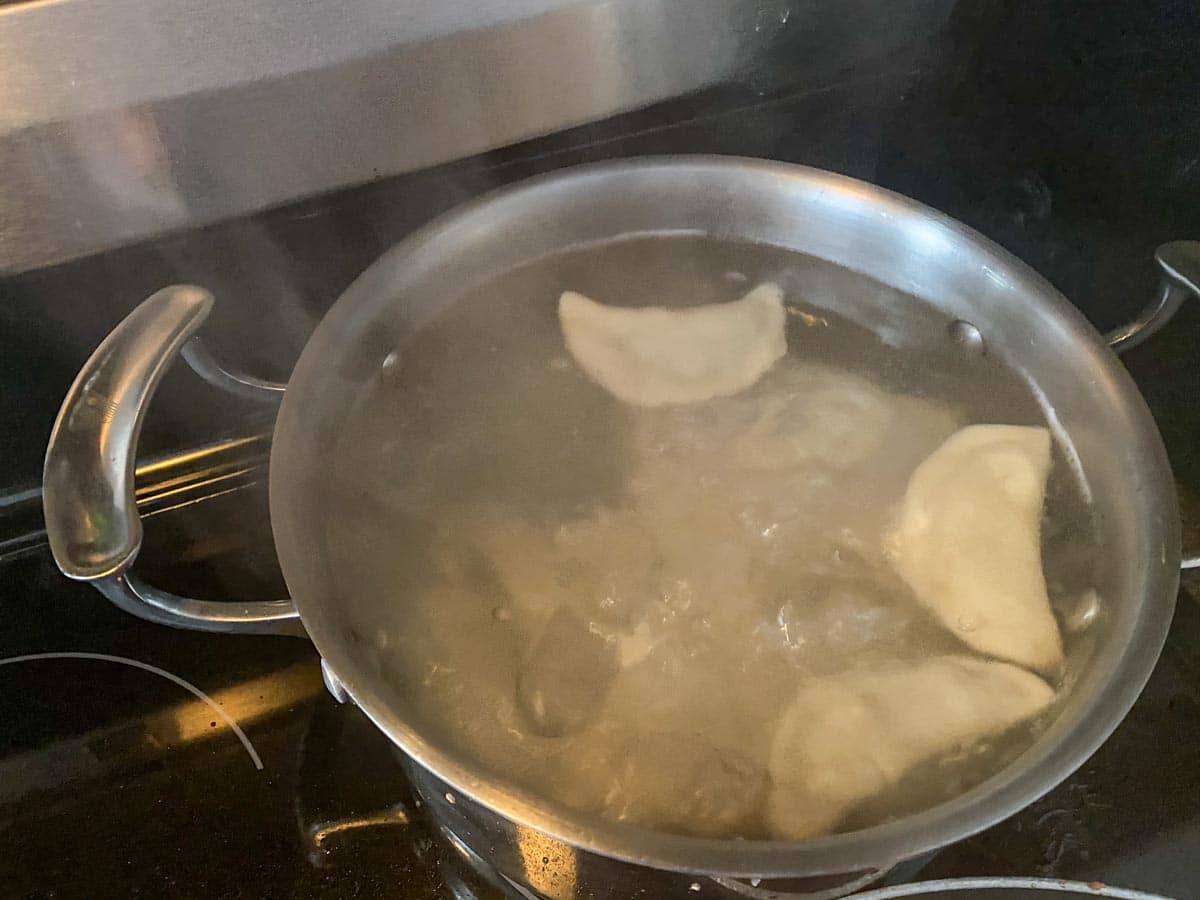
- Boil a large pot of water and add perogies (you only want to add about a dozen at a time.) Cook first batch of perogies in boiling water (rolling boil). *The perogies will float to the top when they are ready.
- Remove with slotted spoon. Add to bowl with ⅓ cup melted butter (add more as needed, depending on how many perogies you are making.) As you move perogies from bowl to frying pan, add more butter, as needed) *This is the method Mary always used. *Repeat for each batch (about a dozen at a time) *NOTE: At this point, if you plan to freeze them, you'll want to put them back onto parchment paper (or wax paper) lined cookie sheets. Space them so they are not touching and freeze them on the cookie sheets for 4-6 hours. Once frozen, you can move them into large freezer bags for long-term freezing. (* I did not photograph, as we did not freeze any this time.)
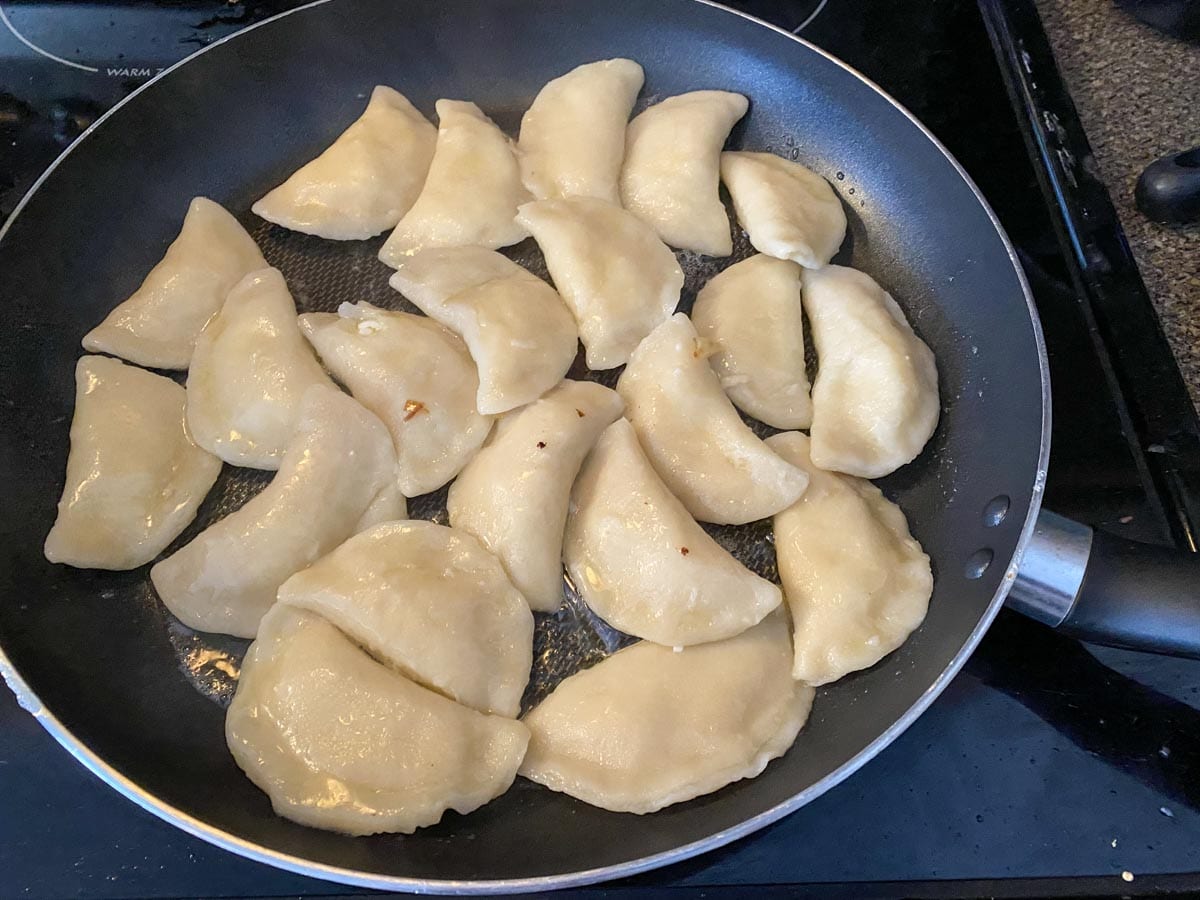
- In a large skillet, fry perogies over medium-high heat with additional butter (as needed) I use an additional 2-3 tbsps.

🎥Video
See VIDEO - how to make a cottage cheese and potato perogies
Tips for Succes - Making THE BEST Perogies!
- Don’t overcook potatoes – they can become too mushy. Cook them until a fork goes easily through them.
- Avoid over-kneading dough -that develops gluten making it tough, chewy, and difficult to roll out.
- Keep the dough covered – cover it in plastic when not actively using it so it doesn’t dry out.
- Roll dough out thin– it should be about ⅛″ thick. You're going to have to put some hard work into rolling, but it's worth it! If it’s too thick, the perogies will be hard to work with and the texture after cooking will be chewy and dense.
- Don't add too much filling (see photos) – You only need a little filling in the middle - don't overfill and stay away from the edge of the dough circles or it will be hard to seal them or the seals will burst while they are boiling.
- Tightly seal – I can't stress how critical it is to seal the pierogies tightly so the filling doesn't seep out while they are boiling. Make sure you use enough water on the edges of the dough circle and pinch the perogy closed more than once!
- Cook in Batches – Don’t overcrowd your pot; give them enough room to float to the top (that's how you'll know when they are ready.)
- Don’t overcook the perogies when boiling - if the dough gets too soft, the filling can seep out.
- Get the into butter right away – remove them from the boiling water, transferring them directly into a bowl with melted butter. This prevents sticking.
🥂Have a Perogy Party!
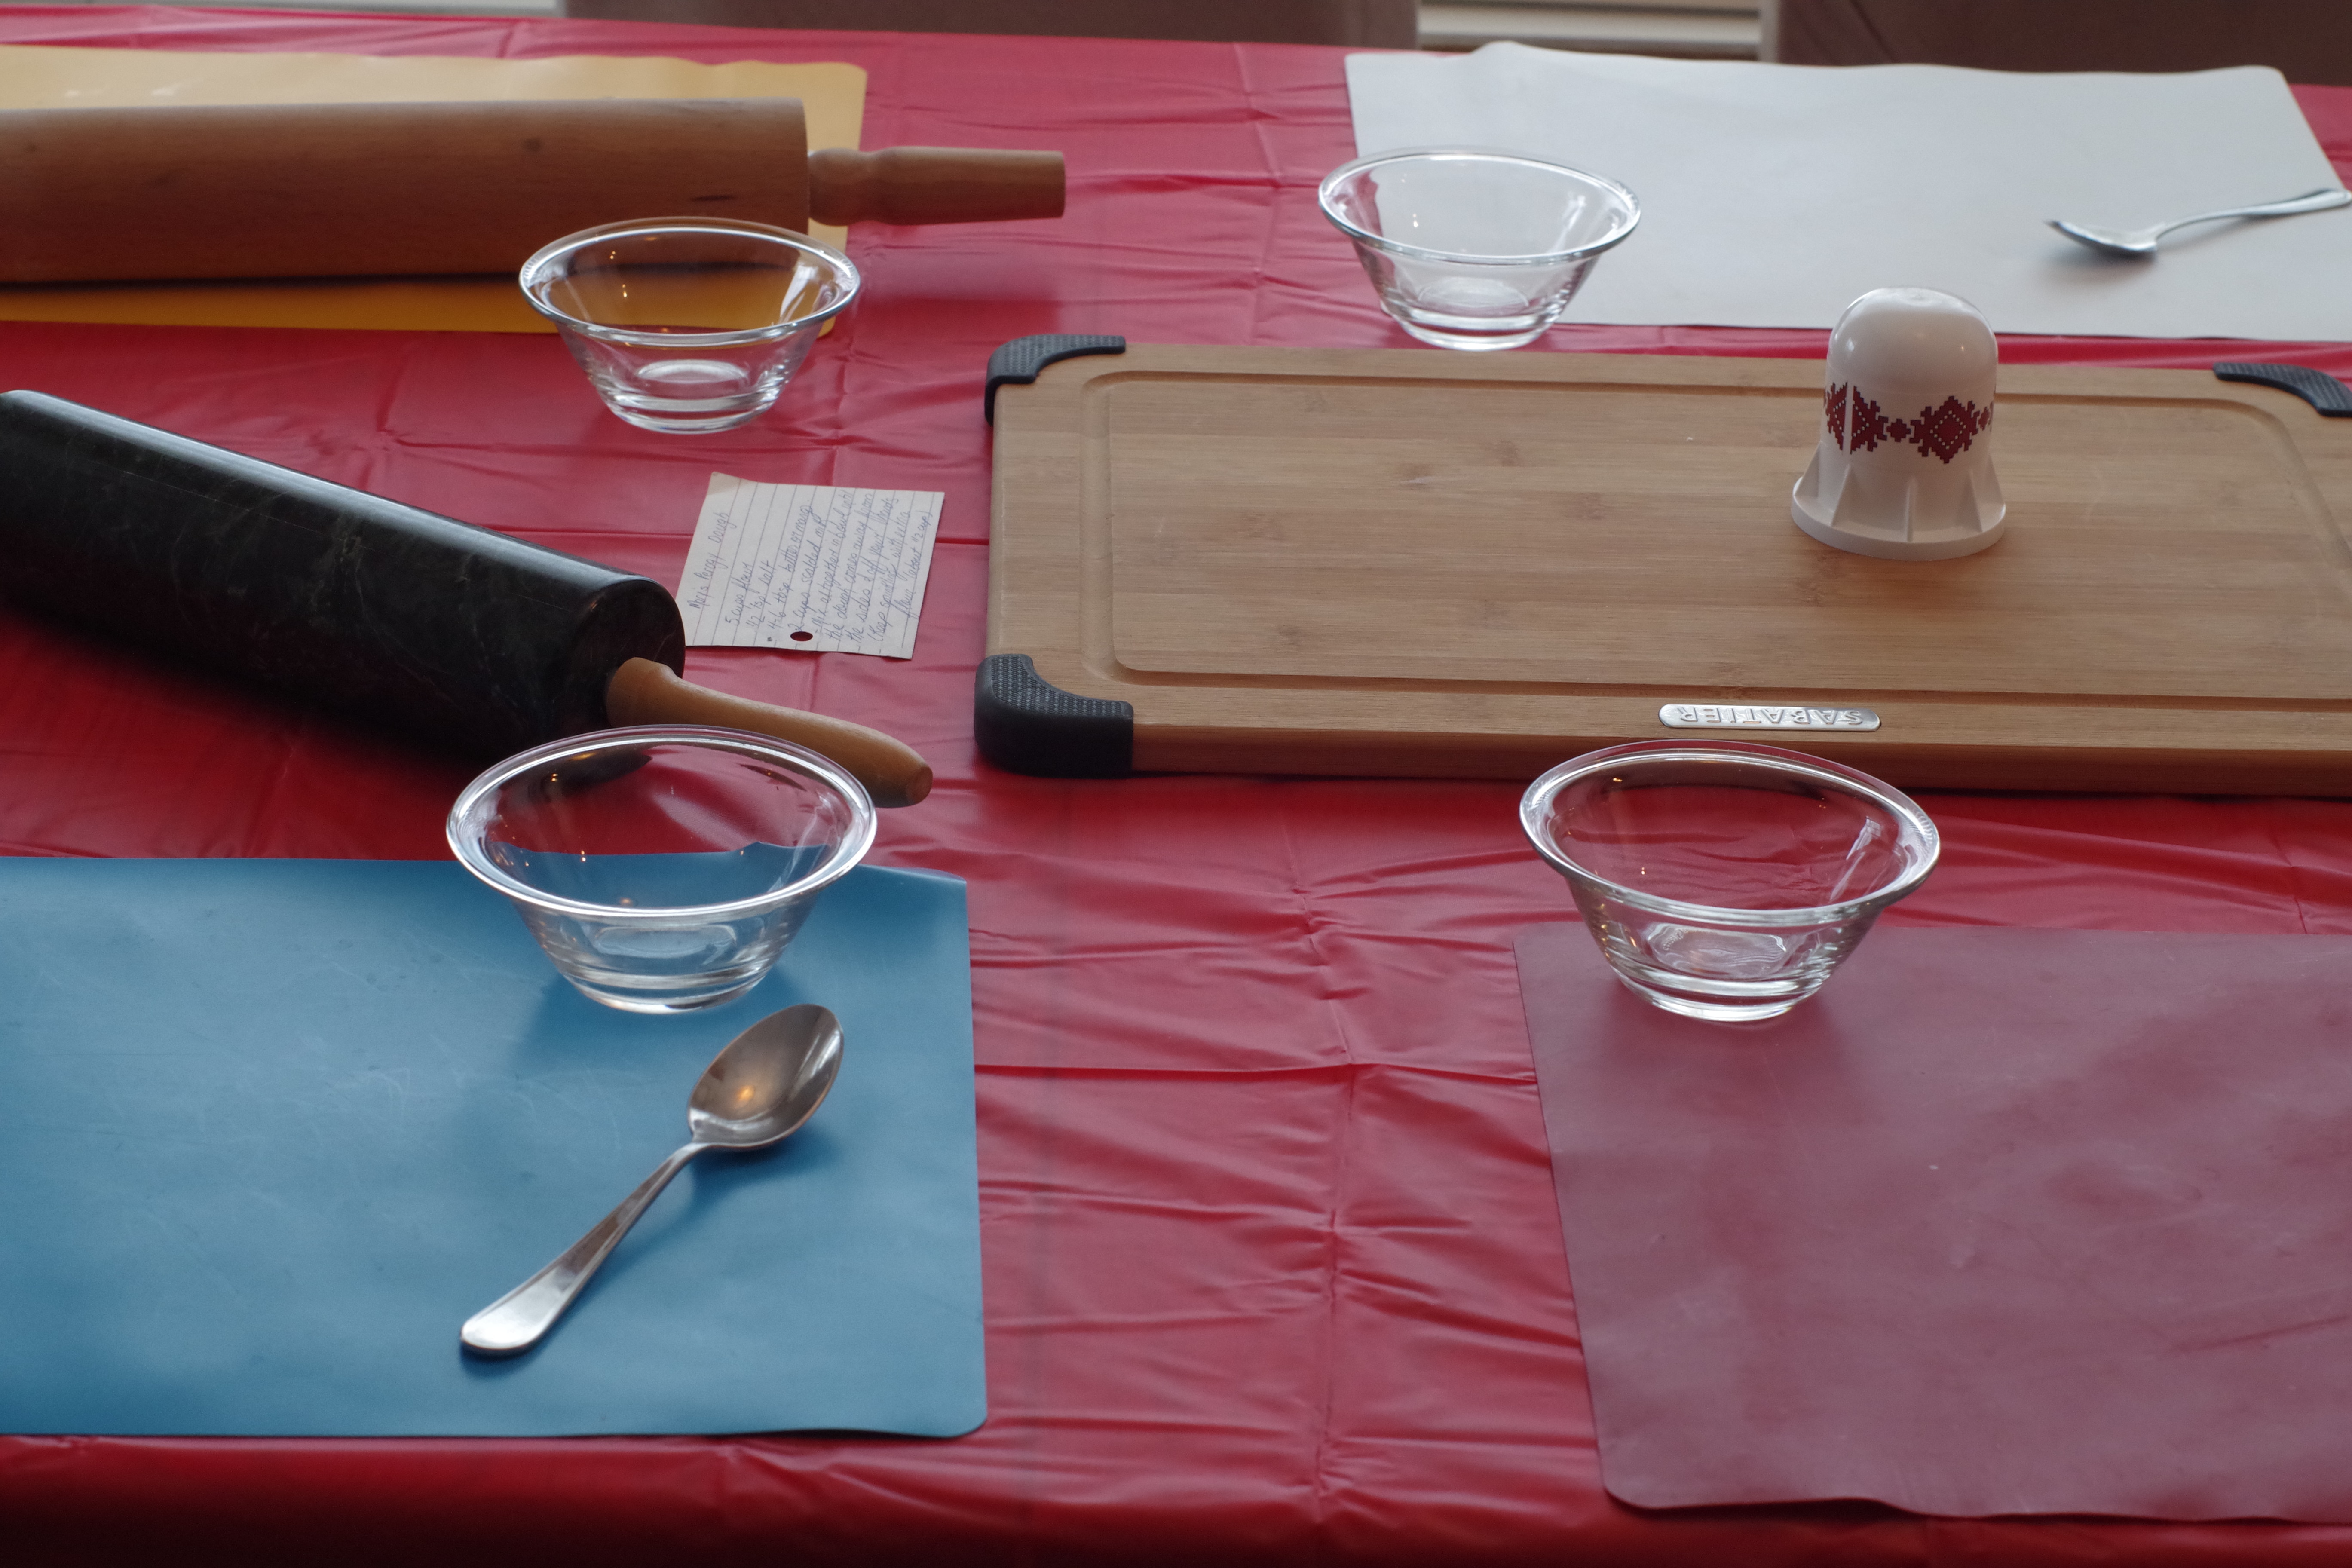
So, I would recommend you have a PEROGY PARTY instead of trying to make 90 perogies on your own! Get some relatives and/or friends together and share the work. Many hands make light work. It's a lot more fun, you don't have to do all the work yourself and everyone gets to leave with perogies! You can set up an assembly line to make it go smoother.
And drinking wine while making perogies is perfectly acceptable- it's a party, after all! I have had a few perogy parties in my day, but this year, in the midst of the pandemic, it was the smallest party I've ever hosted- just the 4 of us (my immediate family) But it was still a good time!
👪 Serving Size
This perogy recipe makes 90 perogies. I know it sounds like A LOT, but it really isn't, especially if you have others helping and have to split them up. However, you can half, double or triple the recipe by clicking on the serving number and selecting the number of servings you'd like to make. The ingredient quantities will automatically adjust.
🥗What to serve with perogies
Perogies can be a side dish or a main dish, but I also like to serve these recipes:
🌡️Storage
To Refrigerate: Store in an airtight container in the fridge for 3-5 days.
To Freeze: After you have boiled and tossed the perogies in melted butter, place perogies on parchment paper (or wax paper) lined cookie sheets. Space them so they are not touching and freeze them on the cookie sheets for 4-6 hours. Once frozen, you can move them into large freezer bags for long-term freezing.
To Reheat: Heat in the air fryer at 400 degrees F/204 degrees C for 5 minutes, or pan fry in butter until warm.
Top tip
Use up Leftover Dry Cottage Cheese (and perogy filling)
Dry cottage cheese, aka dry curd cottage cheese or farmer's cheese is different from your typical cheese. And since you may have leftover dry cottage cheese and potato mixture, here are some recipes to help you use it up:

So, if you're looking for a simple, delicious, and unique homemade pierogi recipe, then give this one a try!
❔ Frequently Asked Questions about making Potato & Cottage Cheese Perogies
Technically, NO, you don't need to scald milk. In the early days before pateurization, it was done for safety reasons. However, today if a recipe calls for scalded milk, it's because it's an excellent carrier of flavors, bringing more flavor into the final dish. I ALWAYS scald the milk for these perogies because it also makes the dough tastier and more tender once it's cooked.
Yes, pierogies need to be boiled before frying, as it gives them a soft, delicate texture. Otherwise they would be tough and chewier. You don't have to fry them after if you choose not to.
However, if you're feeling the least bit lazy and don't want all the work of making perogies, try my Lazy Perogy Casserole! It has all the deliciousness of these perogies, but without all the work!

And why not try my Saskatoon Berry Dessert Perogies?- it's a great recipe! I use the same dough from this recipe to make them (and you'll have a lot! ) Happy Perogy making and eating!
🥟More Ukrainian Pierogi Recipes!
Did your family❤️this recipe? Did you know that commenting and⭐rating recipes is one of the best ways to support your favorite recipe creators? If you LOVED this recipe, please comment and rate it in the recipe card or share photos on social media using the hashtag #foodmeanderings or tagging @foodmeanderings !


📋Potato and Cottage Cheese Perogies Recipe
Ingredients
Mary's Perogy Dough ingredients
- 5 cups flour
- ½ teaspoon salt
- ¼ cup butter or margarine melted
- 2 cups scalded milk
Cottage Cheese & Potato Filling
- 4 large potatoes, peeled and chopped
- 600 g -carton of dry cottage cheese
- 1 teaspoon salt
- ½ teaspoon black pepper
Cooking
- ⅓ cup butter for post boiled perogies approximately
- 3 tablespoon (or more) butter for frying
Garnish
- fried onions
- fried bacon
Instructions
Perogy Dough
- Mix all perogy dough ingredients together in a large bowl with a wooden spoon, then with your hands. Keep mixing with your hands until the dough comes away from the sides and off your hands.
- Meanwhile, keep sprinkling with extra flour (about ½ cup) and mix flour in.
- Then cover (with airtight lid) and rest the dough for about an hour
Cottage Cheese & Potato Filling
- Peel and chop potatoes, place potatoes in hot water and boil potatoes until a fork goes easily through potatoes. Drain.
- Mash cooked potatoes together with dry cottage cheese and salt and pepper. Set aside.
Assembly
- Place dough on floured surface and separate dough into 4 wedges
- Roll out one of the 4 parts to ⅛ inch thickness (this will require a lot of muscle!)
- Cut dough into circles with perogy cutter or you can use anything round that's about 2-3 inches in diameter. *2.5 inches is ideal and what I used. Repeat with remaining dough wedges.
- Add a small amount (about 1-2 teaspoons) of filling to the centre of each circle.
- Dip your finger in hot water and run it around the outside of the circle, this will help to seal the perogy.
- Pinch together in the middle (See VIDEO - how to make a cottage cheese and potato perogy)
- Then work your way around the edge, pinching, while ensuring the filling stays in.
- Keep pinching until your perogy is completed sealed. *It's important it's completely sealed so it will not come apart during the boiling process.
- Place perogies in a single layer on a baking sheet (I find this best because you can fit a lot on), but you'll probably need more than one.
Cooking
- Boil a large pot of water and add perogies (you only want to add about a dozen at a time.)
- Cook first batch of perogies in boiling water (rolling boil). *The perogies will float to the top when they are ready.
- Remove with a slotted spoon.
- Add to bowl with ⅓ cup melted butter (add more as needed, depending on how many perogies you are making.) As you move perogies from bowl to frying pan, add more butter, as needed) *This is the method Mary always used.
- Repeat for each batch (about a dozen at a time)
- *NOTE: At this point, if you plan to freeze them, you'll want to put them back onto parchment paper (or wax paper) lined cookie sheets. Space them so they are not touching and freeze them on the cookie sheets for 4-6 hours. Once frozen, you can move them into large freezer bags for long-term freezing. * I did not photograph, as we did not freeze any this time.
- In a large skillet, fry perogies over medium-high heat with additional butter (as needed) I use an additional 2-3 tbsps.
- Fry until golden brown on one side, then turn and fry until golden brown on the other. Remove from heat. (Fry bacon and onions in separate frying pans, frying onions in additional butter for best results)
Garnish
- Fry bacon and sautee onion and top perogies with crisp bacon and carmelized onions, as well as sour cream if desired. Serve!









Maggie Riehl
Thank you for an amazing recipe!!!. My boyfriend has talked repeatedly about his grandmothers potato and Cottage cheese pierogies and laments frequent on how he can’t find anyone that makes that combination. I have made different variations of potato and cheddar or bacon and onion before but never cottage cheese and potato together so I went looking for a recipe and came upon yours. I made it exactly as written except I added a tiny bit of garlic and onion powder. He said, not only are they absolutely fantastic, they are better than his any store-bought or restaurant pierogies he’s had, and right up there with his Grams!! I gave him six dozen and he was supposed to give some of those to his mom, but his mom did not get any, lol!! Thank you so much again!!
Terri Gilson
Hi Maggie,
I'm so happy to hear that your boyfriend loved these perogies and they were up there with his Grams!
Take care,
Terri