


If you've ever tried to make pastry before and failed, I'm here to make your day. This is the perfect pie crust for you! You CANNOT fail with this never fail pie crust- it is foolproof.
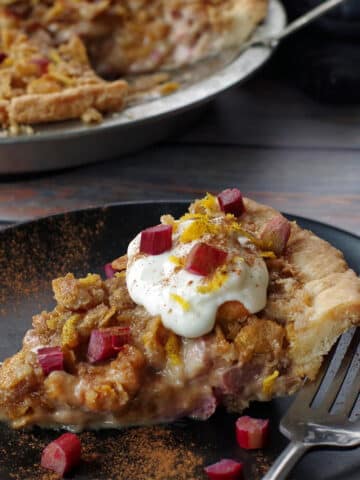
No Fail Pie Crust is popular all year long but especially around the holidays. This homemade pie crust recipe goes with pretty much any pie or tart fillings. You can use any of your favorite pie filling recipes such as lemon pie, pecan pie, chocolate pie, coconut cream pie, peach pie, or even a meat pie. Here are a few more of my pie recommendations: Saskatoon Berry Pie Filling & Sauce, Award-winning Apple Pie Filling, and this Easy Canned Pumpkin Pie Filling.
Jump to:
Many years ago I received a very special gift from my Grandma. At the time, however, I didn't realize just how special it was. It was a recipe, written out in her handwriting, on a crisp white recipe card, placed inside a brand new pie plate.
I thanked her but didn't think much of it. However, the first time I tried to make pastry and failed, I remembered that recipe card with this No Fail Pie Crust recipe written on it.
I was blown away the first time I made it and it turned out perfect, even though I was an extremely novice baker. Since then, I have made this recipe many times and it NEVER fails! I use it for both pie and tarts. It is the best pie crust!
The SECRET to Flaky Pie Crust
My Grandma was a master pie maker and her secret was this recipe. This recipe makes such a tender, never fail flaky crust that it literally melts in your mouth! The trick to making no fail pastry is simply using very cold water, as it helps to keep the fat cold so it does not melt.
If the fat ends up melting before it makes it to the oven, it's absorbed into the flour and any chance of producing a flaky pie crust is lost. The cold water serves as a barrier and in turn, produces a beautiful, tender, and flaky crust.
🥘 Ingredient Notes
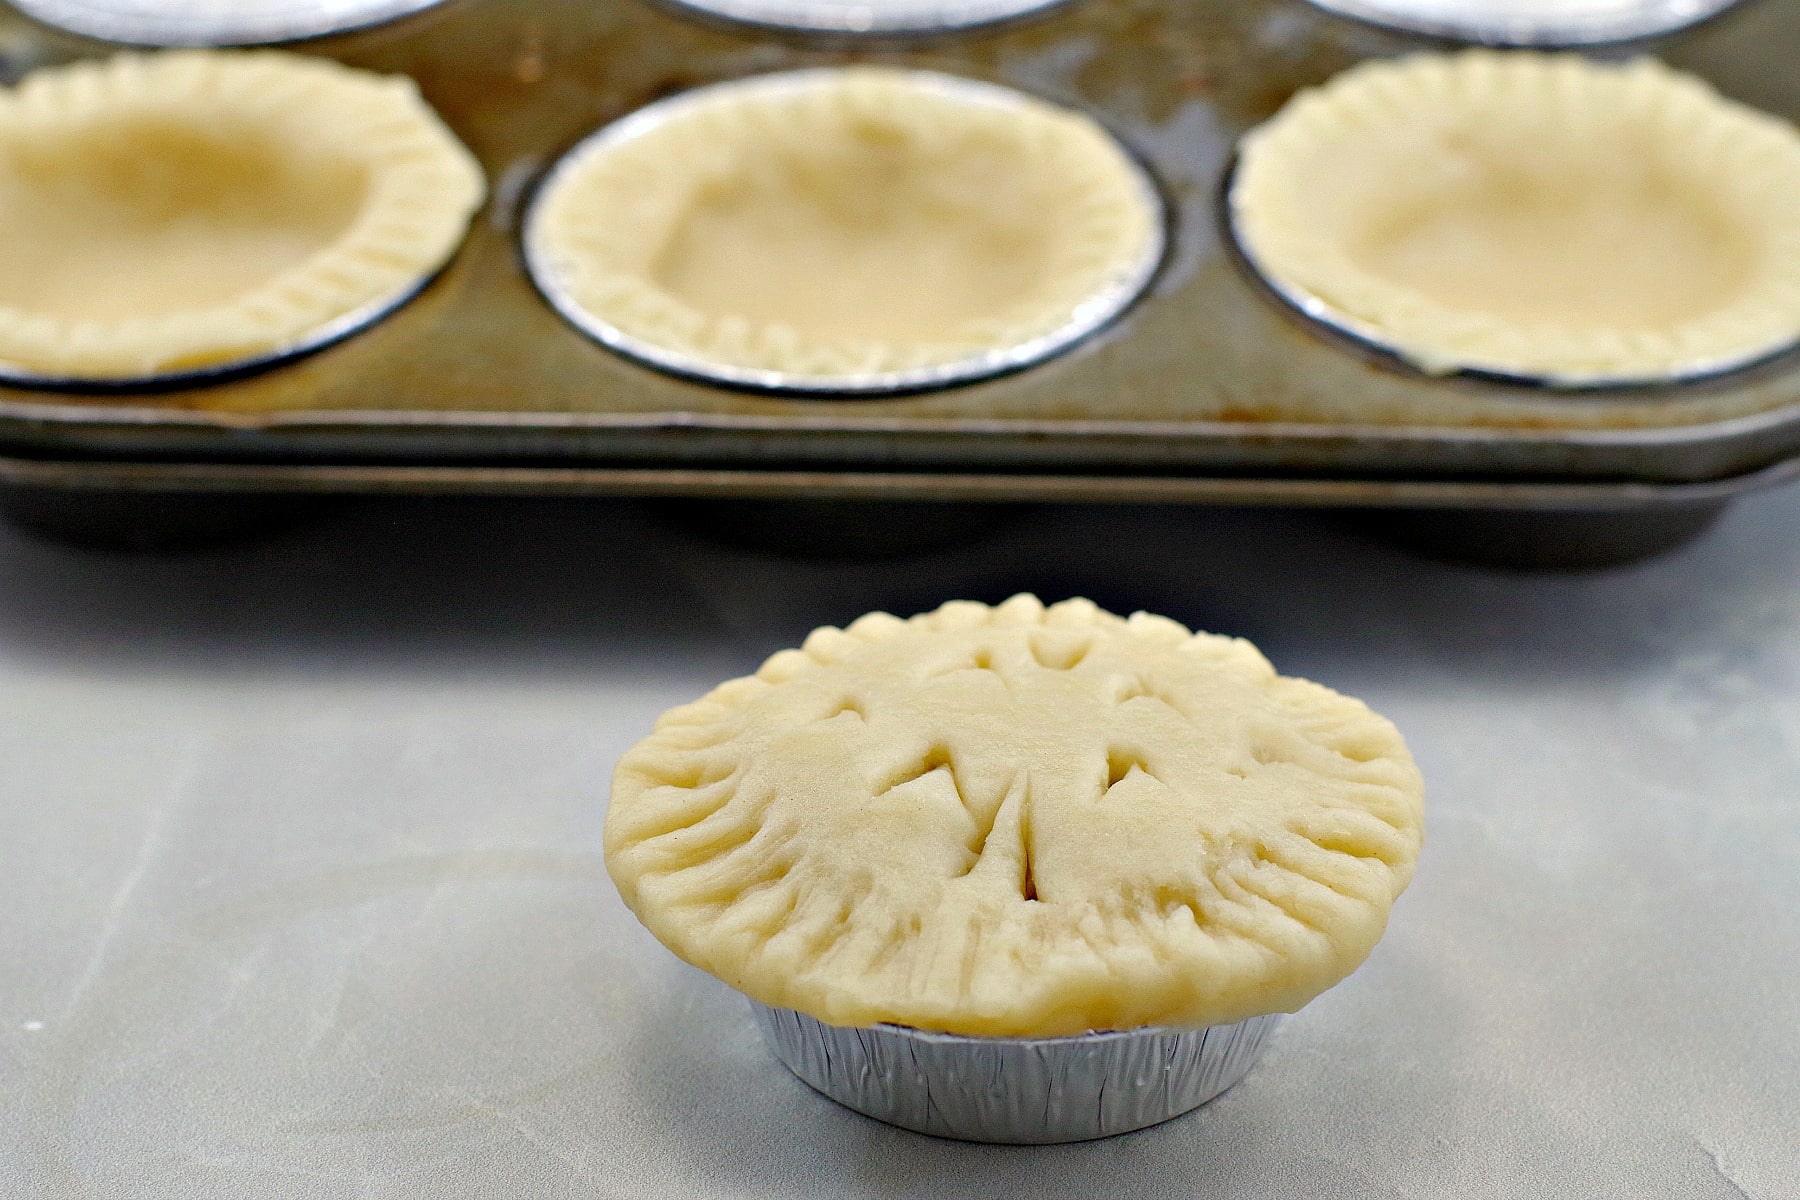
Besides very cold water, for this pie dough you will also need:
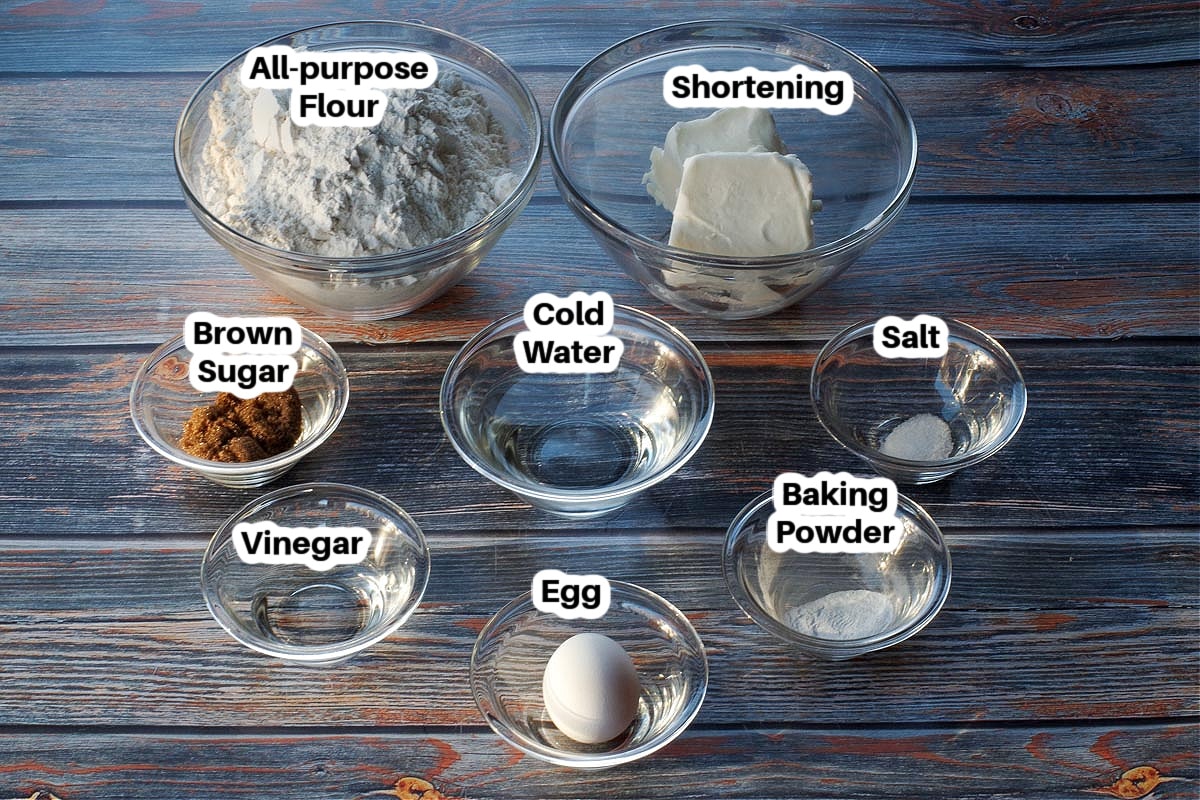
- All-purpose flour. All-purpose flour dough is easier to roll out and move around and, despite its slightly higher protein, the crust is wonderfully flaky. Pastry flour pie crust is harder to roll without cracking, and it can split apart while the pie is baking.
- Baking powder. Dough has a tendency to shrink so baking powder counteracts that by helping it to lift and aerate. It also tenderizes it.
- Salt. Salt adds flavor to this pie crust.
- Brown sugar. Brown sugar adds a little sweetness and a unique depth of flavor to this dough.
- Shortening. Shortening is a key player in the invincibility of this pie crust! It has a higher melting point so it adds stability to a baking pie crust.
- Vinegar. Vinegar aids in making the pie crust flakier, by tenderizing it.
- Egg. Egg is the binder in this recipe.
- Cold water. Cold water helps keep the fat cold, so it does not melt before it goes into the oven, which would result in UNflaky pie crust. Just use really cold water from your tap. You don't need 'ice water' as many other recipes claim!
📖 Variations
You can't really sub out much in this cold water pastry recipe, except lard for shortening.
🔪How to Make No Fail Pie Crust
In a large bowl, mix flour, baking powder, salt and brown sugar. Cut in shortening with a pastry cutter. Mix well.
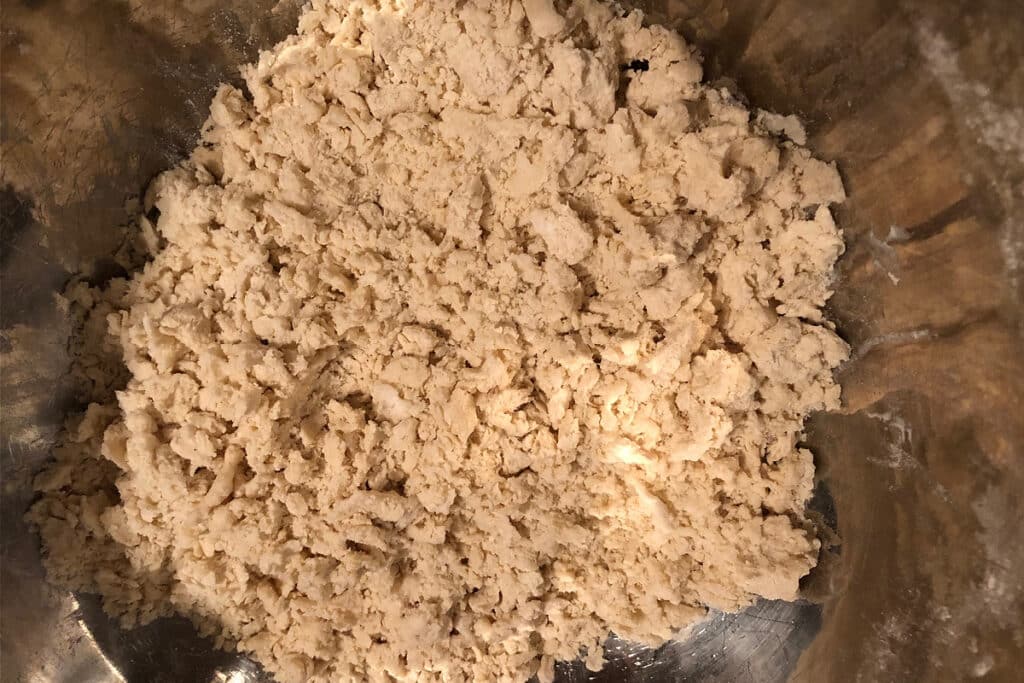
In a small bowl, beat together vinegar, egg and cold water, Add flour mixture to wet mixture and mix together until it forms small balls.
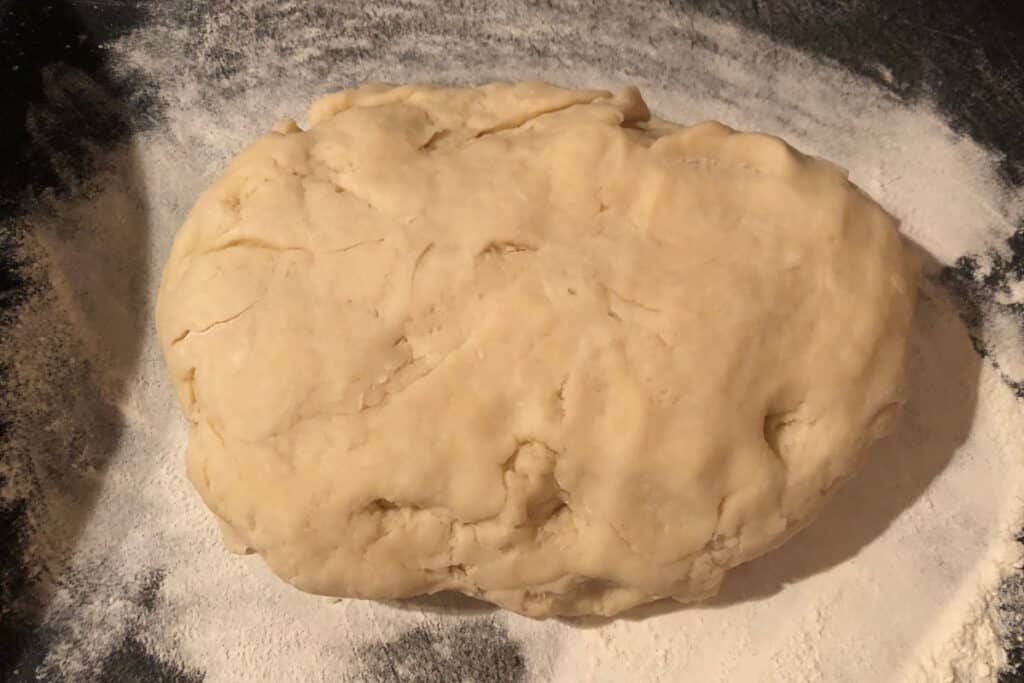
Mix well until you can form it into a large ball. * Don't be afraid to really get in there with your hands! If it feels gooey, add a little more flour. *Add only a little flour (about 1 tbsp) at a time until it no longer feels gooey or wet. You don't want it too dry, as it won't roll out properly (and you will have additional flour on the board - be very careful not to use too much flour!)
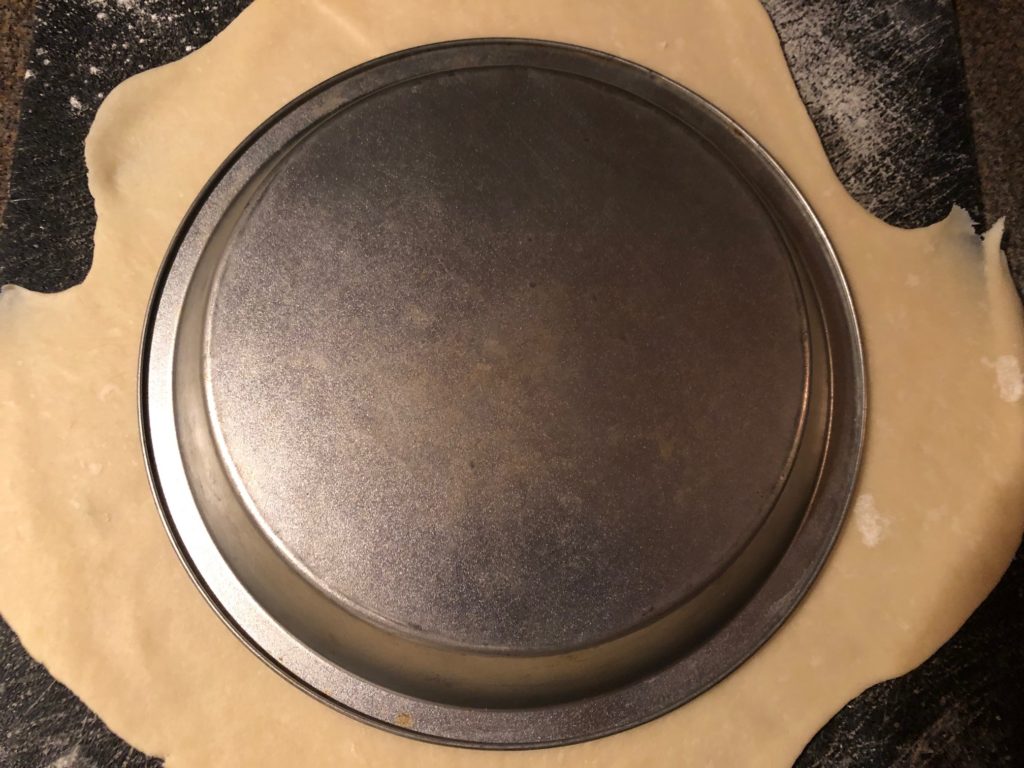
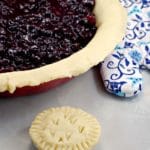
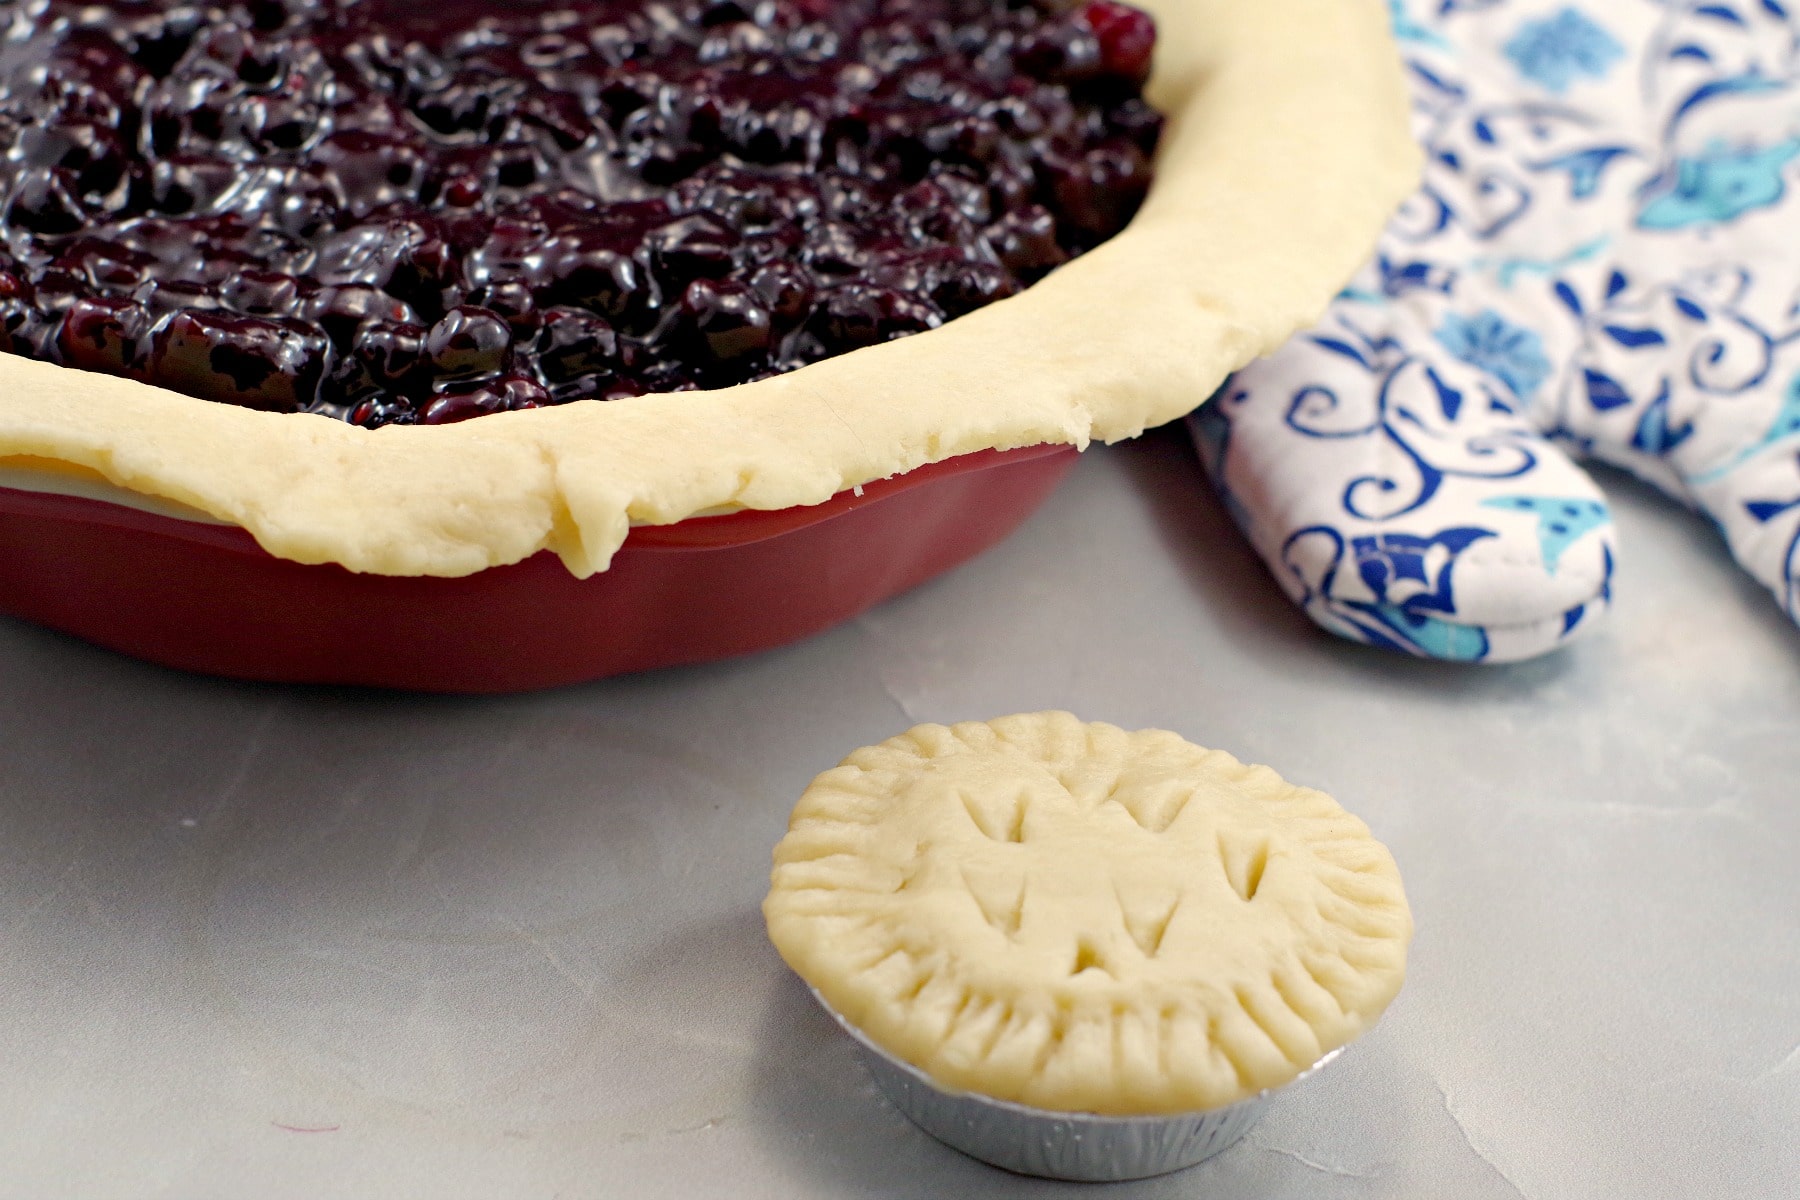
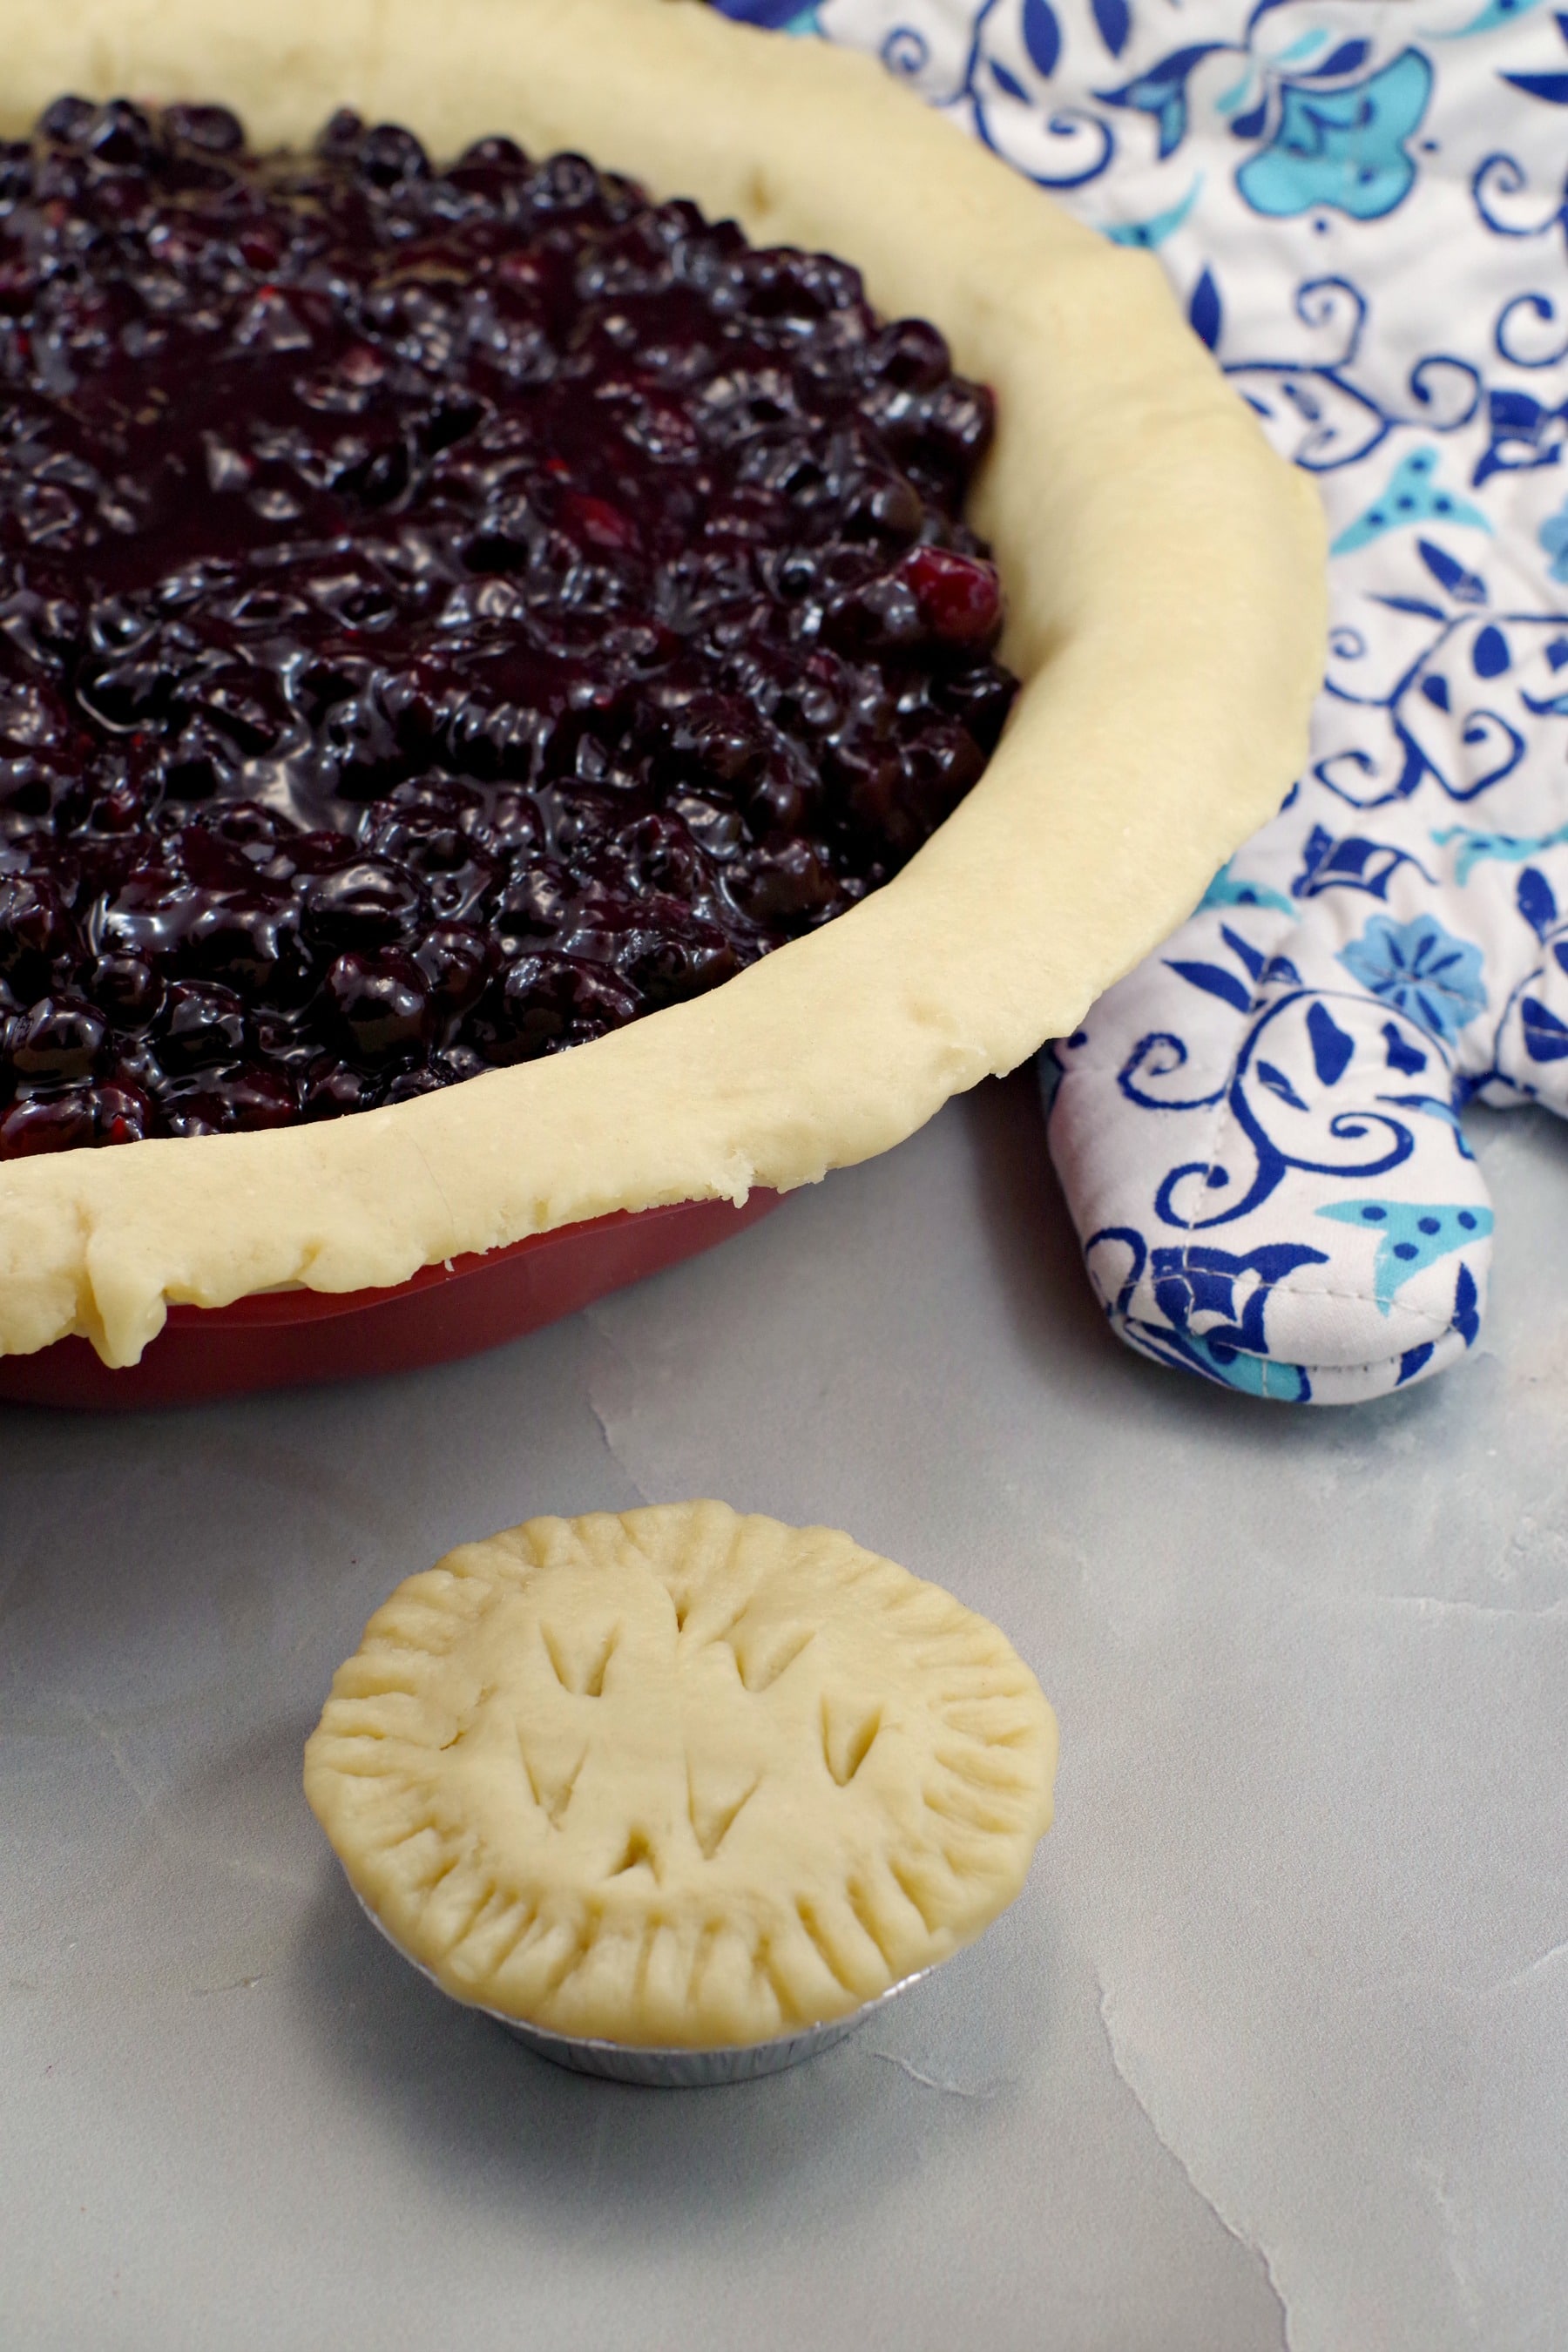
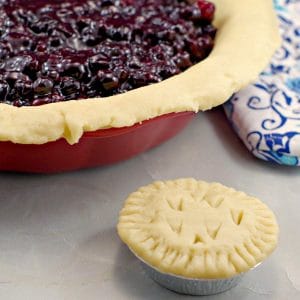
Roll pie dough out onto a lightly floured surface to about ⅛- ¼ of an inch thick. If you are making pie, then lay your pie pan upside down on the dough. Do the same with tarts, using the aluminum tart plates.
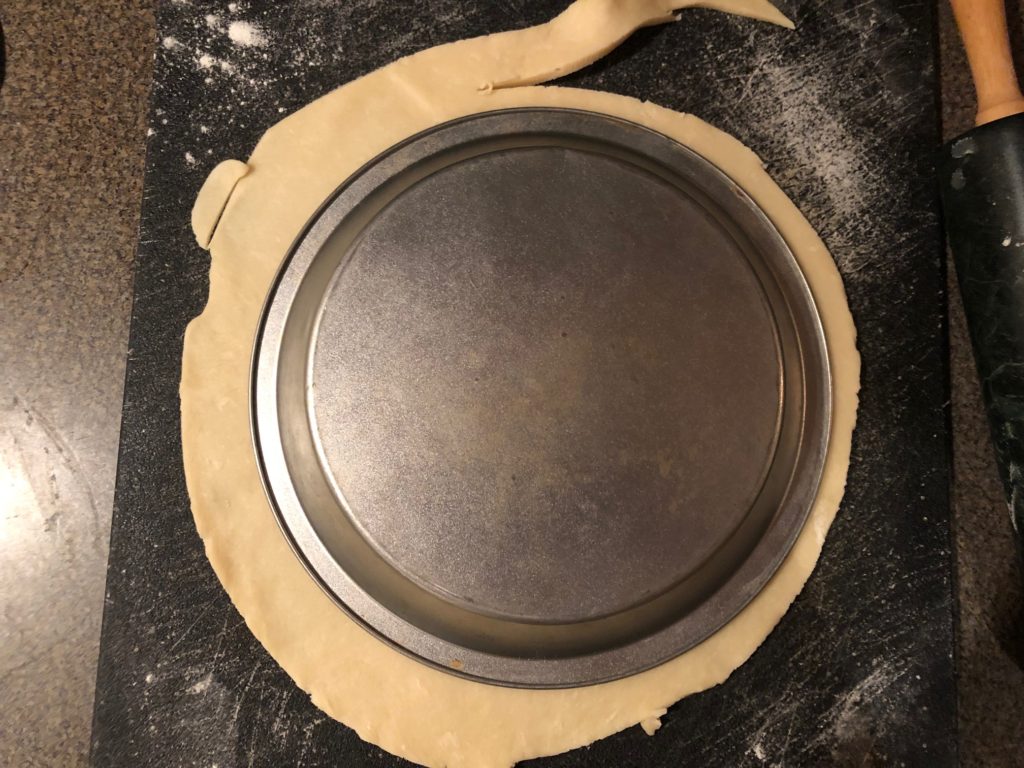
Cut out a circle around it, leaving yourself additional space -at least an inch or two. * You will trim the pie shell later (once it's in the pie plate).

Spray your pie plate with non- stick cooking spray, flip over the pie plate, then gently pick up the crust and place it in the pie plate. This will be your bottom crust. *Some people like to use a rolling pin to transfer it to the pie plate (as in the video below), but I do not use that method. * See Top Tip on rips/tears
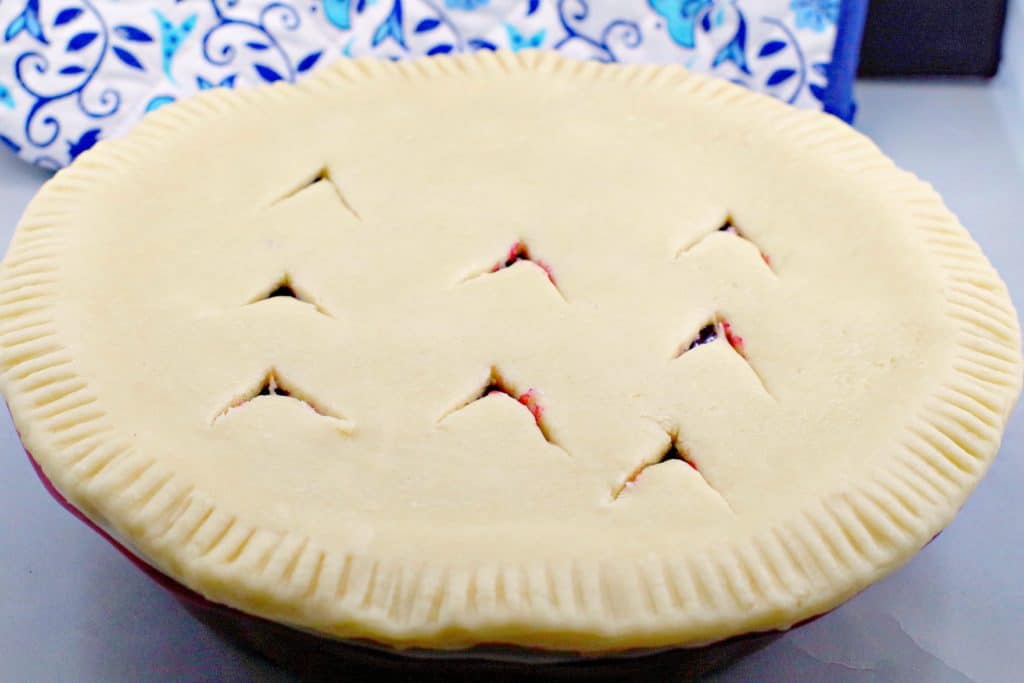
Trim the pie once the filling is in and you have put the 2nd pie crust on top, if you are doing a double crust pie (this will be your top crust). I trim a little, then use a fork to press the ends down (see Video on how to crimp a pie crust with a fork in NOTES), then trim a little more if I need to. * I prefer to use kitchen shears to trim at this stage, as it gives you more control. Add some venting slits by cutting small triangles into the pie with a small paring knife.
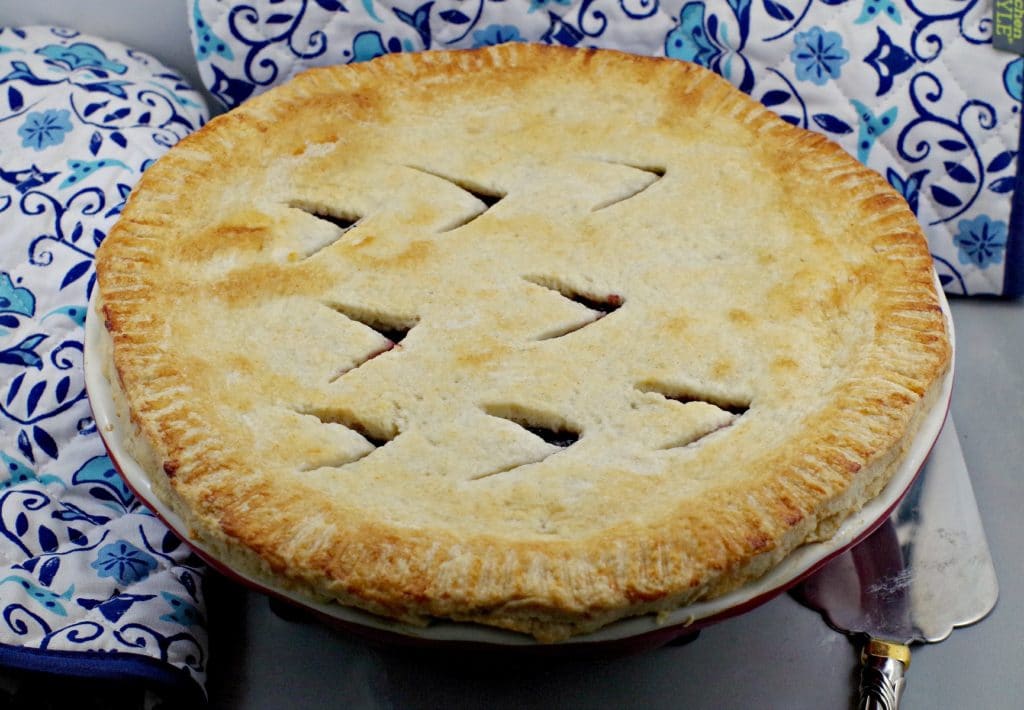
Bake as per instructions for the pie recipe you are making (they usually require 30-40 minutes, the first 10 minutes at 400 degrees F/204 degrees C and the remainder of the time at 350 degrees F/176 degrees C). If you are baking tarts, it's about half the time.
Expert Tips
- If it tears a little, just push the tear together, once it's in the pan, then take a little warm water on the tip of your index finger and gently rub it on the tear (it acts as glue) You can use this repair method as much as you need to.
- If you are blind baking the crust, I recommend using pie weights (affiliate link).
🎥 Videos
If you want a simple, yet nice-looking technique for pie crust, this video shows you how to crimp a pie crust with a fork:
VIDEO: How to crimp a pie crust with a fork
VIDEO: How to move pie dough to a pie plate with a rolling pin
👪 Serving size
Also known as Never Fail Pie Crust this recipe is not only a VERY EASY pie crust, it's versatile and makes a wonderful single-crust pie, double crust pie, or single or double tart shells. This recipe makes enough dough for 5 single pie crusts and although you may not need it all, it freezes well.
🌡️Storing
You can store this crust in the fridge for 1 day (as it contains raw egg) but you can freeze it for up to 3 months. Freeze it in a ball or dough disk, covered in plastic wrap, in a Ziplock freezer bag (with the air pushed out) for up to 3 months.
You can also roll it out, put it into an aluminum pie plate, put it inside a large Ziplock freezer bag, and freeze it that way. *When you go to use it, be sure it's completely thawed out (in refrigerator) and roll it out, according to directions.
I was so fortunate to have had my Grandma until she was 95 years old. N, I can. Like her, I am now a master pie maker. And when the time comes for me to hand this recipe over to my future grandchildren, they'll probably file it away, just like I did. But one thing I know for sure is that one day they will appreciate this recipe for No Fail Pie Crust and realize it was one of the best gifts they ever received.
So, if you've ever wanted to make your own pie crust, but lacked the confidence, then try this easy recipe. Trust me -you will never fail!
And if you have leftover pastry, try my Butter Tart Ice Cream recipe!
Related Recipes:

Did your family❤️this recipe? Did you know that commenting and⭐rating recipes is one of the best ways to support your favorite recipe creators? If you LOVED this recipe, please comment and rate it in the recipe card or share photos on social media using the hashtag #foodmeanderings or tagging @foodmeanderings !

🥧 No Fail Pie Crust Recipe (Cold Water Pastry)
Ingredients
- 5 cups all- purpose flour
- 1 teaspoon baking powder
- ½ teaspoon salt
- 2 tablespoon brown sugar
- 1 lb shortening (2.21 cups) * I use Crisco or Tenderflake * or you can use lard
- 2 tablespoon vinegar
- 1 whole whole egg
- ¾ cup cold water
Instructions
- In a large mixing bowl, mix flour, baking powder, salt and brown sugar. Cut in shortening with a pastry cutter. Mix well.
- In a small bowl, beat together vinegar, egg and cold water.
- Add dry flour mixture to wet mixture and mix together until it forms small balls.
- Mix well until you can form it into a large ball. * Don't be afraid to really get in there with your hands! If it feels gooey, add a little more flour. Add only 1 tablespoon of flour at a time until it no longer feels gooey or wet. You don't want it too dry, as it won't roll out properly (and you will have additional flour on the board - be very careful not to use too much flour!)
- Roll dough out onto a lightly floured surface to about a ¼ of an inch thick. If you are are making pie, then lay your pie plate upside down on the dough. Do the same with tarts, using the aluminum tart plates.
- Cut out a circle around it, leaving yourself additional space -at least an inch or two. * You will trim the pie shell later (once it's in the pie plate).
- Spray your pie plate with non- stick cooking spray, flip over the pie plate, then gently pick up the crust and place it in the pie plate. *Some people like to use a rolling pin to transfer it to the pie plate (as in the video in post), but I do not use that method. * See Top Tip on rips/tears
- Trim the pie once the filling is in and you have put the 2nd pie crust on top, if you are doing a double crust pie. I trim a little, then use a fork to press the ends down (see Video on how to crimp a pie crust with a fork in post), then trim a little more if I need to. * I prefer to use kitchen shears to trim at this stage, as it gives you more control. Add some venting slits by cutting small triangles into the pie with a small paring knife.
- Bake as per instructions for the pie recipe you are making (they usually require 30-40 minutes, the first 10 minutes at 400 degrees F/204 degrees C and the remainder of the time at 350 degrees F/176 degrees C) until golden brown. If you are baking tarts, it's about half the time.


Kelly Neil says
Aw, I love this so much and it actually makes me *think* I could bake a pie that would turn out well! Bookmarking this recipe to make very soon. Thanks so much!
Terri Gilson says
Thanks, Kelly! And you seriously could!!
Cindy Bilbrough says
I’ve been using this recipe for fifty years. Don’t be afraid to use it because it is very forgiving. Not called no fail pastry for nothing. You’ll be a pro after your first pie.. Good luck.
Sabrina says
Grandmas have the best recipes 🙂 I really love this one, it has a few unique ingredients and I love making lots of pie shells at once. I pop extras in a ziplock freezer bag and into the freezer for quick pie making the next time. Great recipe, thanks for sharing it!
Colleen says
How lucky that you still have your Grandma, and that you can think of her every time you make a pie. Such a perfect gift. I will be trying this no fail recipe for sure!
Terri Gilson says
Thanks, Colleen! Yes, I am soo lucky to have her 🙂
Joss says
How sweet of your Grandma. I'm looking forward to not failing at this pie crust, thanks!
Terri Gilson says
I hope you enjoy it, Joss! I loved not failing...