

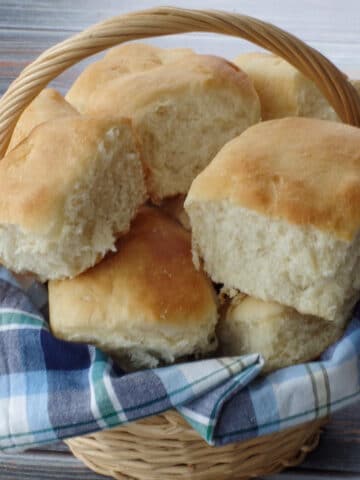
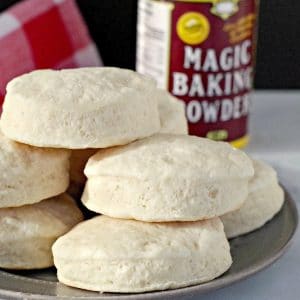
These easy to make homemade Old Fashioned Baking Powder Biscuits are made with simple ingredients like shortening, without butter, and bake up super soft and fluffy. They are the BEST Baking Powder Biscuits you'll ever try !
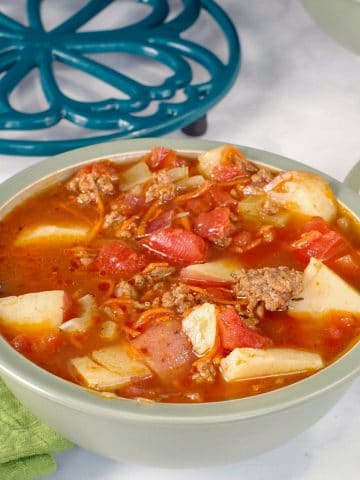
These are, by far, THE BEST biscuits I have ever eaten! They are so good that we can't keep them in the house beyond baking day. You'll want to eat them with everything and I mean EVERYTHING! They pair well with my Beer Cheese Soup Recipe!
Jump to:
- Why you'll love this recipe
- 🥘 Ingredient Notes
- 💭What is Cream of Tartar?
- 📖Substitutes for Cream of Tartar
- 📖 Substitutions and Variations
- 🔪 How to Make Old Fashioned Biscuits
- 🥗What to serve with Old-fashioned biscuits
- 🌡️Storage
- 👪 Serving Size
- ❔ Frequently Asked Questions
- 📋Related Recipes
- Old Fashioned Baking Powder Biscuits Recipe
Until I tried these biscuits, my biscuit experience had been far from satisfying. In fact, biscuits were not something that I ever would have chosen to eat. But when my husband's Aunt Norma made these Old Fashioned Biscuits for us, I couldn't get enough!
Why you'll love this recipe
- Tried and True! This recipe was my husband's grandmother's recipe and has been in the family for generations.
- Easy to make. These biscuits are quick and simple to make.
- Made with pantry ingredients. These ingredients are staples, so you will have them on hand!
- Light and Fluffy. These biscuits have a tender crumb and are light and fluffy, thanks to the magic of baking powder and cream of tartar!
This is another one of those recipes that has been around for many generations. I'm so grateful to Aunt Norma for sharing this gem with me so I can pass it on for generations to come. This was my husband's grandma's homemade biscuit recipe (Grandma Gilson) and probably the grandma before her.
There are a lot of biscuit recipes out there, but not all of them have been around this long. There is just something so comforting and reassuring about cooking the very same things, with the exact same ingredients, that generations before you were cooking nearly 100 years ago!
This was being made by Grandma Gilson back in the 1930's and '40's and it's still amazing. My Great Great Grandma's Date Nut Loaf is another one of those recipes; a recipe that has been passed on through my family for 6 generations.
🥘 Ingredient Notes
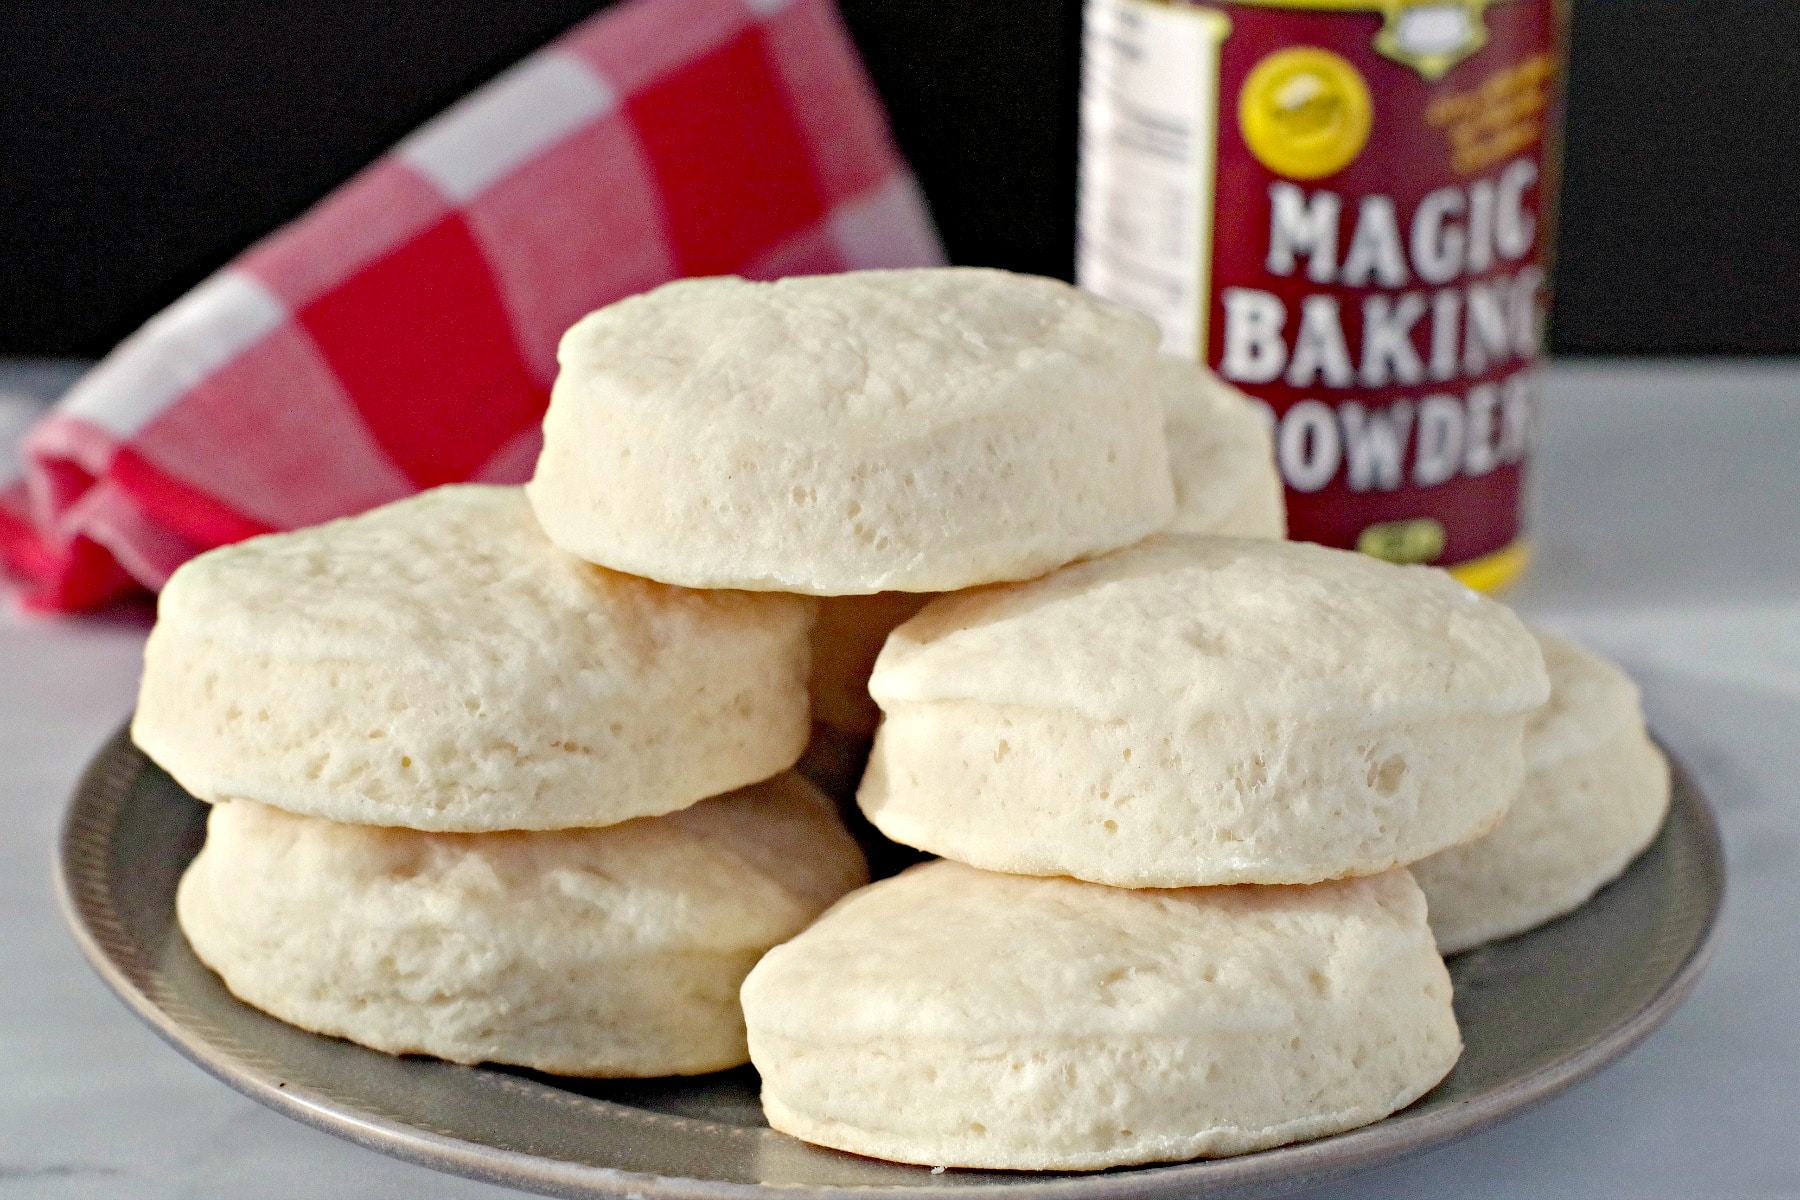
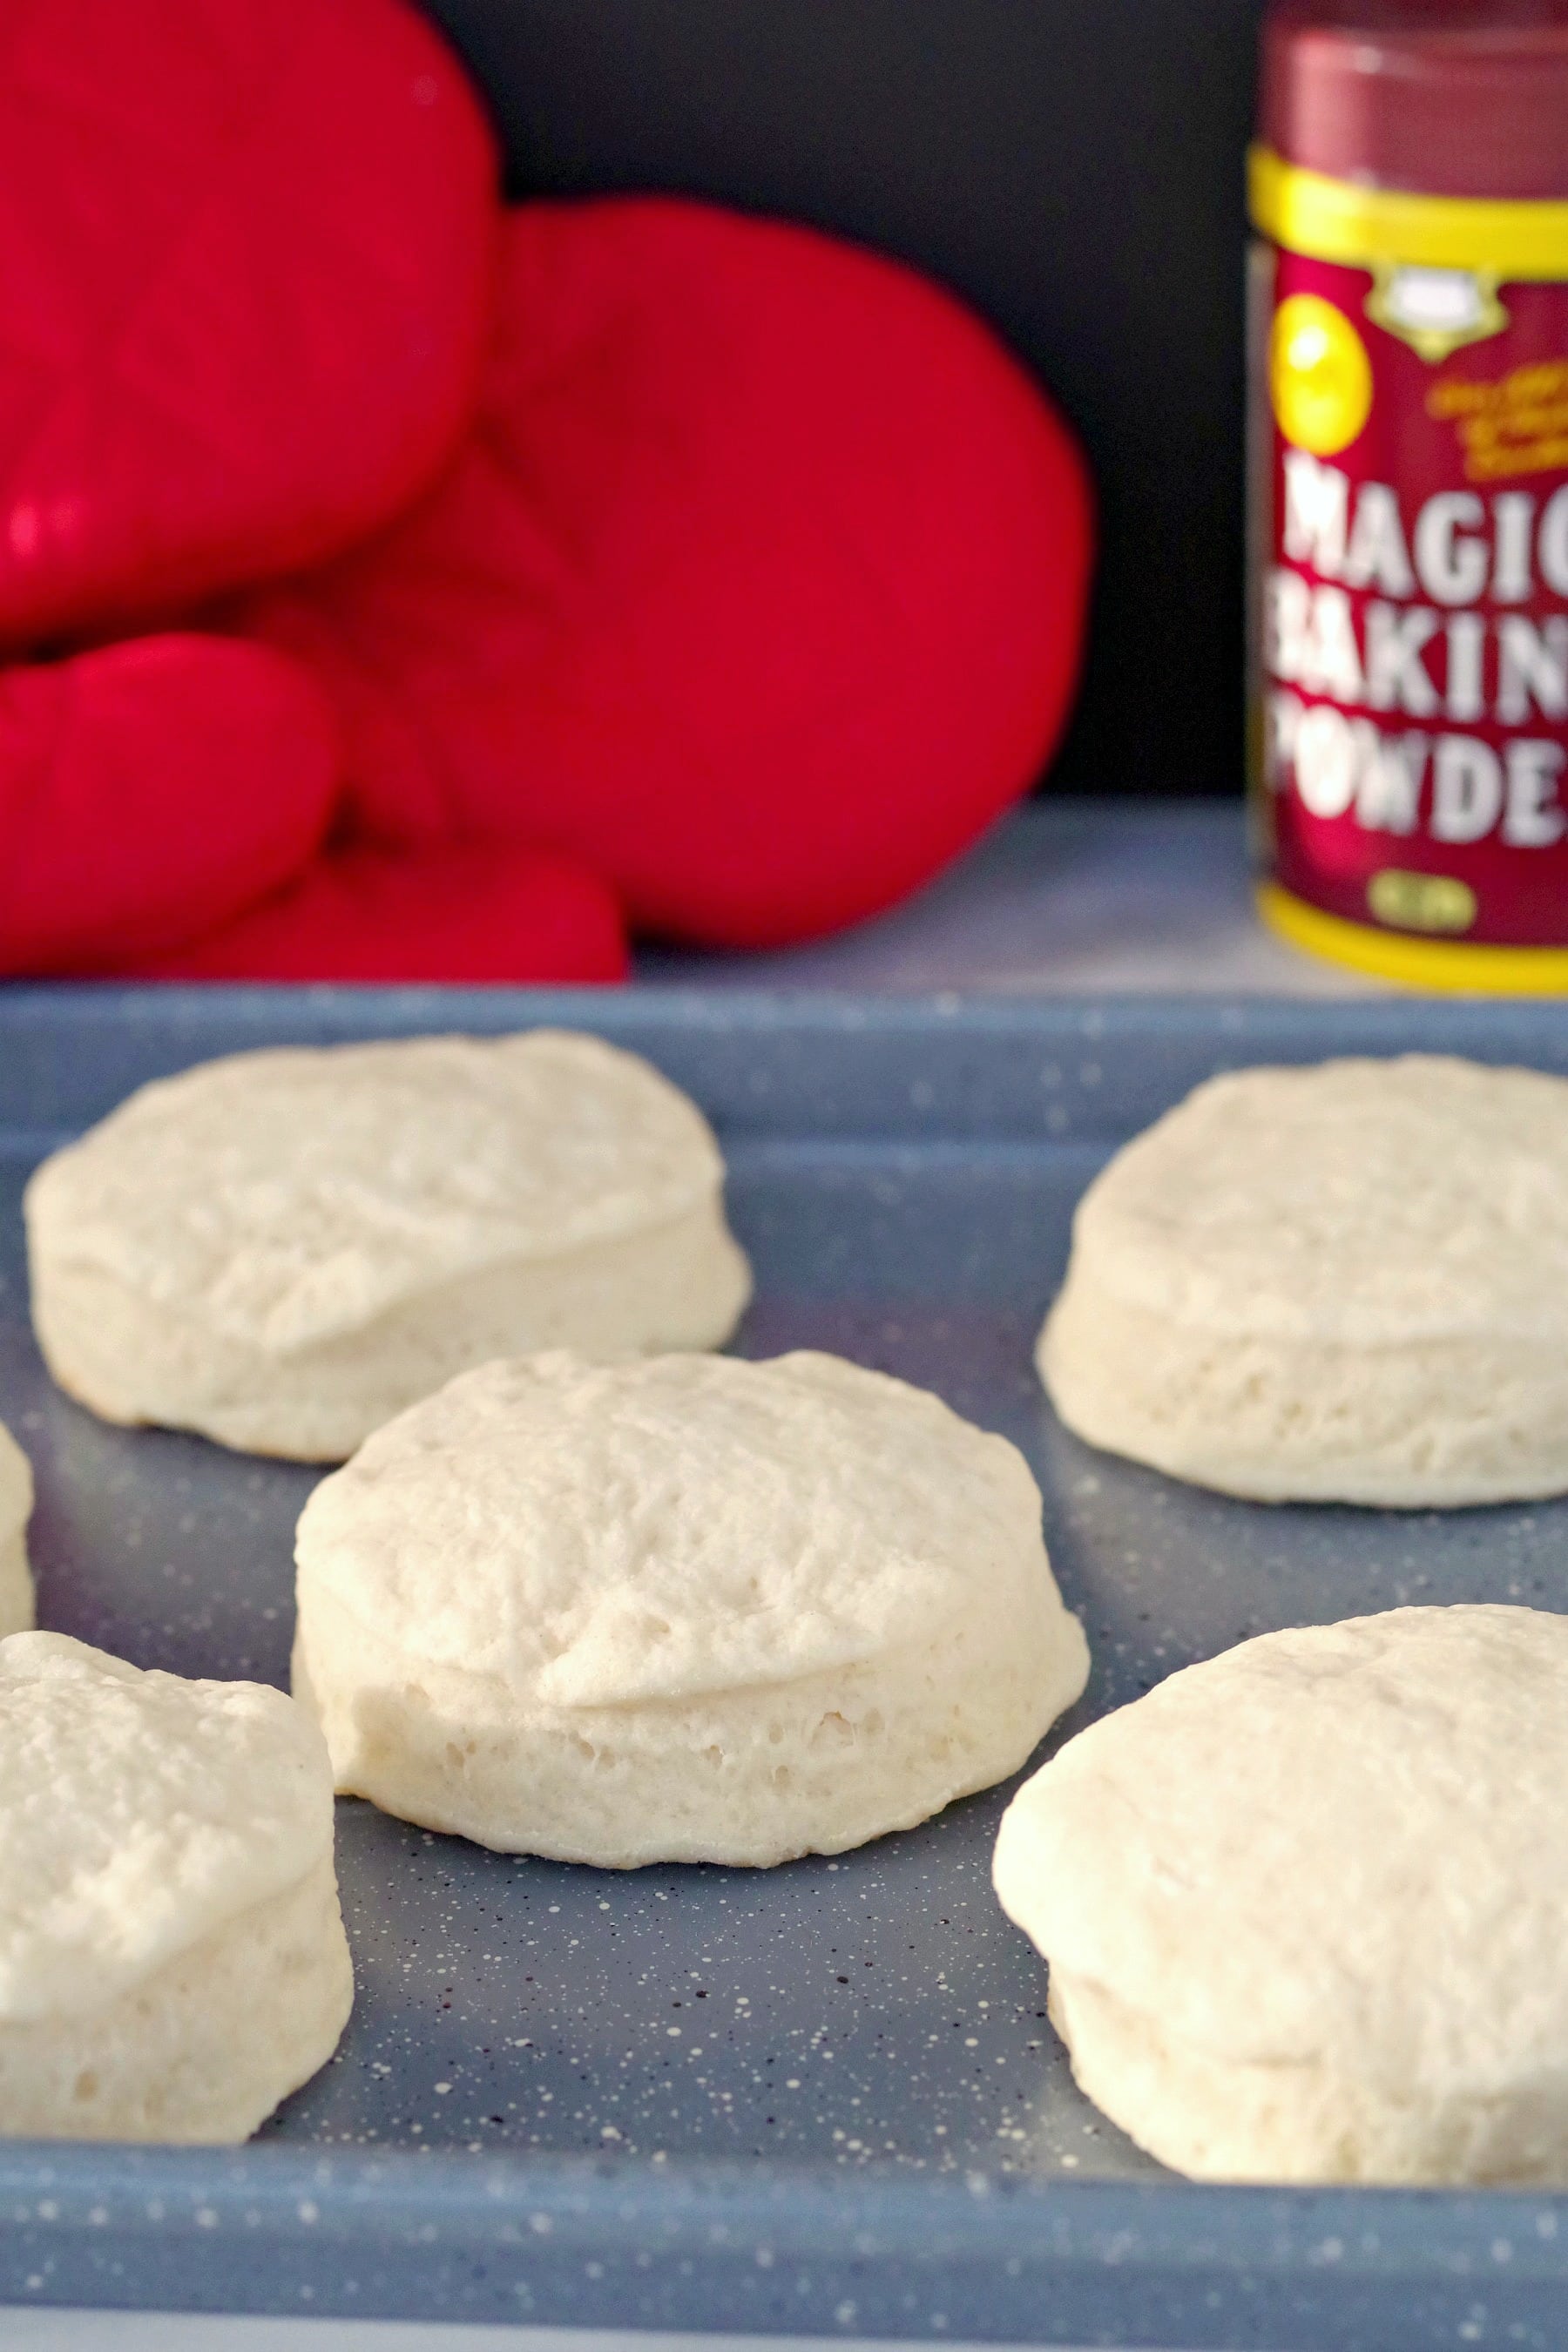
Baking Powder is Magic
I see why Kraft Canada calls their baking powder Magic Baking Powder; baking powder really is magical! Before baking powder was invented in the mid 1800's your options were fairly limited. You could use yeast but if you didn't want that flavor of fermentation, there weren't many alternatives, aside from Pearlash.
Pearlash was a purified form of potash but its preparation was very time-consuming. These days we take baking powder for granted, but the introduction of baking powder was revolutionary in minimizing the time and labor required to make bread goods. And it led to the creation of new types of cakes, cookies, biscuits, and other baking. You can read more about the history of baking powder HERE.
For this recipe, you'll need simple ingredients, most of which you'll have on hand in your pantry and fridge:
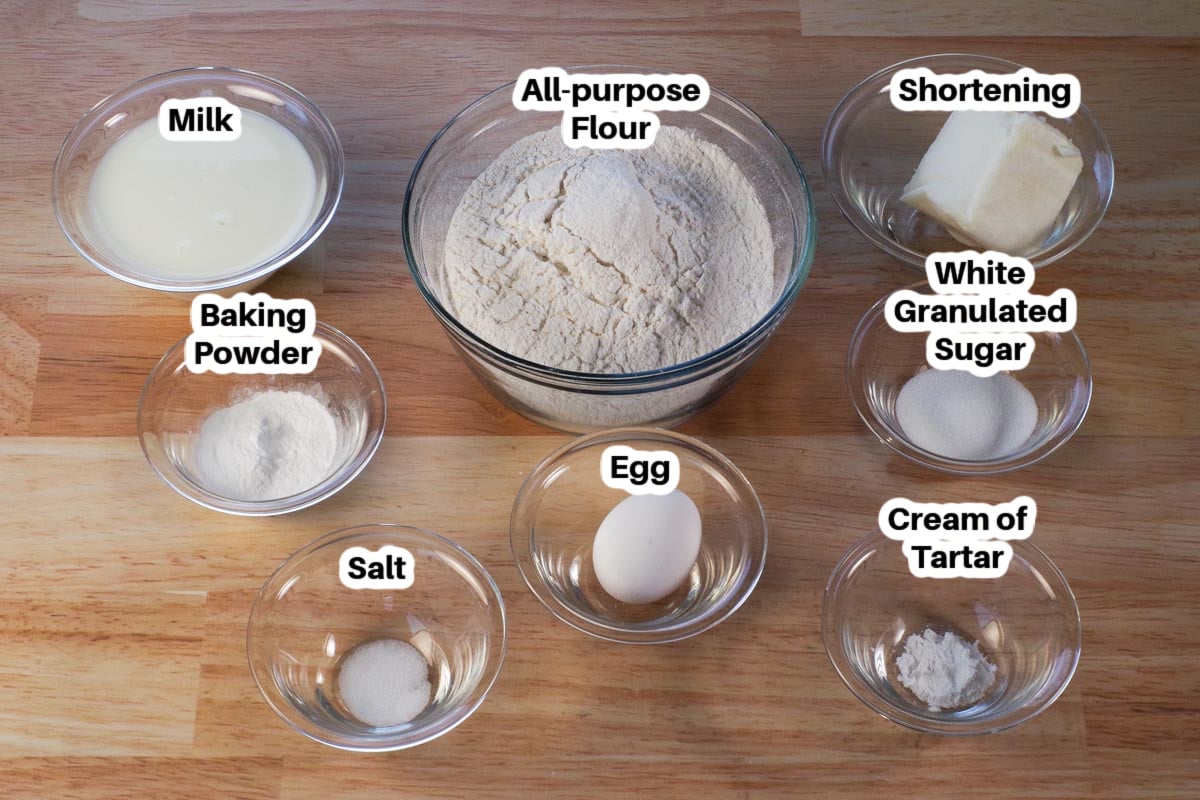
- Baking powder. Baking powder is the magical leavener in these biscuits!
- All-purpose flour. Flour is the base of these biscuits and all-purpose flour has enough protein, making the dough strong enough that it doesn't easily rip or tear. Many recipes use self-rising flour (with baking powder and salt) but I prefer to control those ingredients, as this recipe calls for more baking powder than self-rising flour has.
- Cream of Tartar. Is a leavener and stabilizing agent.
- Salt. Salt adds flavor to these biscuits.
- White granulated sugar. Balances the savory with a little sweetness!
- Shortening. Is the fat in these biscuits and helps create a more tender and crumbly texture.
- Egg. Egg is the binder in these biscuits.
- Milk. Milk provides moisture and helps these biscuits from becoming too dry and crumbly. It also adds tenderness to the texture and creates a softer crumb.
💭What is Cream of Tartar?
This easy biscuit recipe calls for cream of tartar, which technically, is an acid-specifically, tartaric acid. It's a byproduct of wine production; the residue left on the barrels. Most commonly, cream of tartar is used as a leavener, because when it's combined with baking soda, together they produce carbon dioxide gas. That's the same gas that's produced by yeast in bread baking.
📖Substitutes for Cream of Tartar
Cream of Tartar is something that I have always kept in my pantry. Although it's pretty old skool there's quite a few baked recipes that still call for it and since I like to make a lot of vintage recipes, I find myself using it on a semi-regular basis. I do recommend following this recipe exactly to get this effect, but if you don't have cream of tartar, no need to worry. You can find simple substitutions for Cream of Tartar HERE.
📖 Substitutions and Variations
- Cream of tartar (see above)
- Cheese biscuits - simply mix in 1 cup of cheddar cheese before you roll out the dough
- Milk - I use 1% but you can use 2 % instead. You could also use buttermilk.
- Dairy-free or Lactose-free- use dairy-free milk or lactose-free milk
- Shortening- you can use lard instead of shortening if you want to make these the way the generations that came before us did. Lard is very similar to shortening, but usually comes from pig fat and it has a lot of flavor. However, these biscuits will no longer be considered vegetarian.
🔪 How to Make Old Fashioned Biscuits
Make the dough:
PREP: Heat oven to 375 degrees F/190 degrees C and line a cookie sheet with parchment paper. *if you don't have any parchment, use an ungreased cookie sheet.
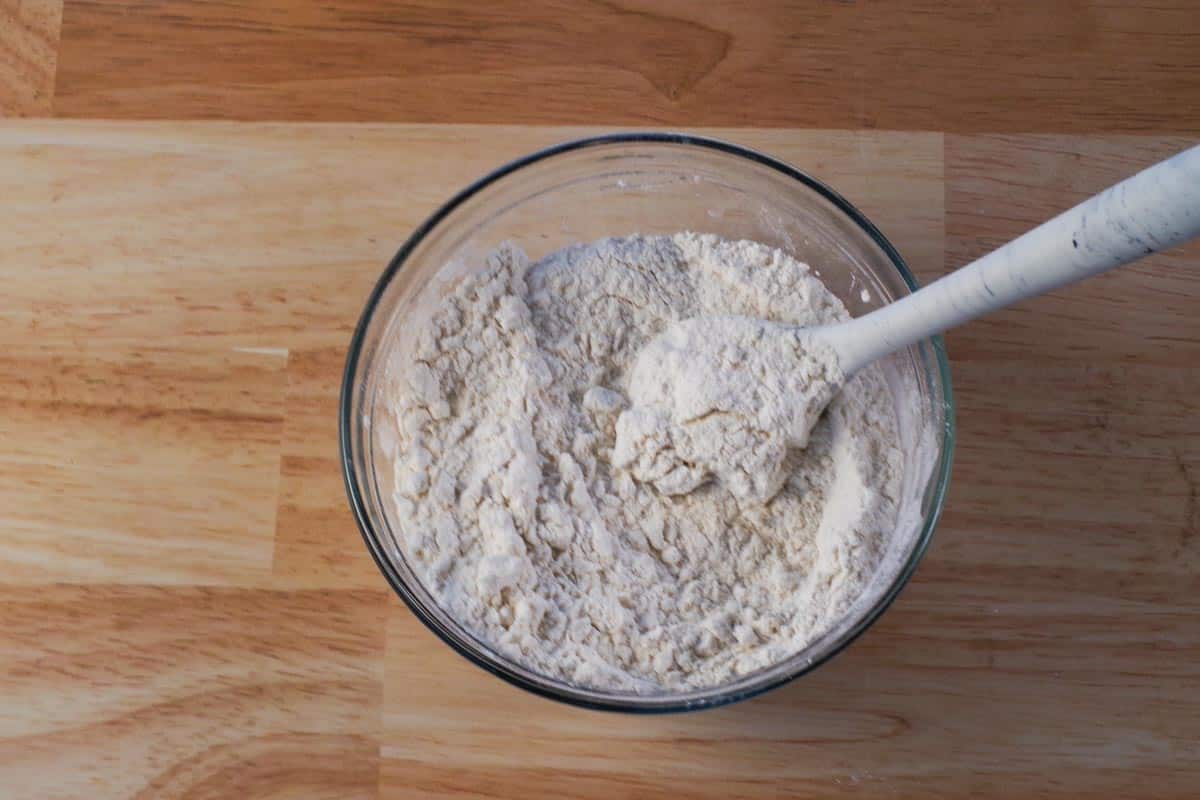
- Step 1: Mix flour, cream of tartar, salt, baking powder, and sugar together in a large bowl.
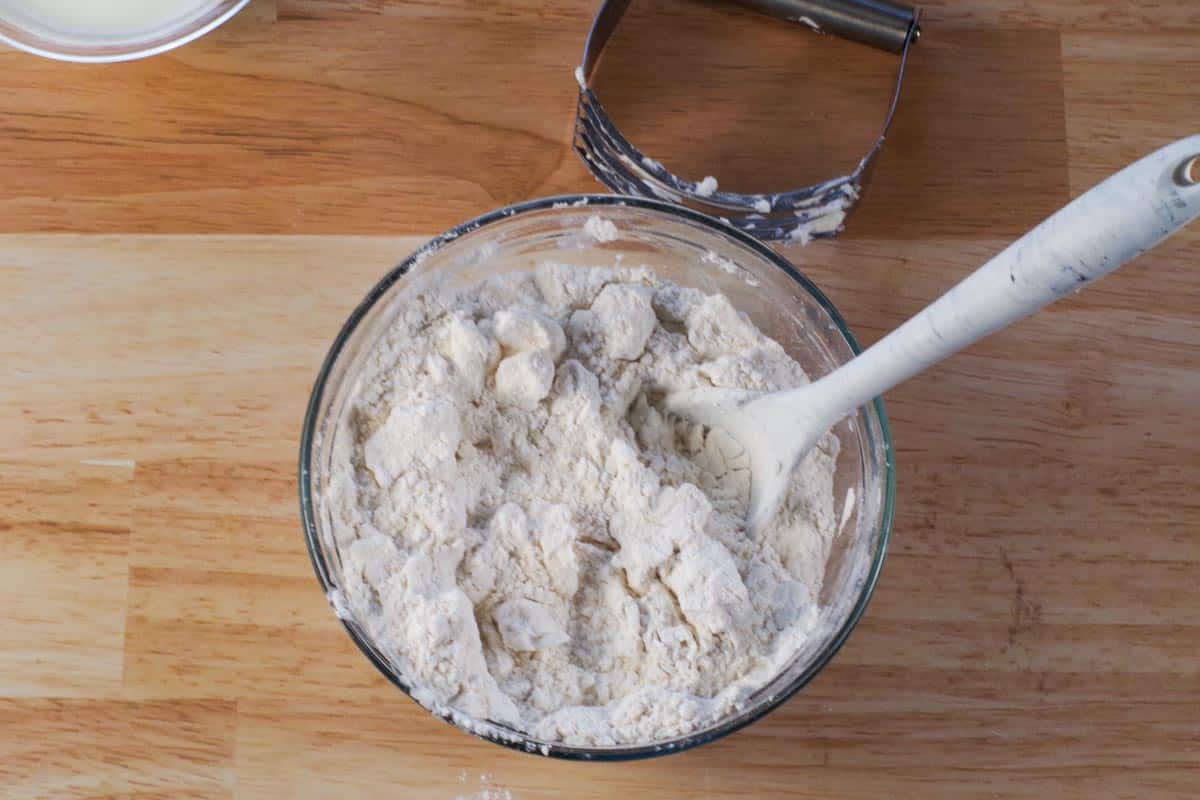
- Step 2: Cut shortening into small pieces with a pastry cutter and mix.
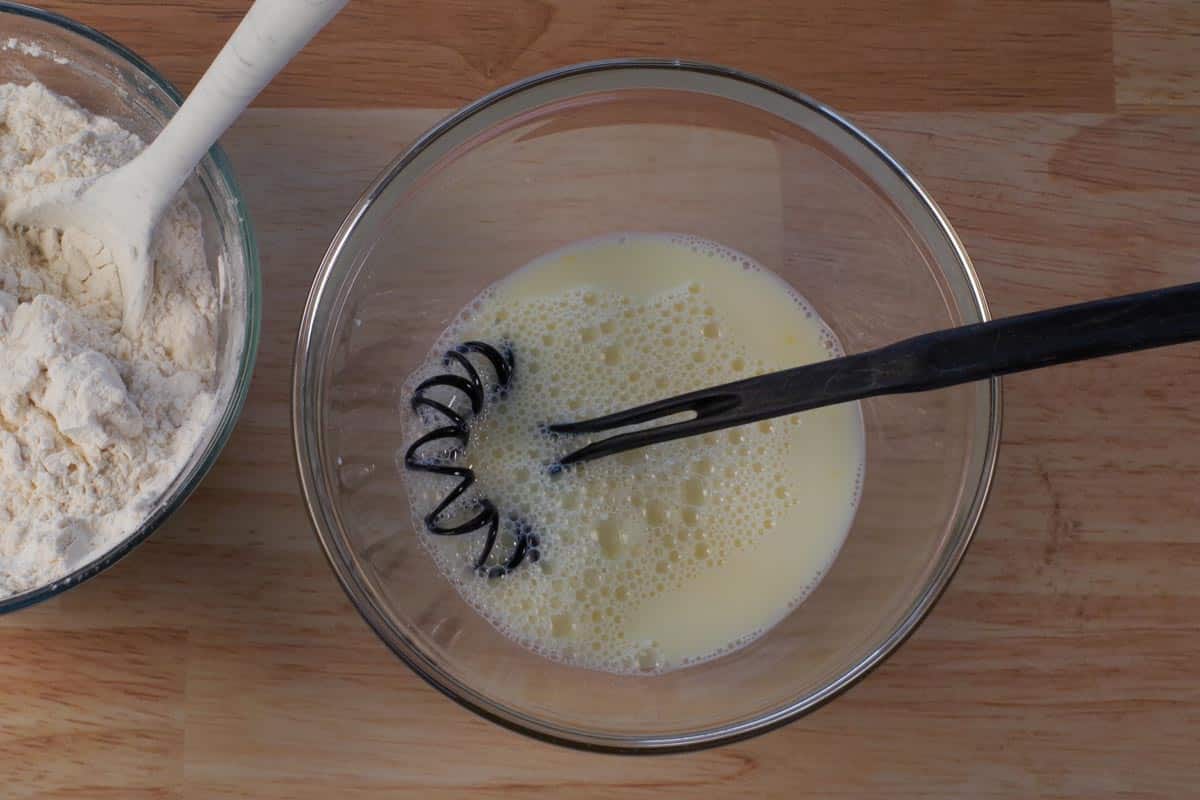
- Step 3: In a separate bowl, mix eggs with milk and whisk together.
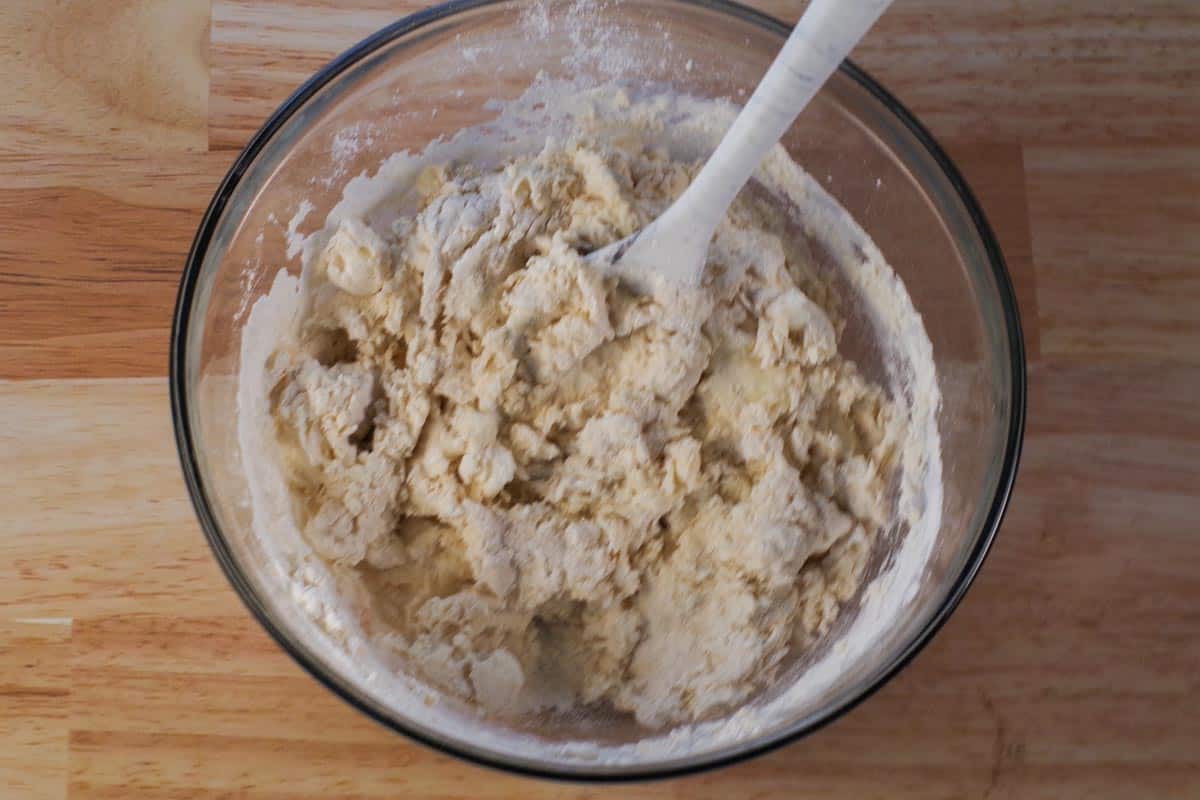
- Step 4: Add wet mixture to dry ingredients and mix.
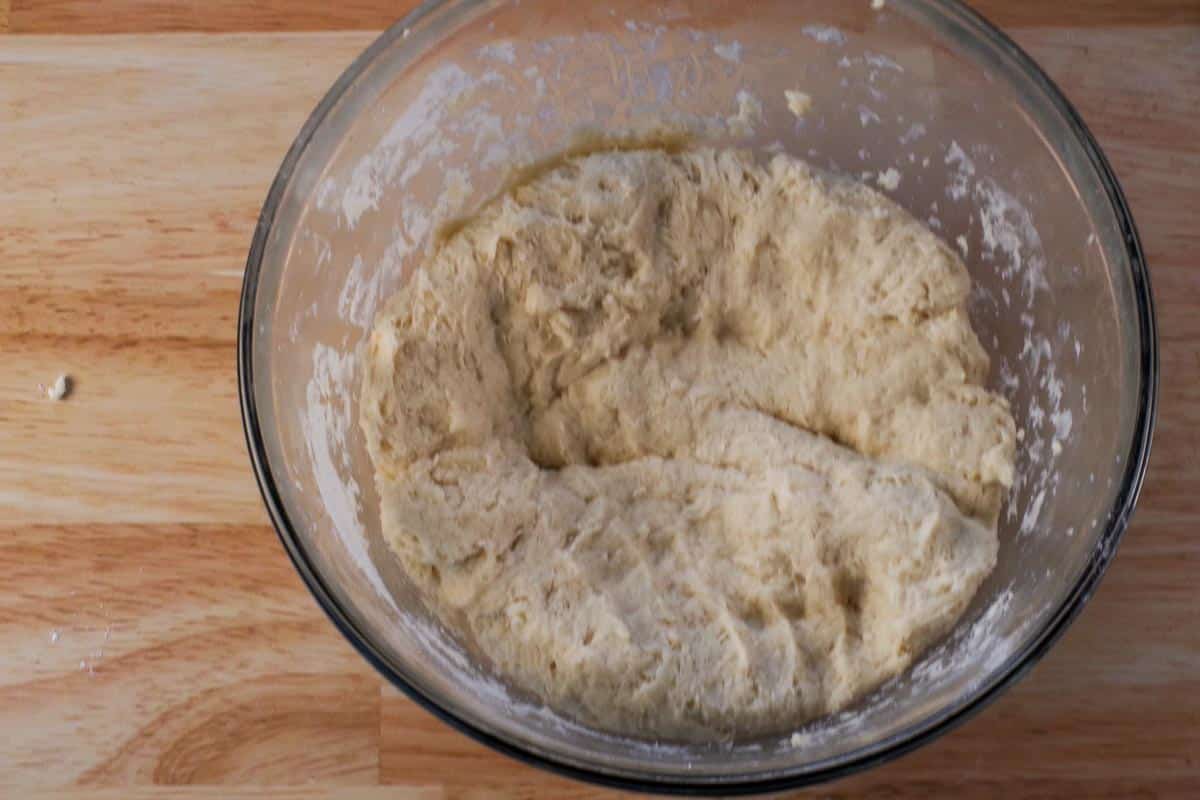
- Step 5: Knead 3 minutes. * I set the timer on the stove for this part. Your dough will be a bit sticky at this stage and that's okay because you're rolling it out onto a floured cutting board next.
Make the Biscuits:
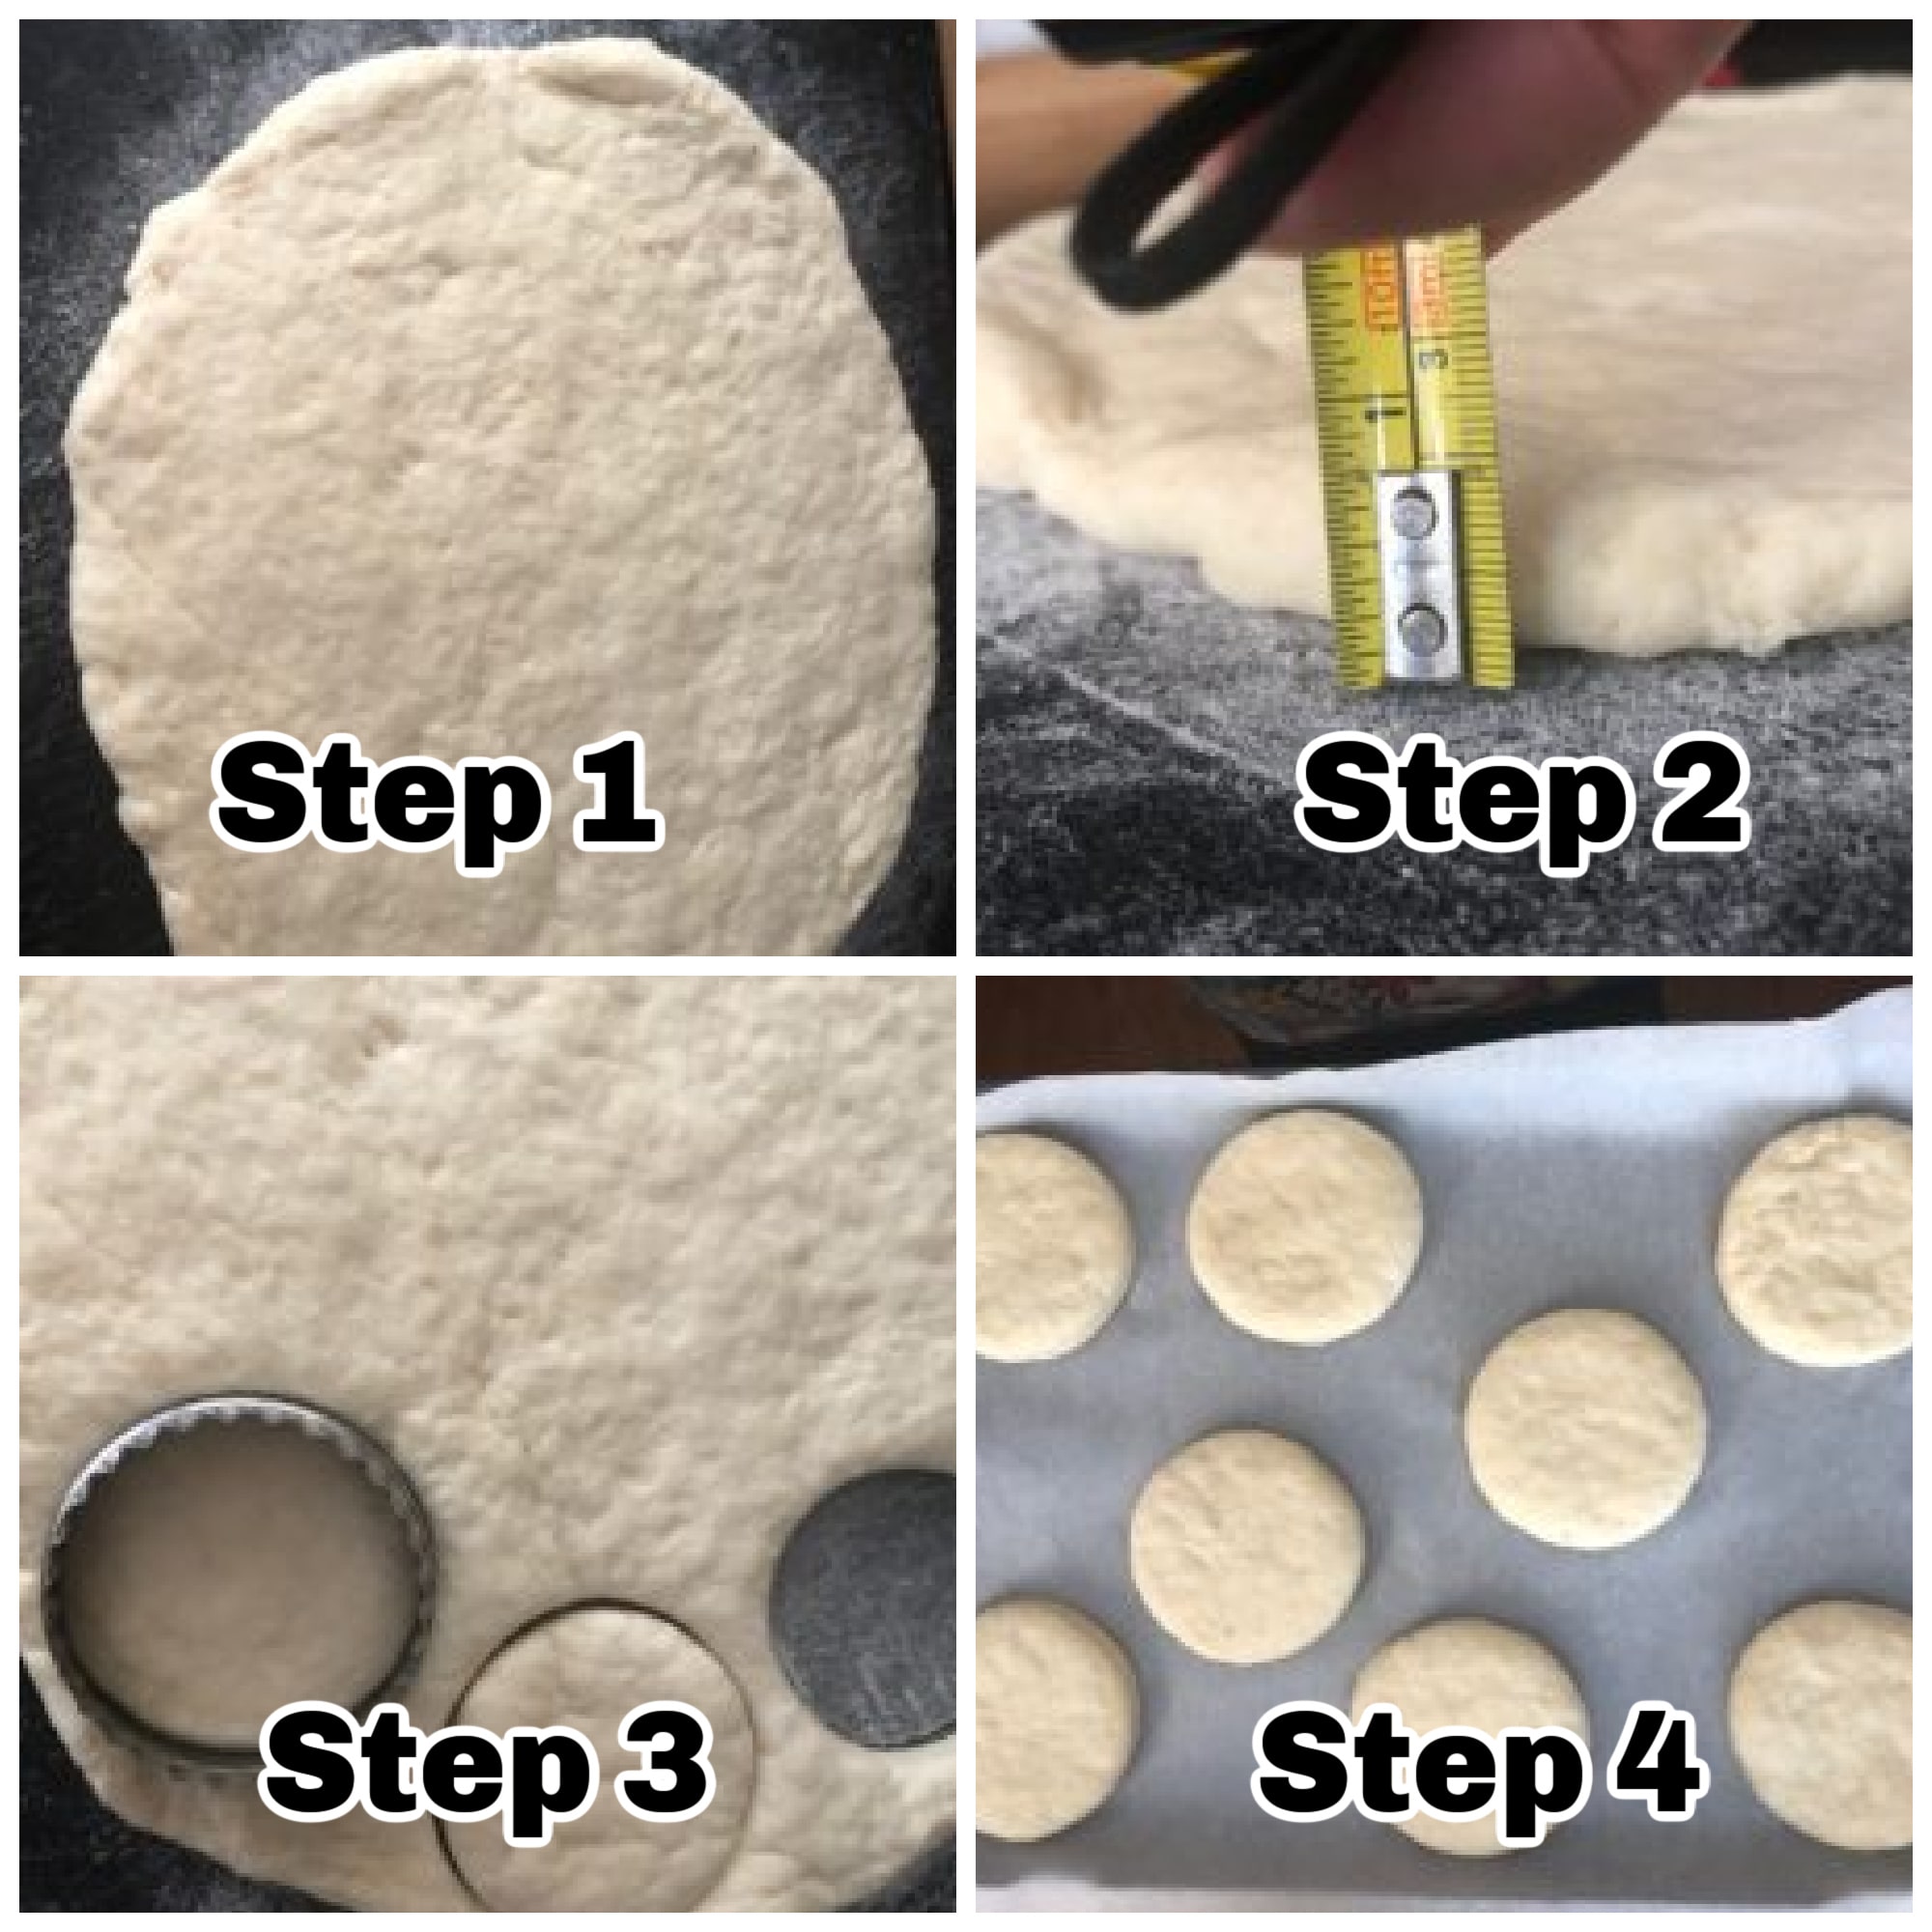
- After you make the dough, roll it out on a floured board.
- Roll out the biscuit dough to ½ an inch.
- Cut in rounds with a 3-inch round cutter. * you can use a mug or a glass if you don't have a cutter
- Bake on 375 degrees F/190 degrees F for 12 minutes on parchment-covered baking sheet.
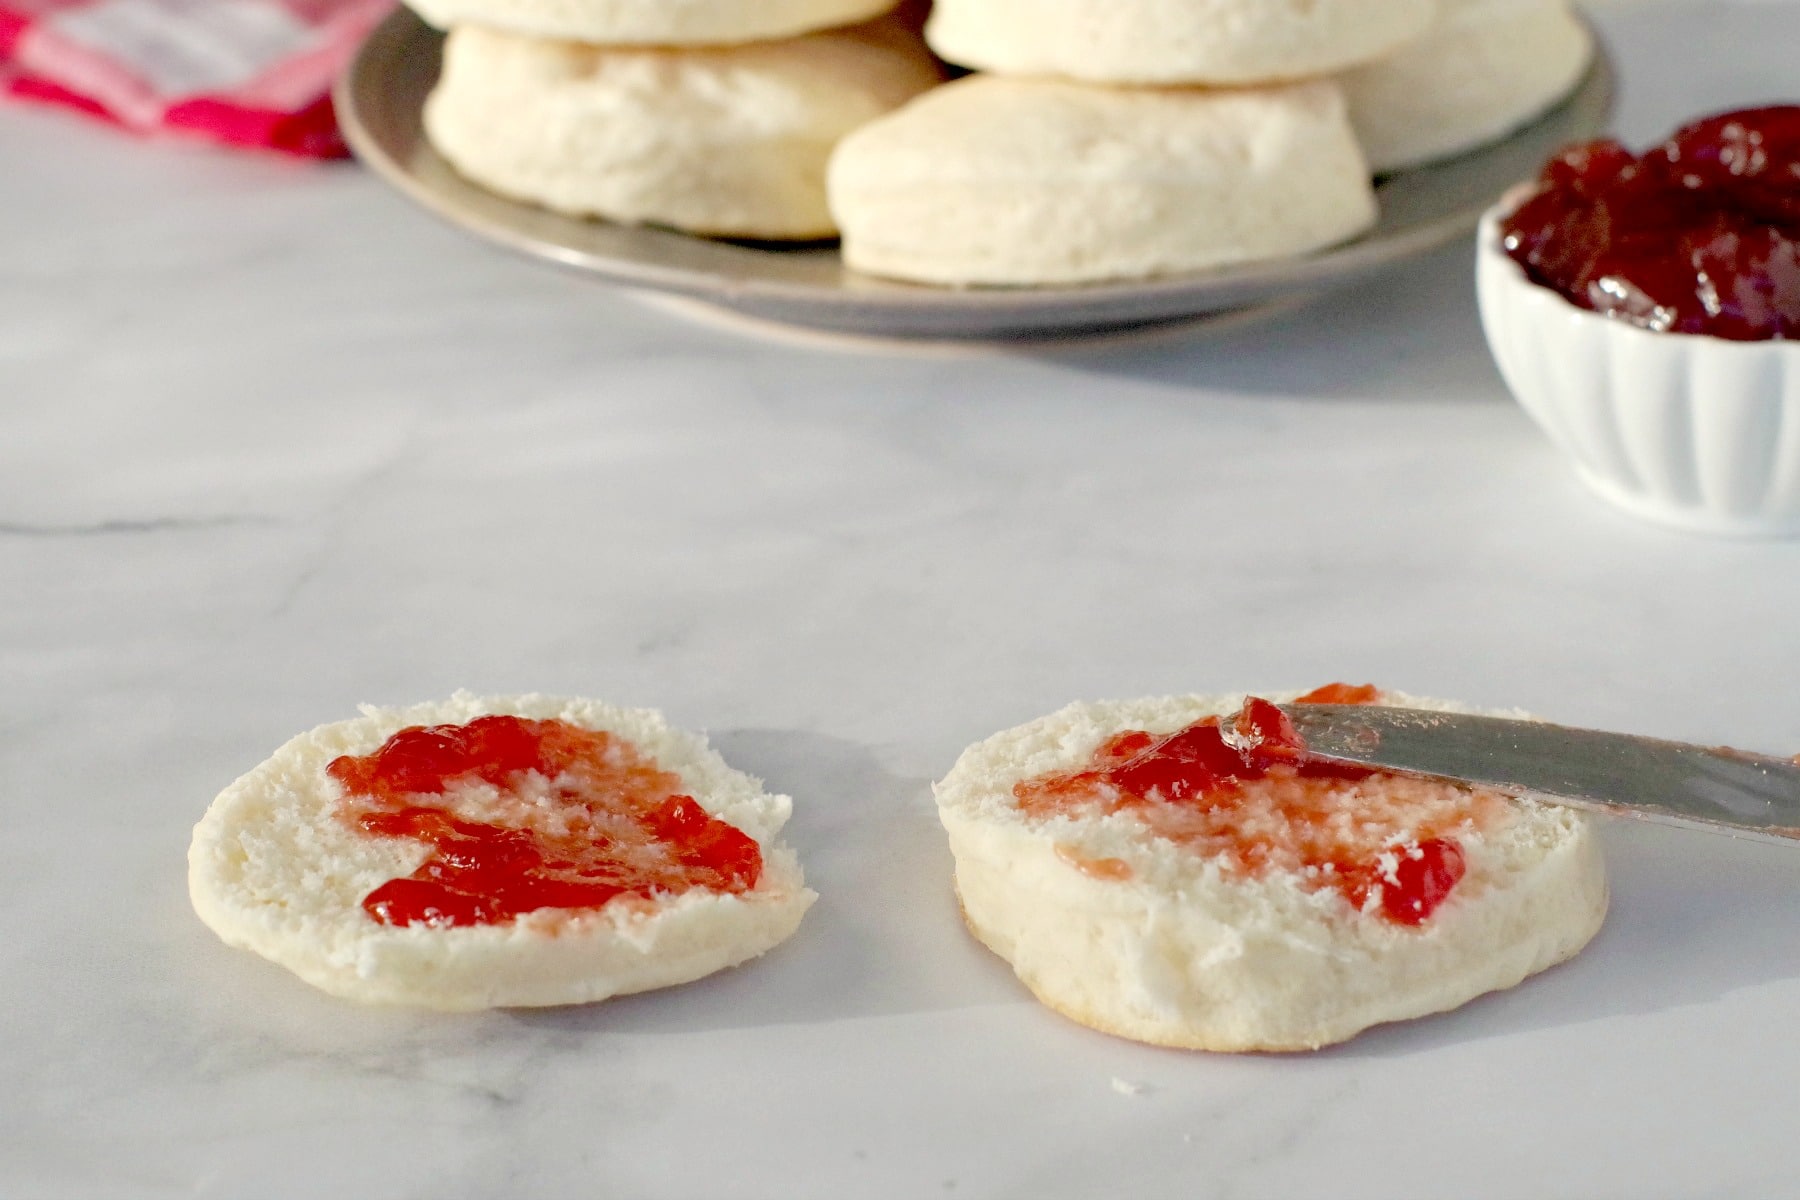
🥗What to serve with Old-fashioned biscuits
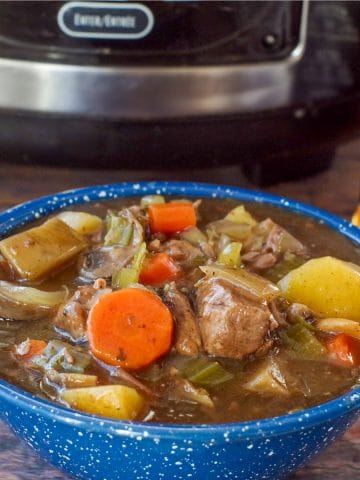
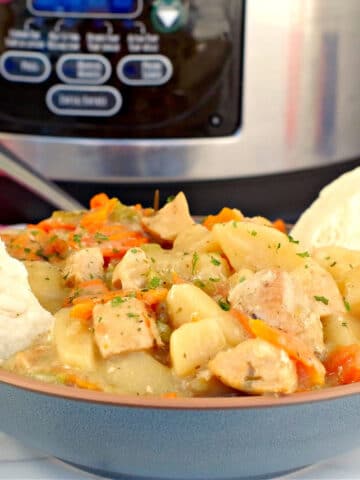
These simple fluffy biscuits are great on their own or with jam. My daughter even likes to use these biscuits instead of bread for sandwiches. They also go great with lots of soup, stews, and chilis, such as:

🌡️Storage
Store leftover biscuits in an airtight container at room temperature for up to 4 days.
Freeze: You can freeze these flaky biscuits in an airtight container or Ziploc freezer bag for up to 3 months.
👪 Serving Size
This homemade biscuits recipe makes 16 servings. However, you can half, double or triple the recipe by clicking on the serving number and selecting the number of servings you'd like. The ingredient quantities will automatically adjust.
❔ Frequently Asked Questions
Baking powder allows biscuits to rise and makes them fluffy.
Why are my baking powder biscuits tough?
If your baking powder biscuits are tough, you've likely added too much flour. If you live in a very dry climate, you many need to reduce the amount of flour in your biscuit a little recipe to achieve tender biscuits (start by reducing it by 2 tablespoons).
Your baking powder biscuits won't rise if your baking powder has expired or if your oven is not hot enough.
Even if you don't think you're a biscuit lover (like I used to think) give these baking powder biscuits a try because they will definitely make one out of you!
📋Related Recipes
Did your family❤️this recipe? Did you know that commenting and⭐rating recipes is one of the best ways to support your favorite recipe creators? If you LOVED this recipe, please comment and rate it in the recipe card or share photos on social media using the hashtag #foodmeanderings or tagging @foodmeanderings !

Old Fashioned Baking Powder Biscuits Recipe
Ingredients
- 3 cups sifted all -purpose flour
- ¾ teaspoon cream of tartar *see substitutions above (in post)
- ¾ teaspoon salt
- 4 ½ teaspoon baking powder
- 2 tablespoon white granulated sugar
- ¾ cup shortening
- 1 egg
- 1 cup milk
Instructions
- Heat oven to 375 degrees F/190 degrees C and line a cookie sheet with parchment paper. *if you don't have any parchment, use an ungreased cookie sheet.
- Mix flour, cream of tartar, salt, baking powder and sugar together in a large bowl. Cut in shortening with a pastry blender and mix.
- In a separate bowl, mix eggs with milk and whisk together.
- Add wet mixture to dry ingredients and knead 3 minutes. * I set the timer on the stove for this part.
- Roll out on lightly floured surface.
- Roll dough to ½ inch thick.
- Cut in rounds with a 3 inch round cutter.
- Place biscuits on parchment covered baking sheet.
- Bake for 12 minutes in preheated oven. *They will be golden brown on the bottom.
- Cool for 5 minutes on baking sheet, then transfer warm biscuits to cooling rack. Serve and enjoy!


Terri Gilson says
I used to think biscuits were nothing special until I tried Aunt Norma's Baking Powder Biscuits. They're so soft and fluffy that we can't keep them in the house beyond baking day! There's something incredibly comforting about making the exact same recipe that Grandma Gilson was baking back in the 1930's. These are hands down THE BEST biscuits I've ever eaten - you'll want them with everything!