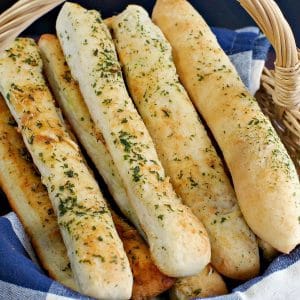
Making your own breadsticks is easy when you have a bread machine! And if you don't have a bread machine, I would encourage you to get one. It's a really good investment. These Italian Bread Machine Breadsticks are great as an appetizer, snack, or side. And they are super easy to make. They are soft on the inside and very similar to the Olive Garden's breadsticks in flavor and texture, but better!
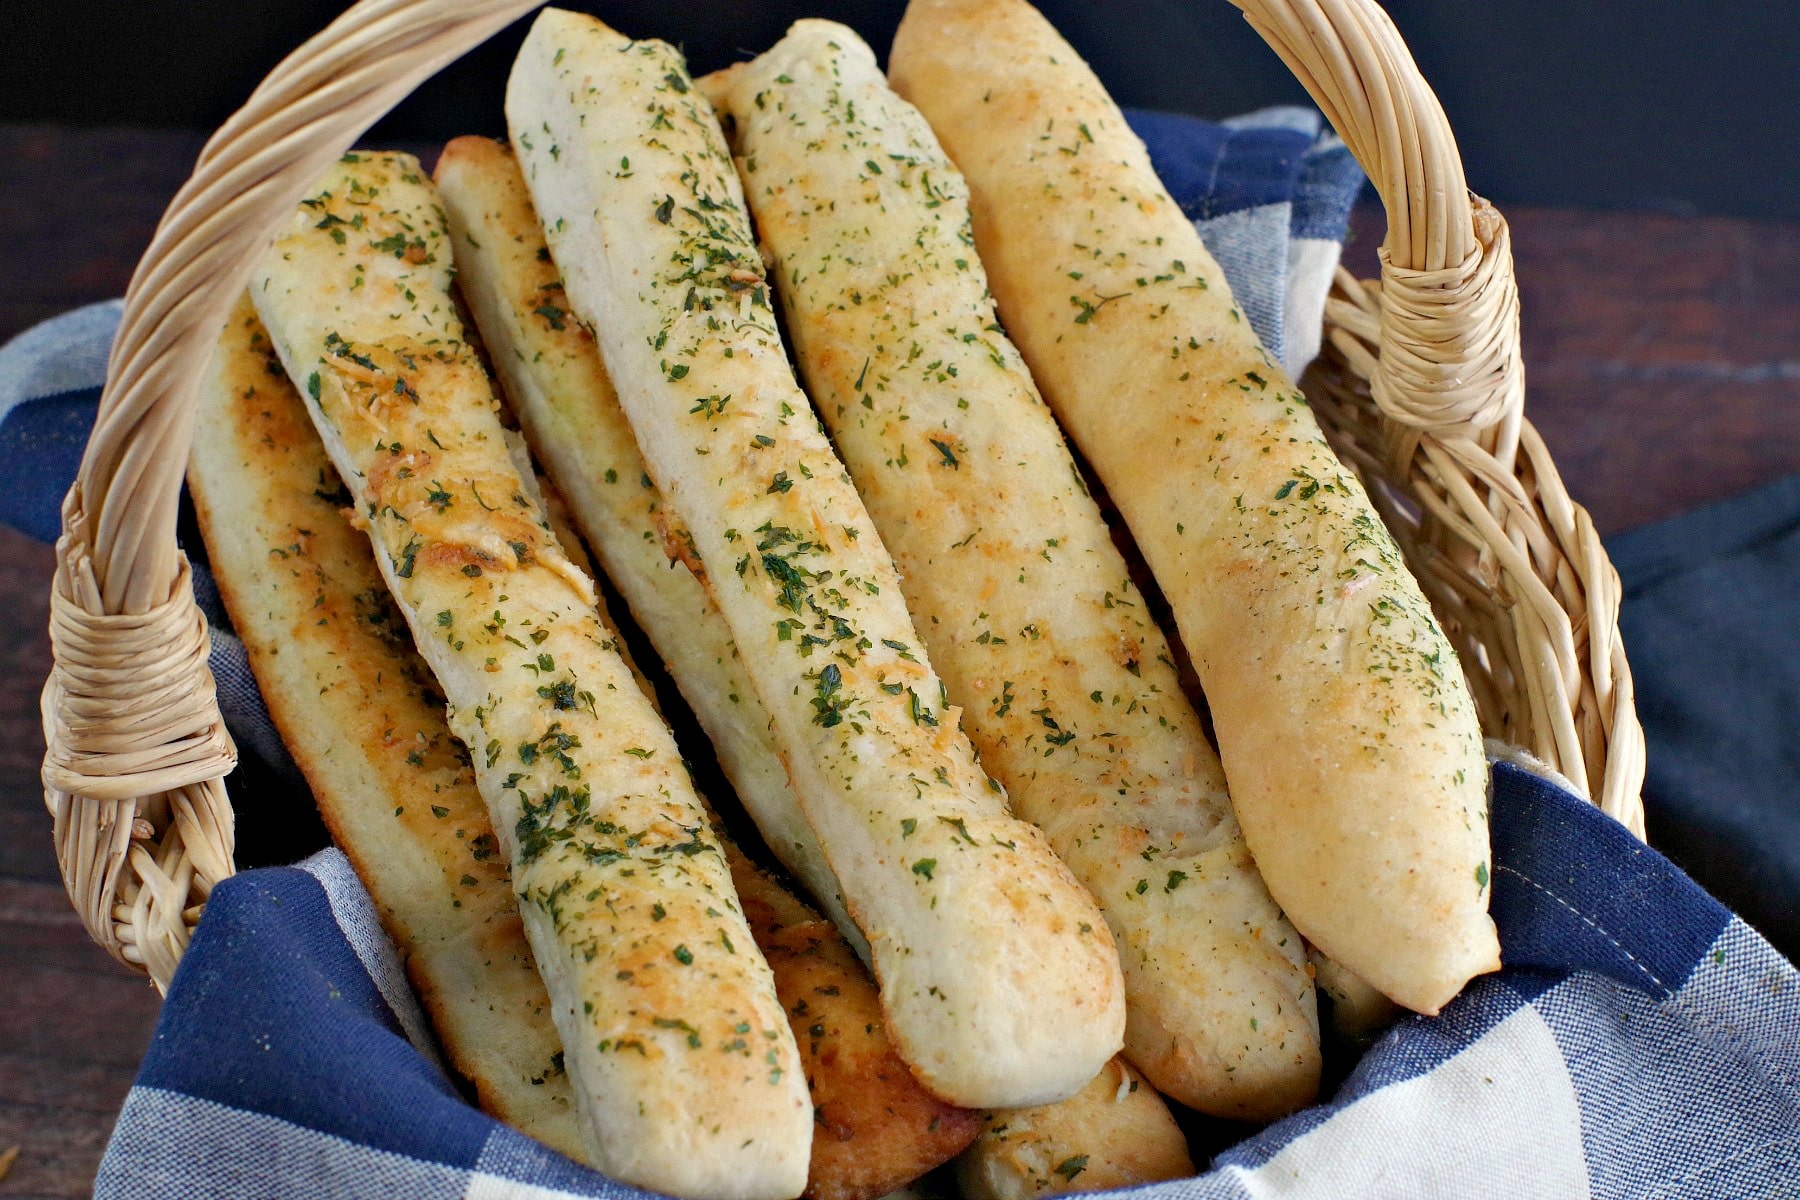
I've said it before, but I love my bread machine as much as I love my slow cooker. And that's saying a lot! And my bread machine makes these Bread Machine Italian Breadsticks so easy! Not only are they delicious, they make your house smell incredible!
Jump to:
I got a bread machine early on in the adulting portion of my life, so I've never actually made bread by hand (aside from Ukrainian Easter bread) which I eventually discovered I could also make in my bread maker (yay!). So now I never make bread by hand.
🥘 Ingredient Notes
You can't have breadsticks without garlic and even adding a little garlic powder to them makes these garlic breadsticks sing! They are also soft and taste similar to Olive Garden Breadsticks (but better, I think!)
You don't need bread flour for this recipe, but you will need:
- Whole wheat flour and all-purpose flour (AP flour). I use both so you get the best of both worlds; the health benefits of whole wheat flour and the rise and taste of AP flour.
- Butter .* I use unsalted butter so I can control the salt.
- Dry milk .* I use skim milk.
- Parmesan cheese, garlic salt and Parsley. This combination is the perfect flavor combination for breadsticks!
📖Variations & Substitutions
- Dry milk- you can use skim, 2%, or whole dry milk
- Parsley -you can use fresh parsley instead of dried parsley, but you'll need to use double the amount
- Parmesan cheese - you can use fresh parmesan or you can use light or fat-free parmesan cheese
- Italian Seasoning - you could use this instead of parsley
- Garlic Salt - you could use garlic salt instead of garlic powder and salt
Tips for Success
- This recipe uses bread machine yeast (instant yeast). It does NOT use active dry yeast.
- Shape the ends if you don't like the way they look. If the ends are a little pointy or you don't like the way they look, simply use your hands to round the dough and make them look nicer. Remember - they don't have to look perfect or exactly the same!
- Make sure your yeast isn't expired. Bread machine yeast lasts for only 3-4 months after you have opened the bottle. However, if the yeast is exposed to air & moisture (i.e., the bottle is not sealed tightly) or exposed to higher temperatures, the yeast will expire even more quickly.
- Use warm water. Don't use hot or cold water- you want it to be warm.
- Add ingredients in the order given. And add salt along one edge and sugar around the other, then form a small crater with your finger in the top of the flour and pour yeast into this crater. * Some breadmakers don't require you to add ingredients like this, but mine does
- Measure accurately. It's really important to make sure your measures are level and don't add 'heaping' tbsps or cups. If you add too much of an ingredient, you will have an issue.
🔪 How to Make Bread Machine Breadsticks
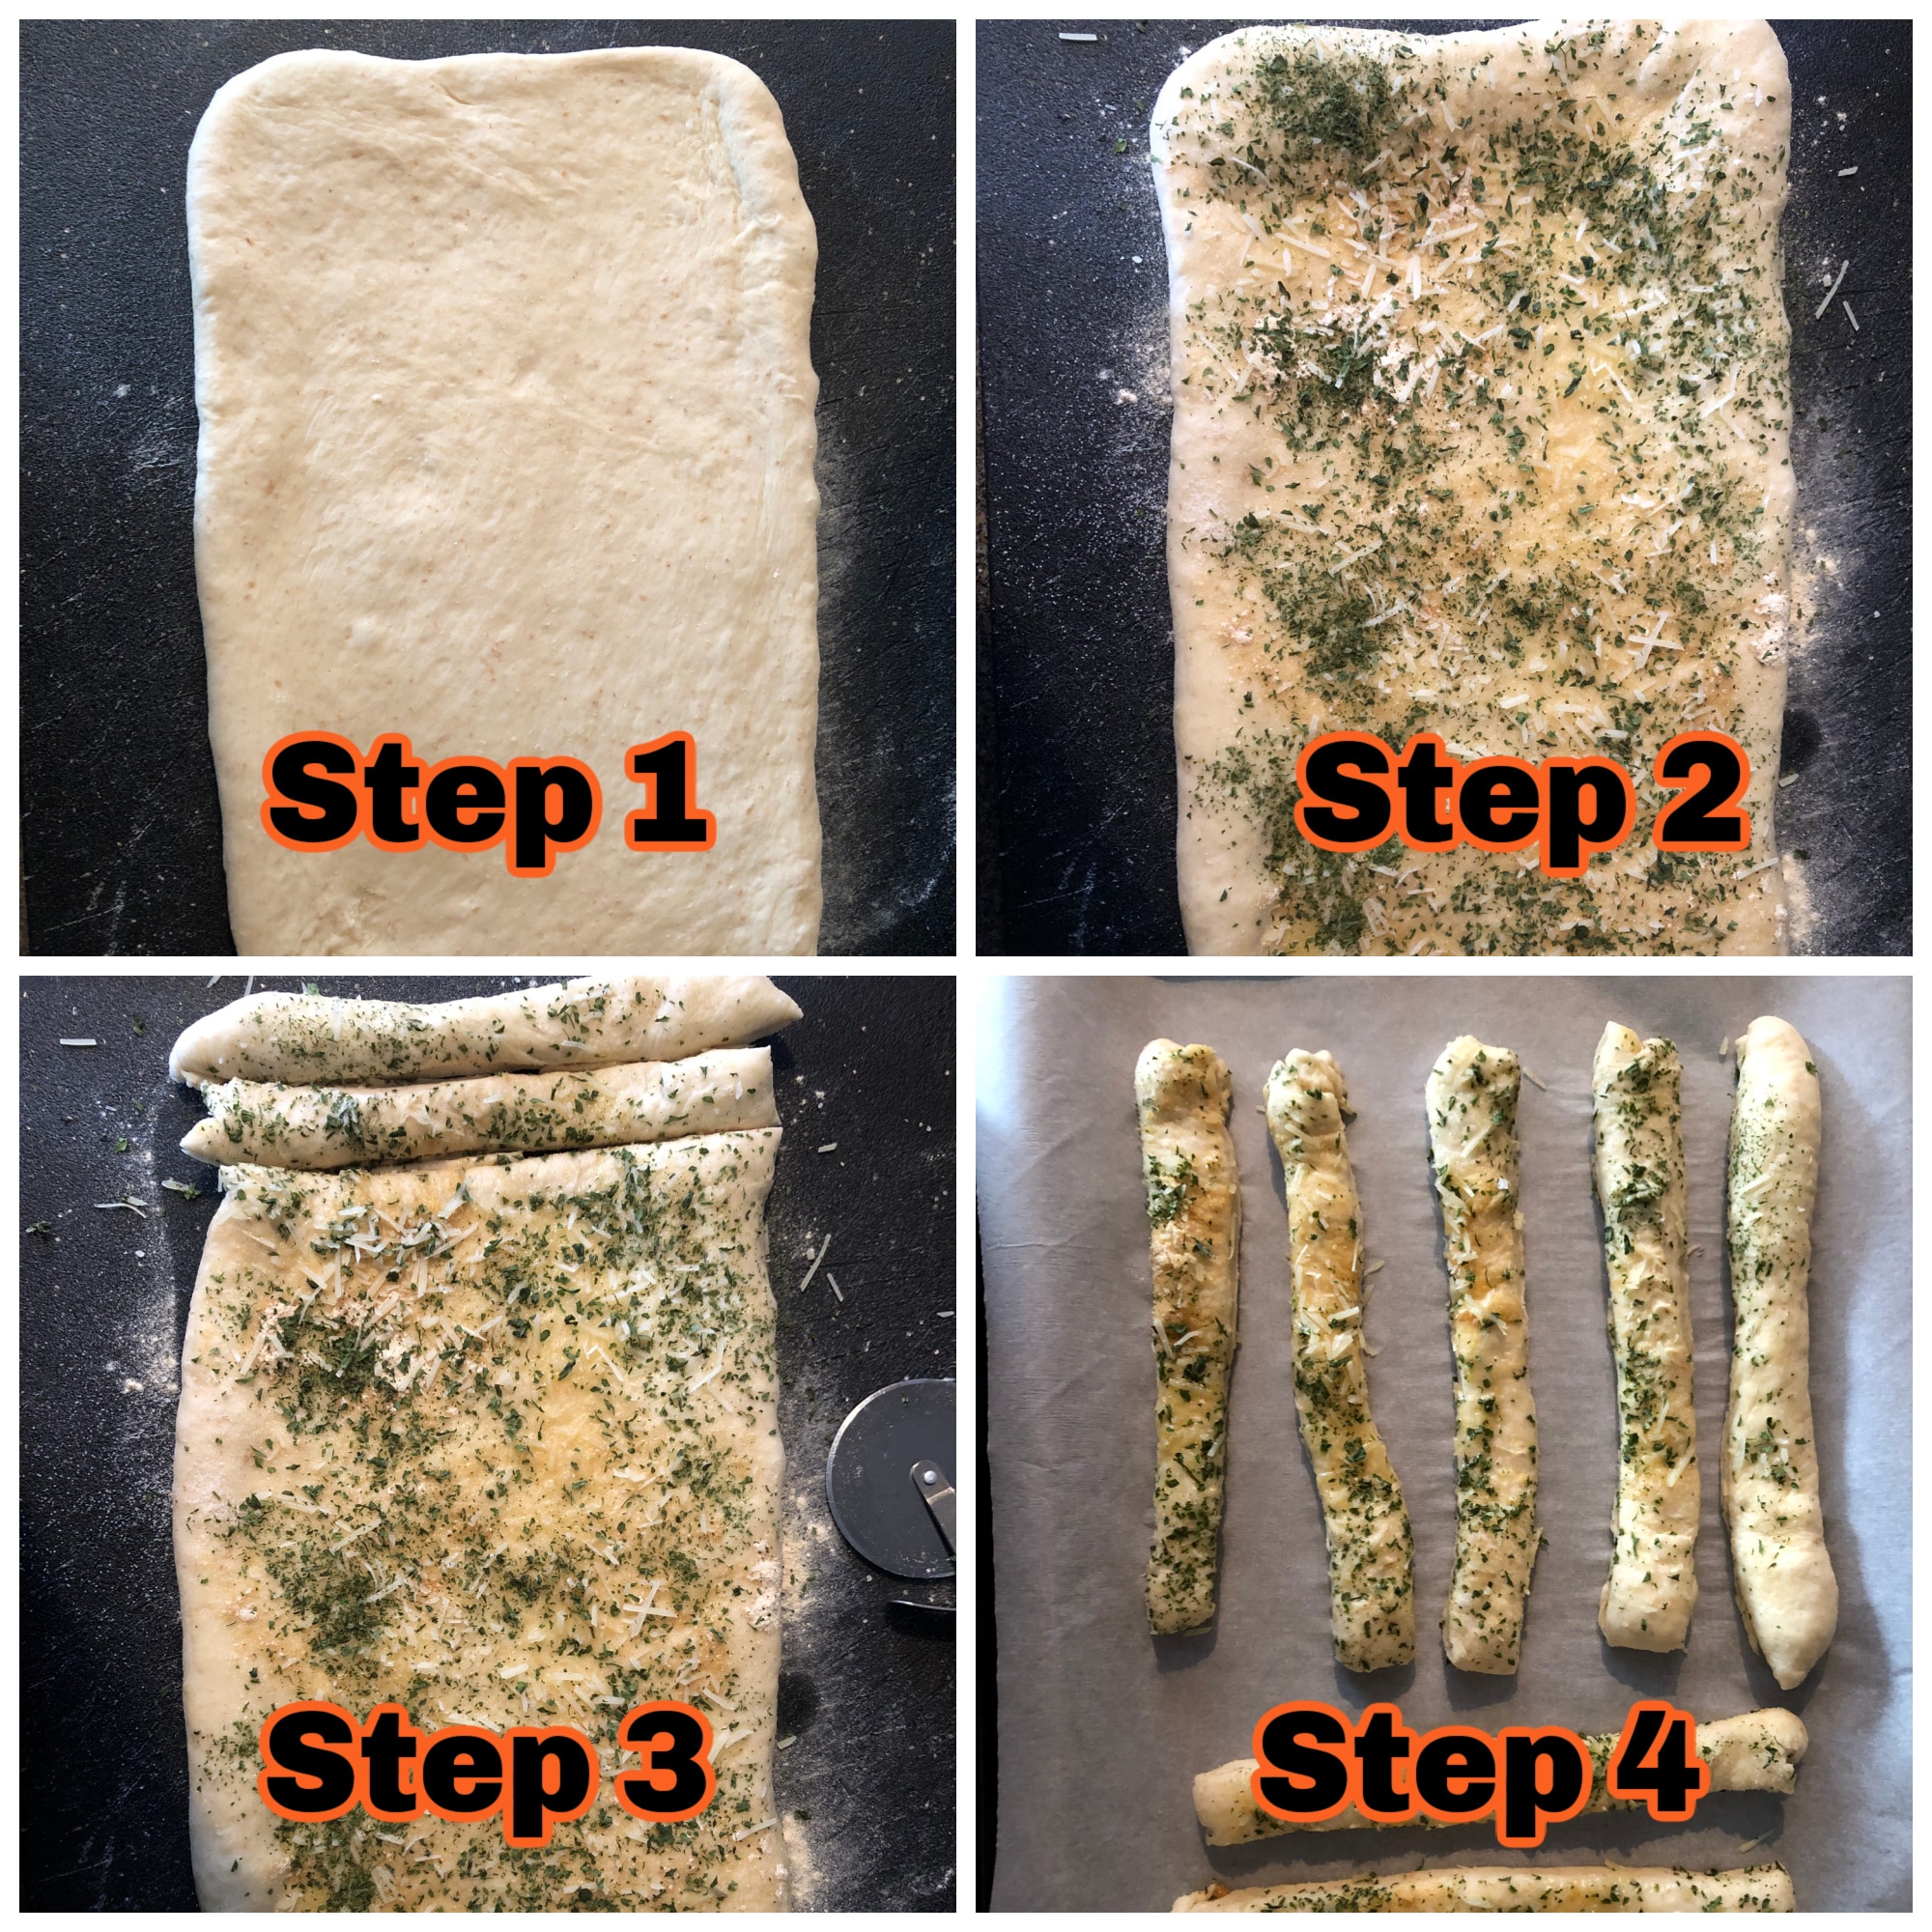
Make the dough on the dough setting in the bread machine (see recipe card), then take it out of the bread machine pan.
Step 1: Simply roll out the breadstick dough.
Step 2: Brush with melted butter and sprinkle with garlic powder, salt, parsley, and Parmesan cheese.
Step 3: Cut it into strips with a pizza cutter.
Step 4: Place on a parchment-lined baking sheet.
⏲️ Baking time
Bake in preheated oven (375 degrees F/ 190 degrees C) for 12- 15 minutes or until golden brown and lightly browned on the bottom.
🥗 Pairing- what to eat with breadsticks?
These homemade breadsticks are the perfect side for comforting pasta dishes and casseroles, such as my Turkey Tetrazzini with Cream of Mushroom Soup, Spaghetti with secret ingredient spaghetti sauce , Chicken fettuccine, Baked beef cannelloni).
It also pairs well with stews, soups, and salads such as my Strawberry Spinach Pecan Salad, slow cooker chicken stew, or Crockpot Zuppa Toscana soup!
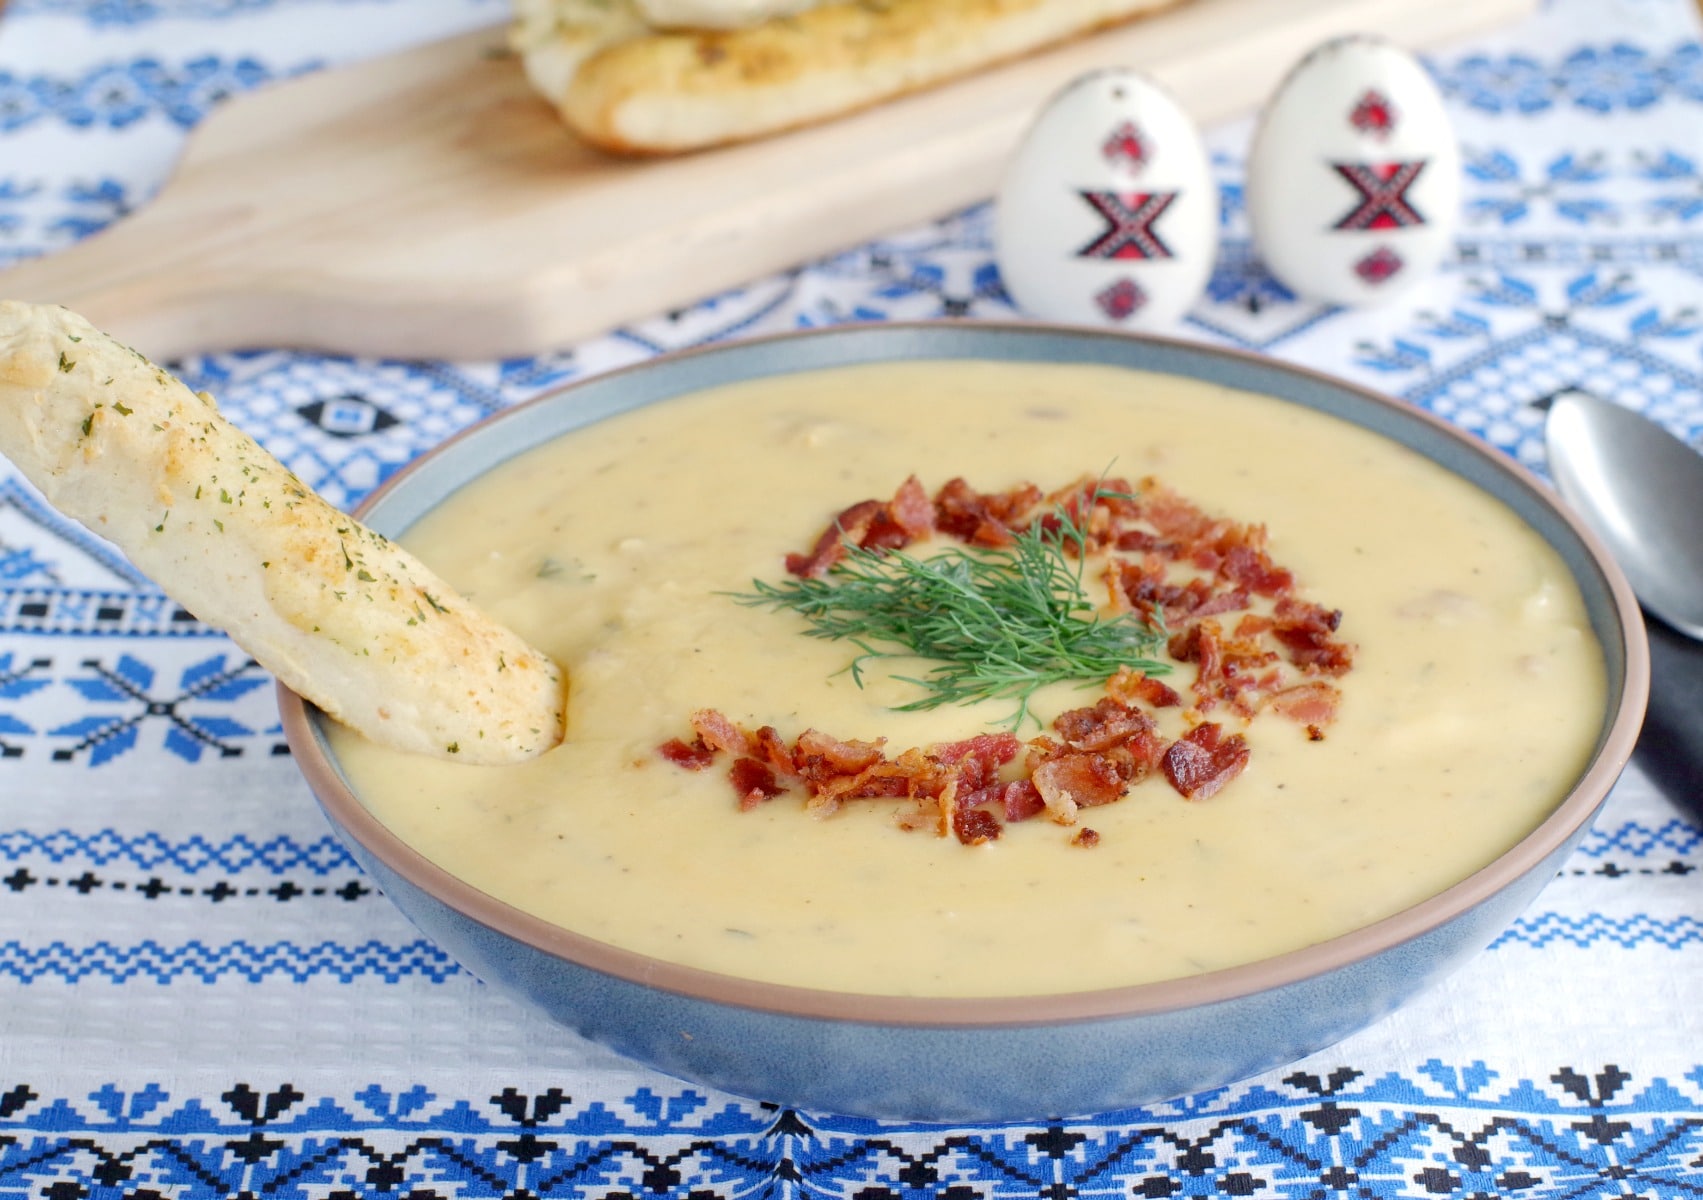
And warm breadsticks are the perfect accompaniment to my Loaded Pierogi Soup! (shown below)
And they are wonderful dipped in your favorite pizza sauce!
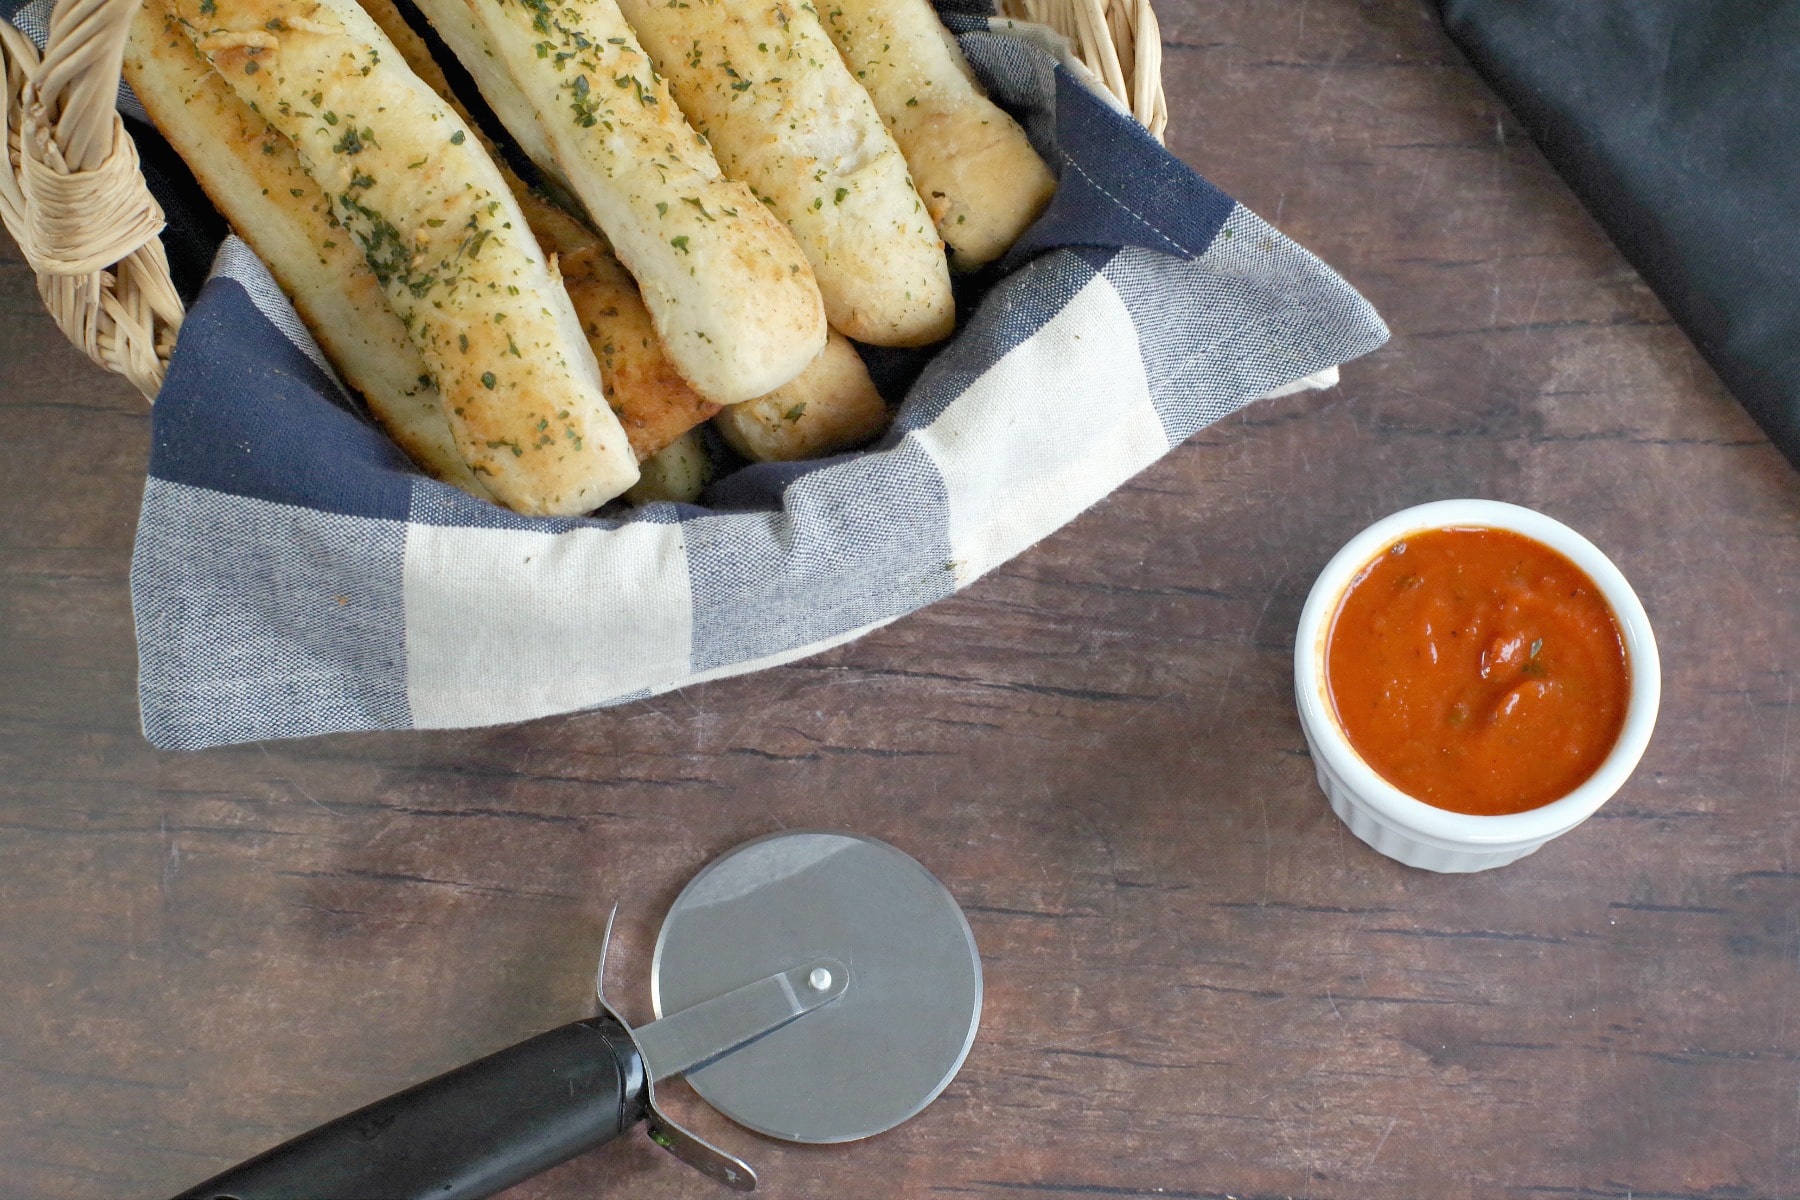
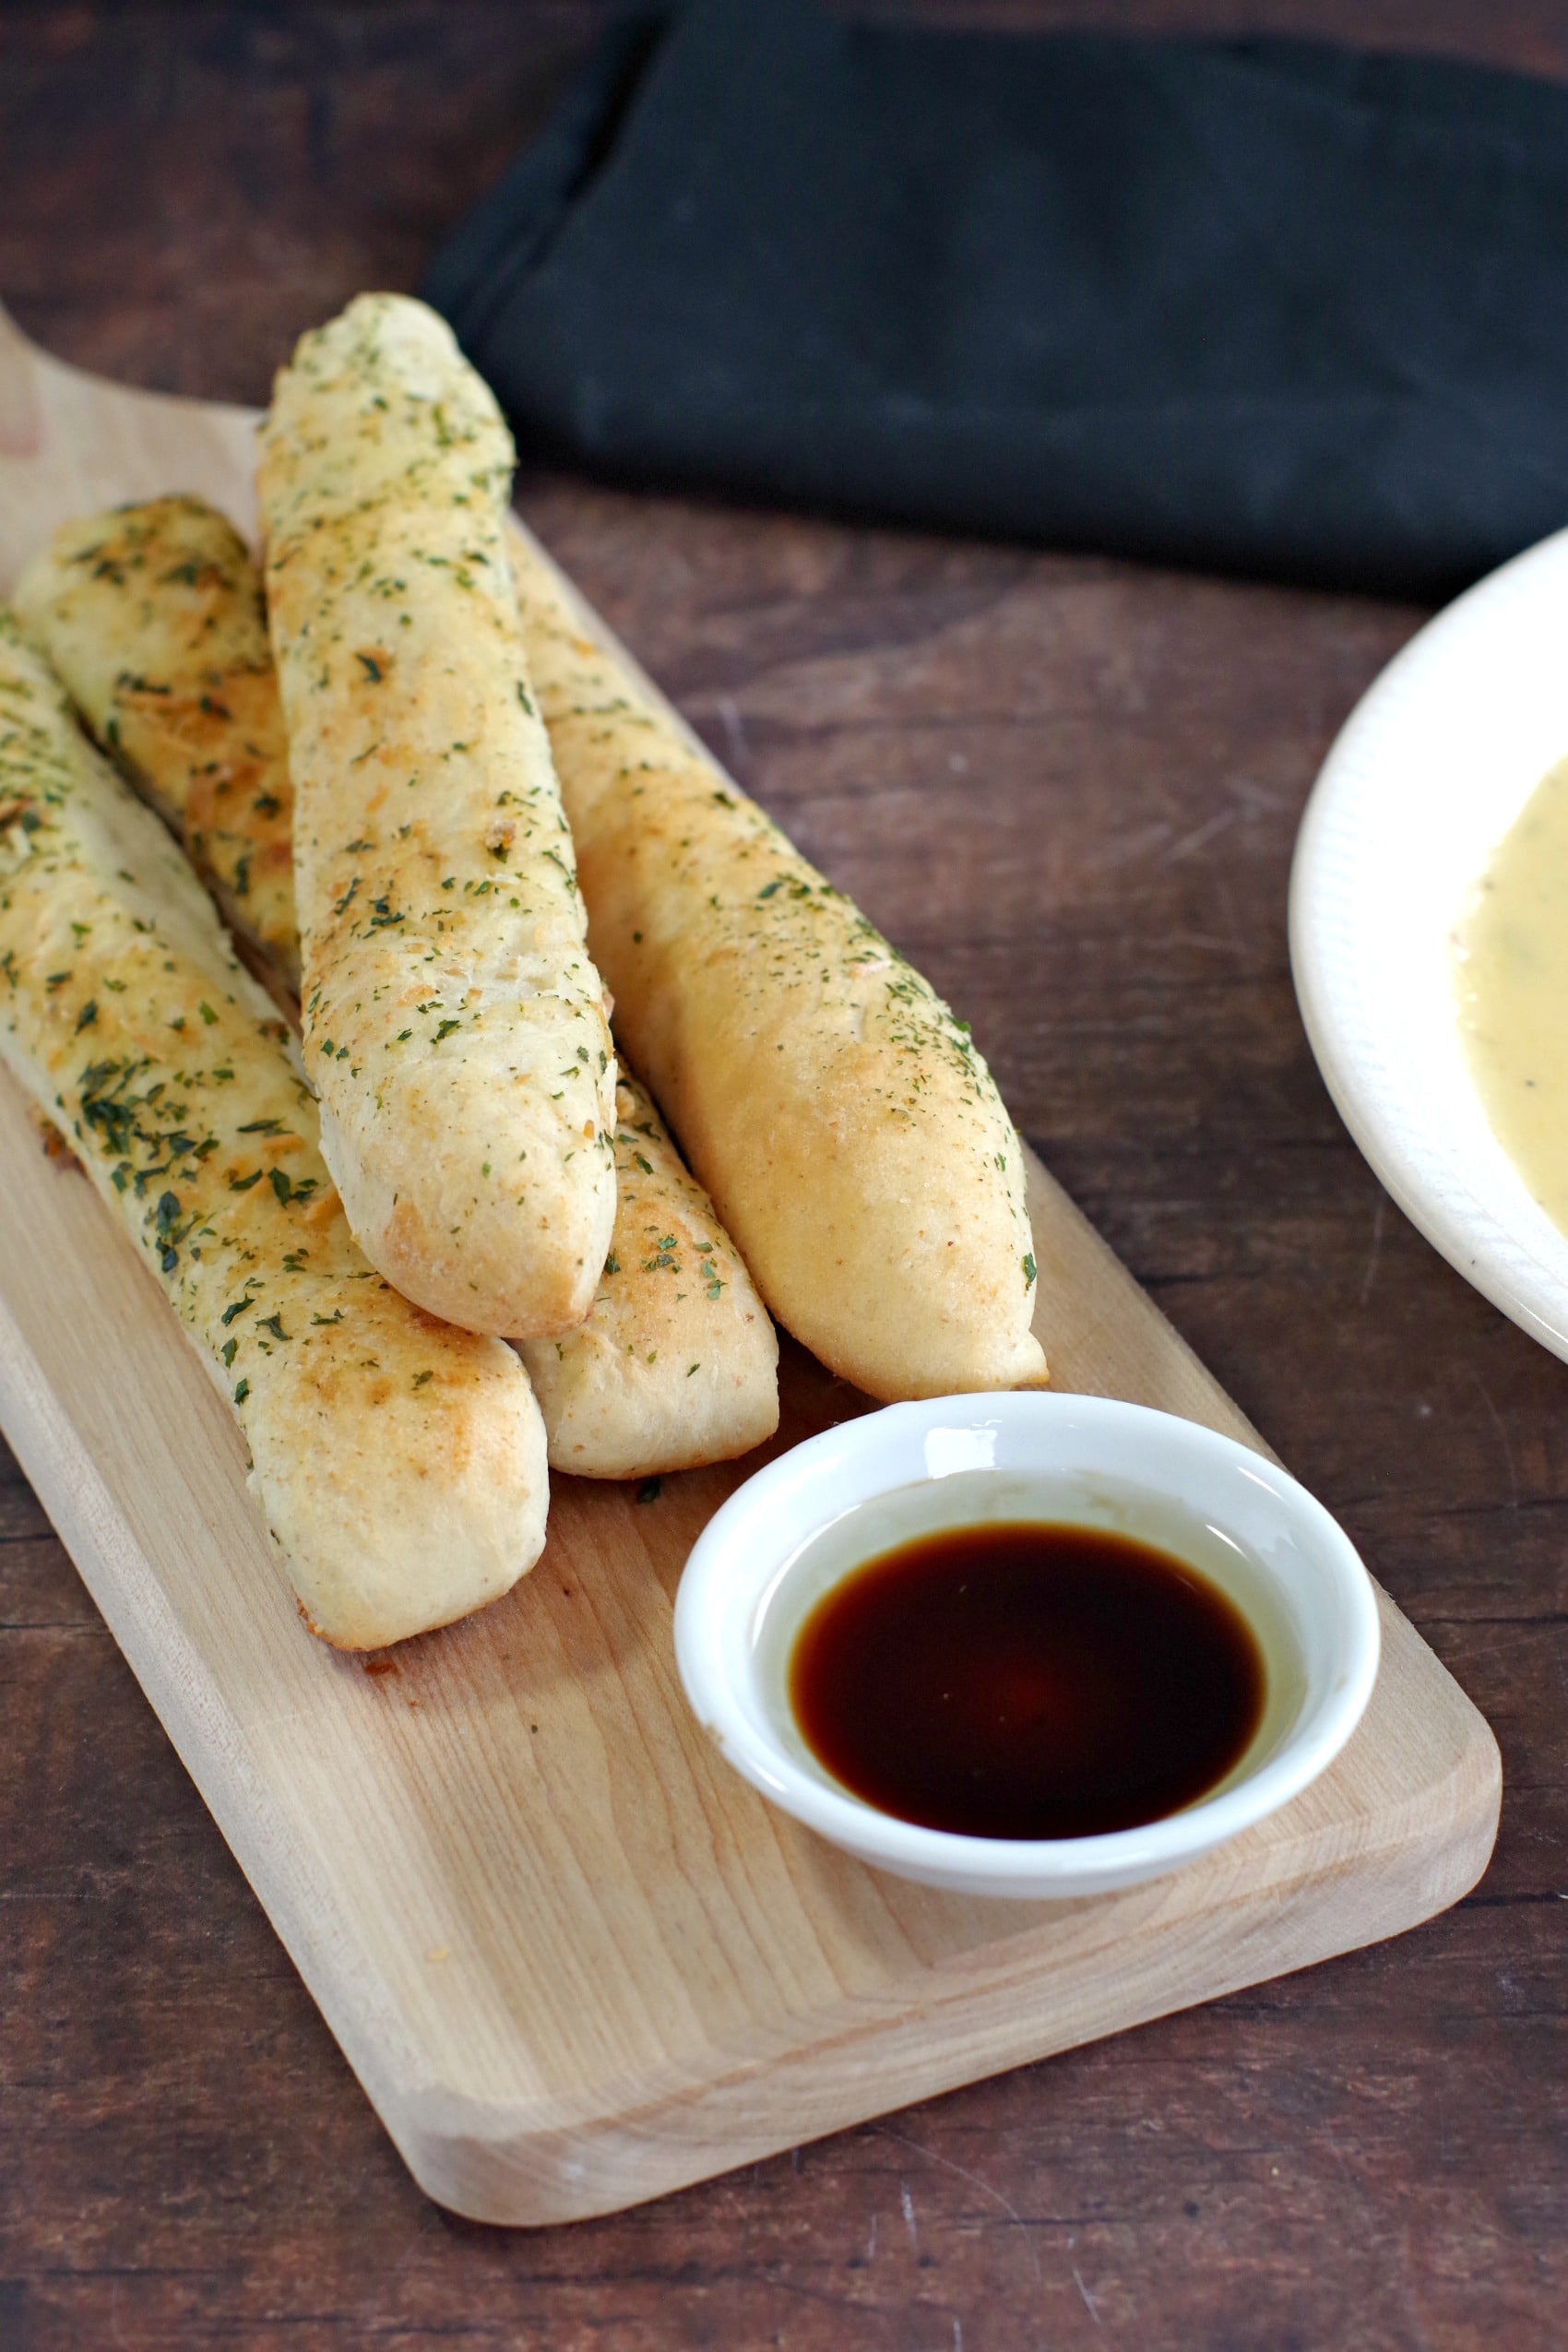
I got this tasty breadsticks recipe out of the instruction book that came with my first bread machine many years ago. They will make your house smell amazing, leaving everyone begging for more. In fact, my kids couldn't even wait until the next day for me to photograph them! We love to eat them dipped in balsamic vinegar mixed with olive oil.
👪 Serving Size
This easy recipe is for a 1 lb bread machine or the 1lb setting on your bread maker and makes 15 breadsticks.
🌡️Storing
Make-ahead: This breadstick recipe can be made ahead and stored up to 3 days at room temperature in an airtight container. There is no reason to refrigerate them, as the fridge tends to dry out baked goods.
Freezing: After the breadsticks are cooled completely, freeze them in a Ziplock freezer bag for up to 3 months.
Reheating: Pop them in the microwave for about 15-20 seconds, depending on the wattage of your microwave.
❔ Recipe FAQ's
Some bread machine recipes call for bread flour because it has a higher protein level. making the dough hold its shape and rise straight up -- vs an all-purpose flour that will tend to want to spread out a bit more. However, in Canada, our all-purpose flour is higher in protein so there is almost no point in using bread flour.
For a recipe calling for milk powder, you can just use milk in place of the water (equal volume) and omit the milk powder.
If your dough is too sticky, then just add more flour, but add it gradually. But you'll want to add it 1 tablespoon at a time until your dough is no longer too sticky to work with.
So haul out that bread maker and make these tasty breadsticks!
Happy easy bread making!
🍞Check out my Other Bread Machine recipes!
Did your family❤️this recipe? Did you know that commenting and⭐rating recipes is one of the best ways to support your favorite recipe creators? If you LOVED this recipe, please comment and rate it in the recipe card or share photos on social media using the hashtag #foodmeanderings or tagging @foodmeanderings !

📋Italian Bread Machine Breadsticks Recipe
Ingredients
Dough
- 8 oz water
- 2 cups all-purpose flour
- 2 tablespoon whole wheat flour
- 1 ½ tablespoon butter
- 2 tablespoon dry milk
- 1 ½ tablespoon white granulated sugar
- 1 teaspoon salt
- 2 teaspoon bread machine yeast
Topping
- 2 tablespoon melted butter
- 2 teaspoon garlic powder
- 1 tablespoon parmesan cheese
- 1 ½ teaspoon parsley
- ¾ teaspoon salt
Instructions
Dough:
- Add ingredients to bread machine IN ORDER GIVEN IN INGREDIENT LIST (salt along one edge and sugar around the other), then form a small crater with your finger in the top of the flour and pour yeast into this crater. * Some breadmakers don't require you add ingredients like this, but mine does
- Set bread machine on dough cycle and when dough cycle is complete, remove the dough from bread machine and place on a lightly floured surface.
- Preheat oven to 375 degrees F and line a baking sheet with parchment paper.
- Roll bread dough into a large rectangle.
Topping
- Brush with melted butter and sprinkle with garlic powder, salt, parsley and Parmesan cheese.
- Cut into 15 - 1 inch (approximately) strips of dough using a pizza cutter.
- Place breadsticks on prepared baking sheet.
- Bake in preheated oven for 12- 15 minutes or until golden brown and lightly browned on the bottom.
Notes
- Make sure your yeast isn't expired. Bread machine yeast lasts for only 3-4 months after you have opened the bottle. However, if the yeast is exposed to air & moisture (i.e. the bottle is not sealed tight) or exposed to higher temperatures, the yeast will expire even more quickly.
- Use warm water. Don't use hot or cold water- you want it to be warm.
- Add ingredients in the order given. And add salt along one edge and sugar around the other, then form a small crater with your finger in the top of the flour and pour yeast into this crater. * Some breadmakers don't require you add ingredients like this, but mine does
- Measure accurately. It's really important to make sure your measures are level and don't add 'heaping' tbsps or cups. If you add too much of an ingredient, you will have an issue.




Darlene says
Once you cut the bread sticks, do you need to let them rise again?
Terri Gilson says
Hi Darlene,
No, you don't need to let them rise again. Enjoy!
Terri
Dorothy says
Once again highly recommend everyone to try this recipe. Made them for lunch to acompany spaghetti with meat sauce. Thanks Terri!
Terri Gilson says
You are welcome, Dorothy! I'm glad you love them and thanks for sharing the recipe with your friends!
I love them with spaghetti too 🙂
Terri
Dorothy says
I made these two days ago. They were a hit. Ate with salads topped with ham cubes yesterday and today with spaghetti with sausage and mushrooms. Soft and tasty. I must say that I had too add 1/2 cup more flour but then again I did add butter flavoring extract as well. Also added Italian seasoning and Parmesan cheese to dough mix. Rolled out beautifully. Baked wonderfully. Highly recommend.
Terri Gilson says
Thanks for sharing your experience, Dorothy! I live in a very dry climate and perhaps that's why you had to add more flour. Also, bread machines can vary. I know my new bread machine is different that my 30 yr old one.
And glad you loved them!
Terri
Avah says
This is an excellent breadstick recipe. Great with chicken parmigiana.
I substituted 2 3/4 teaspoons garlic salt for the salt and garlic powder.
Super easy to make.
Terri Gilson says
I'm so glad to hear you loved it!
Terri