


If you are not sure how to cook a whole pumpkin and make pumpkin puree, just follow these easy steps. Cooking a whole pumpkin is easier than you may think! Freezing it for future use is just as simple. And you can use a regular carving pumpkin - you don't have to buy a special pumpkin.

The best part is that when you bake a whole pumpkin the result is fresh pumpkin you can freeze and use all 'year round. It's perfect for the fall and so much better than using canned! Homemade pumpkin puree is ideal for desserts, pie filling, soups, and more! There are so many things you can make with your pumpkin.
This recipe is popular during the autumn season, but you can use your frozen pumpkin puree any time of year!
Jump to:
🥘Ingredient Notes
For baking a whole pumpkin, all you need is the pumpkin and some water!
Pumpkin: Although it's recommended you use sugar pumpkins, you really don't need to bother buying a special type of pumpkin. They are easier to find at the grocery store and farmer's markets earlier in the season, but they are smaller pumpkins and generally more expensive.
I have been cooking pumpkins for years, and I always buy a carving pumpkin from the bins at the grocery store, and they taste great! I will even often use the one the kids carve, as I hate to see it go to waste. And we only carve it a day or two before Halloween.
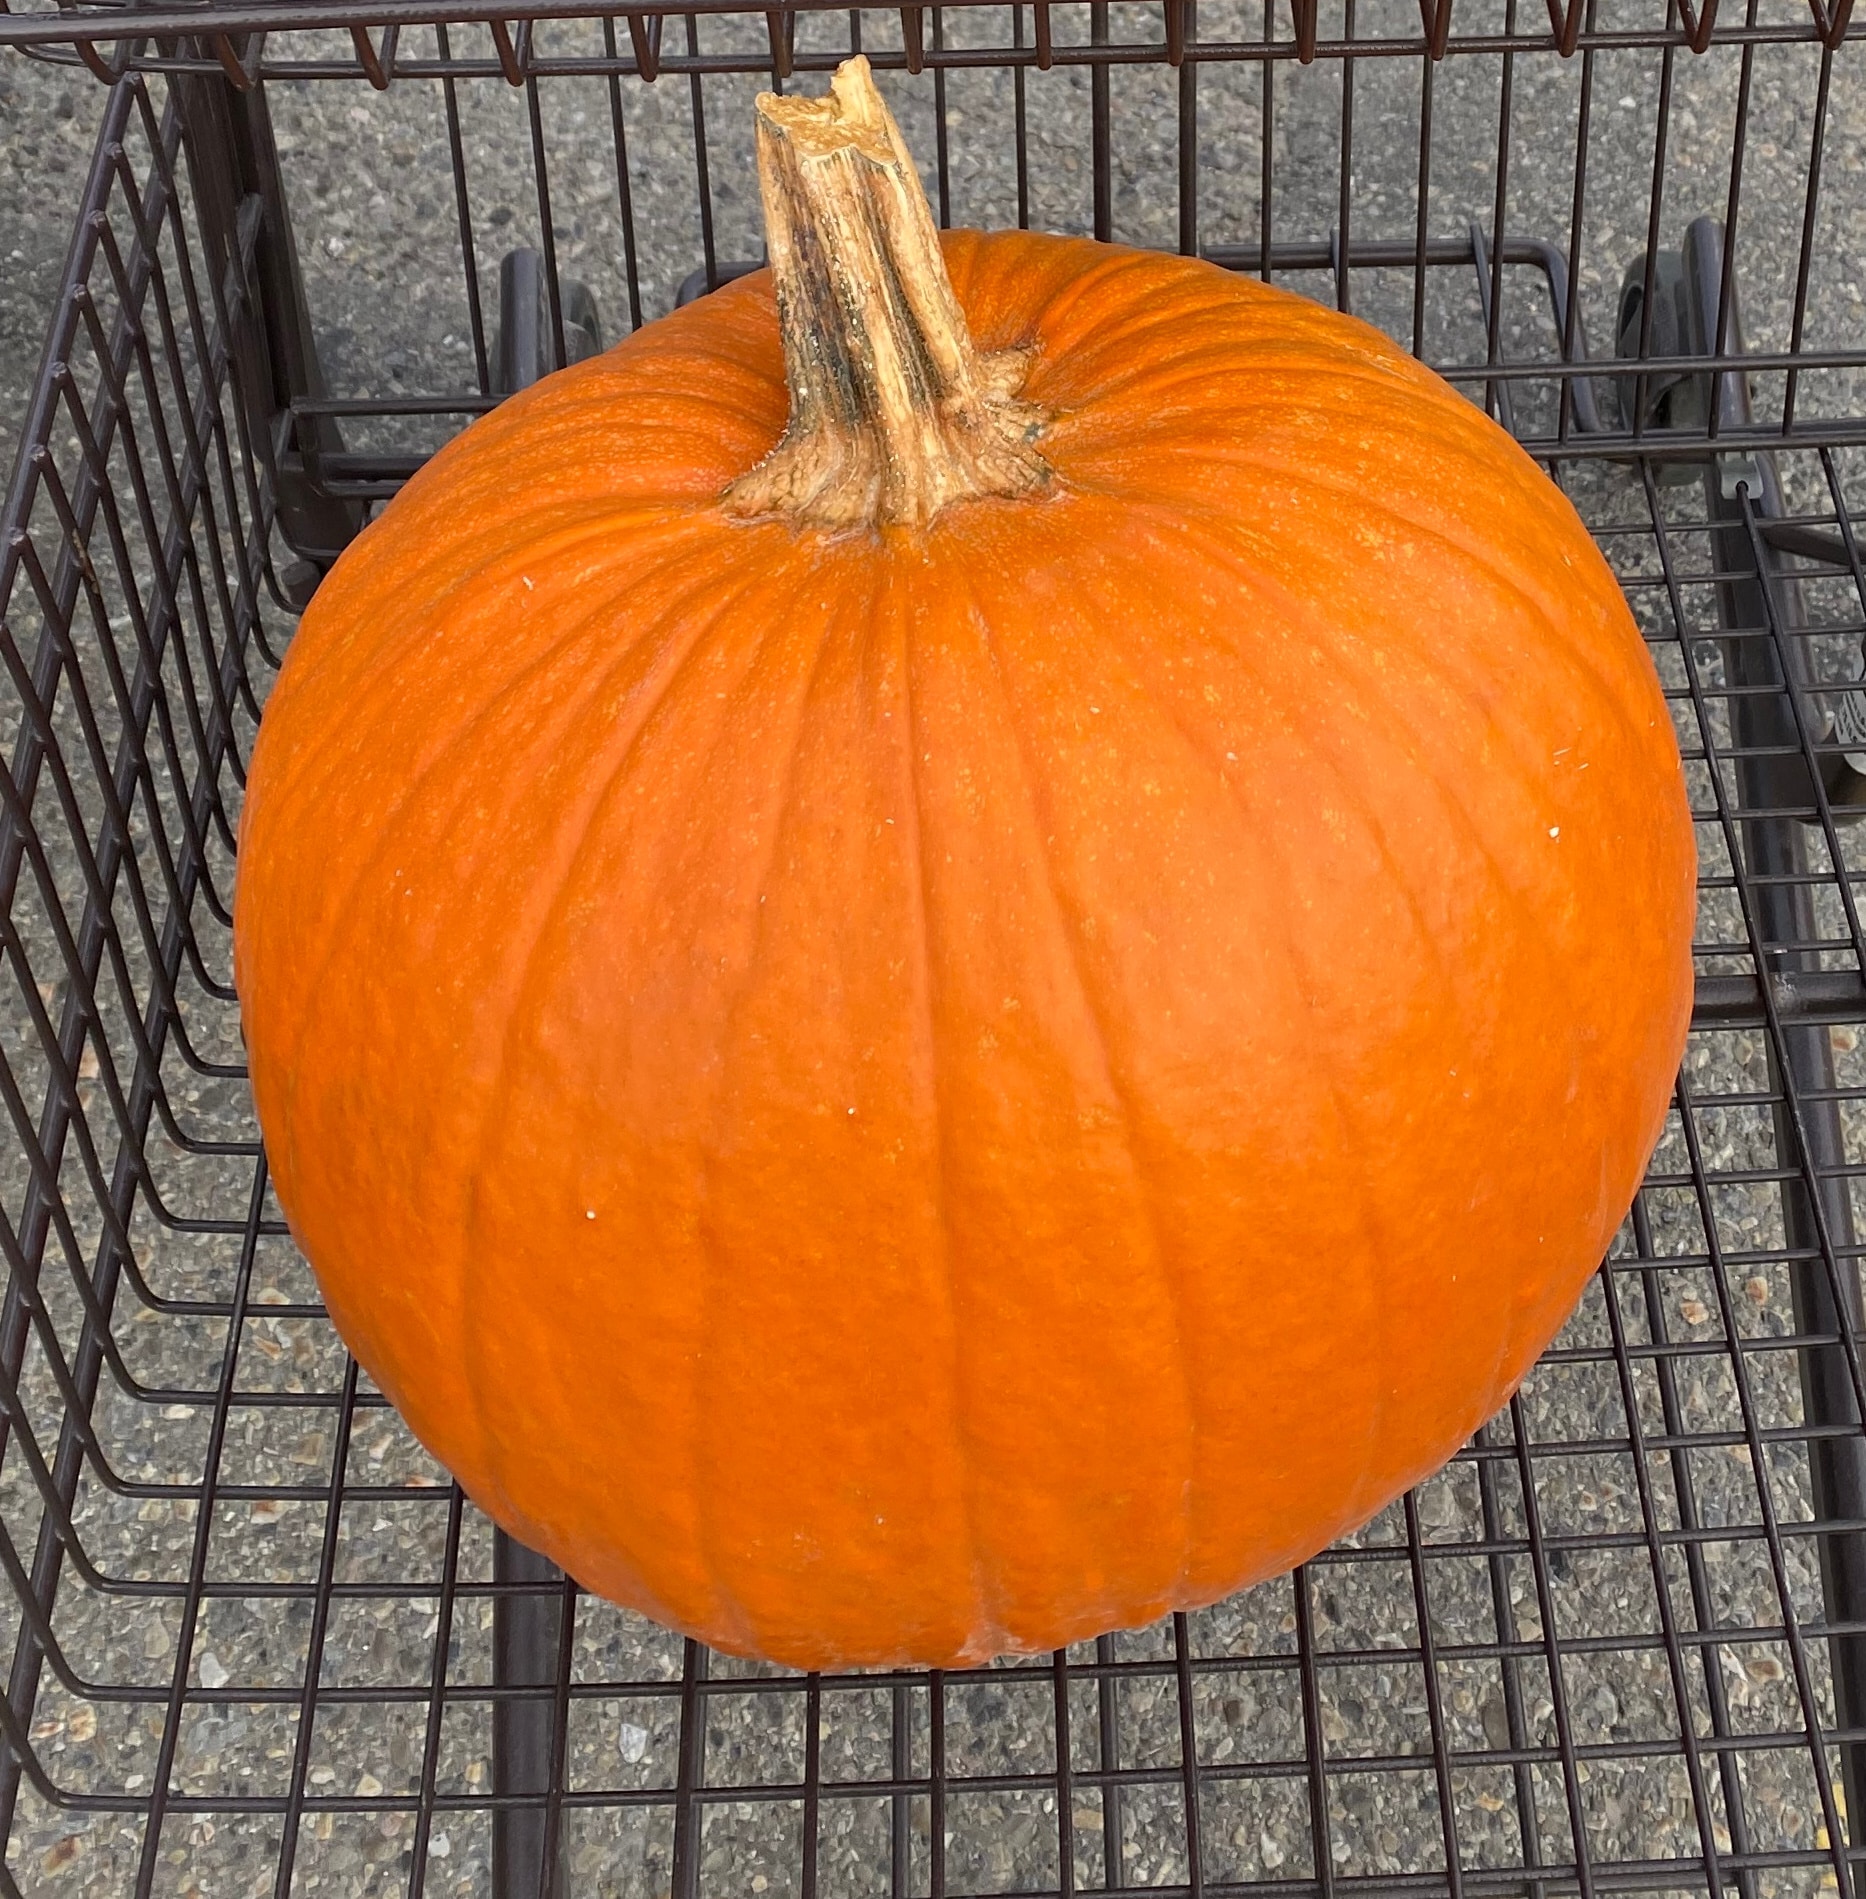
The first photo in this post shows a sugar pumpkin because that's all that was available at my grocery store in late September. Last year, I bought this regular carving pumpkin (in the above photo) specifically for cooking and pureeing.
🔪How to Roast a Pumpkin for Puree
There are different methods for cooking a pumpkin, but I use this method every year and it works great for me! You don't need special pumpkins, equipment, or anything else!
- Cut your pumpkin into 3-4 large wedges with a sharp knife. I like to keep them in large pieces, as they are easier to handle than a bunch of smaller pieces. *There is no need to peel your pumpkin before baking. In fact, that's more difficult, as the skin peels off very easily, once baked.
- Clean out your pumpkin by scraping the insides out with a large spoon (a tablespoon is fine), as you would a cantaloupe. *You can save the pumpkin seeds and roast them, if you desire.
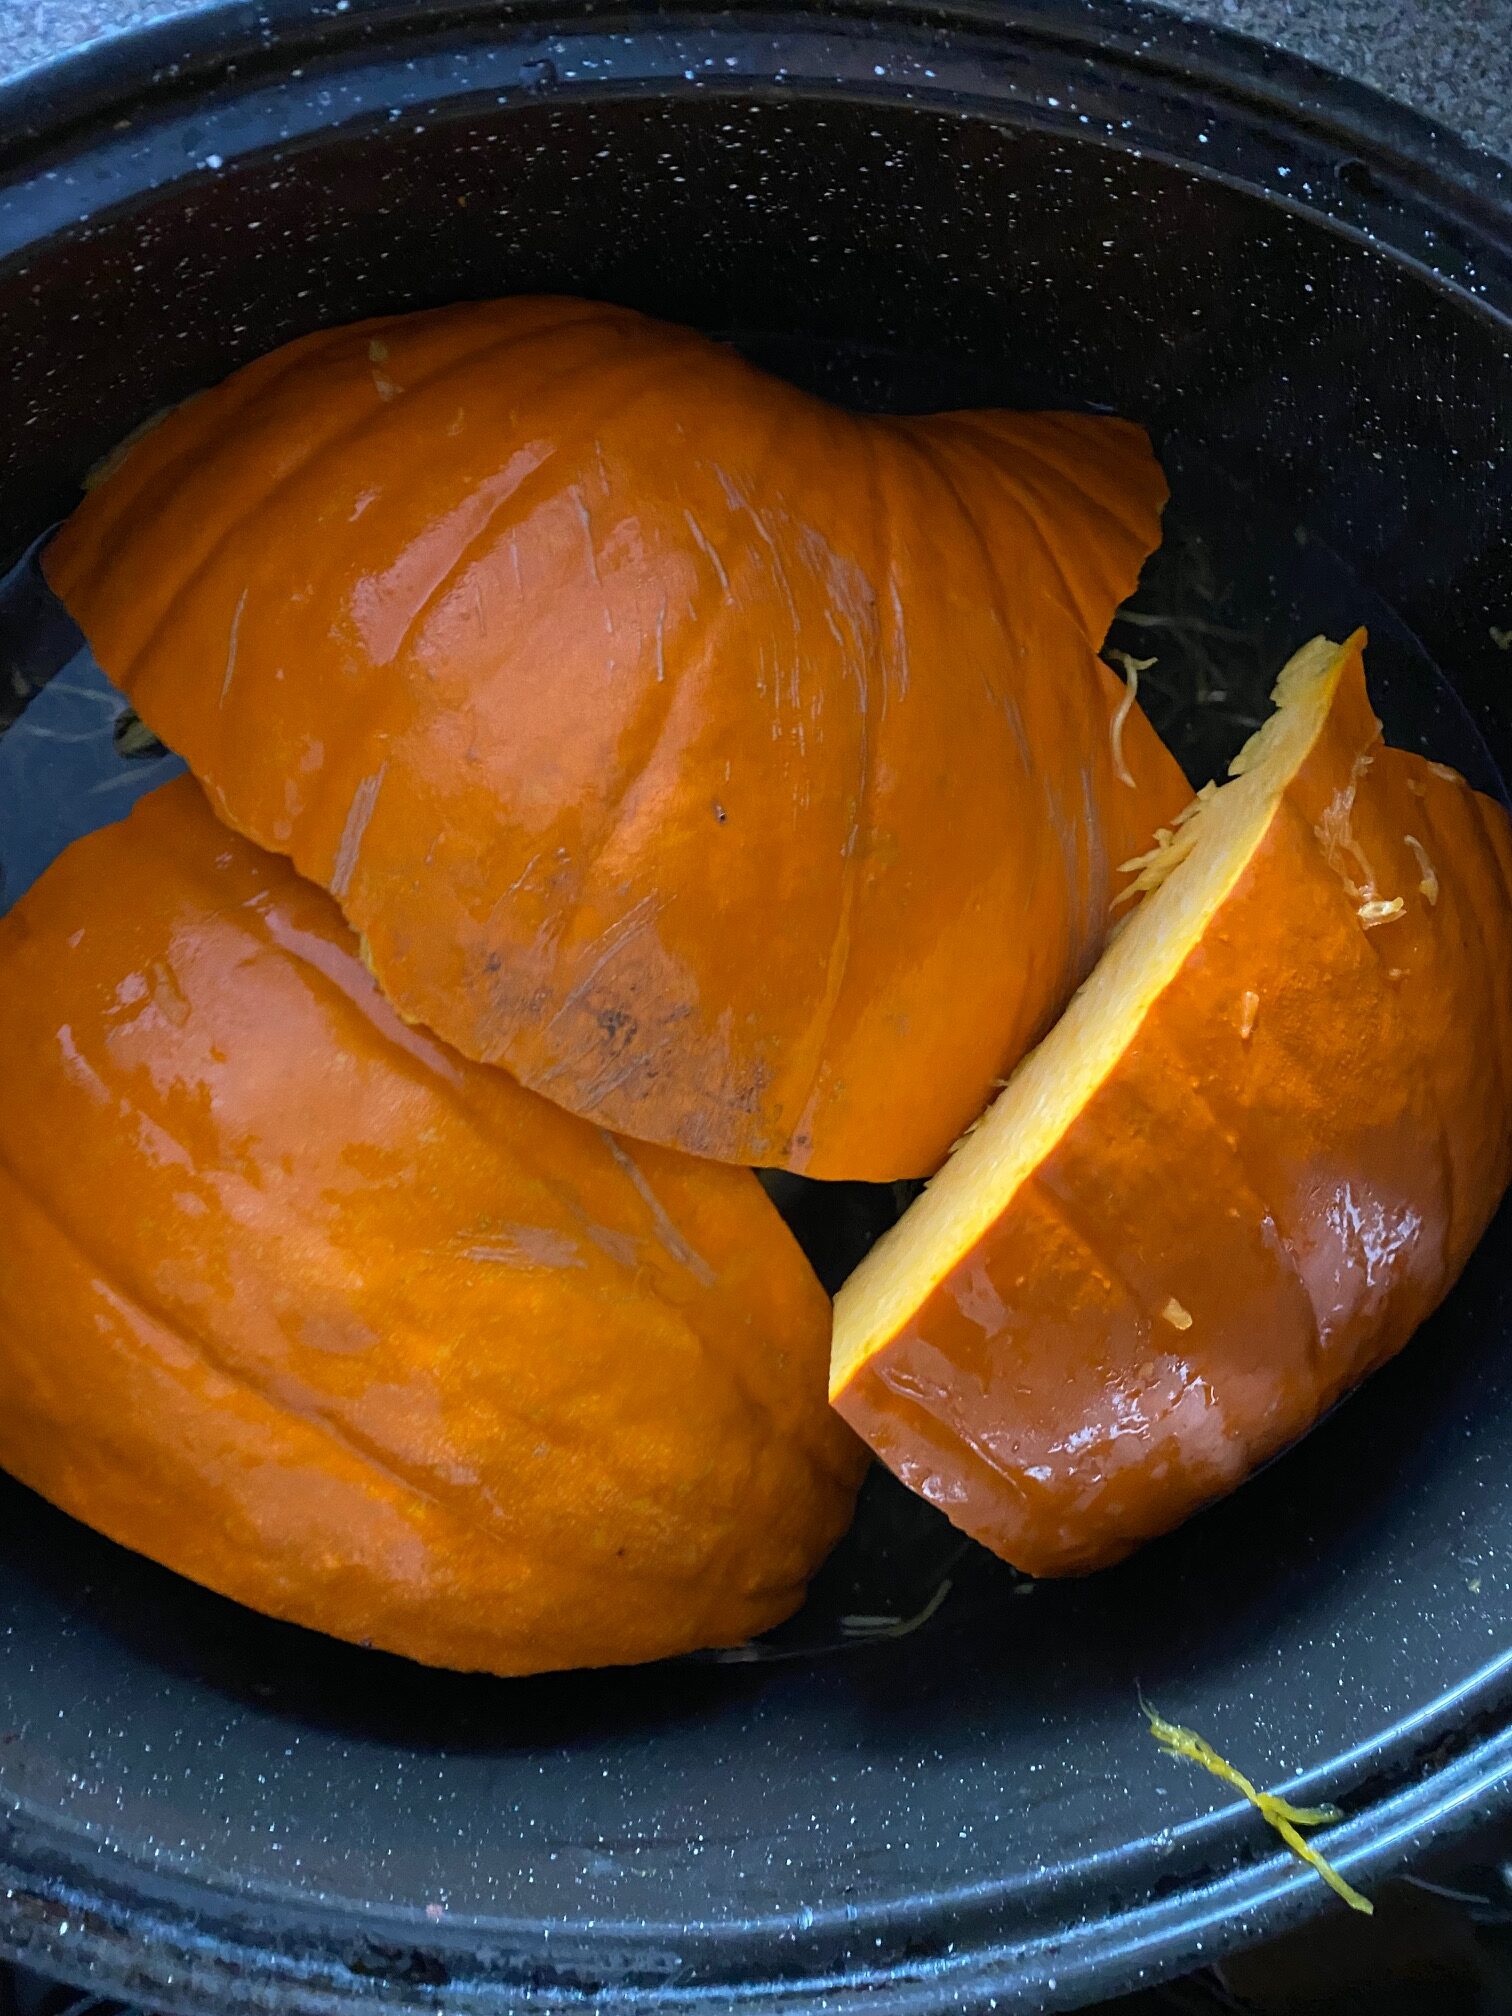
- Step 1: Fill a large roasting pan with about 1-2 inches of water. I use about 4 cups for a 20 lb/ 9 k roaster. Cut the pumpkin into about 3-6 wedges, depending on the size of your pumpkin, and place it flesh down /skin up. If I have a very large, pumpkin, I do this in batches, or in two different roasting pans.Roast raw pumpkin wedges in roaster (with lid on) 325 degrees f (or 162 degrees c) for about 50 minutes to 1 hour. *Cooking time will vary, depending on the size of your pumpkin.

- Step 2: When done, you should be able to easily remove the skin by using a fork or butter knife to get under it and gently peeling it back. And a fork should easily go into it (be careful, as it will be hot)! I use an oven mitt and wash it afterward. Remove all the skin from the roasted pumpkin and discard.
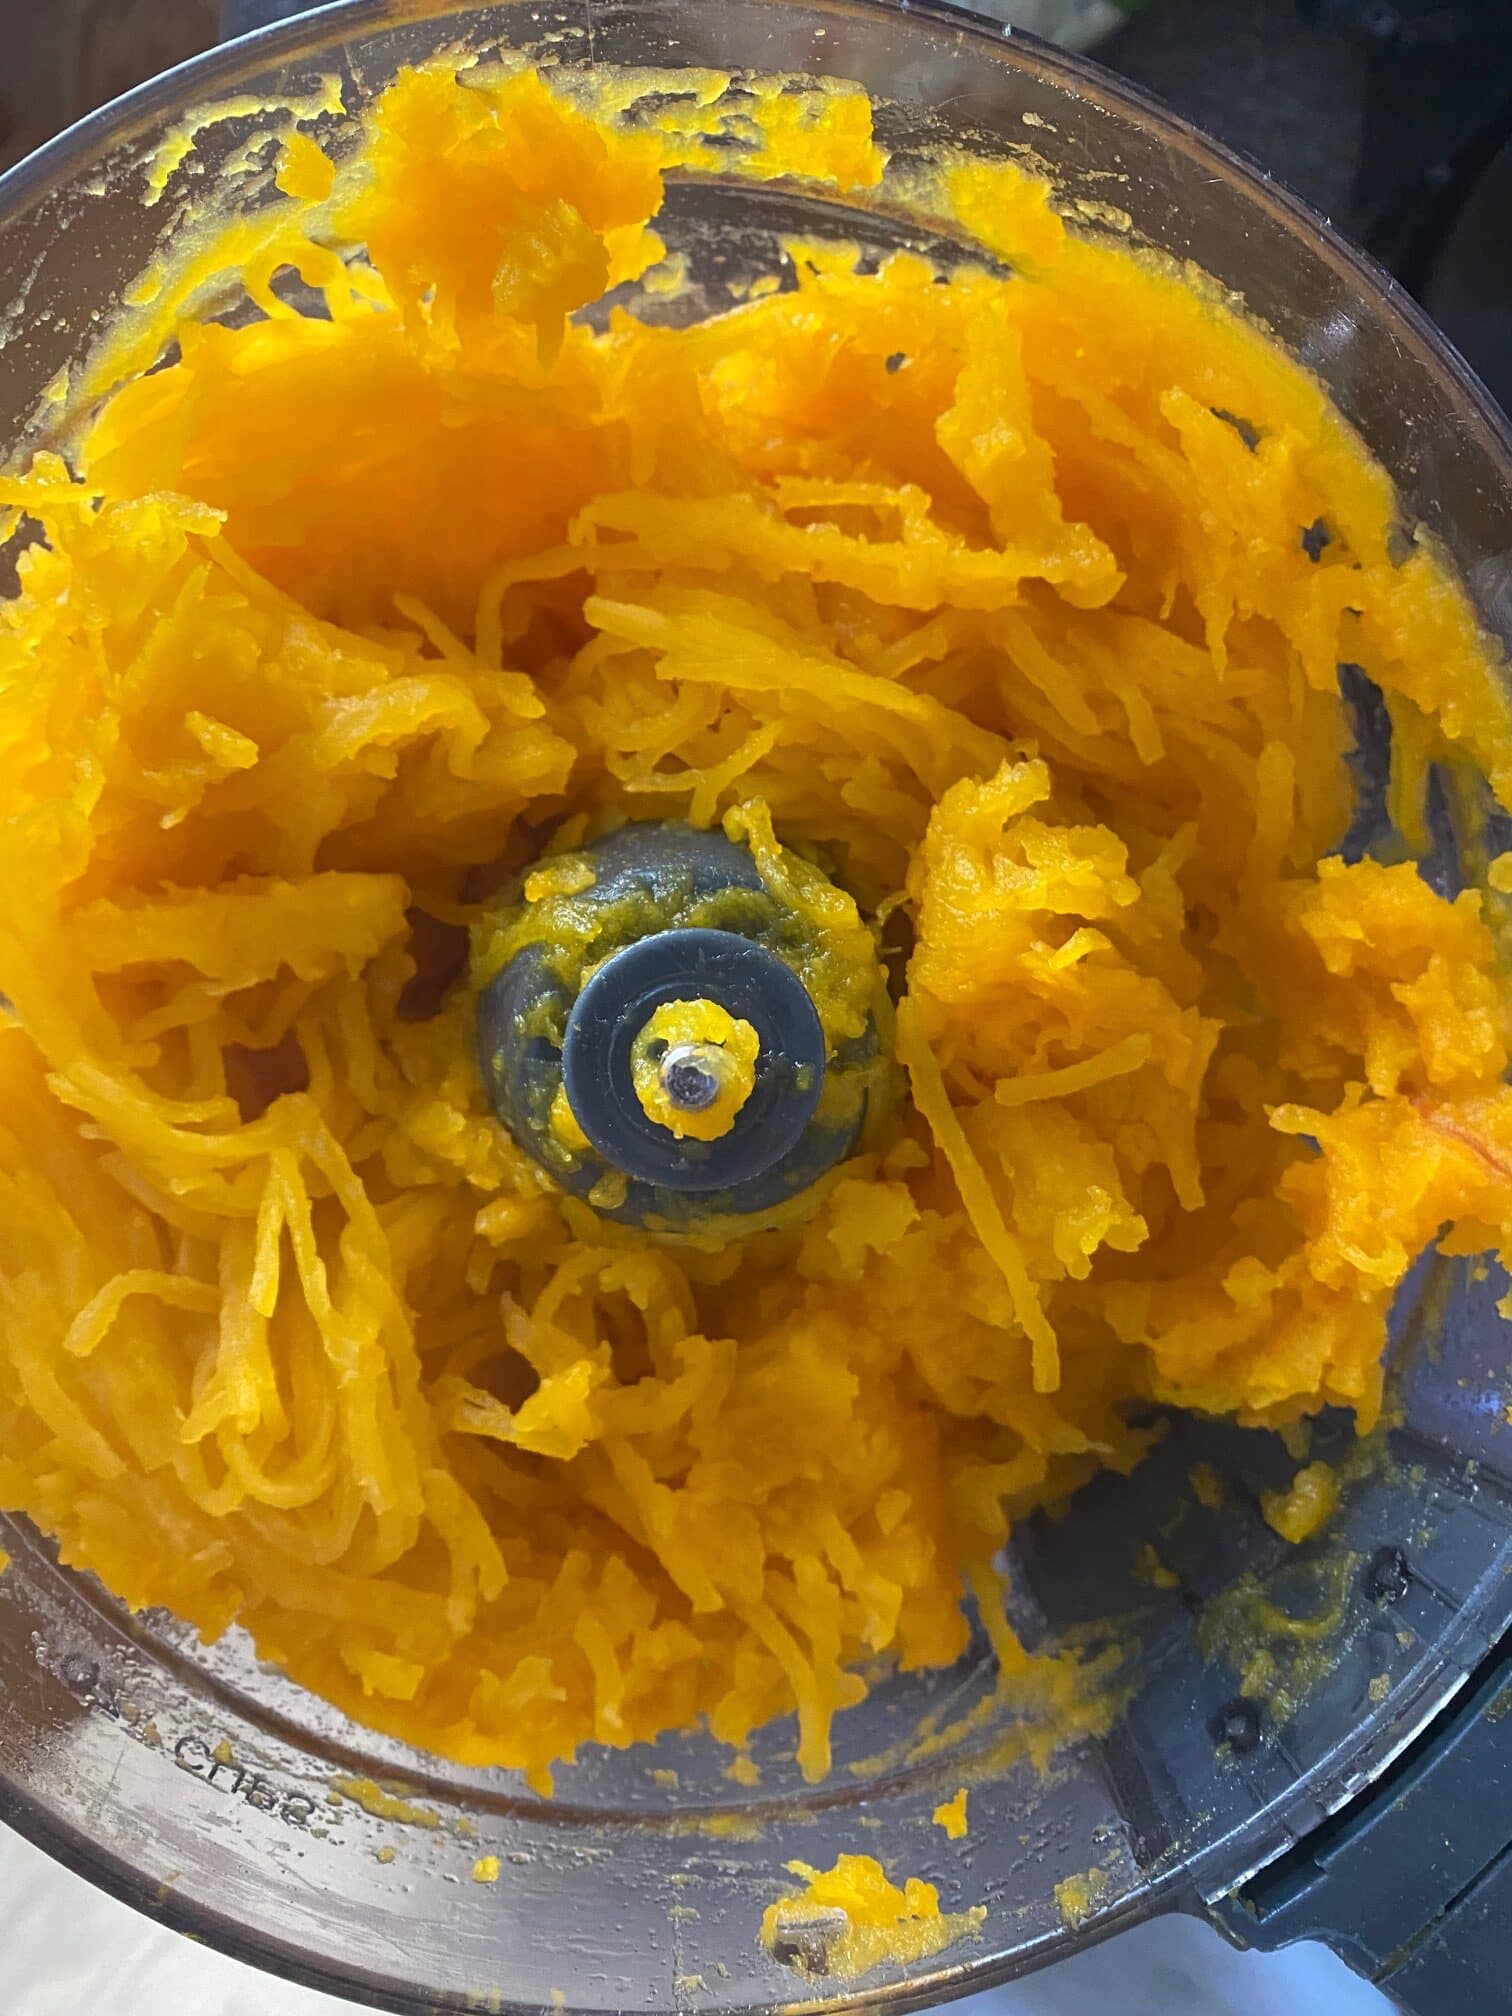
- Step 3: Place the "meat" or pumpkin flesh in the food processor and puree until smooth. You'll want to do this in batches if you're using a large pumpkin.
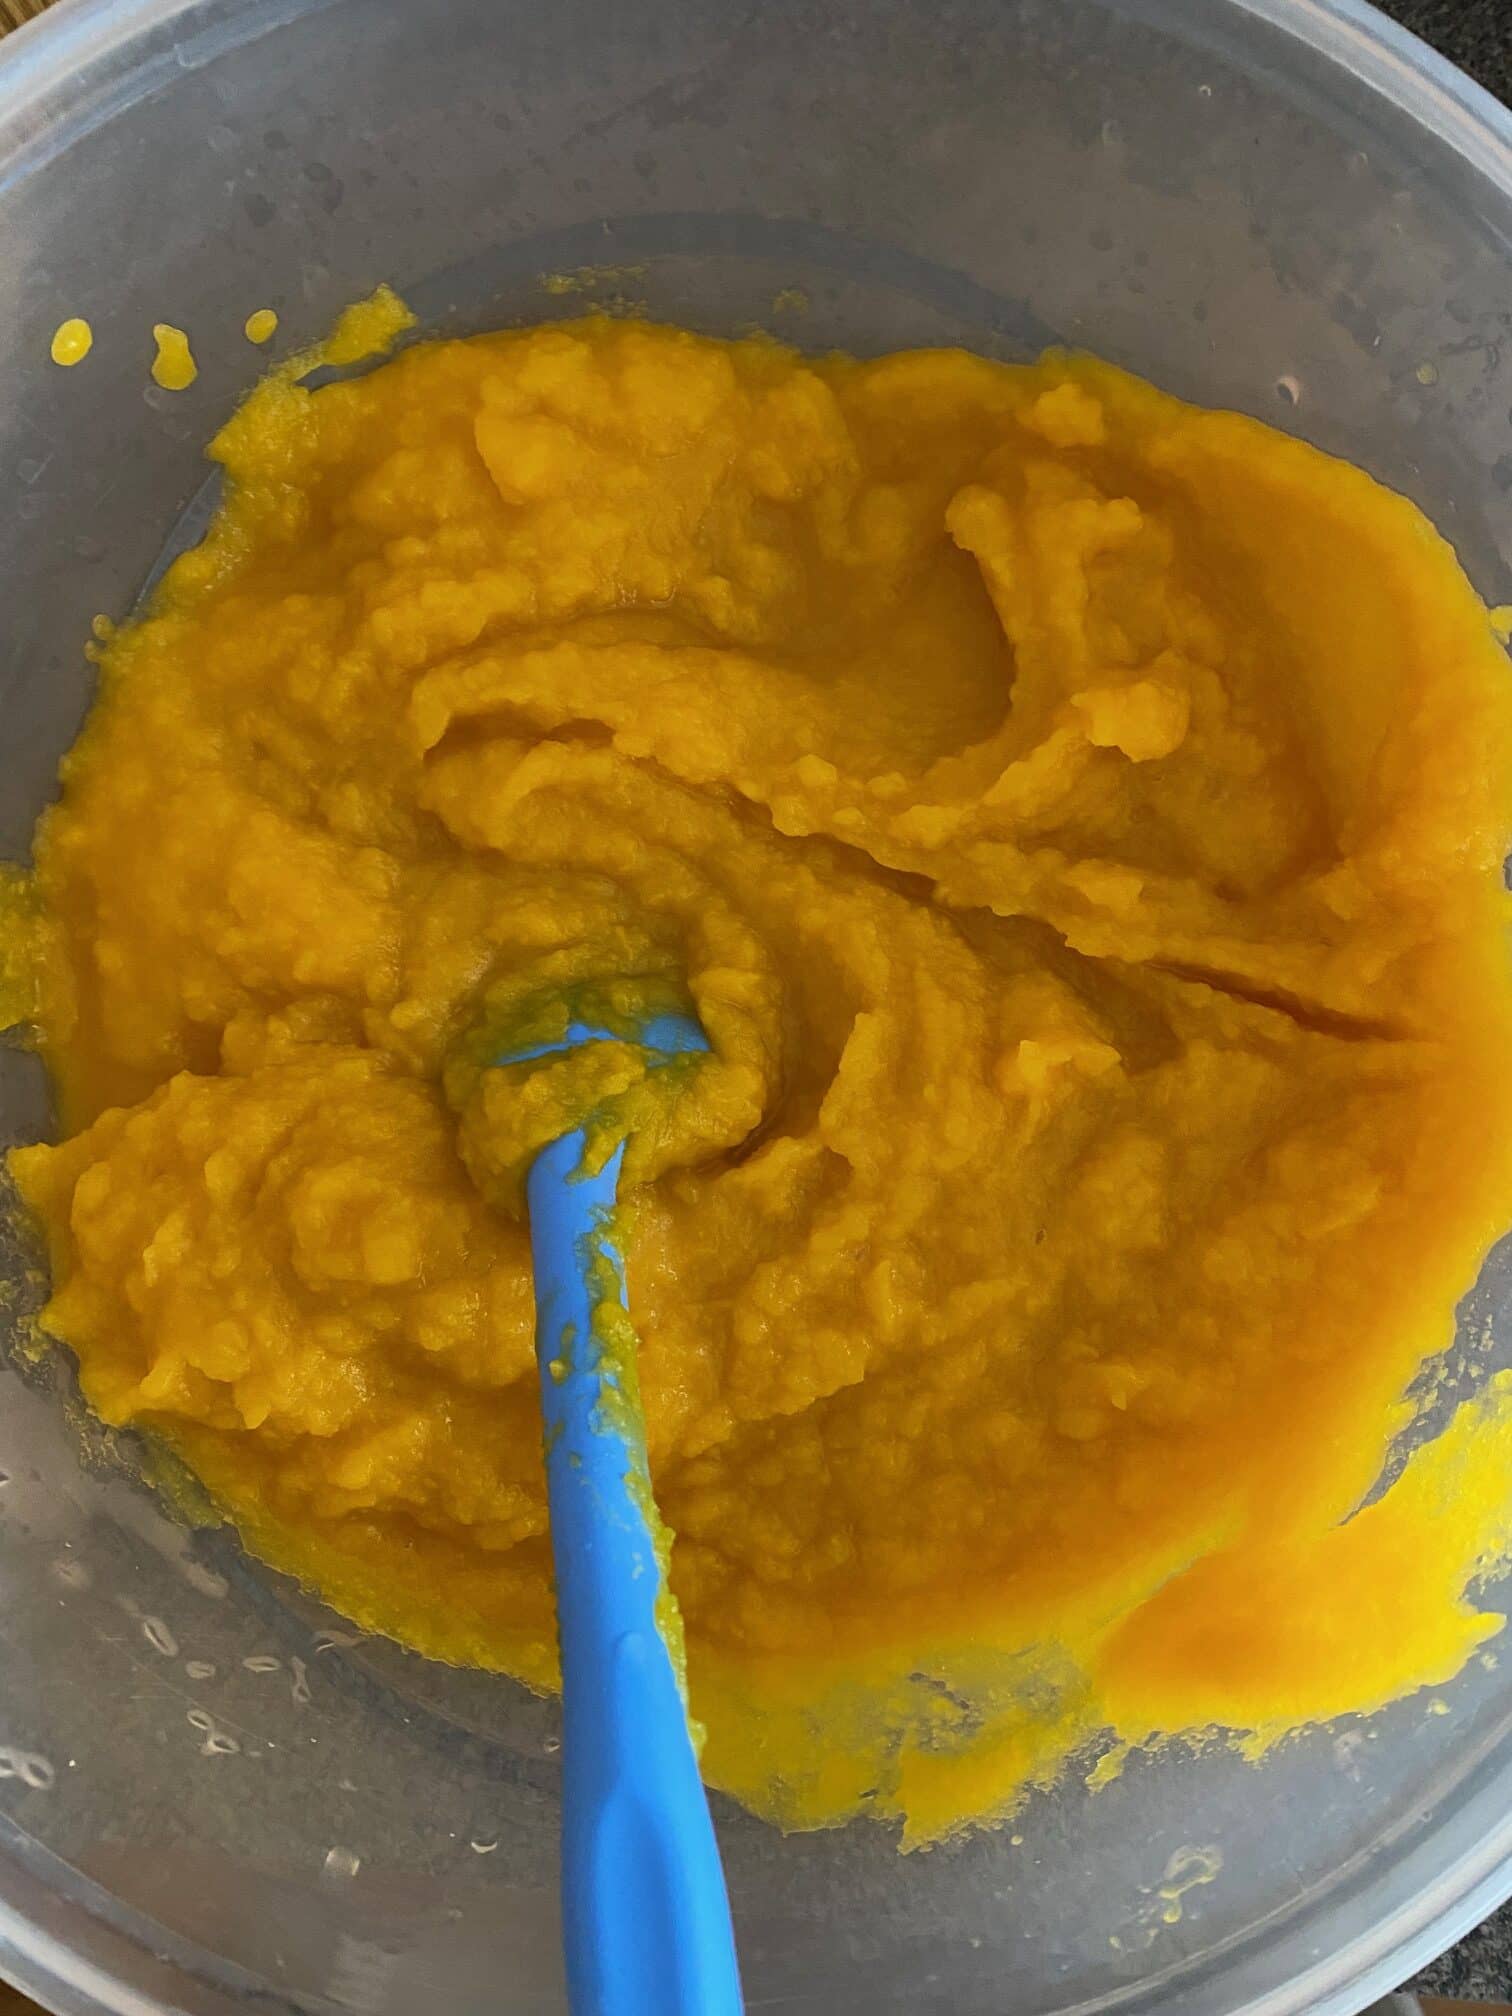
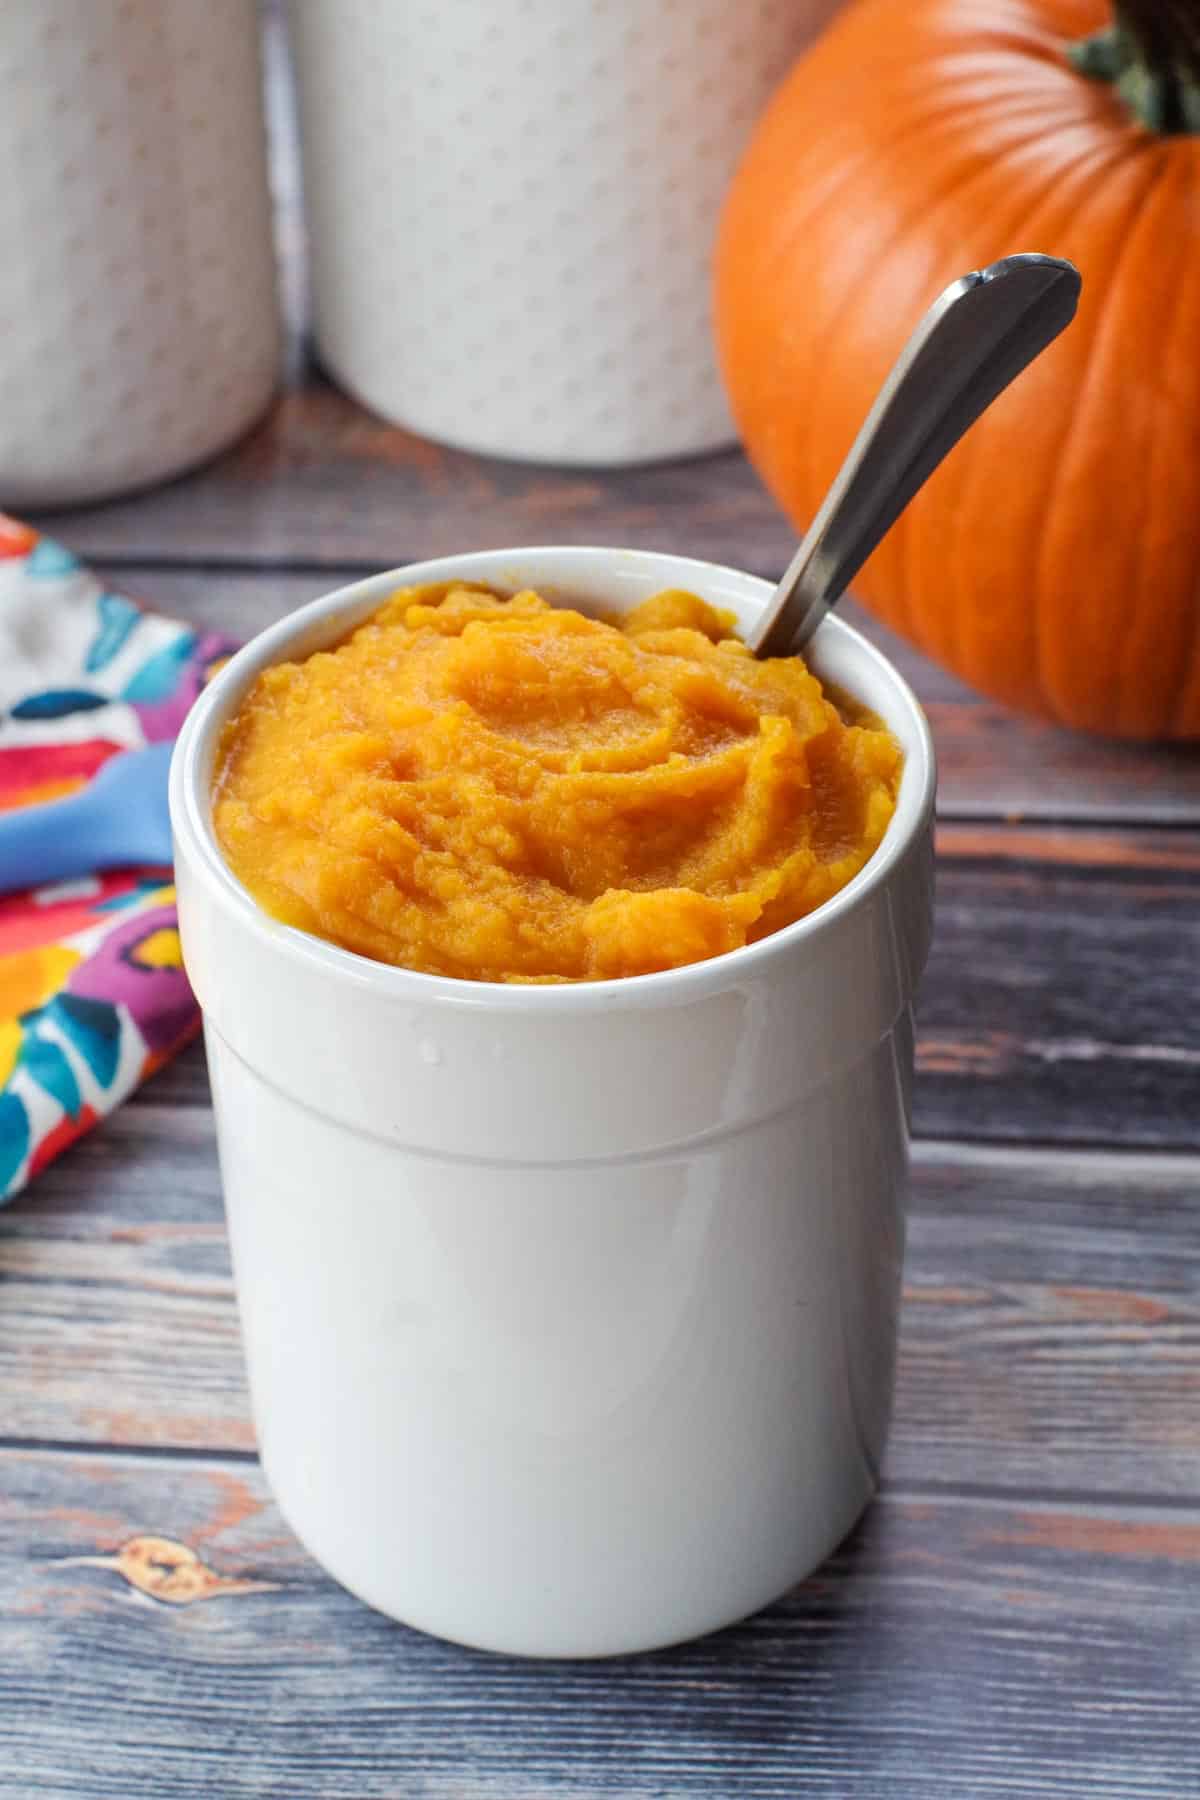
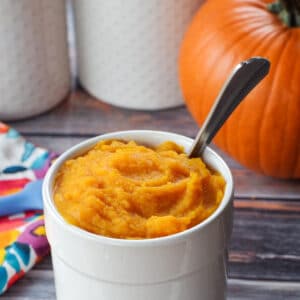
- Step 4: You need to make sure that it's a perfectly smooth puree. Pour it into a bowl, and double-check to make sure there are no little pieces of skin, seed, or stringy bits. If there are any bits, remove them. And if it's still stringy, put it back in the food processor and puree for a little longer, until it's completely smooth, as shown.

- Step 5: Pour through a sieve.
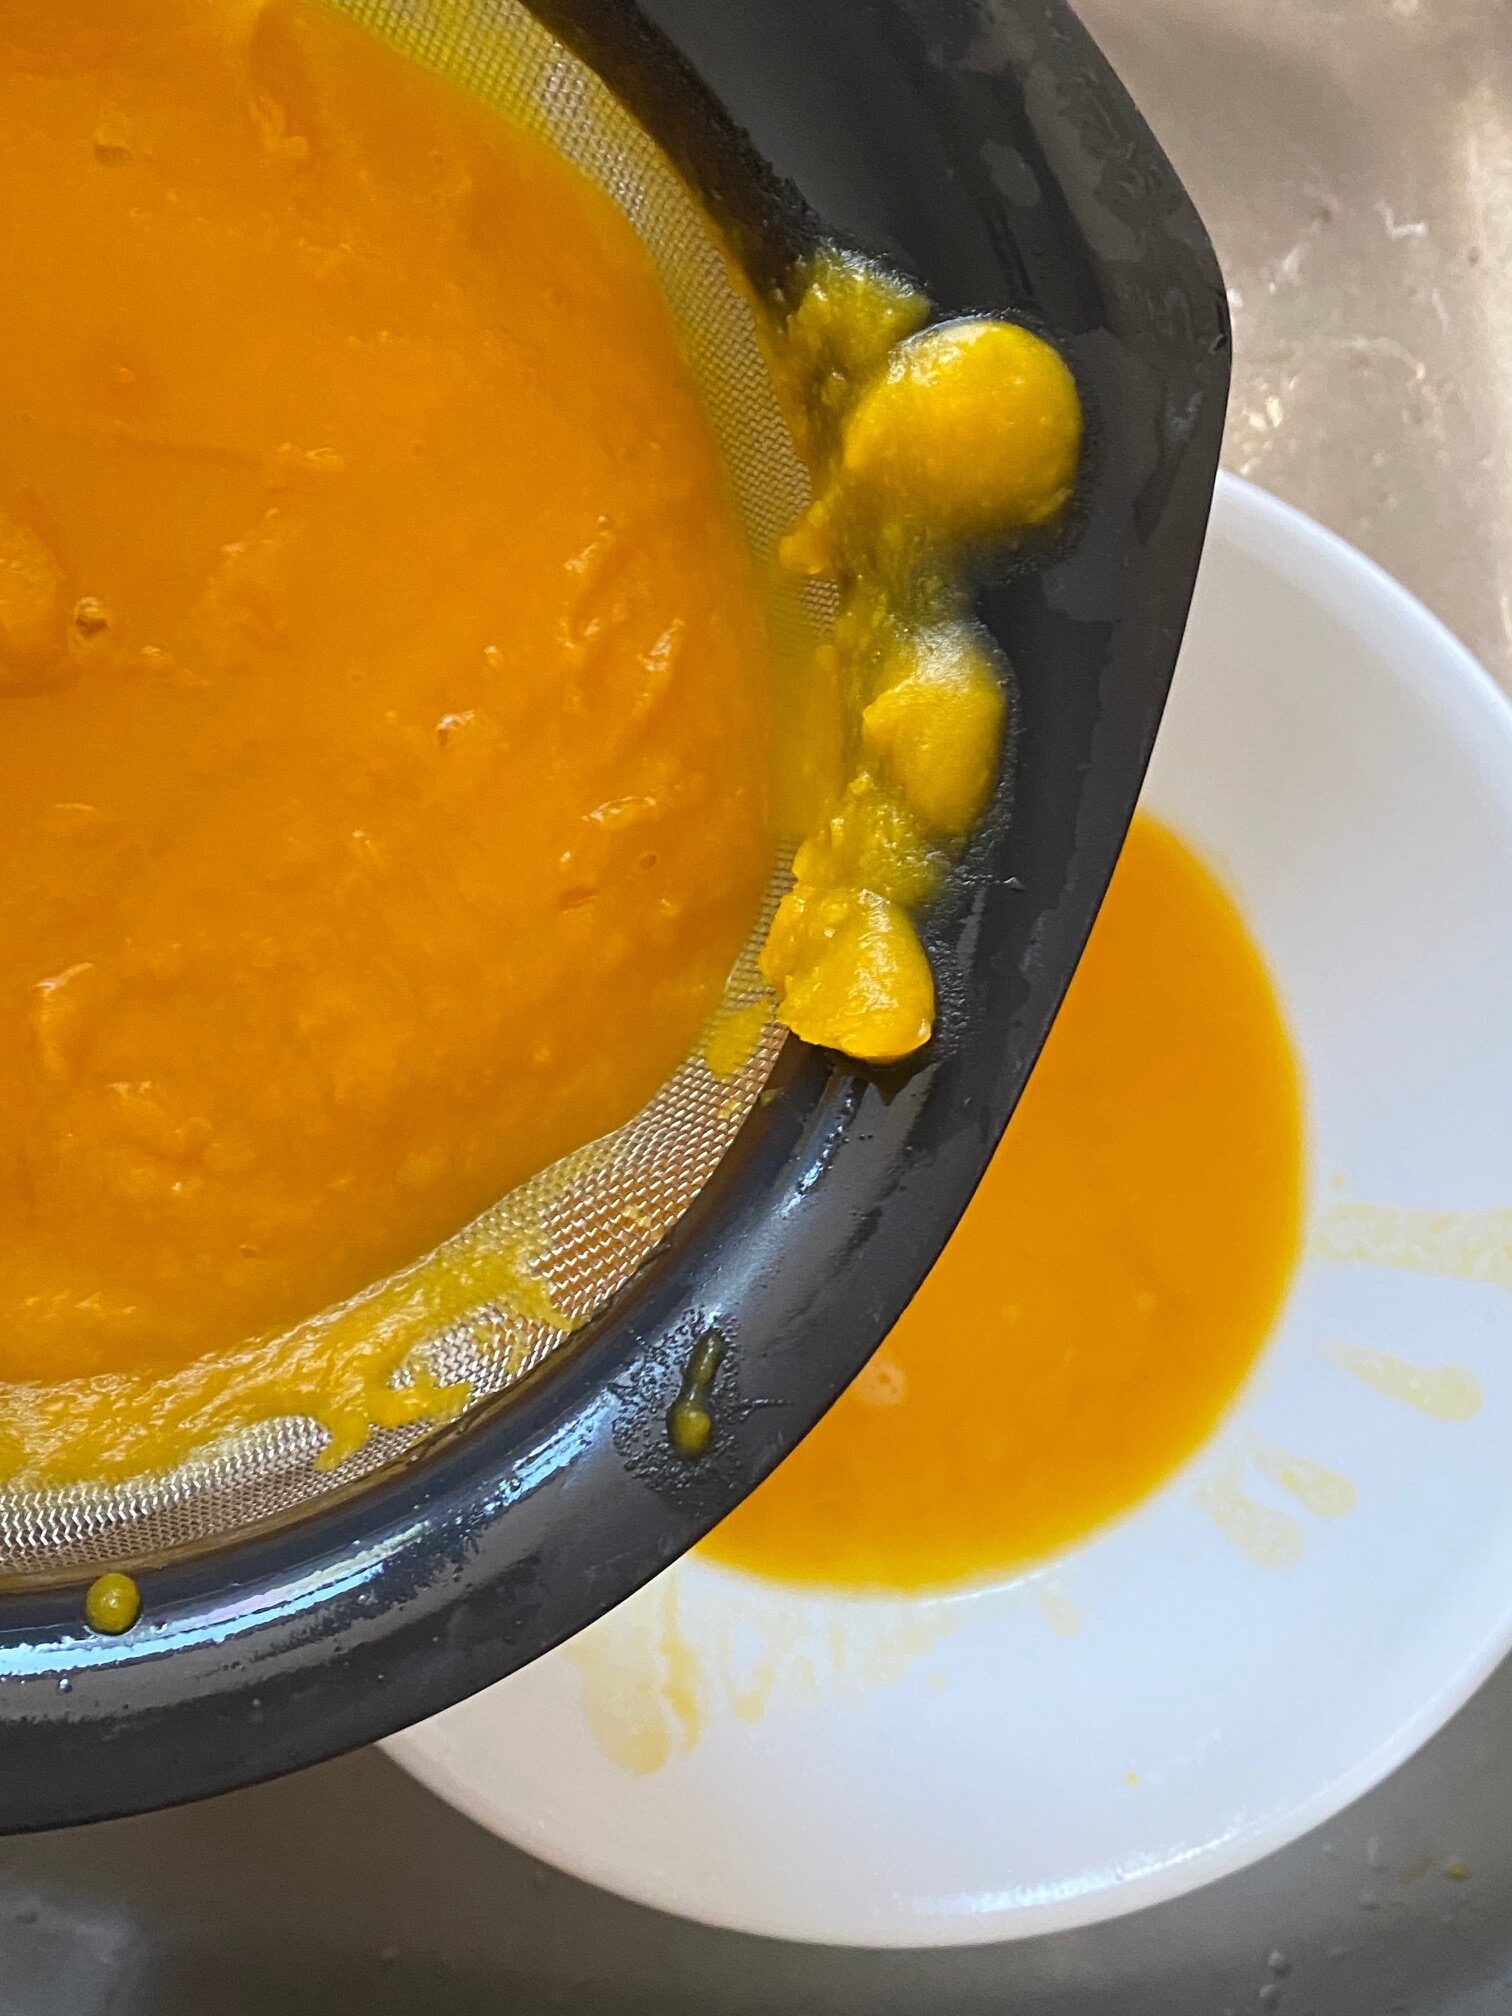
- Step 6: Drain off excess fluid. Cool completely.
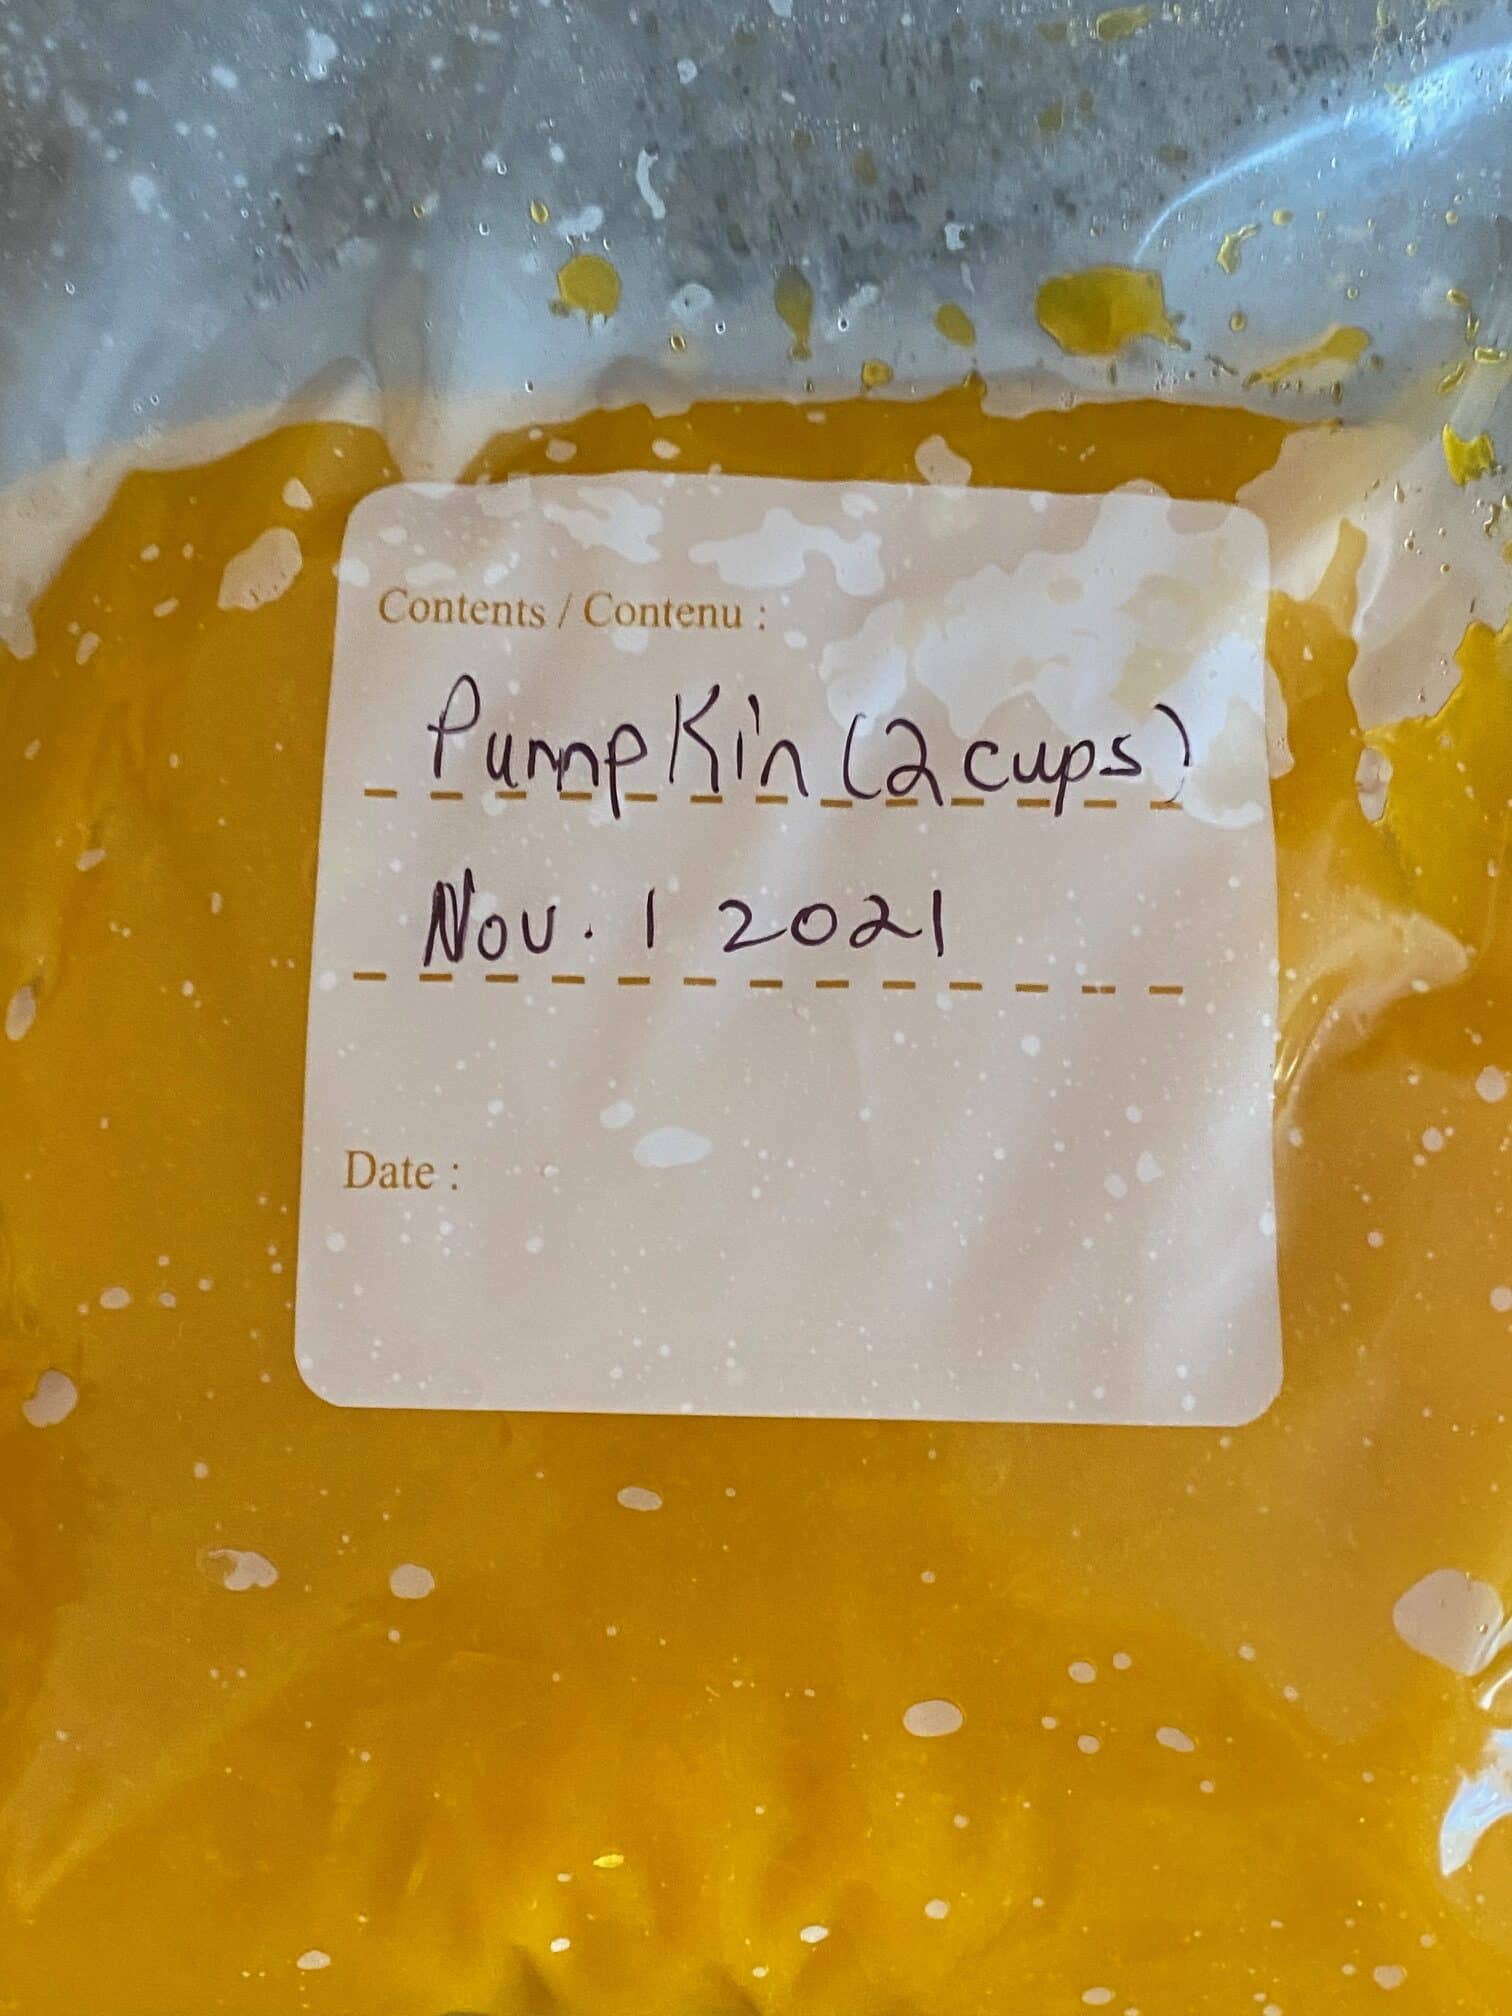
- Step 7: Scoop 2 cups into each Ziplock freezer bag and be sure to record the amount and date on the bag.

- Step 8: Place in freezer flat (you can stack them).
Expert Tips
- Cut the pumpkin from top to bottom for safer handling. This reduces pressure on the knife and helps prevent slipping.
- Use a serrated knife if your pumpkin is especially tough. A bread knife can saw through thick pumpkin skin more easily than a chef's knife.
- Don't overcrowd the roasting pan. Leaving space between the wedges helps them cook evenly.
- Let the roasted pumpkin rest before handling. Allowing it to cool slightly makes the skin easier to peel and safer to handle.
- Puree longer than you think. Extra blending ensures you eliminate any fibrous strands that could affect baking.
- Strain the puree in a shallow layer. Spreading it thinly helps it drain more efficiently.
- Measure the puree after draining, not before. Excess moisture removal can significantly change the final volume.
- Freeze puree as flat as possible. It thaws quickly and stacks neatly in the freezer.
🎃What to Make with Pumpkin Puree
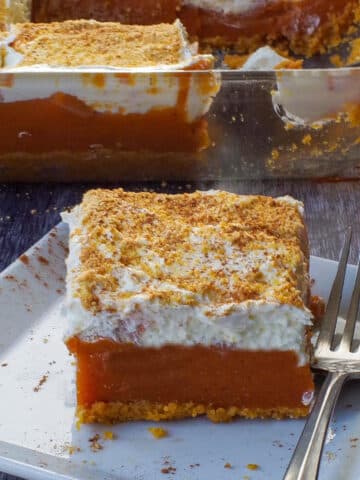
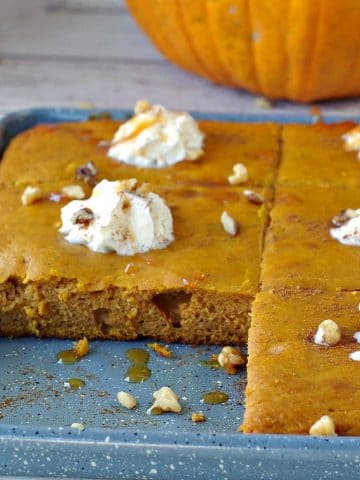
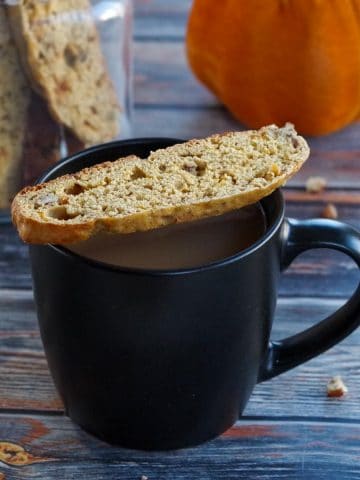
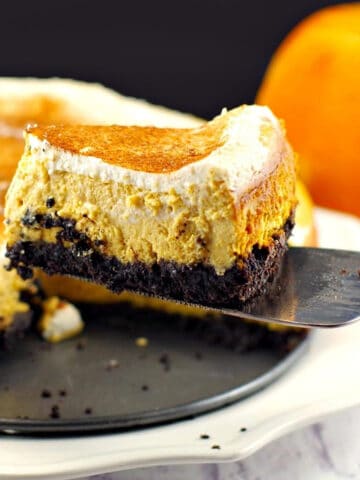
If you're not sure what to do with pumpkin puree, I love using it ( fresh or frozen) in my favorite pumpkin recipes, such as this pumpkin bread, pumpkin pie, and pumpkin bran muffins!
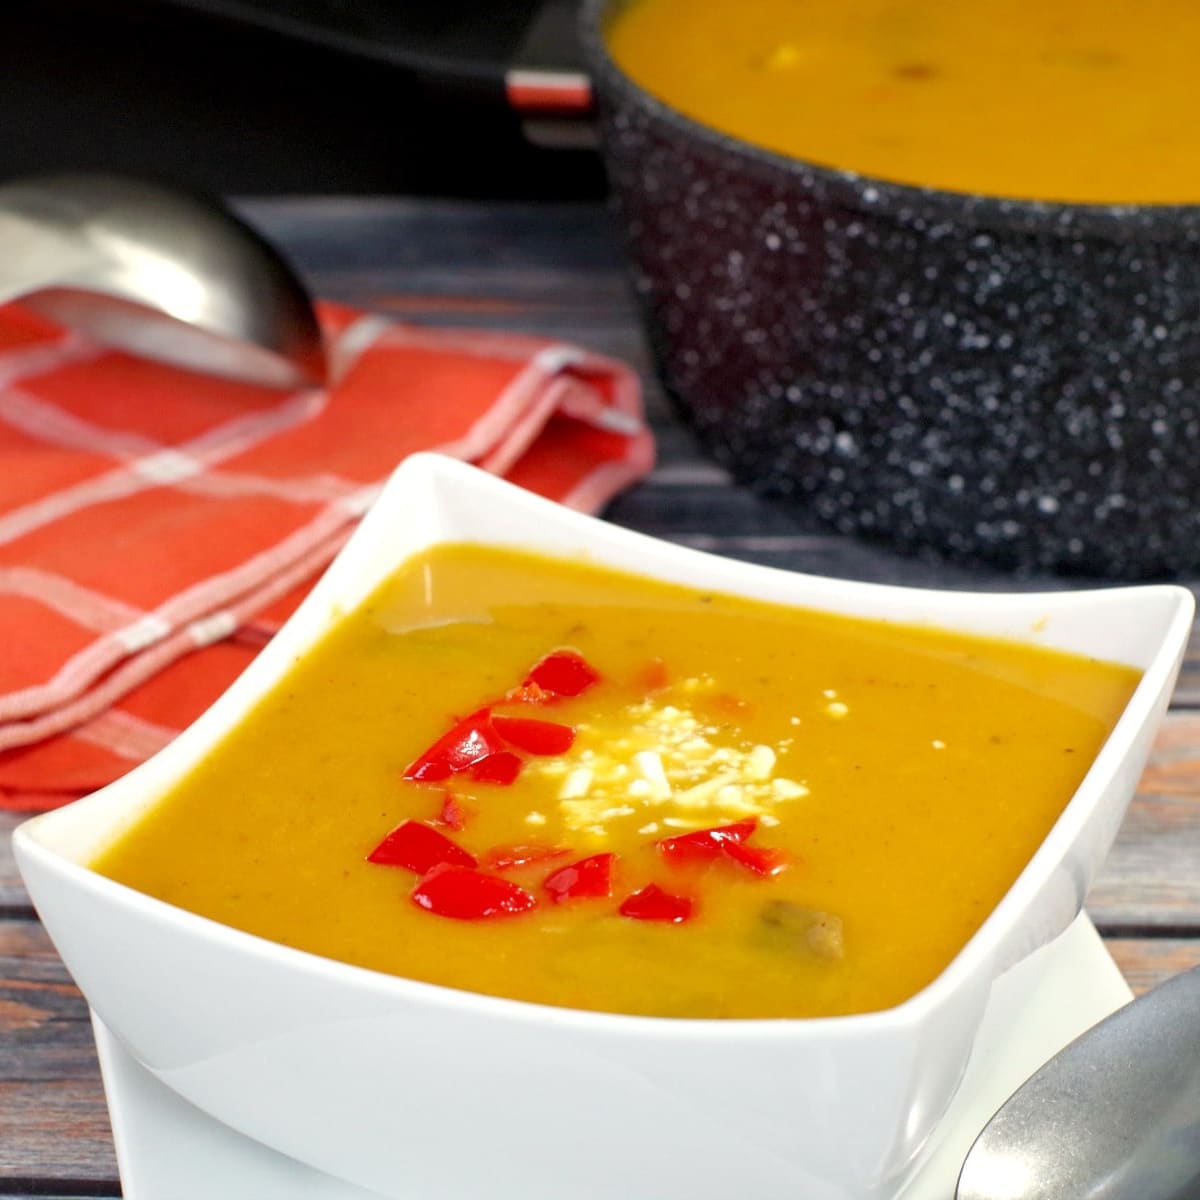
If you are looking for savory, try my Healthy Pumpkin soup, (shown)! Searching for lighter and ww friendly pumpkin recipes? Try my Crustless Pumpkin Pie or my Healthy Pumpkin Pie Blondie Bites.
👪 Serving Size
The servings in this recipe (8 cups) are calculated using the puree from a large pumpkin for carving, about 5-8 lbs, which is typically double the size of a sugar pumpkin.
🌡️Storing
You can store it in the fridge in an airtight container if you're going to use it within 2-3 days. It's recommended you only freeze it for up to 6 months in a sealed container or freezer bags.
Top Tip
You need to ensure the puree is properly pureed and drained, or it will be very stringy and runny when you make your baked goods. *I usually drain off the liquid again, after it's defrosted, then I measure it.
❔Recipe FAQ's
Yes. If you don't have a roasting pan with a lid, you can use a large baking dish or sheet pan and cover the pumpkin wedges tightly with foil. The goal is to trap steam so the pumpkin cooks evenly and stays moist.
Homemade pumpkin varies in color depending on the pumpkin's age, variety, and moisture content. This is completely normal and won't affect performance in recipes as long as it's well-pureed and drained
Yes. Spread the puree in a fine-mesh sieve or cheesecloth and let it drain longer. If it's still thin, you can simmer it in a saucepan for a few minutes to cook off excess moisture. Just stir frequently to prevent sticking.
Didn't find the answer you're looking for?
Ask AI to answer based on this specific recipe
Homemade pumpkin purée can be used interchangeably with canned pumpkin, but it's so superior to the canned stuff! If you're looking for an economical, healthy, and easy way to make your own pumpkin puree, then cook a whole pumpkin! You don't need to use a special pumpkin or any olive oil to make this. All you need is a regular carving pumpkin and a little water to make this easy recipe!
More Recipes with Pumpkin Puree
Did your family❤️this recipe? Did you know that commenting and⭐rating recipes is one of the best ways to support your favorite recipe creators? If you LOVED this recipe, please comment and rate it in the recipe card or share photos on social media using the hashtag #foodmeanderings or tagging @foodmeanderings !

🎃How to Cook a Whole Pumpkin (and make pumpkin purée) recipe
Ingredients
- 1 whole pumpkin
- 4 cups water (approximately) *for a large (20 lb/ 9 k roaster)
Instructions
- Fill a large roasting pan with about 1-2 inches of water. I use about 4 cups for a 20 lb/ 9 k roaster.Cut the pumpkin into about 3-6 wedges, depending on the size of your pumpkin, and place flesh side down, .If I have a very large, pumpkin, I do this in batches, or in two different roasting pans.Roast pumpkin wedges in roaster (with lid on) 325 degrees f (or 162 degrees c) for about 50 minutes to an hour. *Roasting time will depend on the size of your pumpkin.
- When done, you should be able to easily remove the skin by using a fork or butter knife to get under it and gently peeling it back. And a fork should easily go into it (be careful, as it will be hot)! I use an oven mitt and wash it afterwards.Remove all the skin and discard.
- Place the "meat" or flesh of the pumpkin in the food processor and puree until smooth.You'll want to do this in batches
- *You need to make sure that it's perfectly smoothPour it into a bowl, and double check to make sure there are no little pieces of skin, seed or stringy bits.
- Pour through a sieve.
- Drain off excess fluid. Cool completely.
- Scoop 2 cups into each Ziplock freezer bag and be sure to record amount and date on the bag
- Place in freezer flat (you can stack them)
Notes
- Cut the pumpkin from top to bottom for safer handling. This reduces pressure on the knife and helps prevent slipping.
- Use a serrated knife if your pumpkin is especially tough. A bread knife can saw through thick pumpkin skin more easily than a chef's knife.
- Don't overcrowd the roasting pan. Leaving space between the wedges helps them cook evenly.
- Let the roasted pumpkin rest before handling. Allowing it to cool slightly makes the skin easier to peel and safer to handle.
- Puree longer than you think. Extra blending ensures you eliminate any fibrous strands that could affect baking.
- Strain the puree in a shallow layer. Spreading it thinly helps it drain more efficiently.
- Measure the puree after draining, not before. Excess moisture removal can significantly change the final volume.
- Freeze puree as flat as possible. It thaws quickly and stacks neatly in the freezer.


Terri Gilson says
I've been roasting whole pumpkins using this method for years now and it's a game changer. The homemade puree tastes so much better than canned, and I love having it on hand for all my fall baking. It's way easier than I thought it would be - even the regular carving pumpkins work great. I always grab an extra one when the kids are picking theirs for carving, or even cook the one they carved the day after Halloween!